
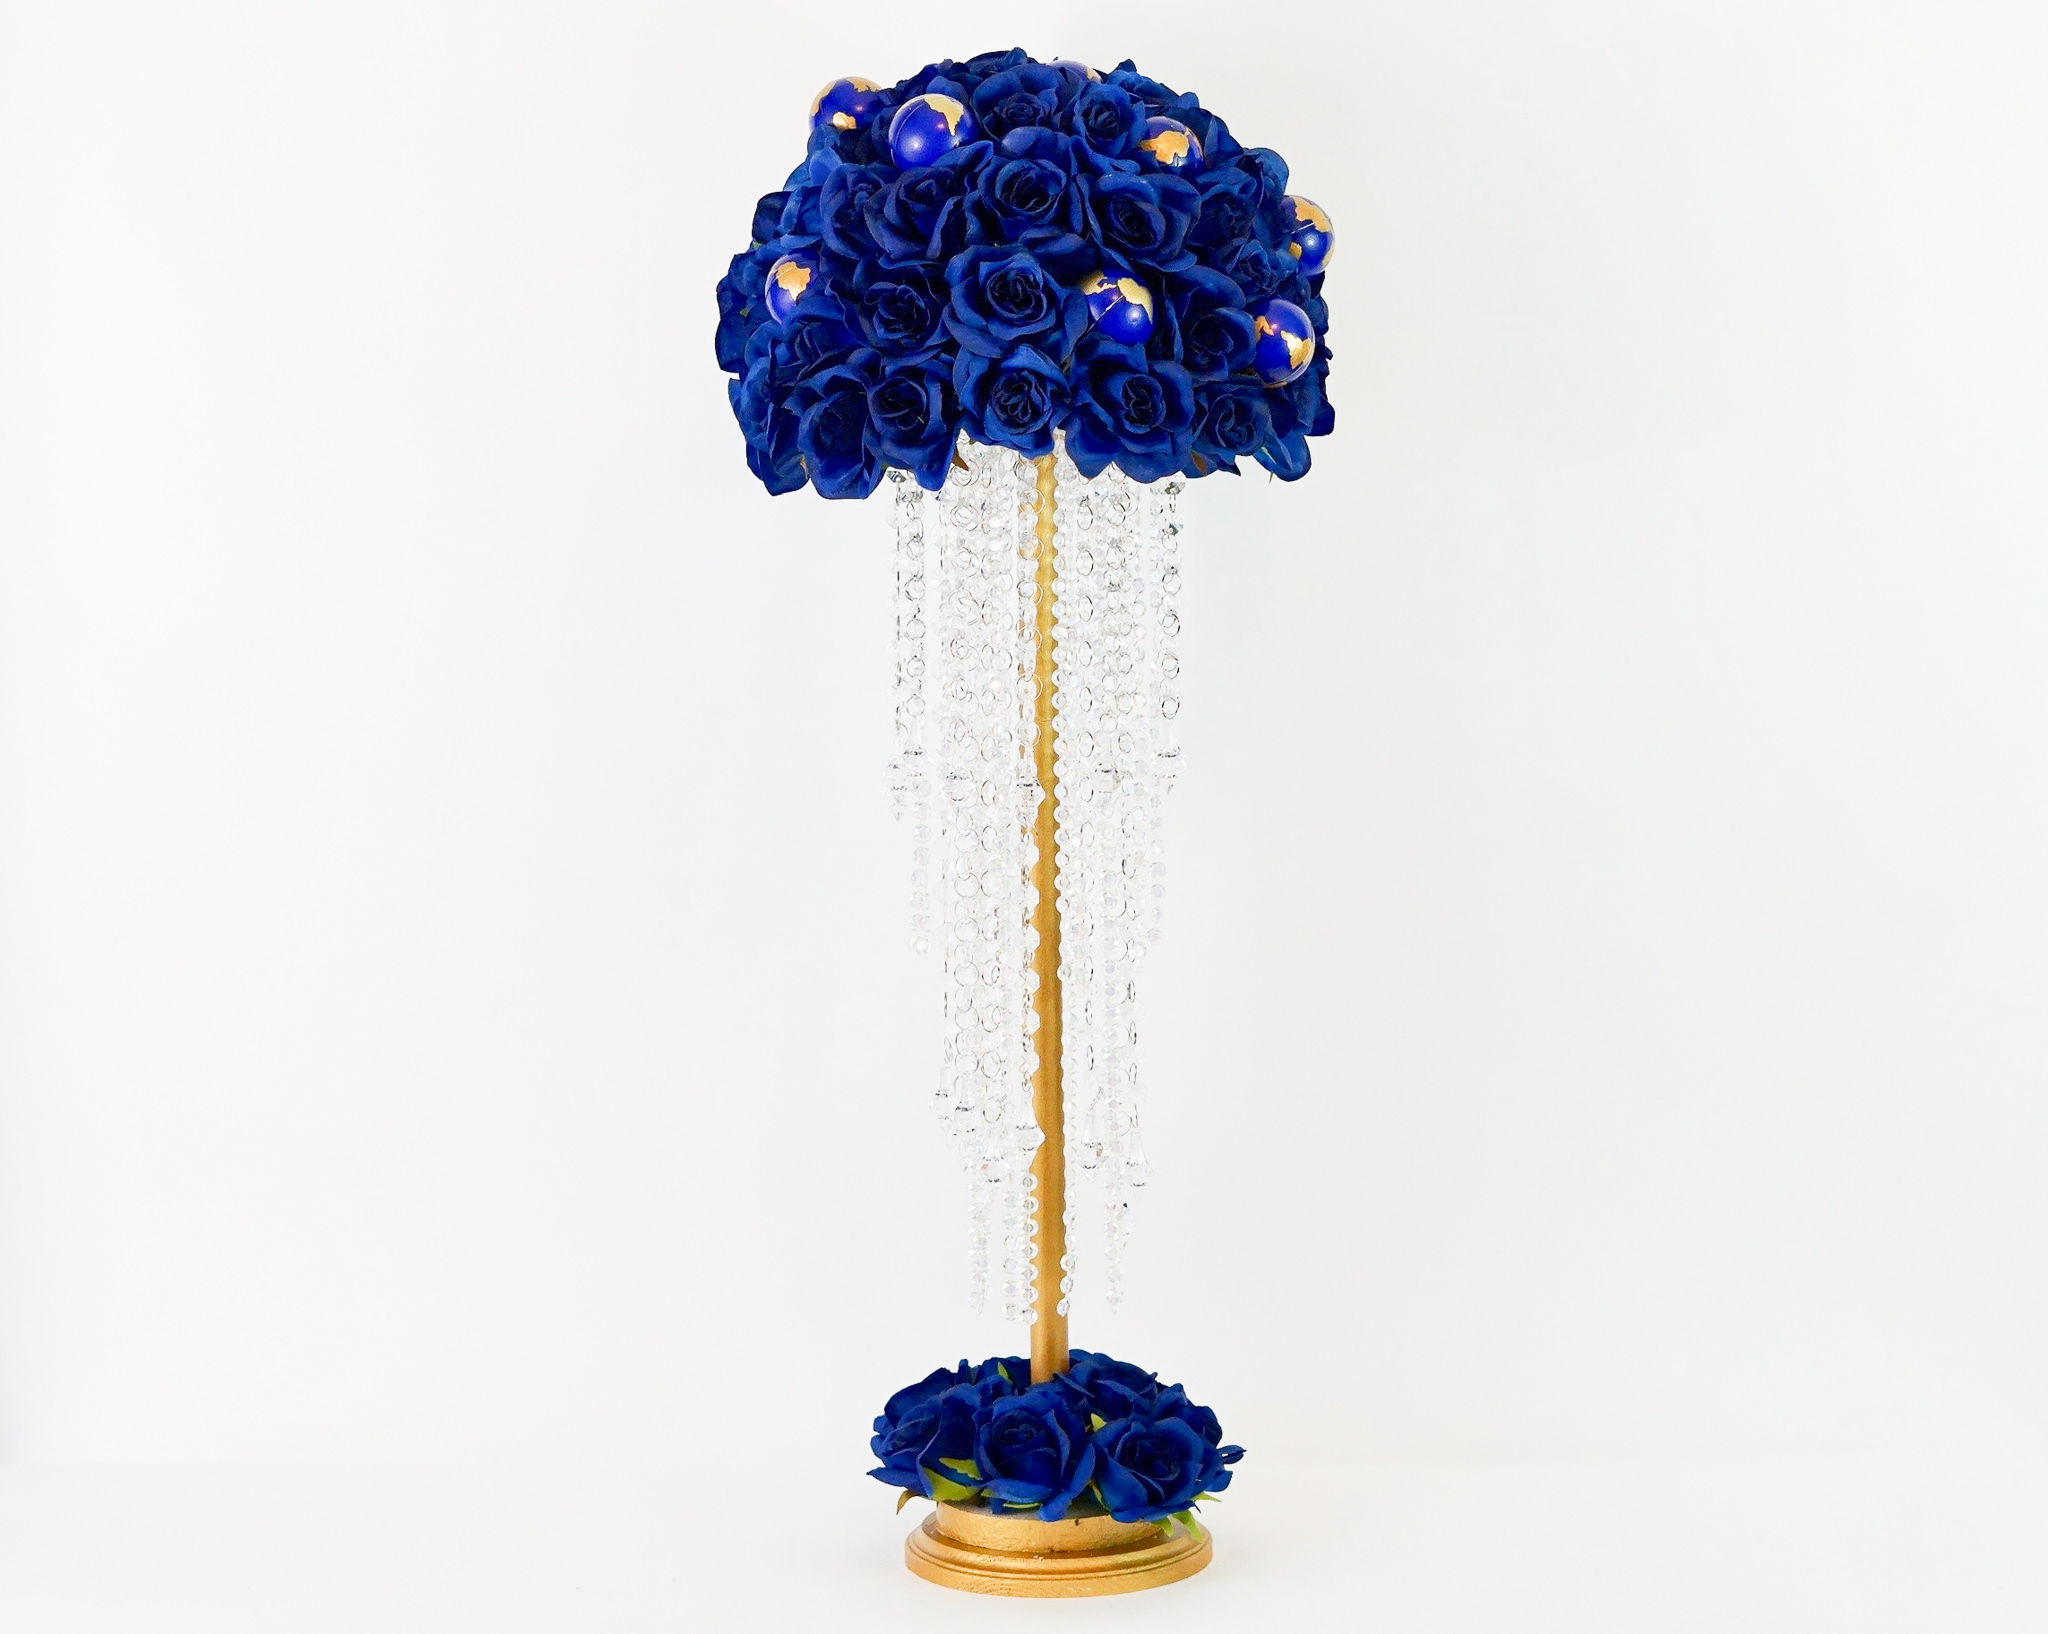
Do you love to travel and are dreaming of having a travel themed wedding? This DIY Tall Elegant Around the World Travel Wedding Centerpiece is the perfect way to show your love for traveling. The stress balls with land masses are a creative touch to add in the travel aspects you desire. The bluetiful blue roses are simply stunning. While the gold and crystal bead accents bring it all together. So let’s get started! For video instructions, please check out the video tutorial below!
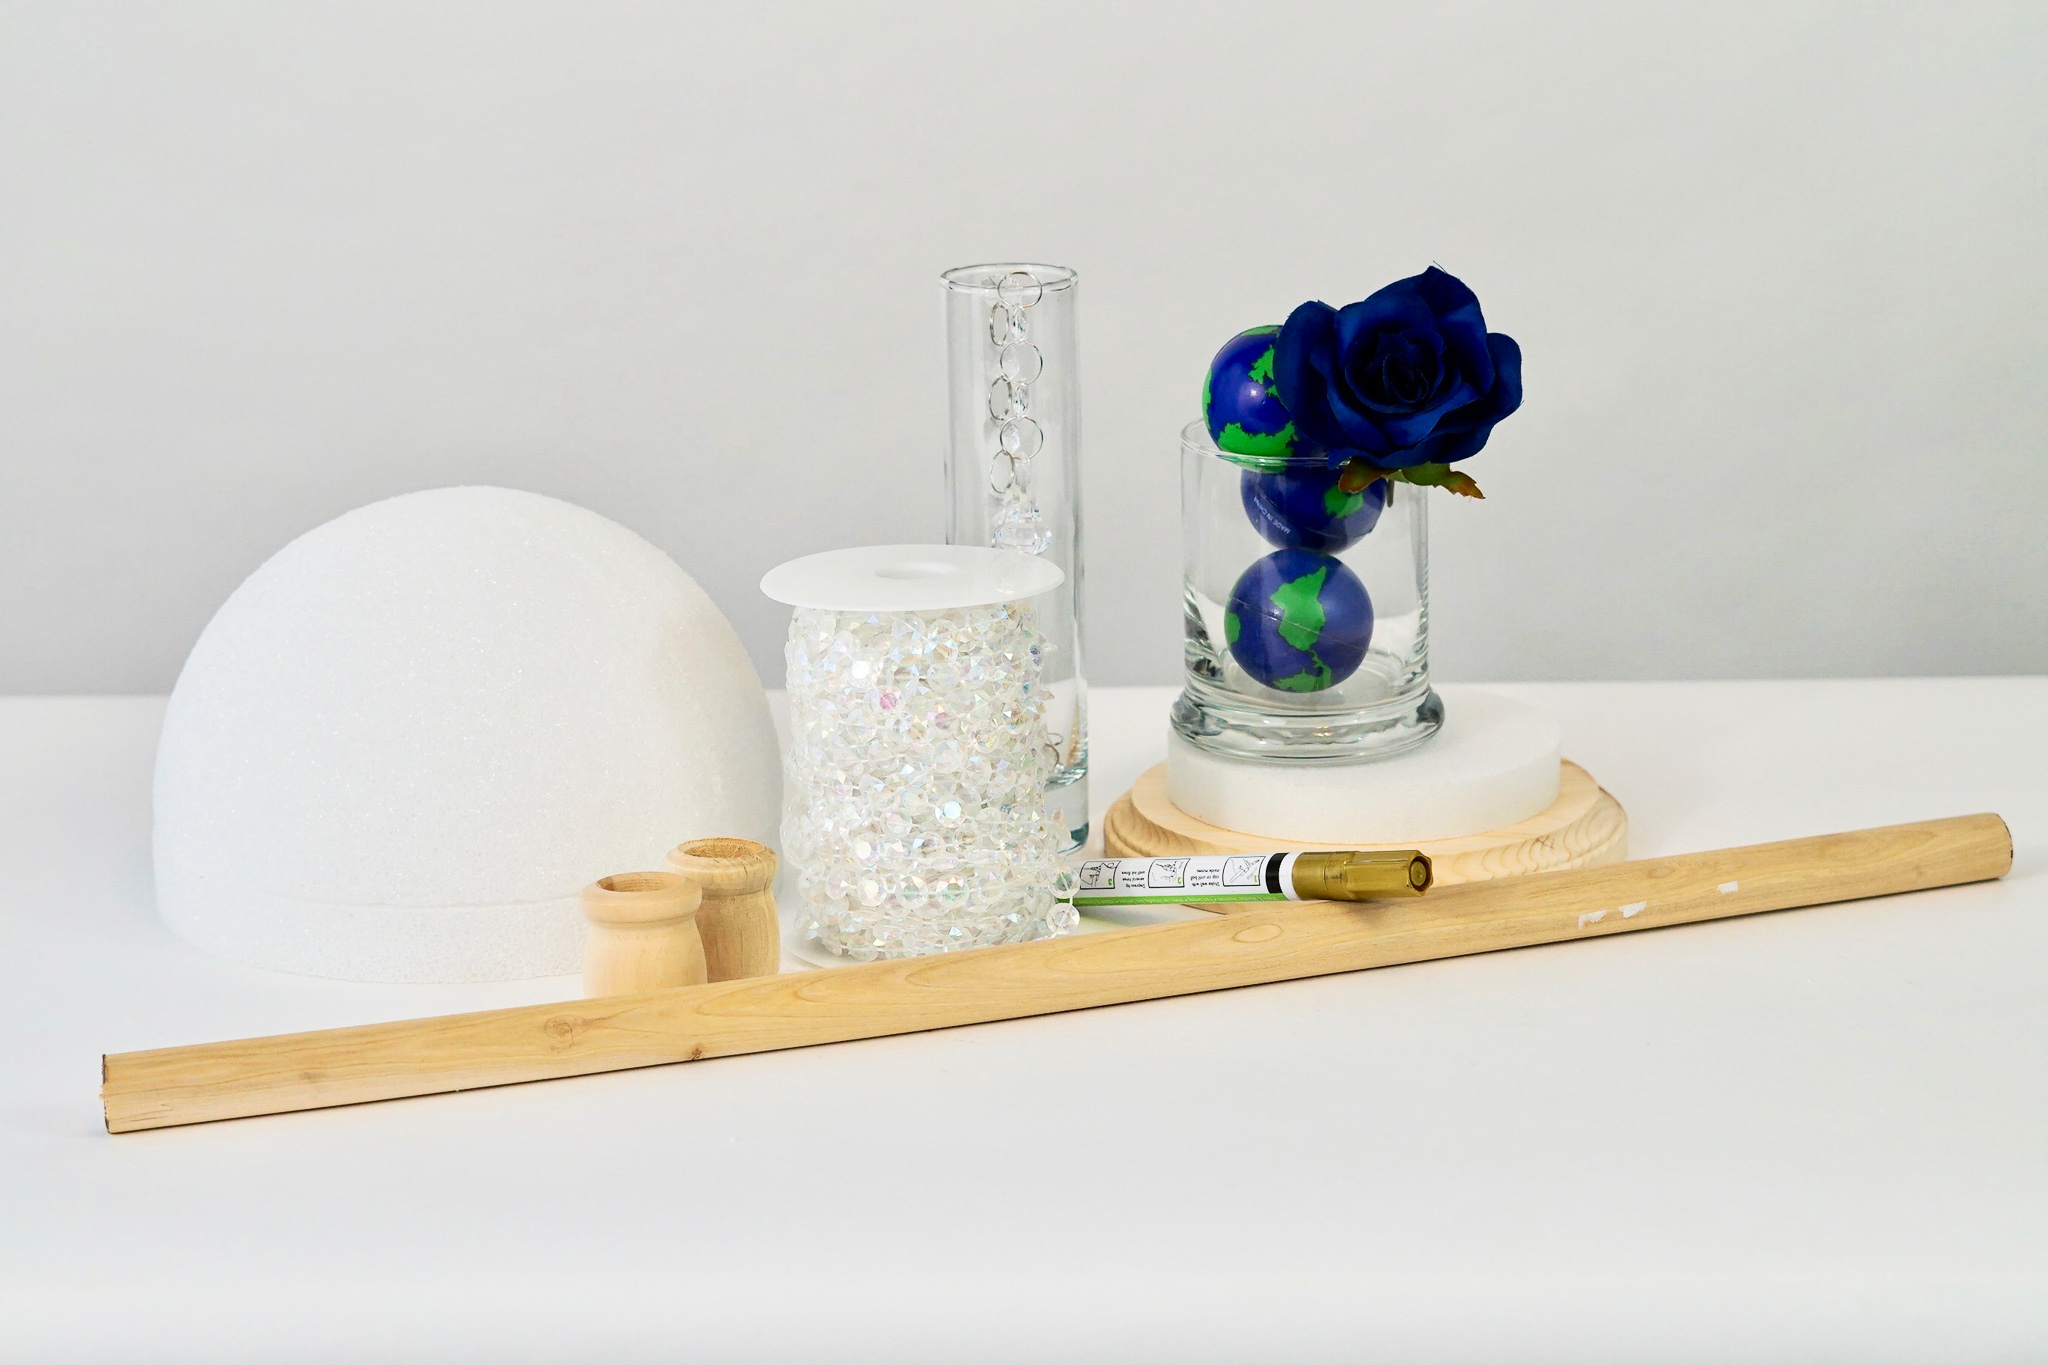
SUPPLIES:
White Foam Disks, 2-ct. Packs
Clear Blue Rose Bush
Styrofoam Disc – 8”
Foam Half Ball – 8”
Round Wood Plaque – 6 3/4”
Hardwood Dowel – 7/8”
Birch Wood Candle Cups – Extra Large
Floral Pins
Gold Medium Tip Paint Marker
SunRise 120+ Pieces Clear Acrylic Chandelier Drops
Clear Acrylic Bead Garland Chandelier
Diamond Garland Strands Crystal Beads, 1 Roll of 99 ft
Wood Stik Glue sticks for Wood Projects
2 Dozen World Stress Balls Earth
6″Natural Bamboo Skewers
2-Ounce Glorious Gold Acrylic Paint
PROJECT COST *$98.22 (Some supplies cover more than 1 centerpiece) * Prices fluctuate depending on coupon discount amount. *Price based on current sale cost. (taxes not included)
For written instructions, please continue reading below:
How To Make a DIY Tall Elegant Travel Wedding Centerpiece
Directions:
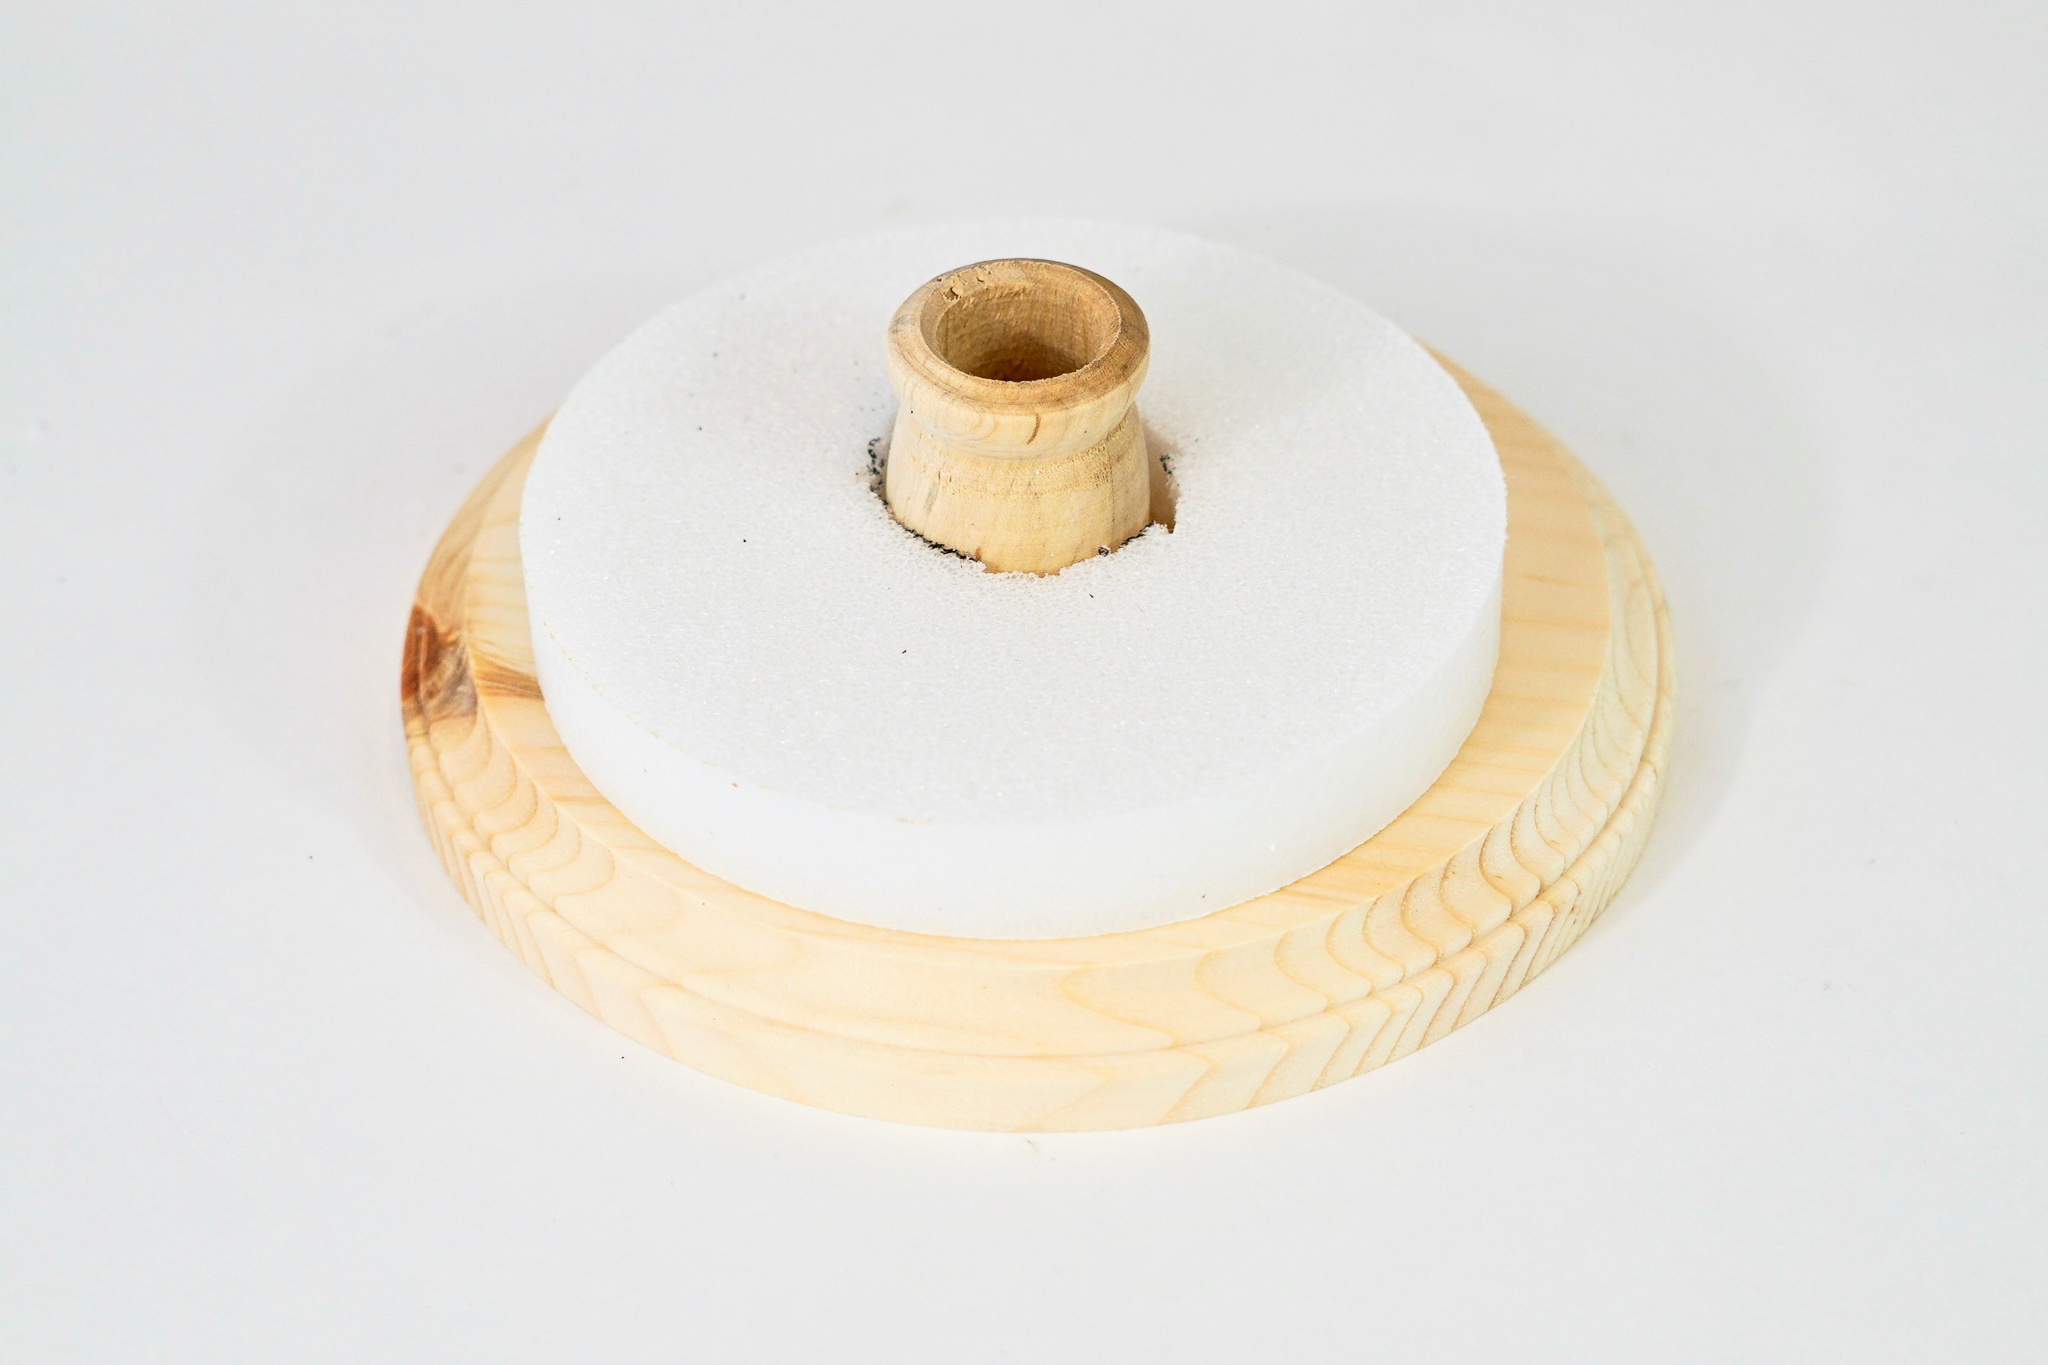
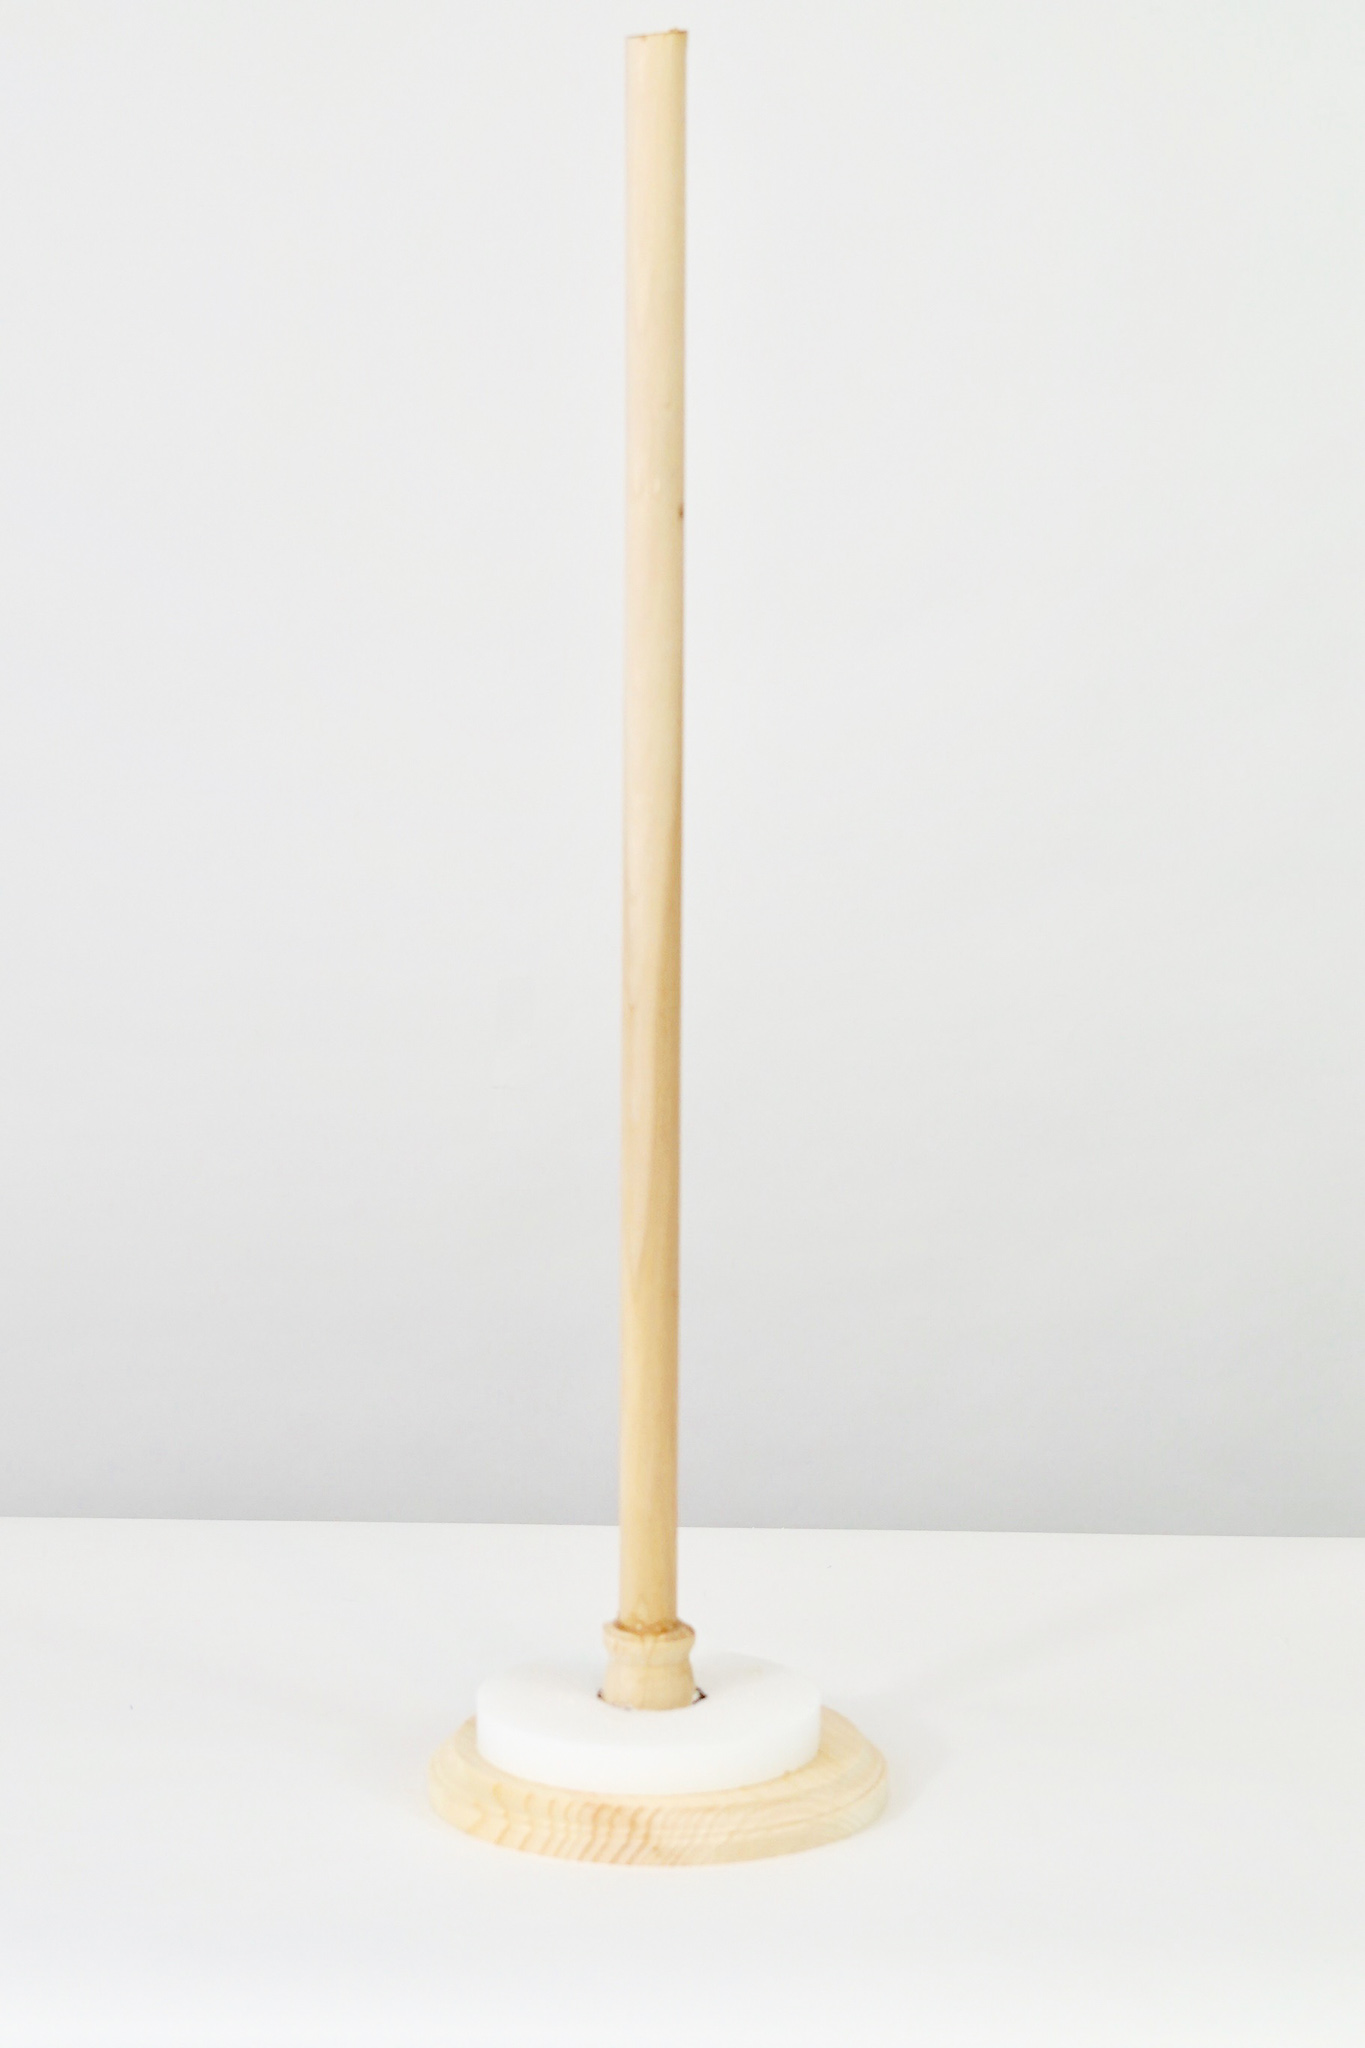
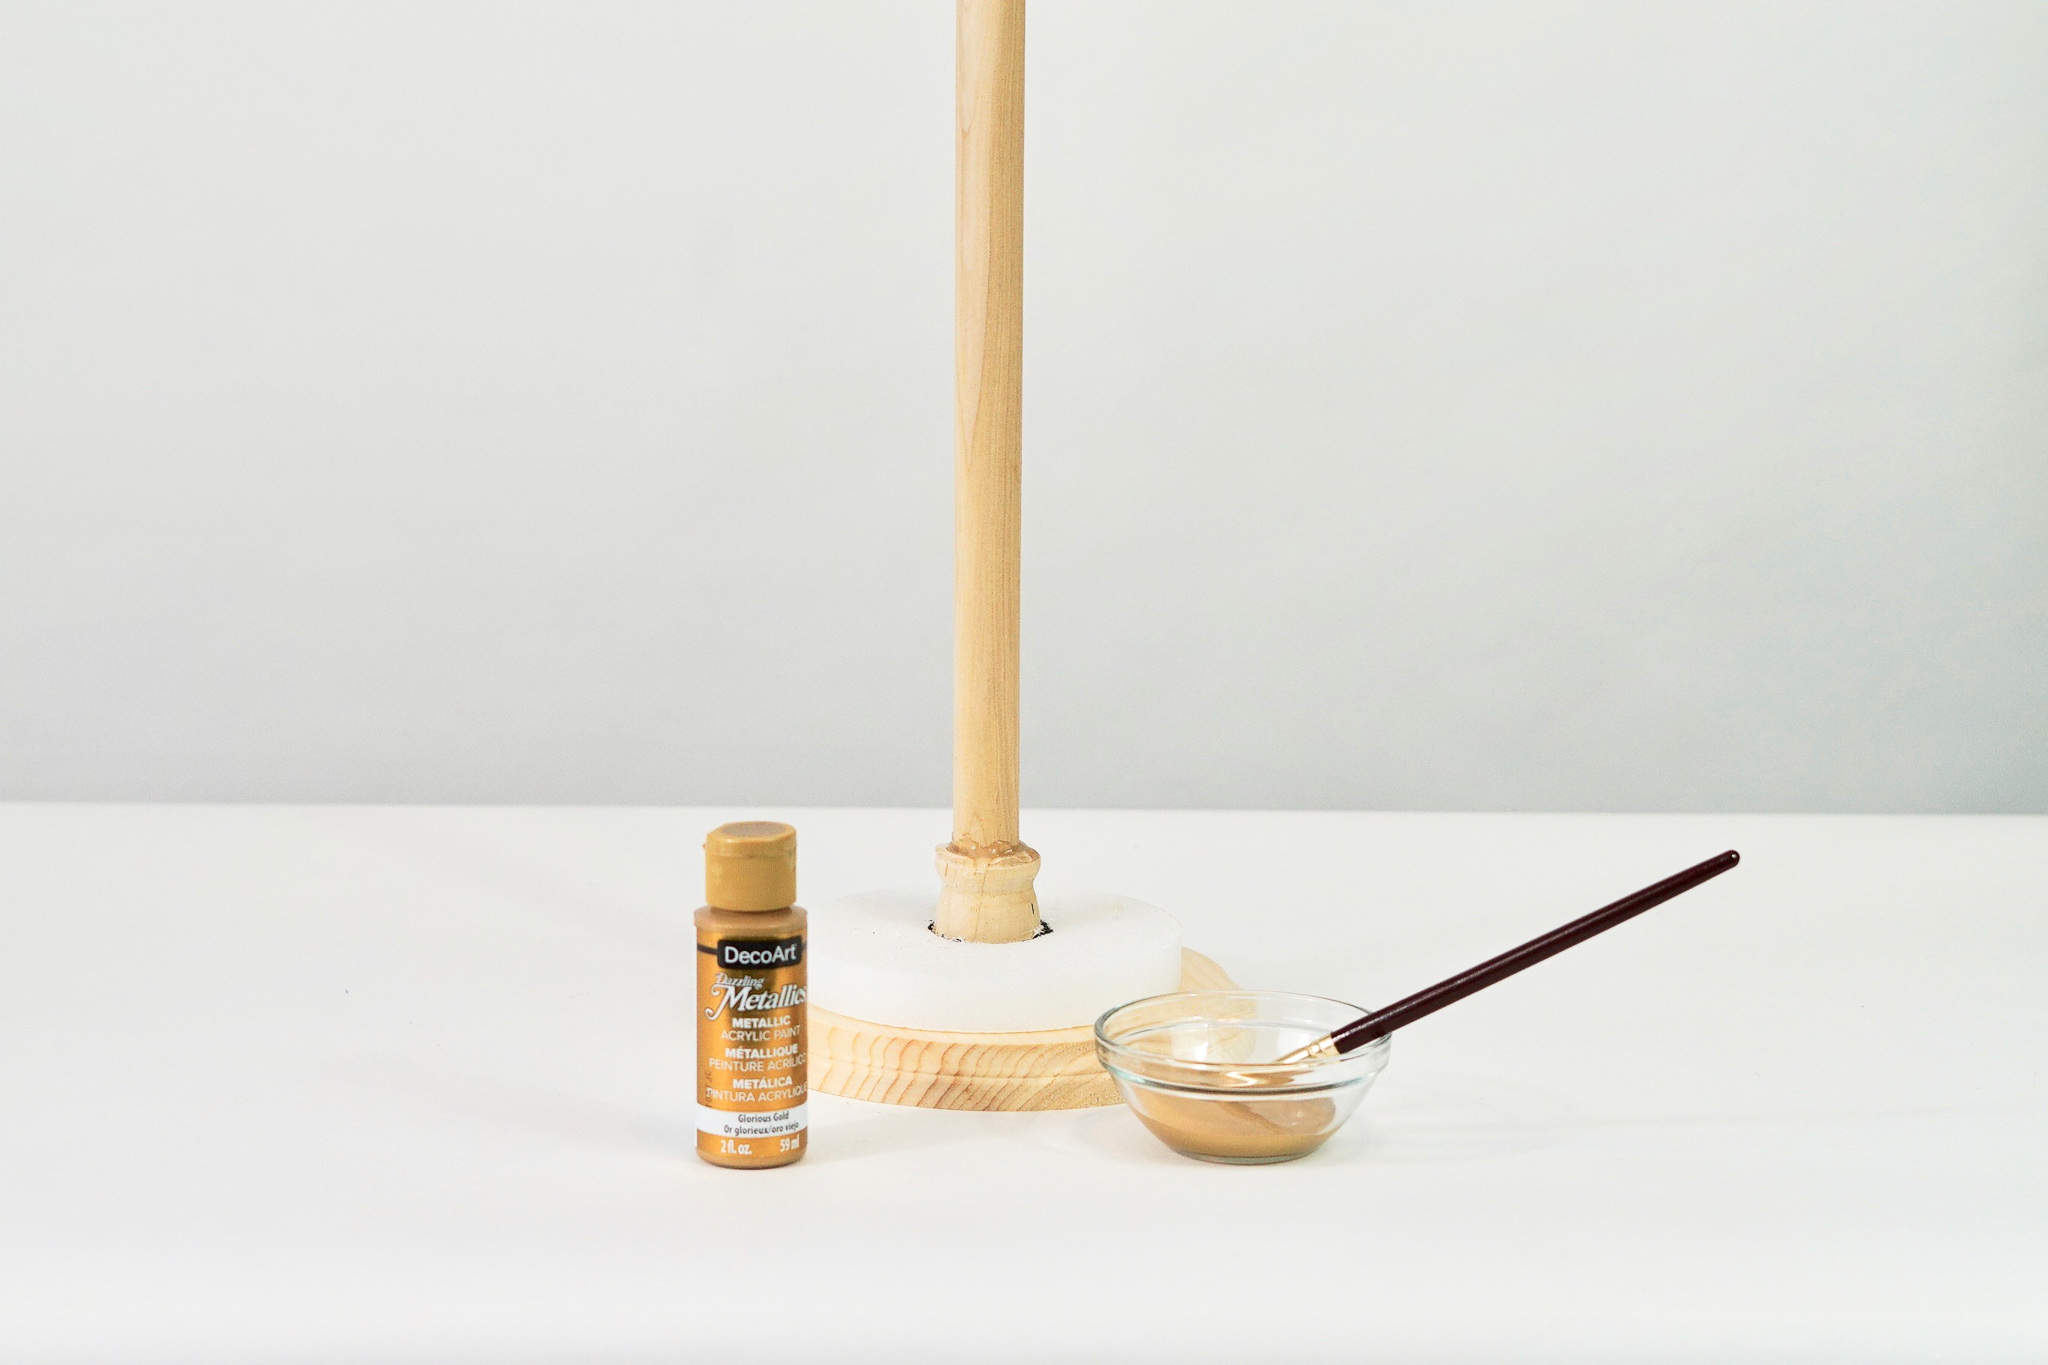
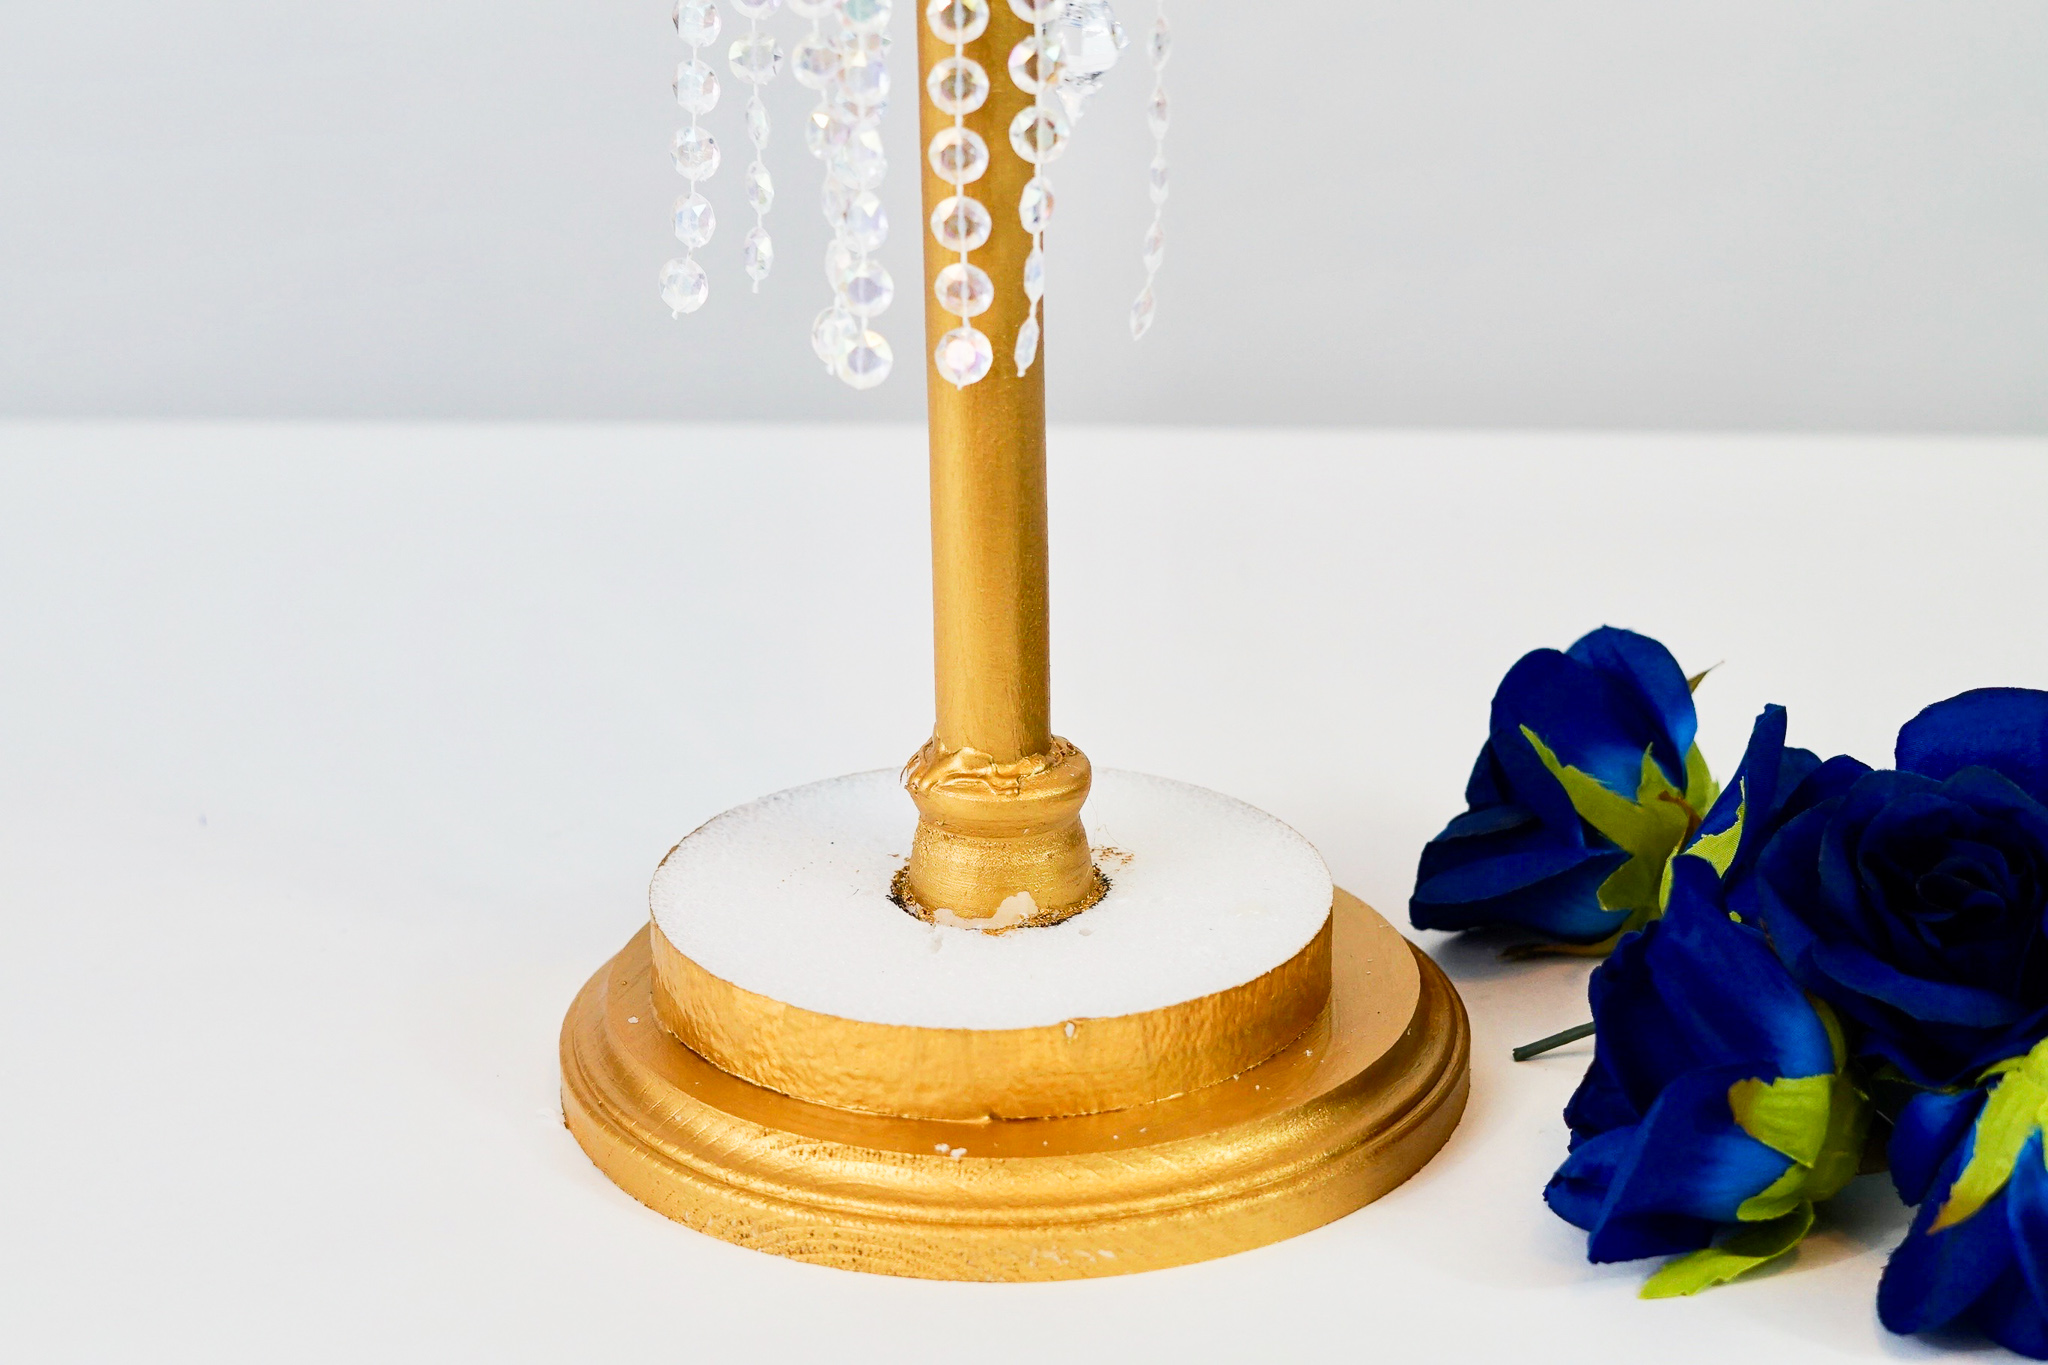
STEP 1: Place an extra large birch wood candle cup in the center of the 5 inch foam disc and trace around it. Cut out the circle and then use wood glue to glue the wood candle cup to the center of the plaque. Place the foam disc over the top of candle cup. Cut down the hardwood dowel from 36 inches to 26 inches. Apply the wood stik glue in the center of the candle cup. Now place the dowel in the center of the wood candle cup and seal it with wood stik glue. Once the glue is dry, paint the wood candle cup, the wooden dowel, and the round plaque with gold acrylic paint.

Make the Topper
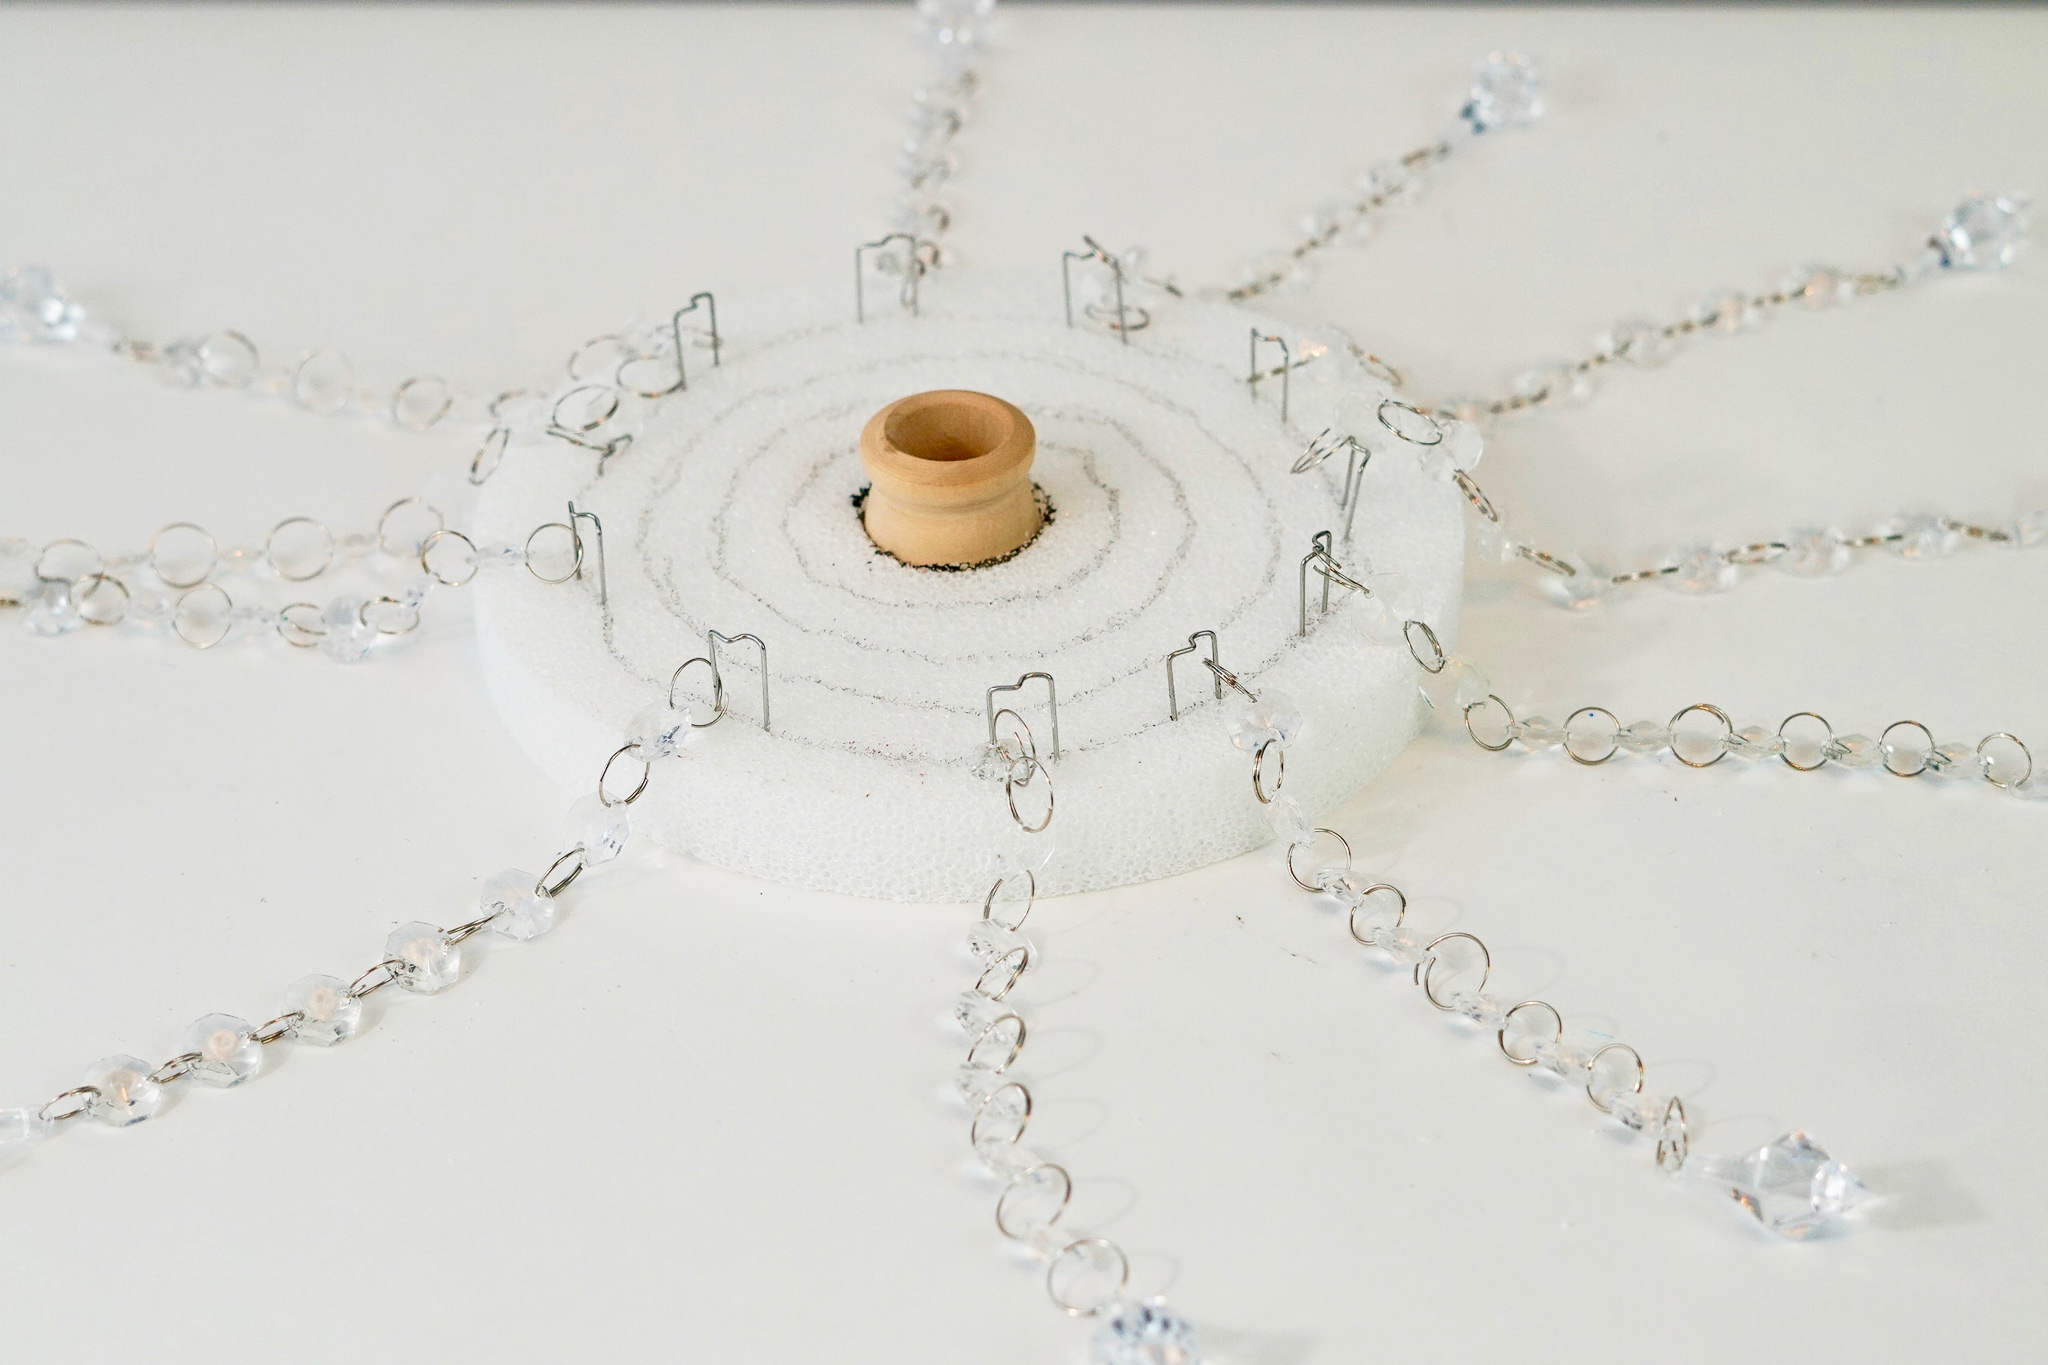
STEP 2: Take another extra large birch wood candle cup and place it in the center of an 8 inch foam disc. Trace around the wood cup with a marker and then cut out the circle. Be sure to cut a little inside the circle so the wood candle cup fits snuggly. Now glue the candle cup in the center. Next trace 4 circles about an inch apart around the wood candle cup on the foam disc.

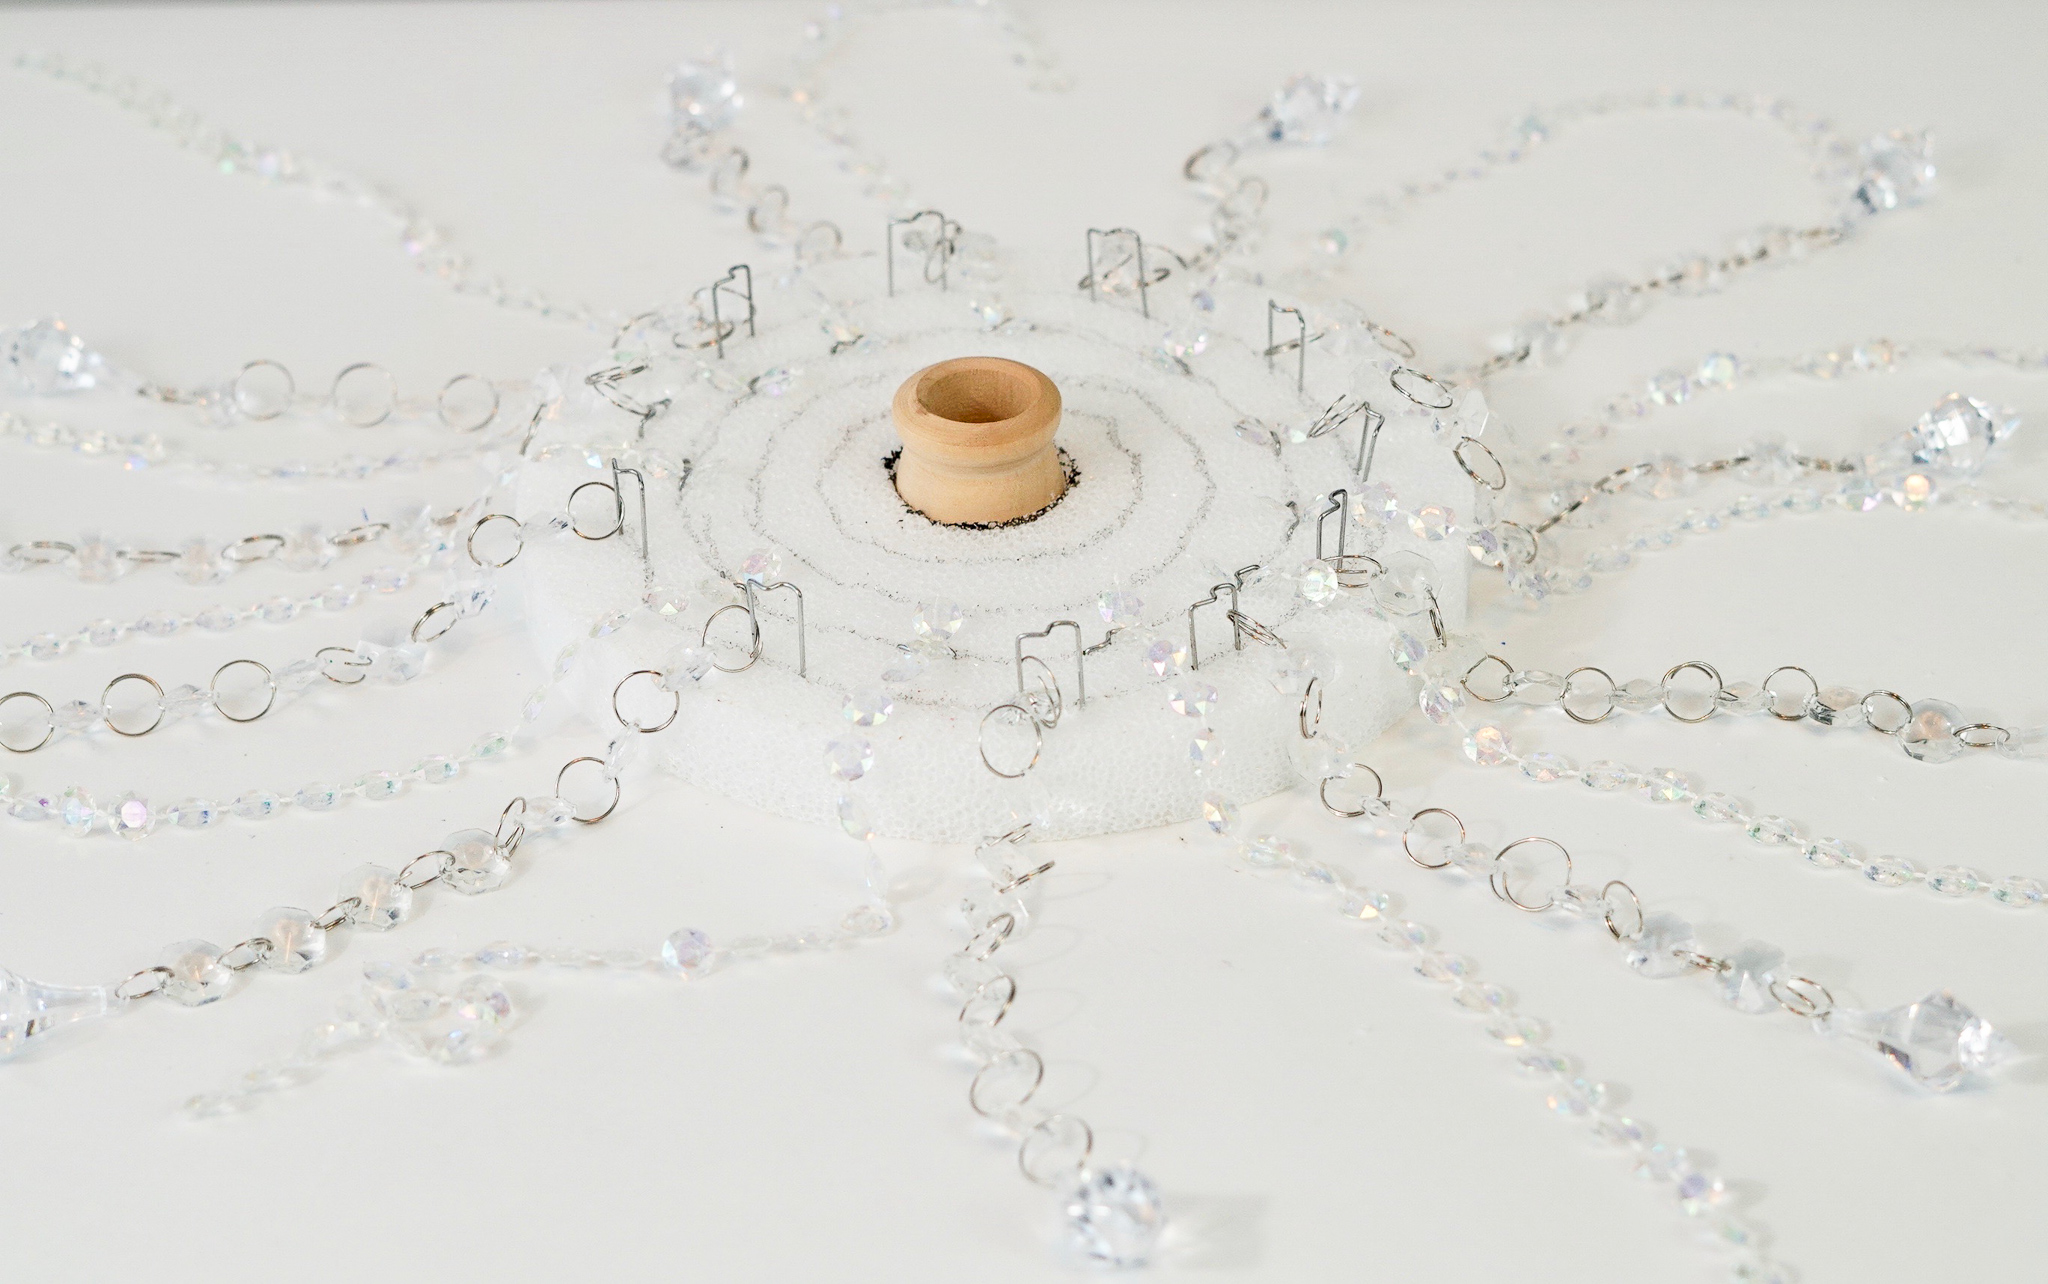
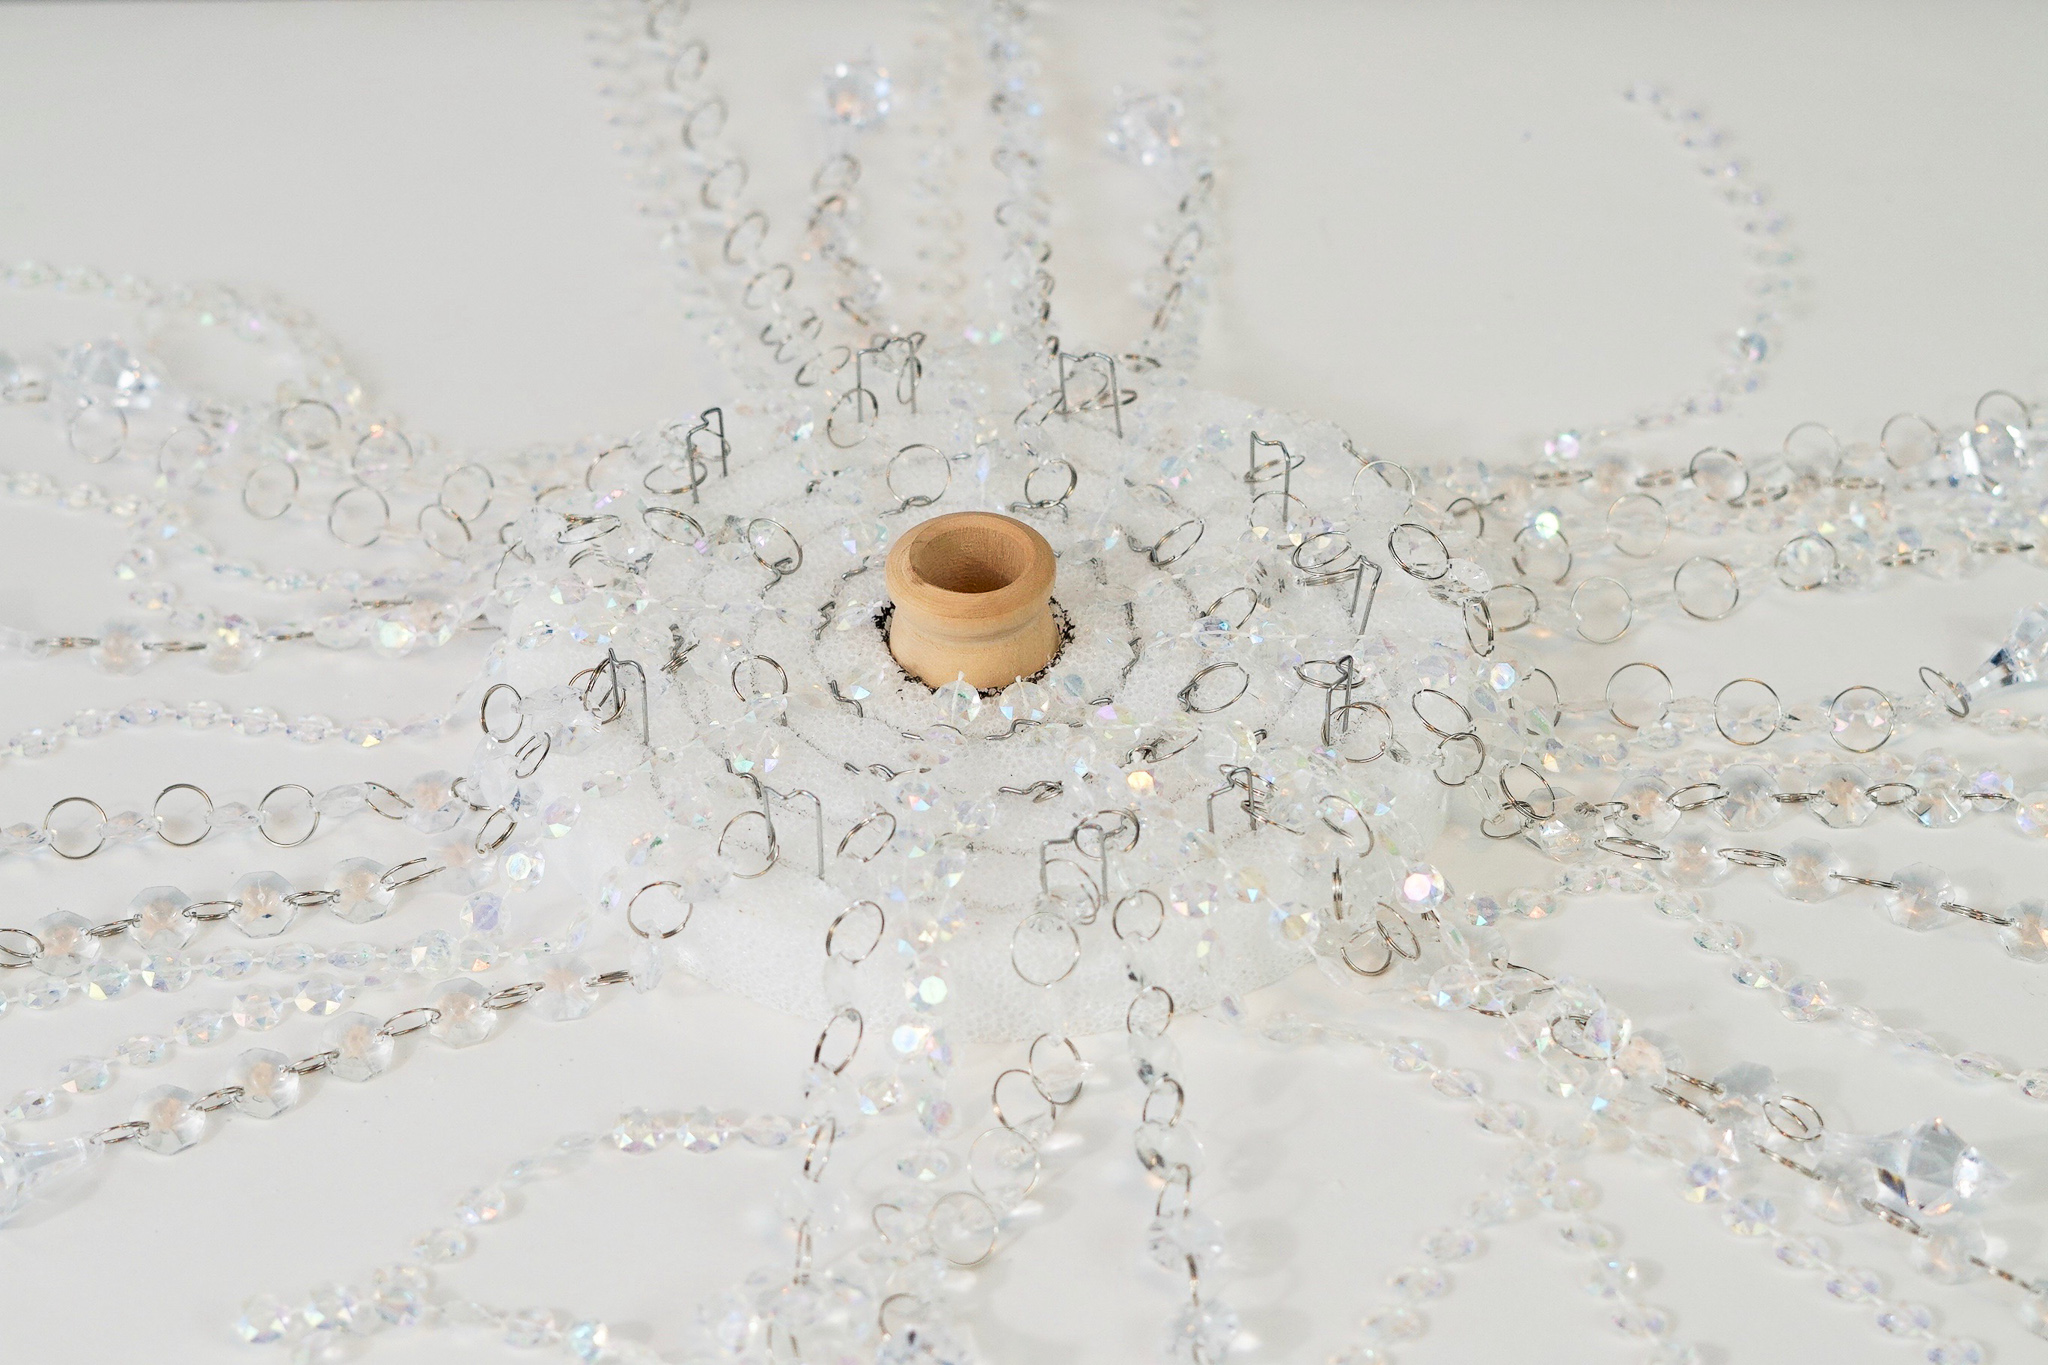
Create the Chandelier Effect
STEP 3: Attach 8 inch clear acrylic bead garland to the outer circle of the foam disc with floral pins. Next attach 12 inch garland strands to the next circle with floral pins that have been cut in half. On the third circle, attach 8 inch clear acrylic bead garland with short floral pins. For the last circle, attach 12 inch garland strands to this circle. Now attach the other end of the wooden dowel to the wood candle cup topper and seal it with wood glue before turning it over.
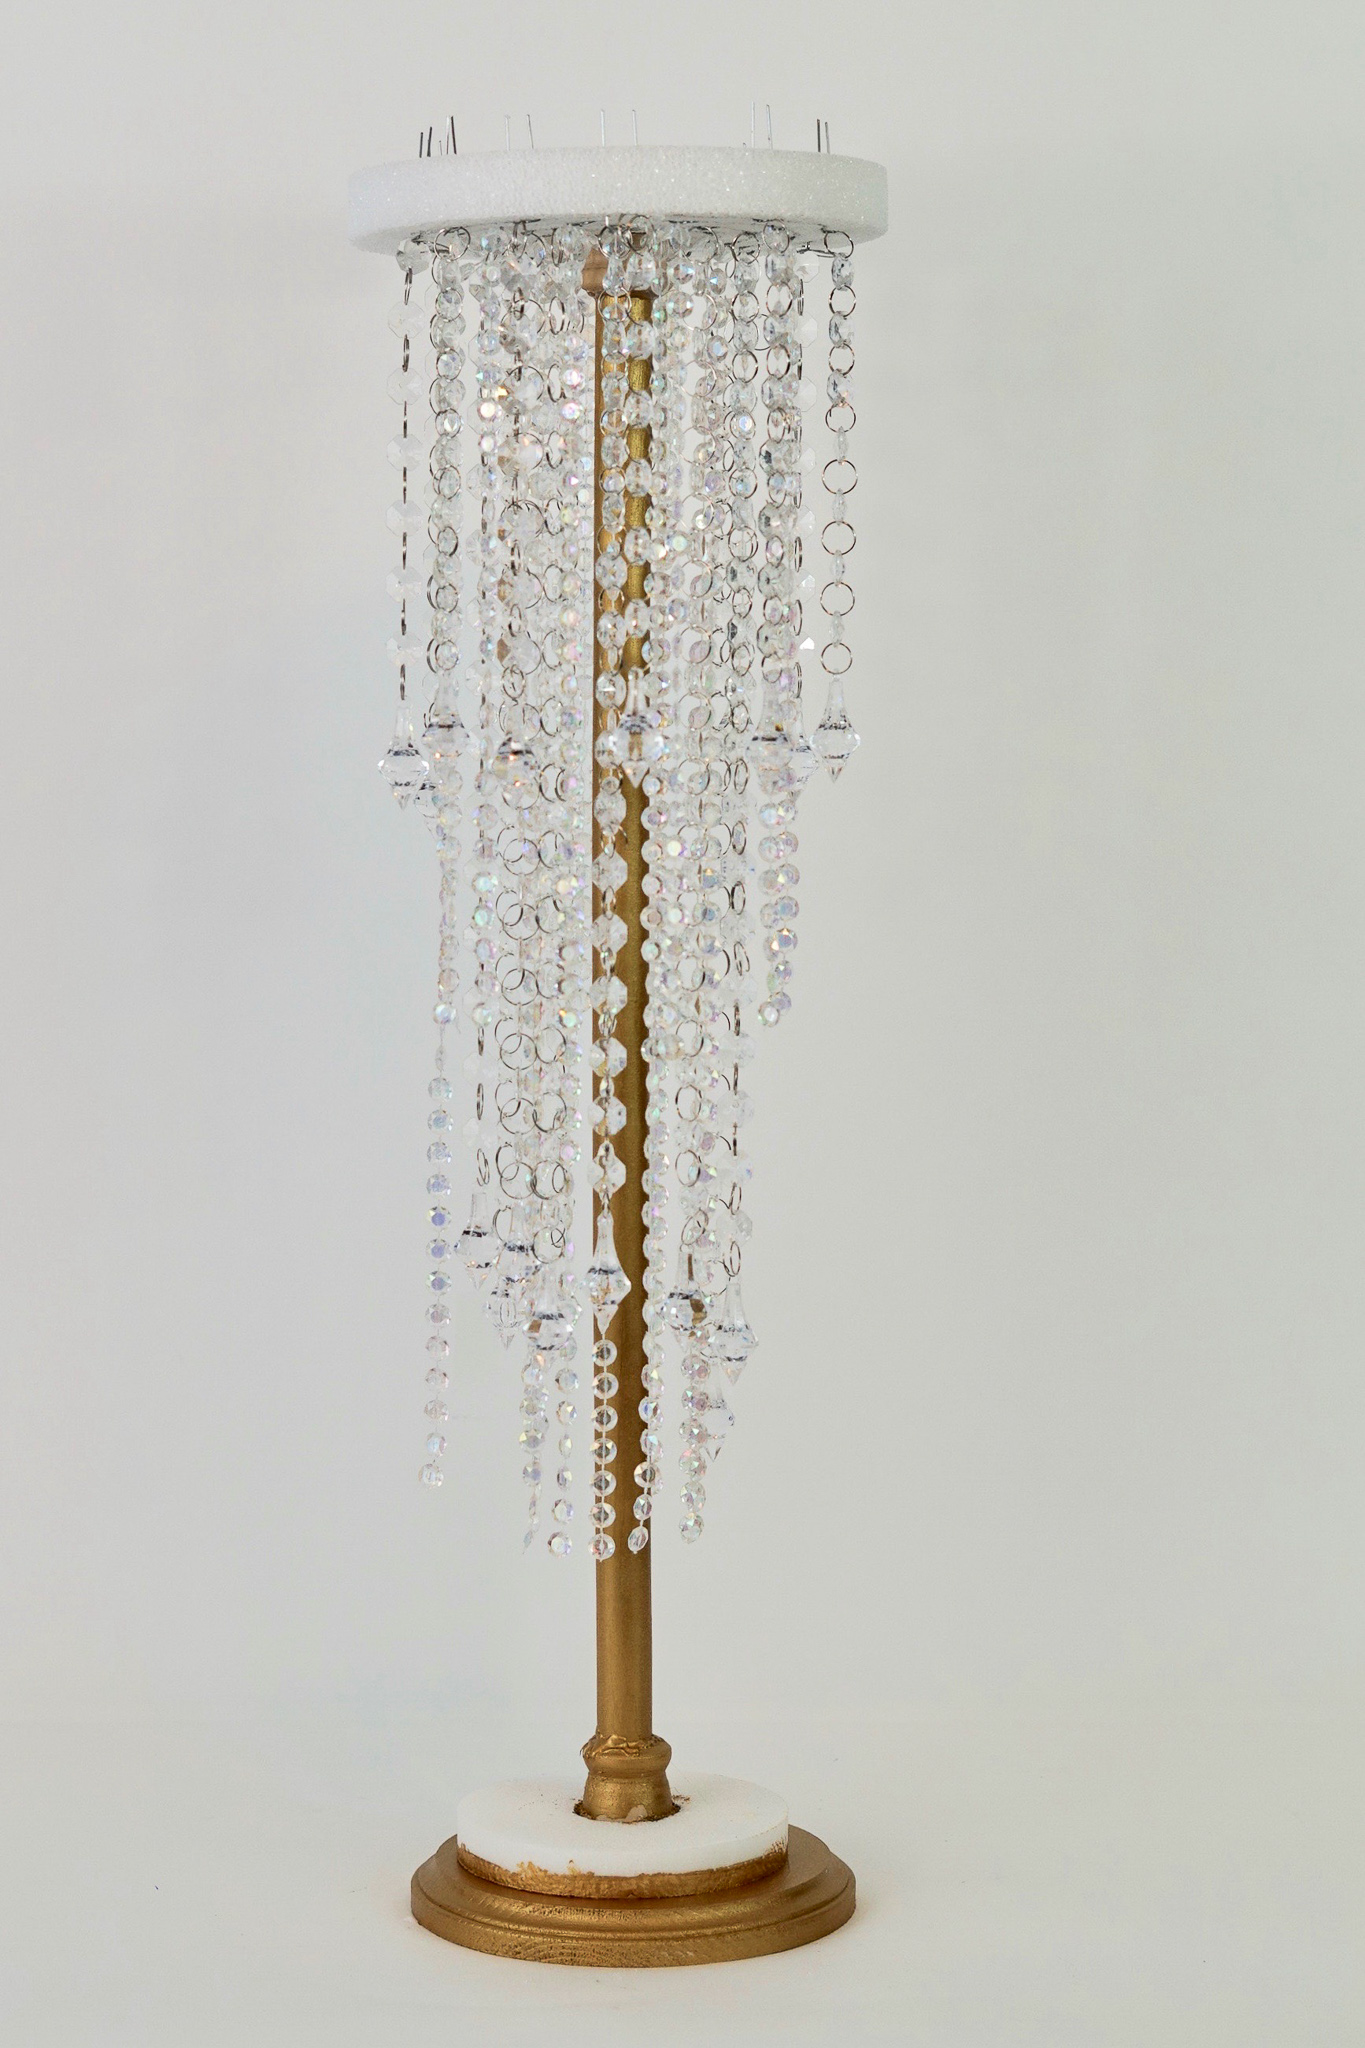
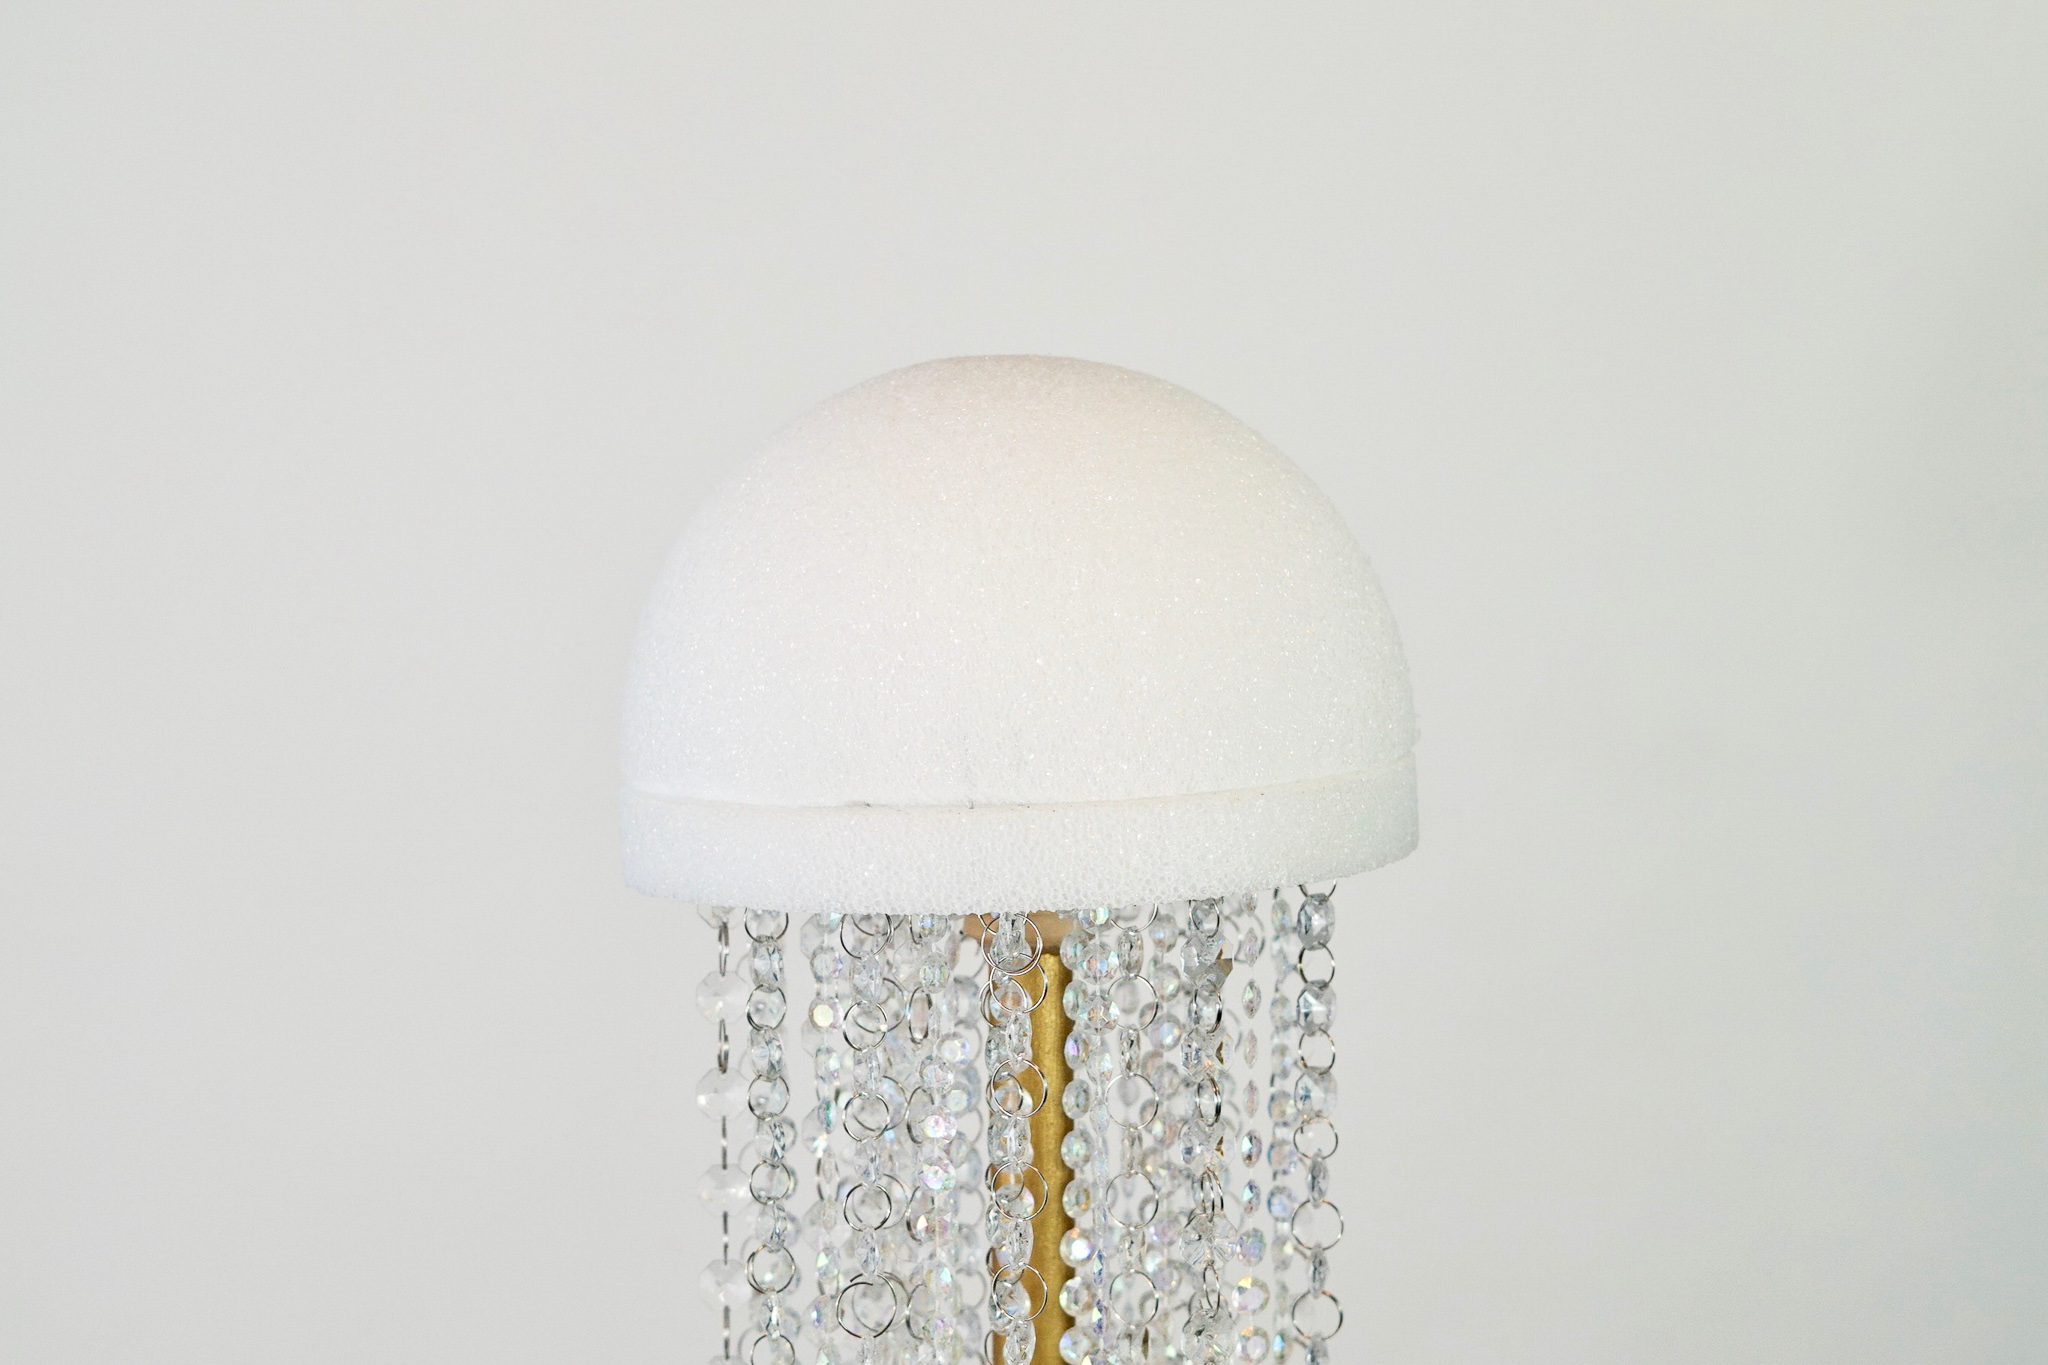
Attach the Foam Dome
STEP 4: Once the topper from part 3 is dry, stand the centerpiece up with the topper in place. Place the foam dome on top securing with the floral pins that are sticking throught the foam disc. Add a dab of hot glue on the floral pins for extra security prior to attaching the foam dome.
THE FINAL STEPS!
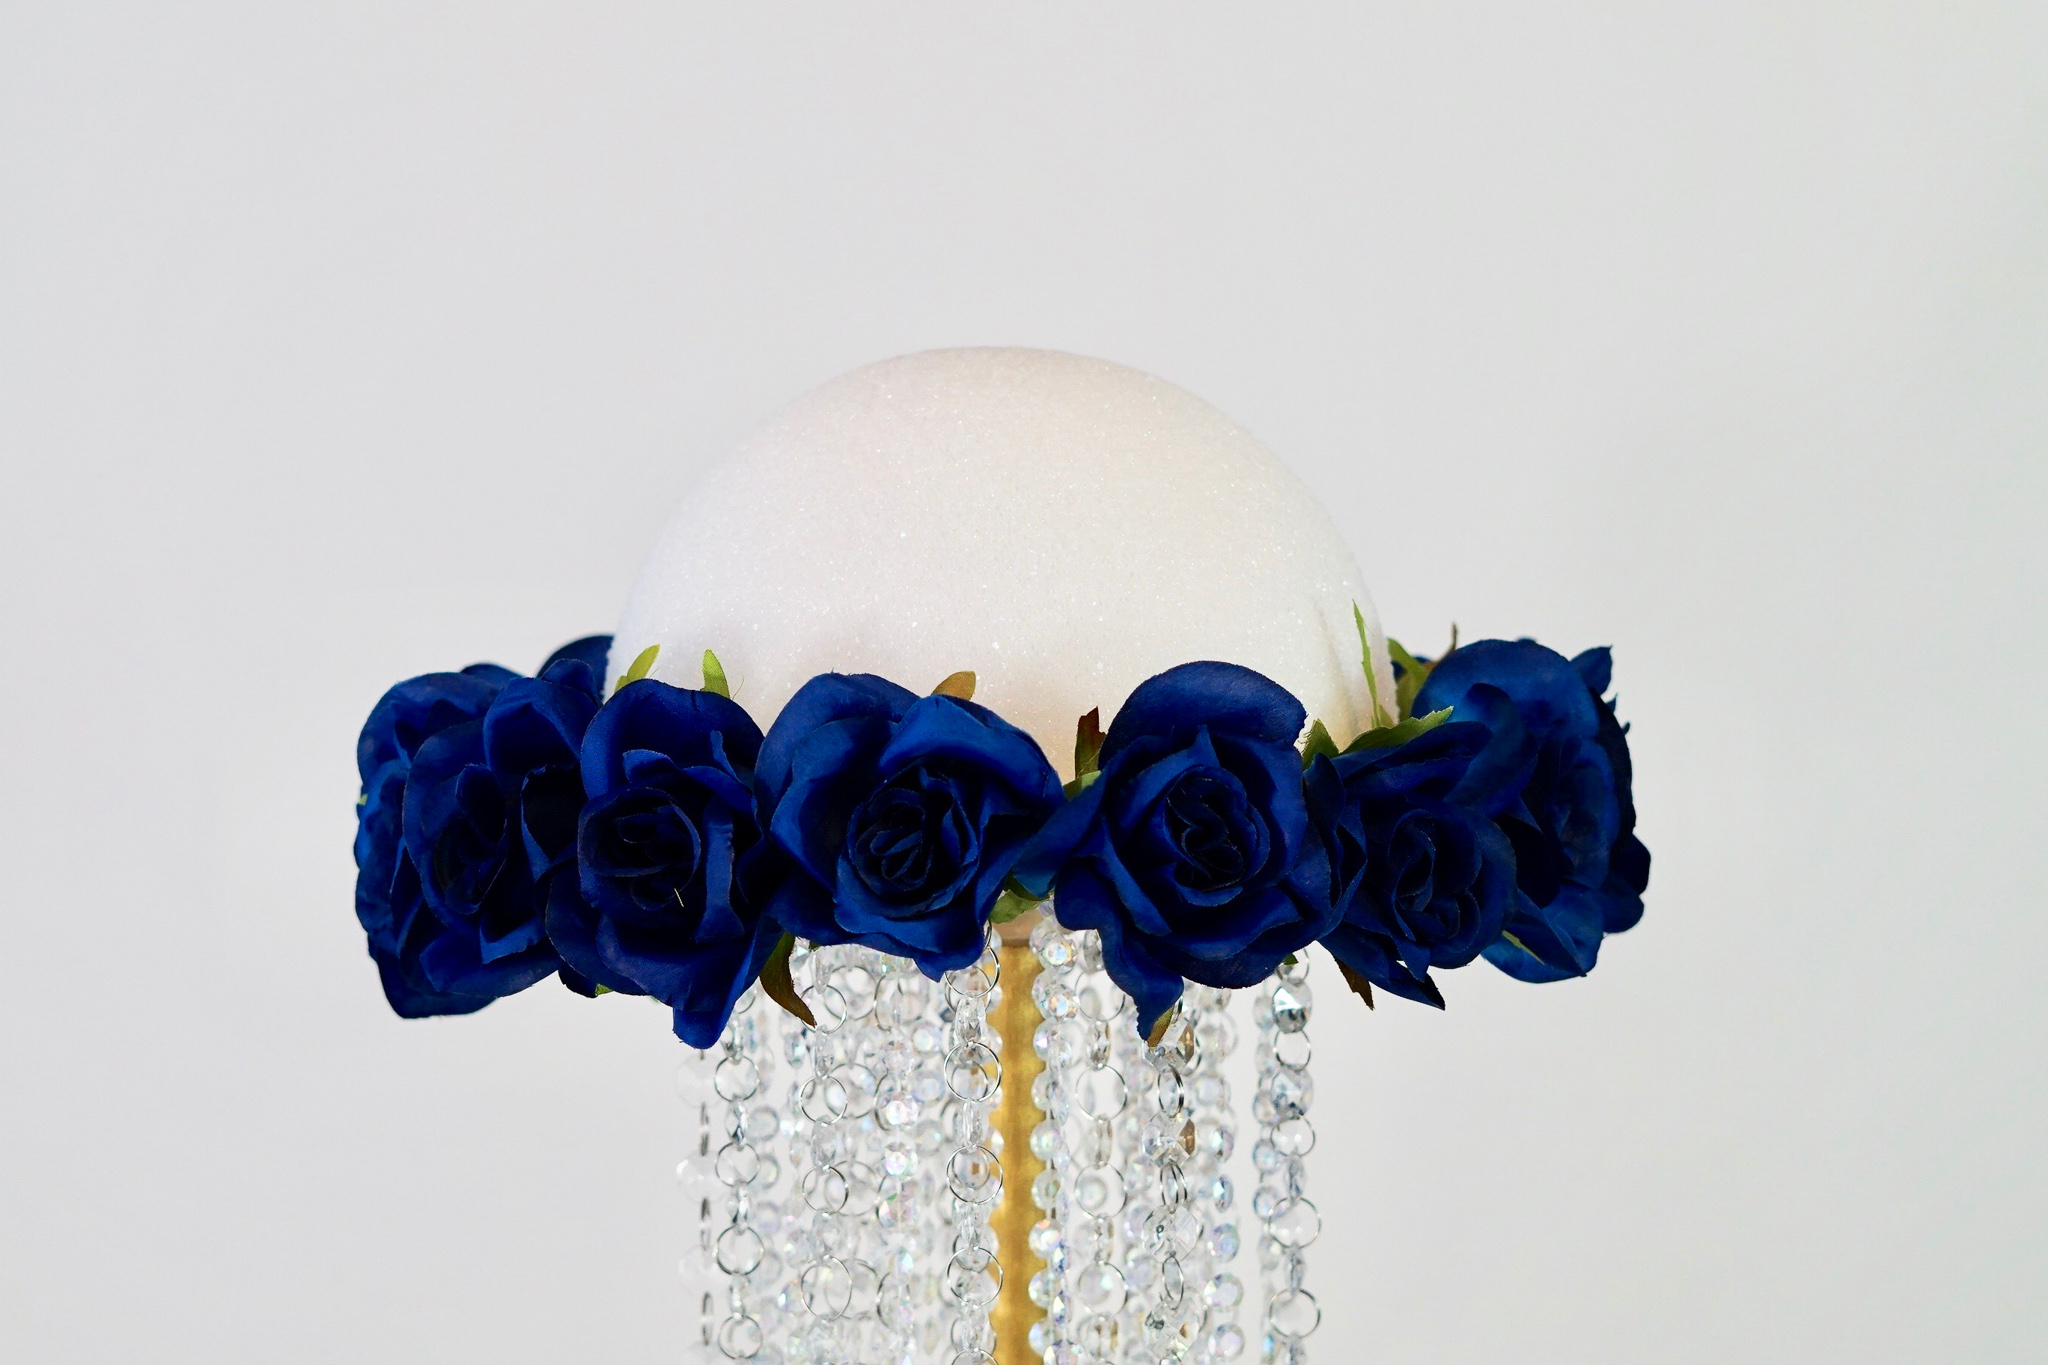
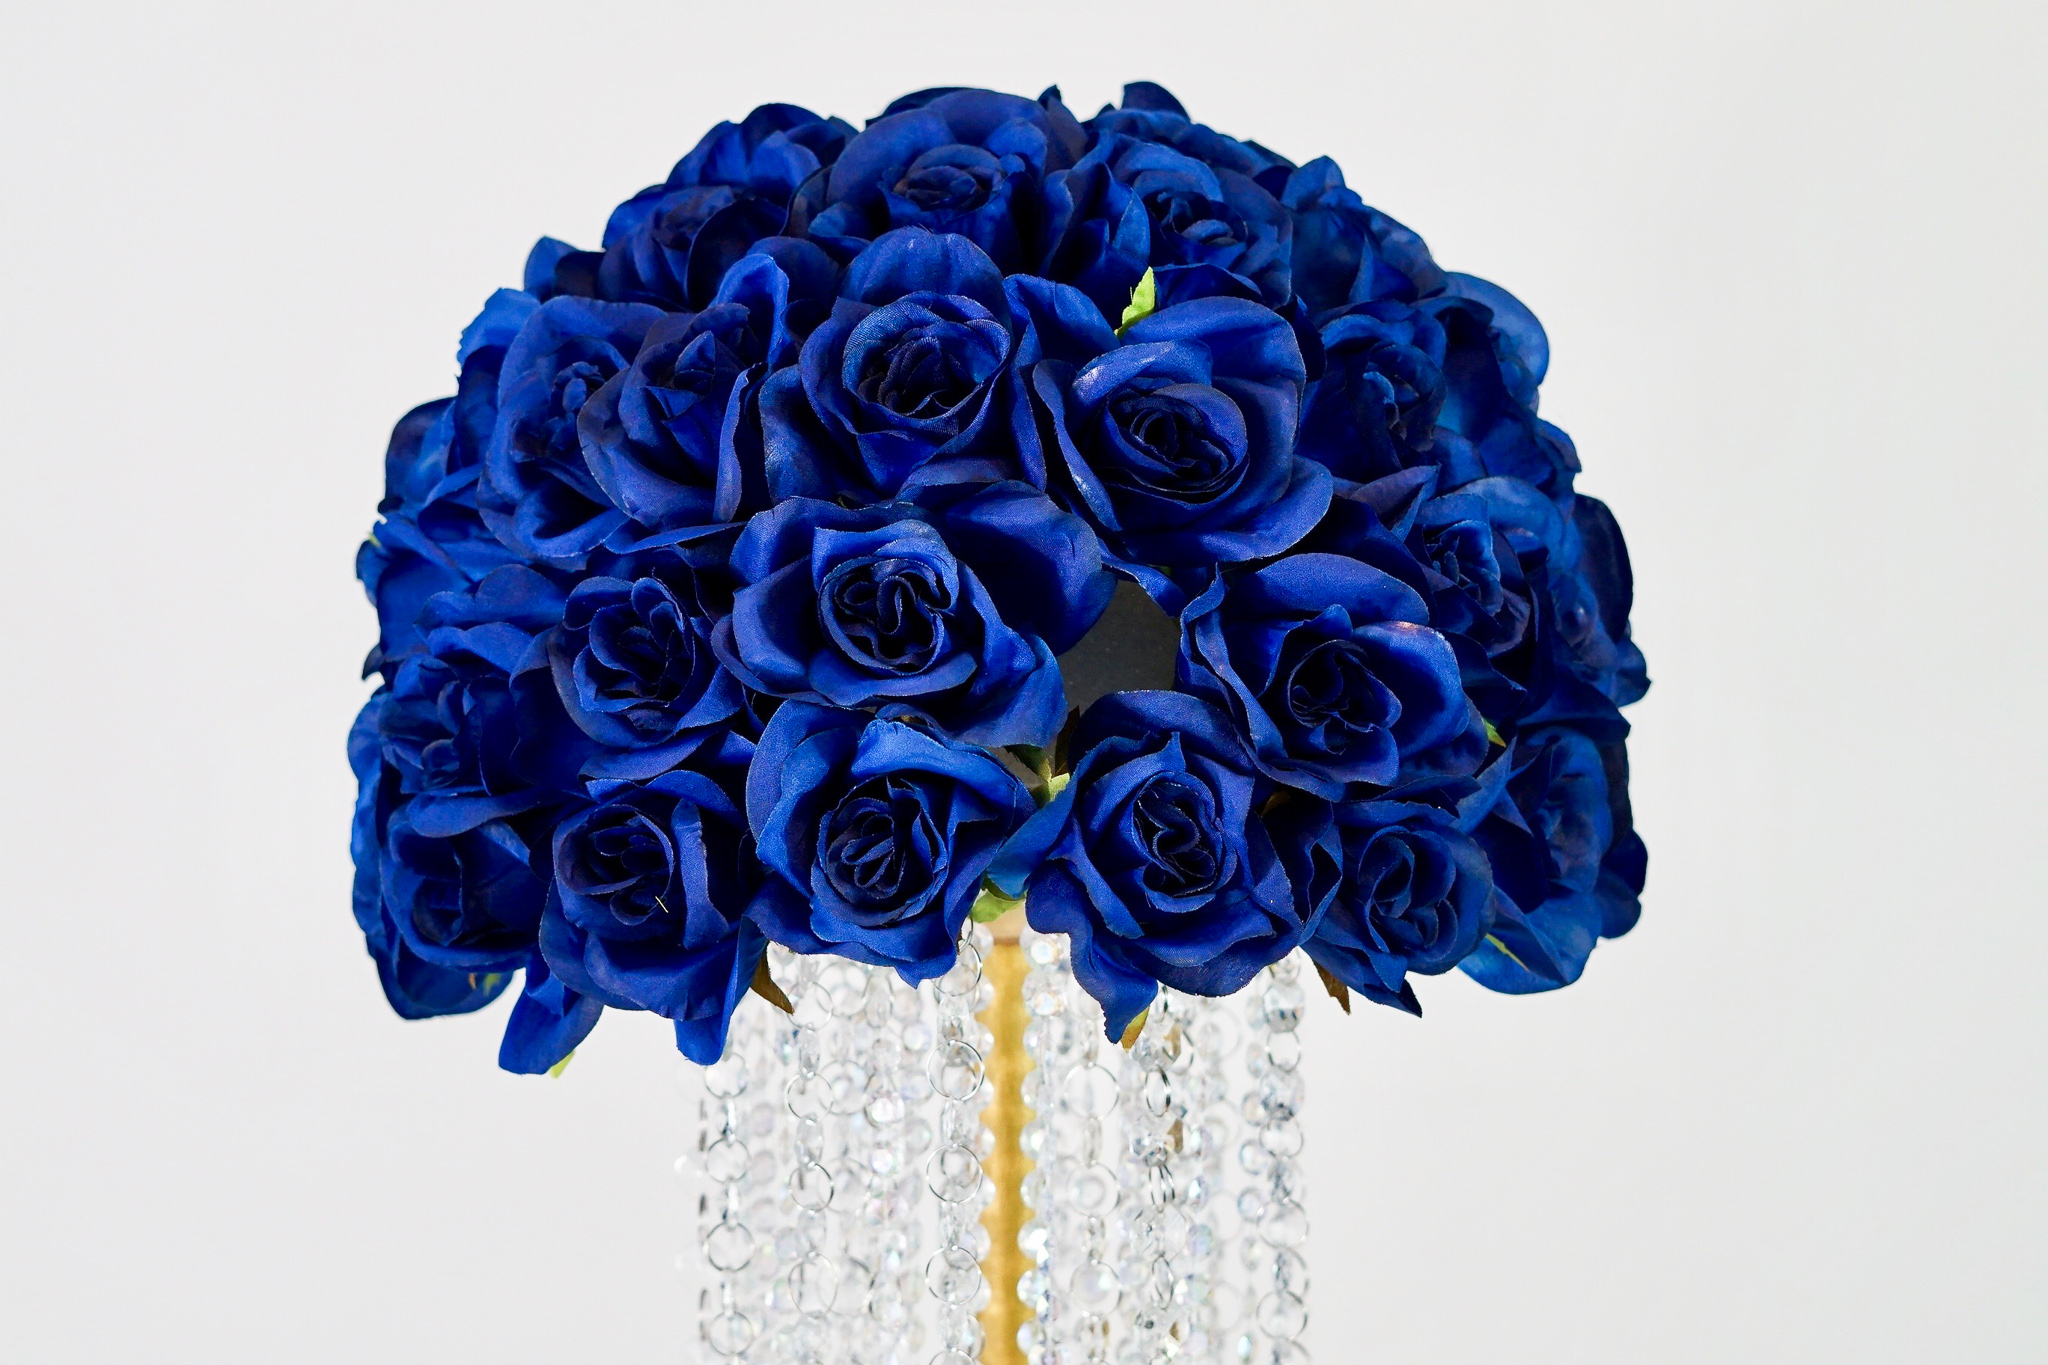
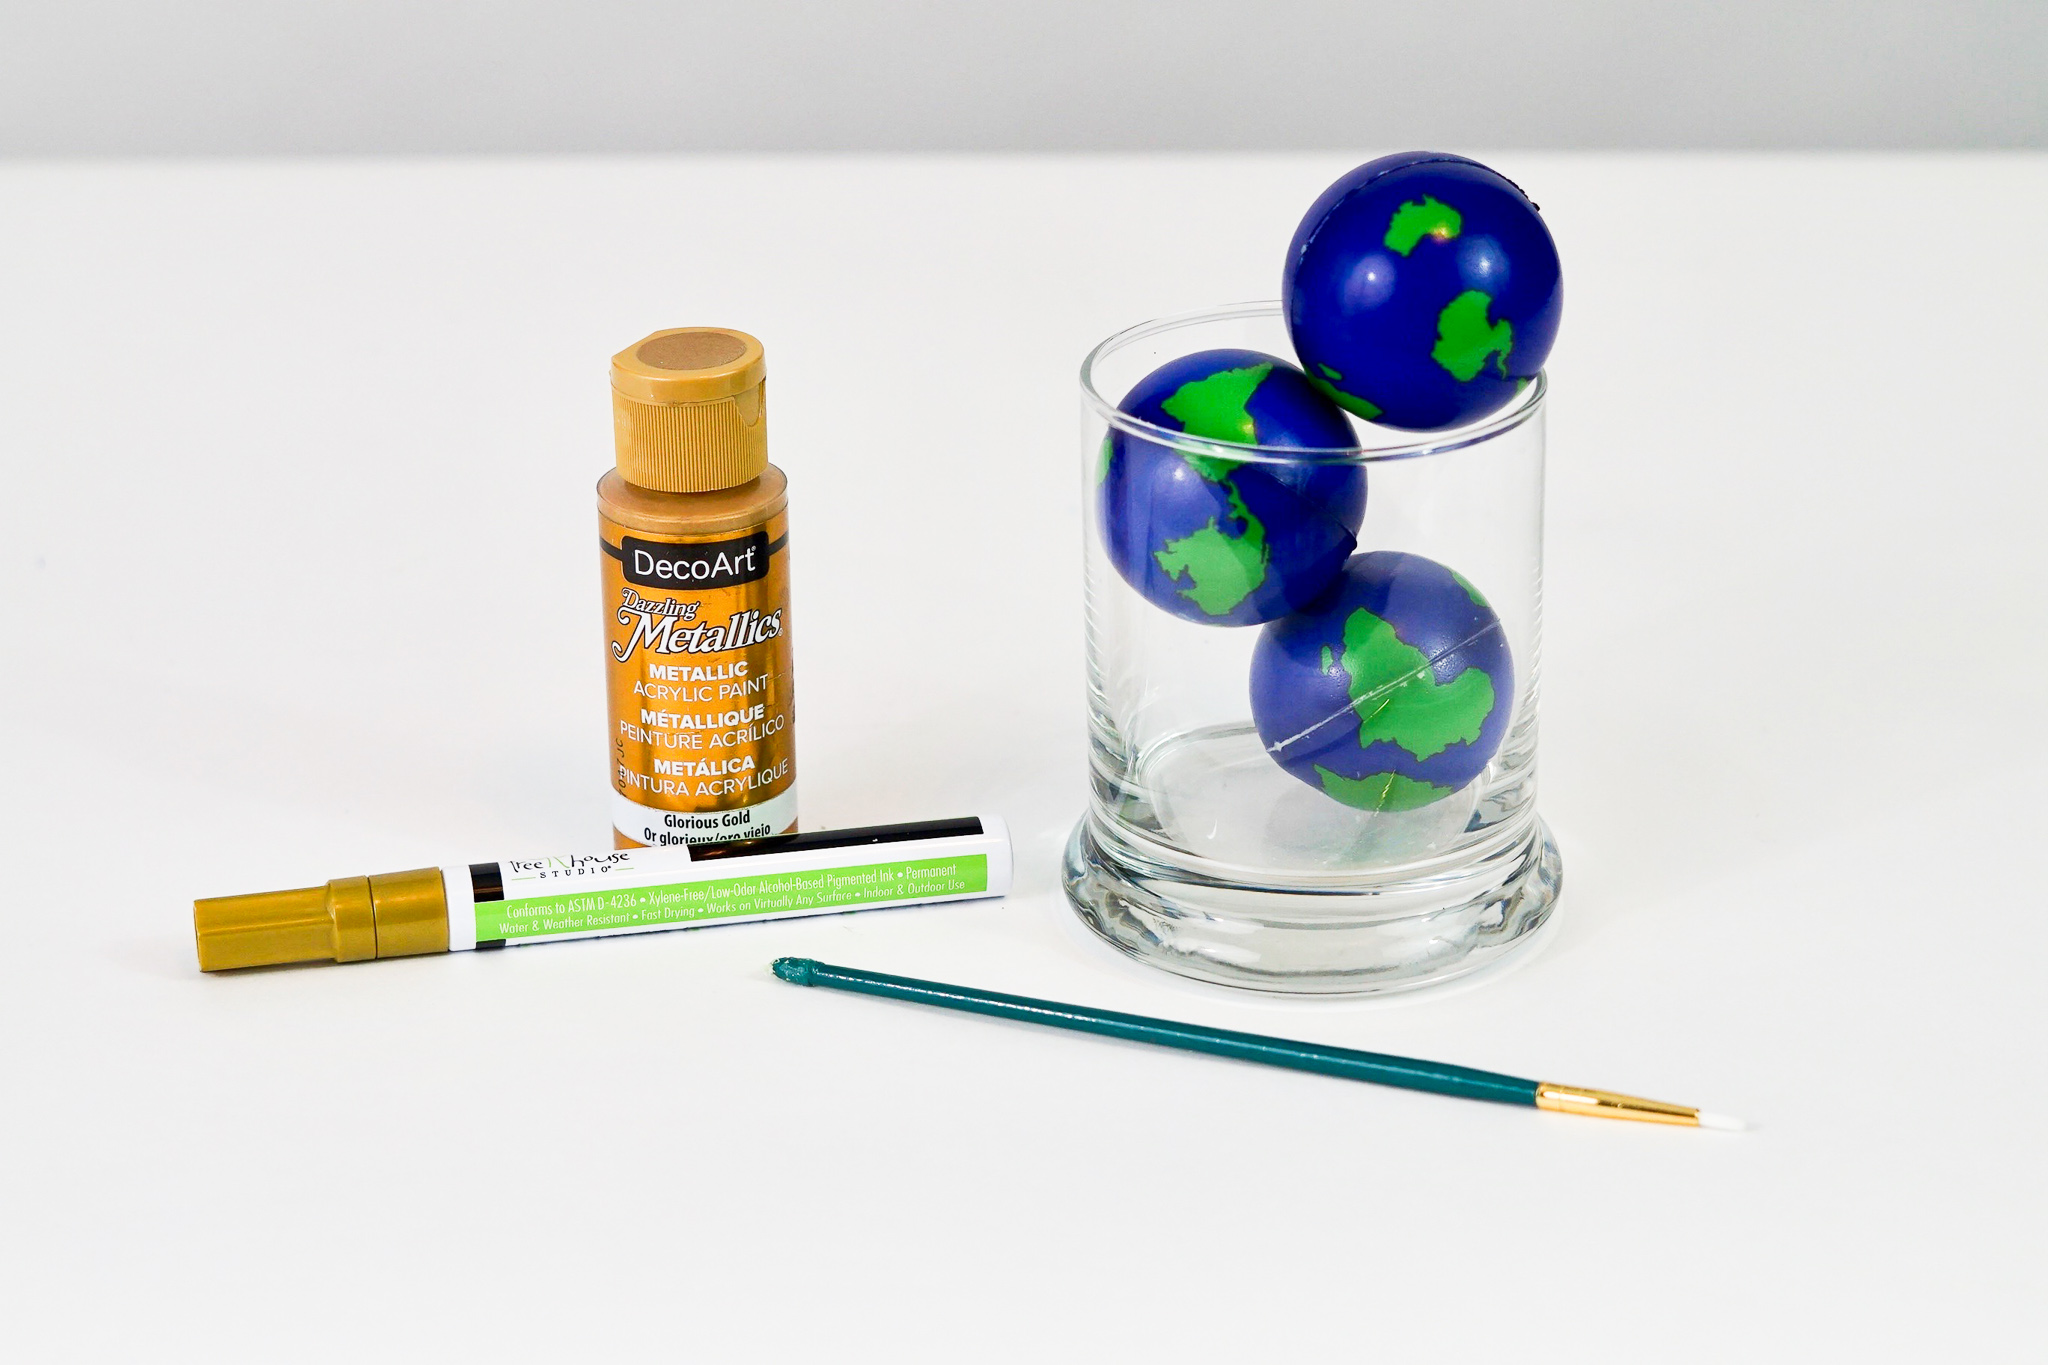
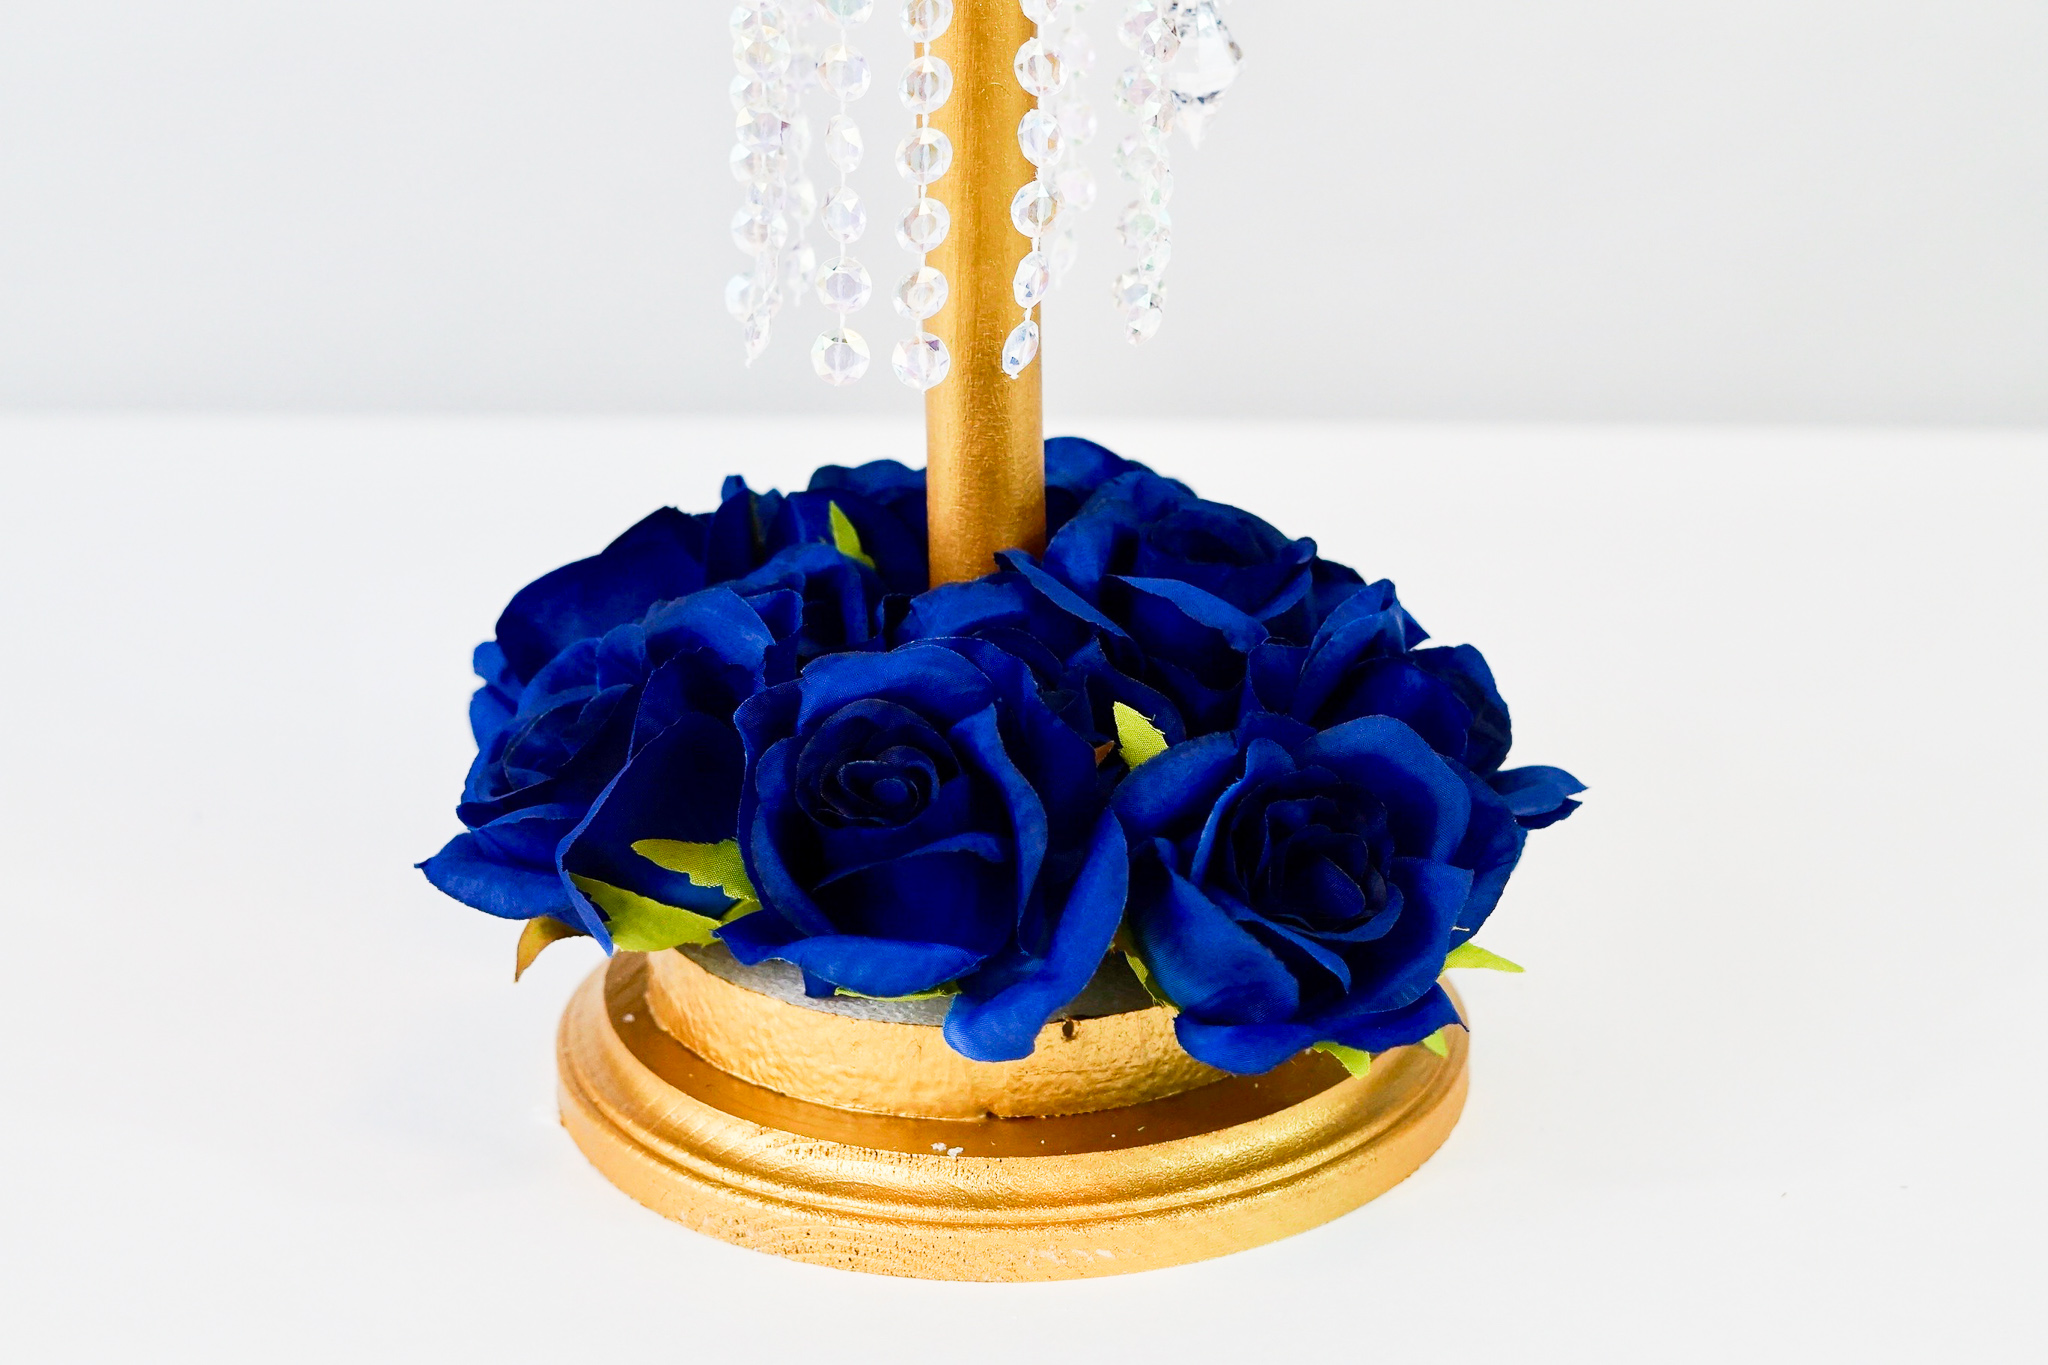
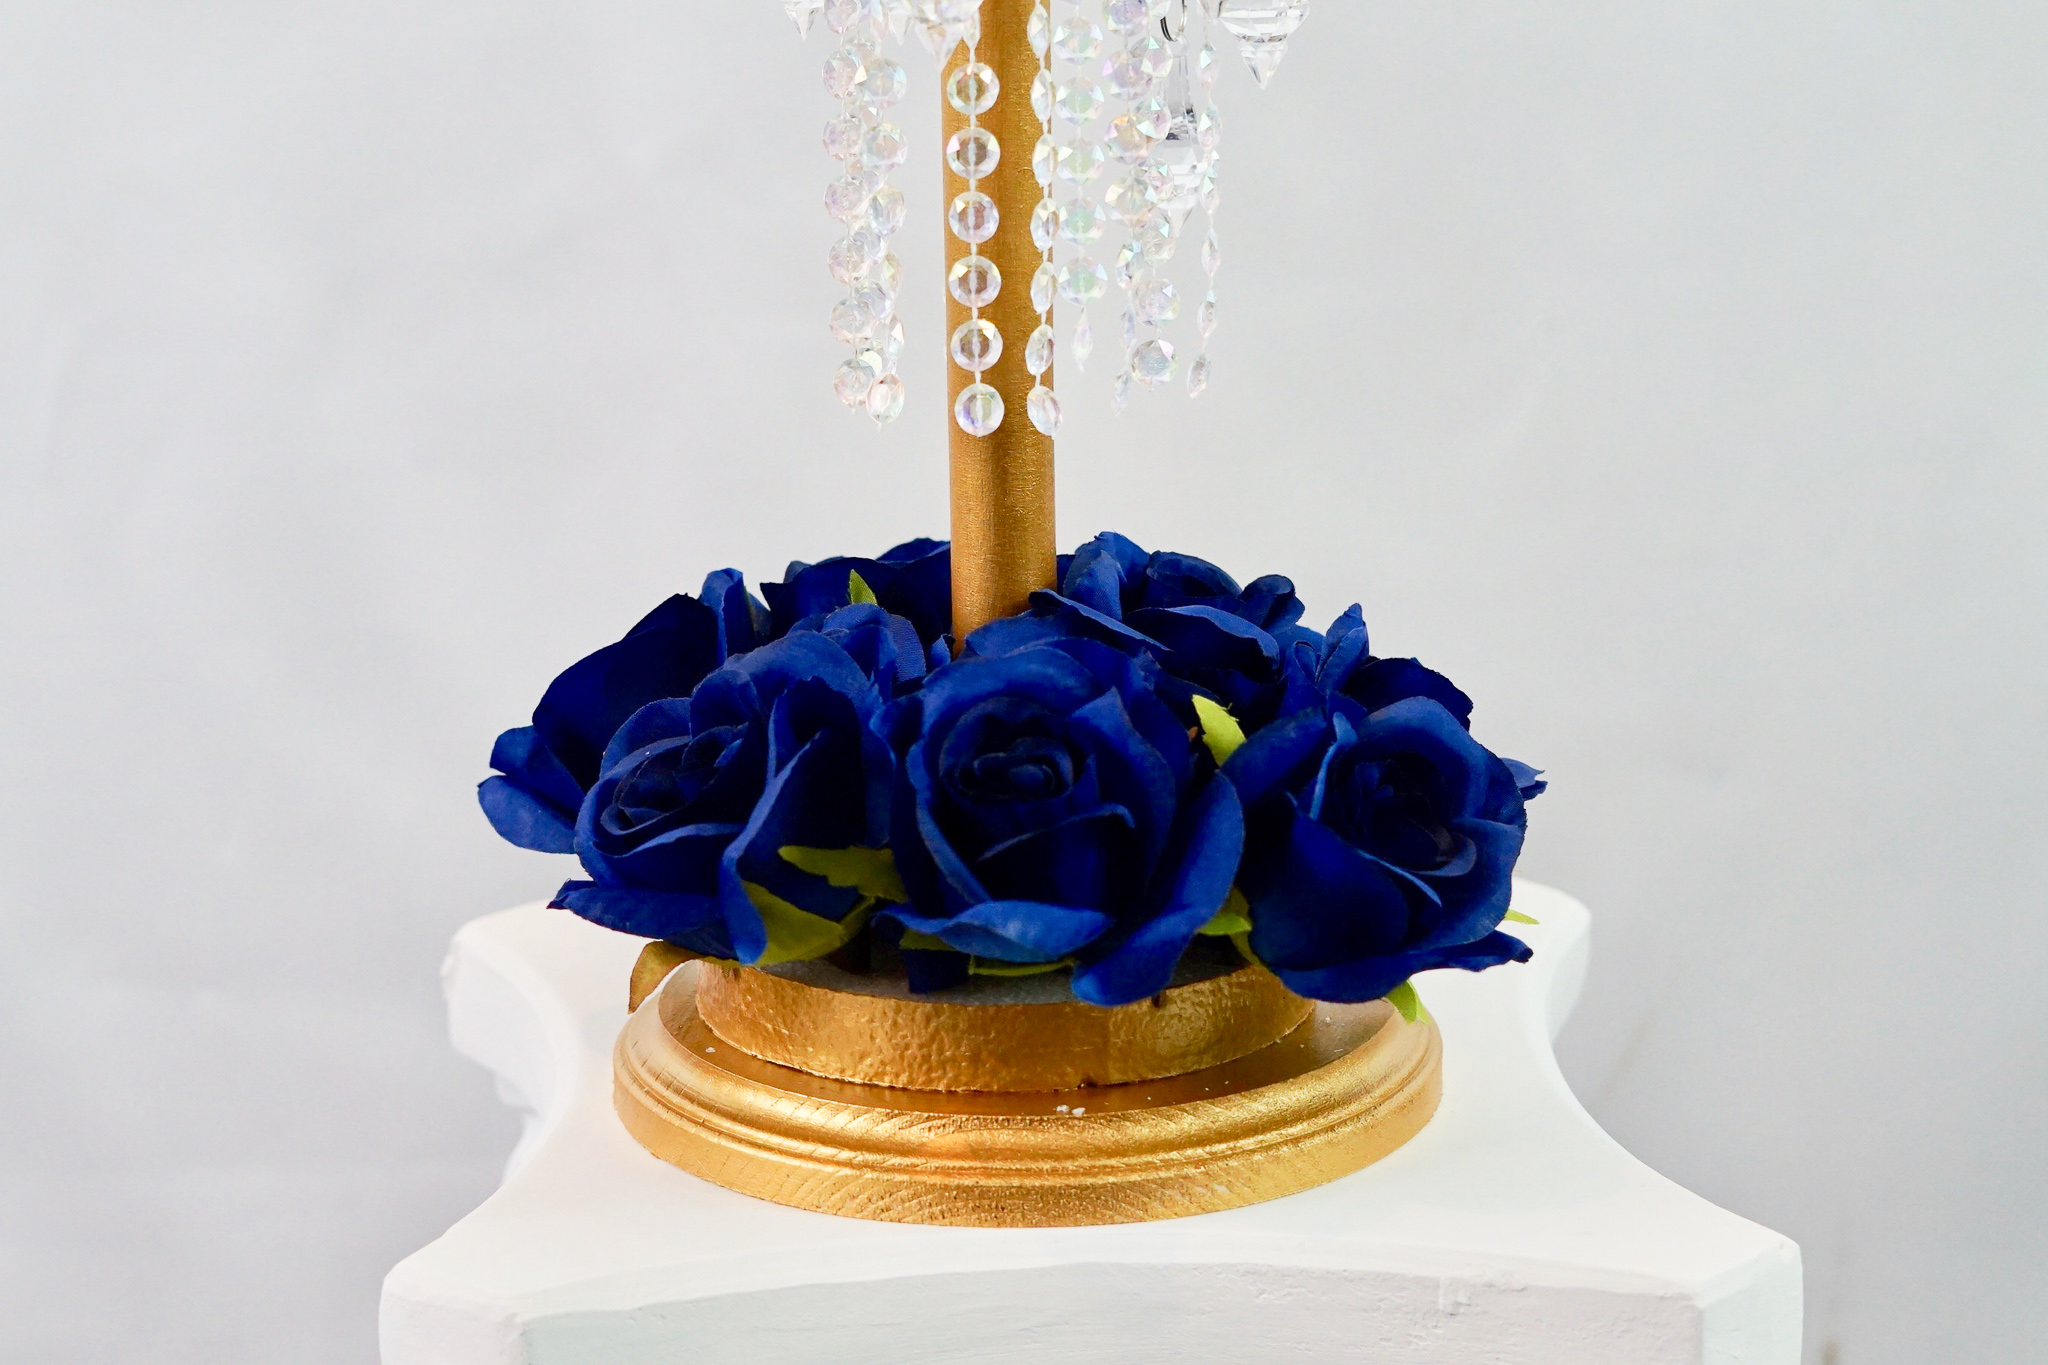
STEP 5: To the rim of the foam dome, attach 12-14 blue roses. Attach an additional 36-40 roses to the remaining part of the foam dome. Insert skewers about a quarter of an inch in each stress ball. Now trace the land masses on the stress balls with a gold marker. Once the paint is dry, cut the skewers down to 2 to 3 inches long and attach it to the foam dome. Lastly, attach 6-8 blue roses to the foam disc located at the base of the centerpiece.
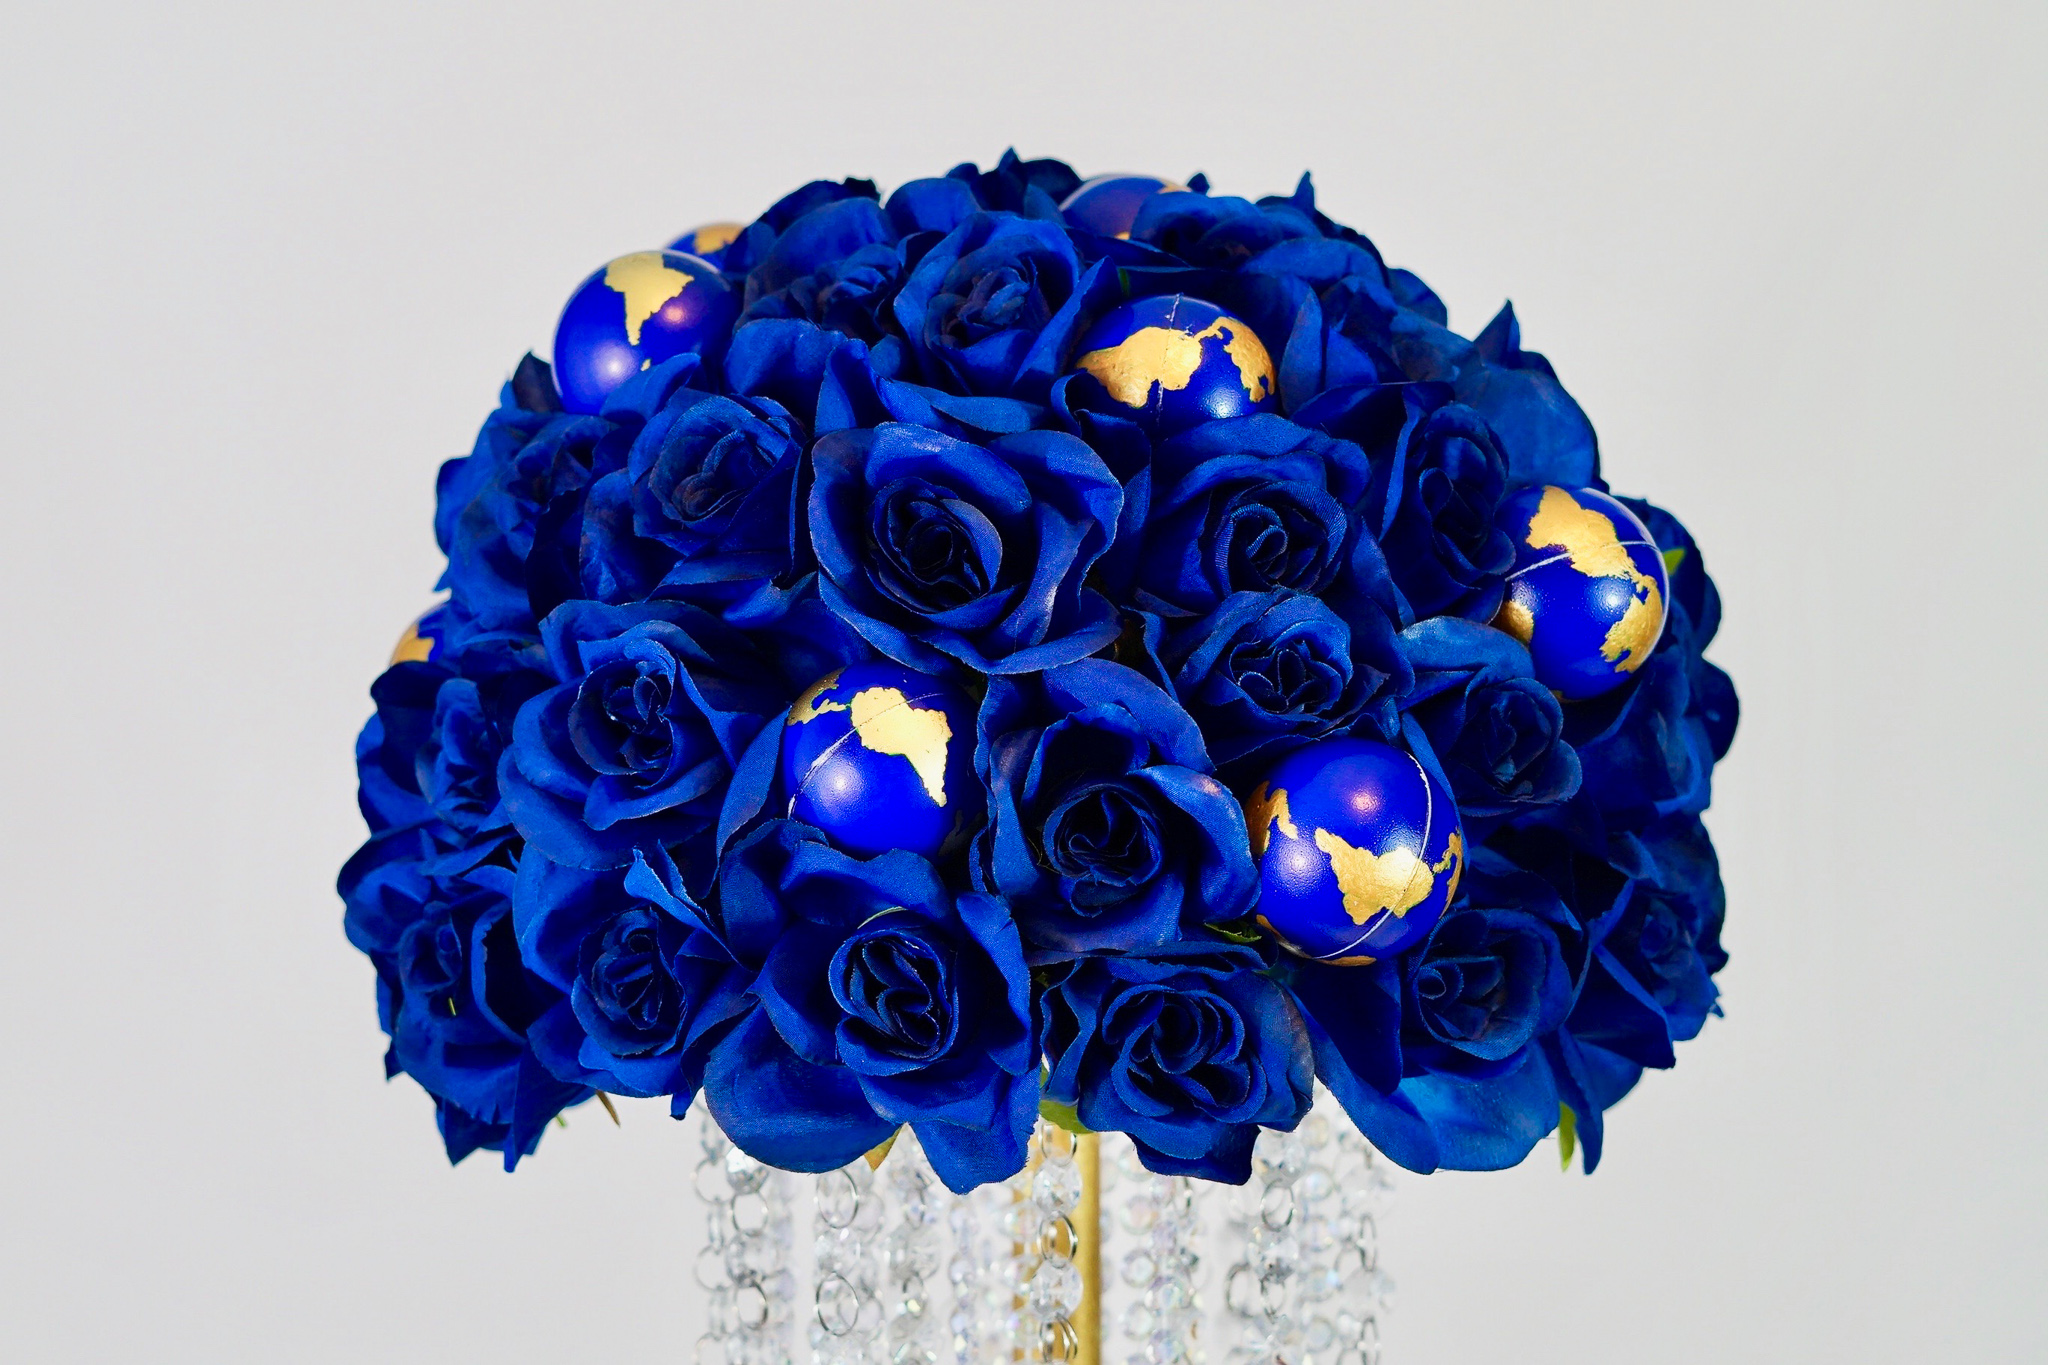
I absolutely love how this DIY Tall Elegant Around the World Travel Wedding Centerpiece turned out! The outcome is amazing and definitely gives you an extra special touch to your wedding!
Wonderful design, and response to bride’s request.
Thank you 🙂