
Are you ready to create stunning wedding decor for less than $20 for your big day? This DIY Lighted Embroidery Hoop Orb Wedding Decor is just what you’ve been looking for. The added lights give your wedding decorations an extra bit of shine. While the beautiful roses add a touch of elegance. This is also a versatile piece you can keep and add to your home decor. So let’s get started! For video instructions, please check out the video tutorial below!
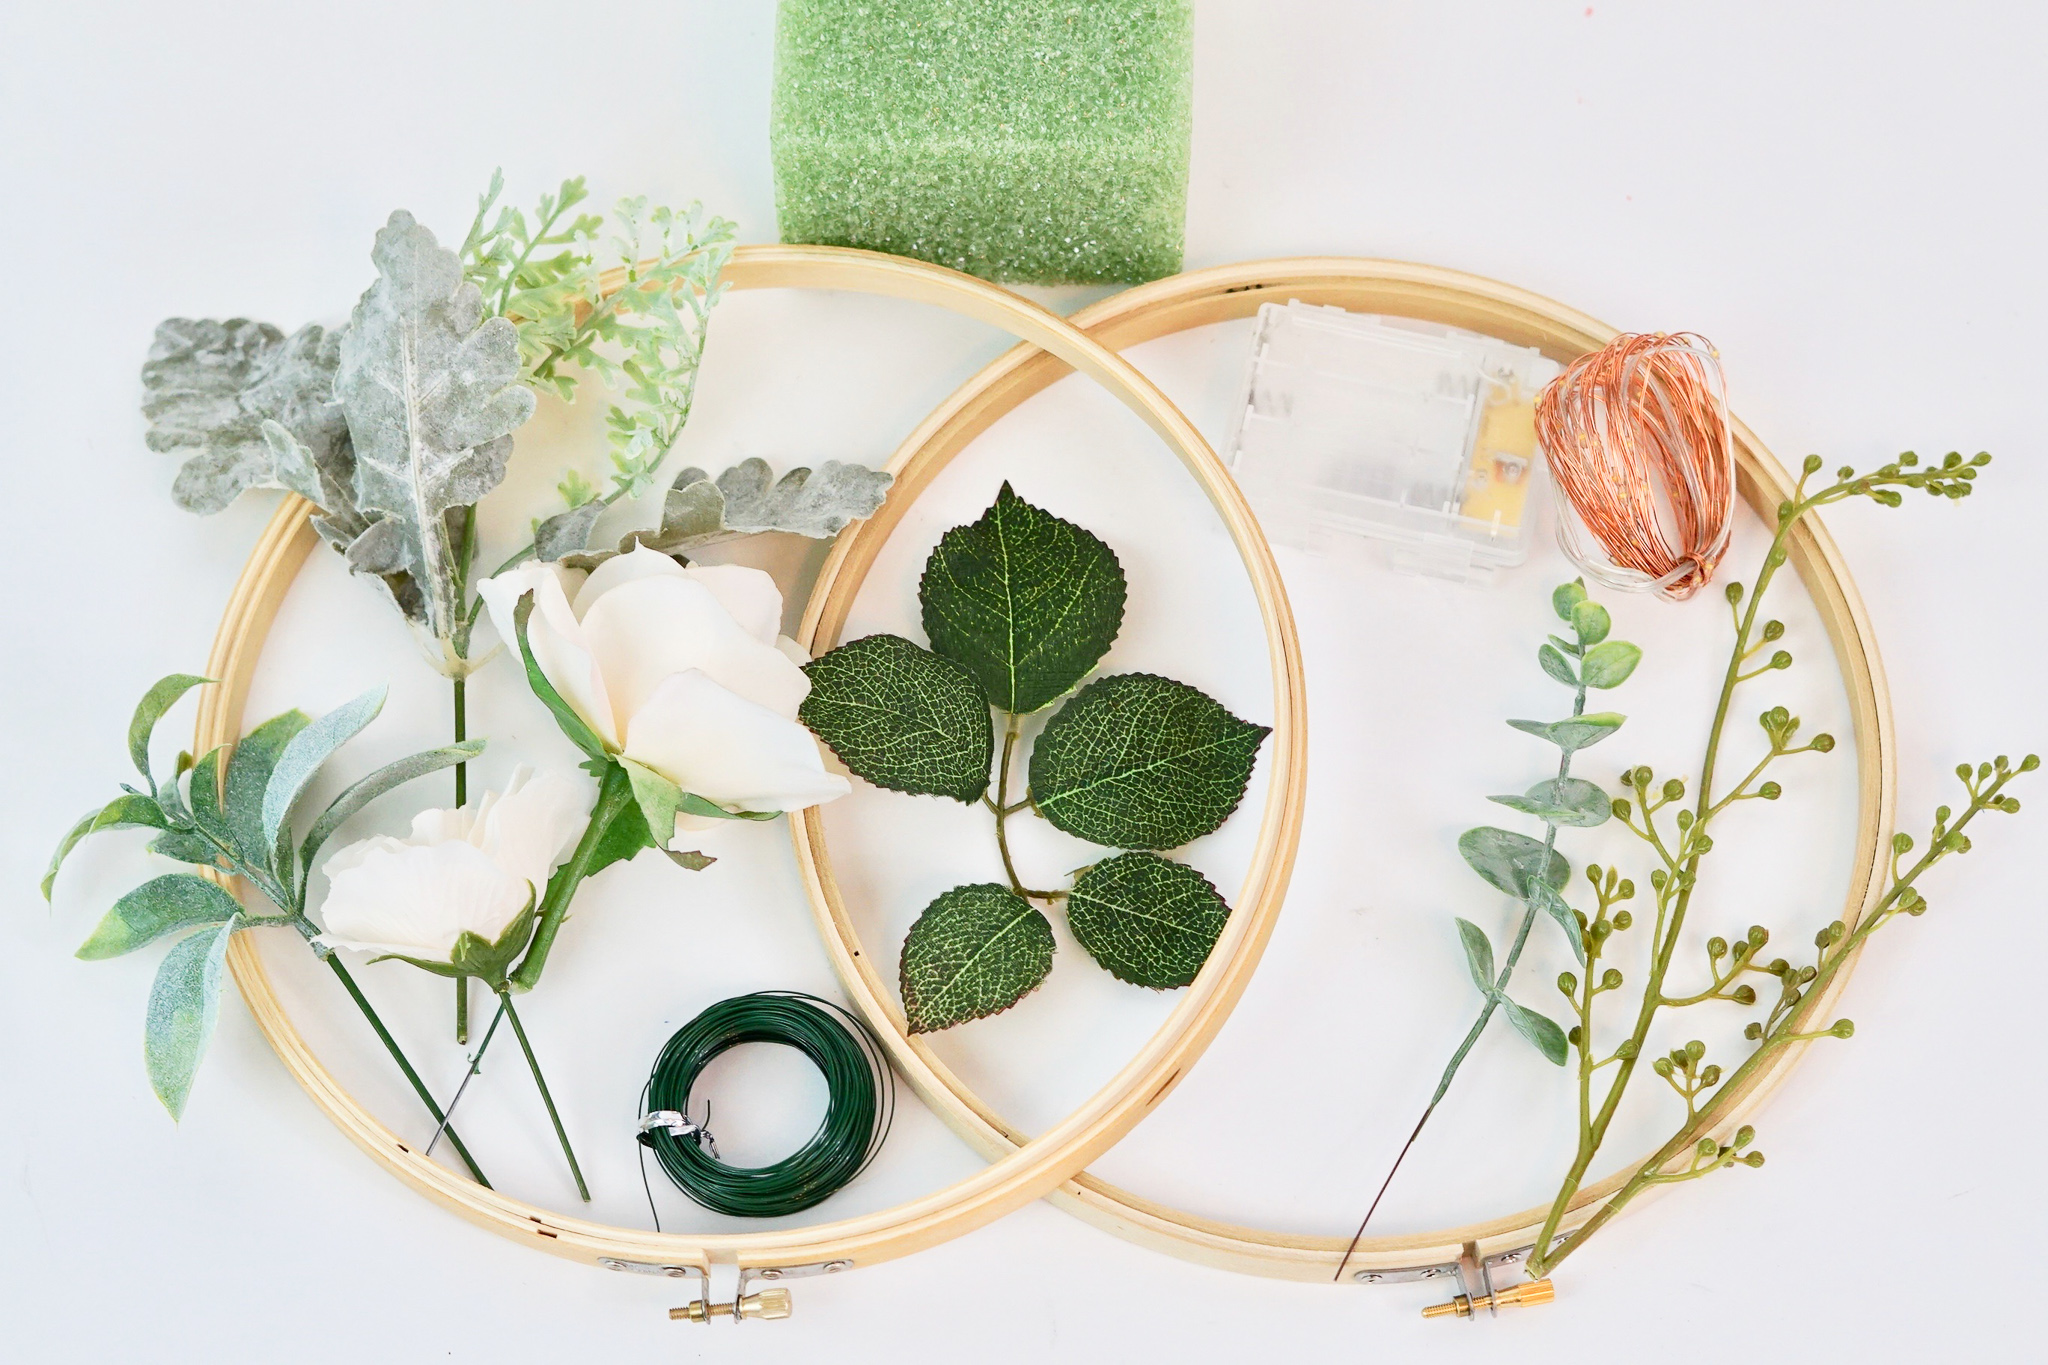
SUPPLIES:
Floral Craft Green Foam Block, 3×4 in.
7-Stem Queen Rose Bushes, 14.5 in.
Floral Garden Green Leaves & Vine Garland, 4-ft. Strands
Natural Jute Twine
Embroidery Hoop – 8”
Floral Pins
Frosted Mixed Greenery Pick
Eucalyptus Pick
Led Fairy Lights Battery Operated
PROJECT COST *$15.40 (Some supplies cover more than 1 centerpiece) * Prices fluctuate depending on coupon discount amount. *Price based on current sale cost. (taxes not included)
For written instructions, please continue reading below:
How To Make DIY Lighted Orb Embroidery Hoop Wedding Decor
Directions:
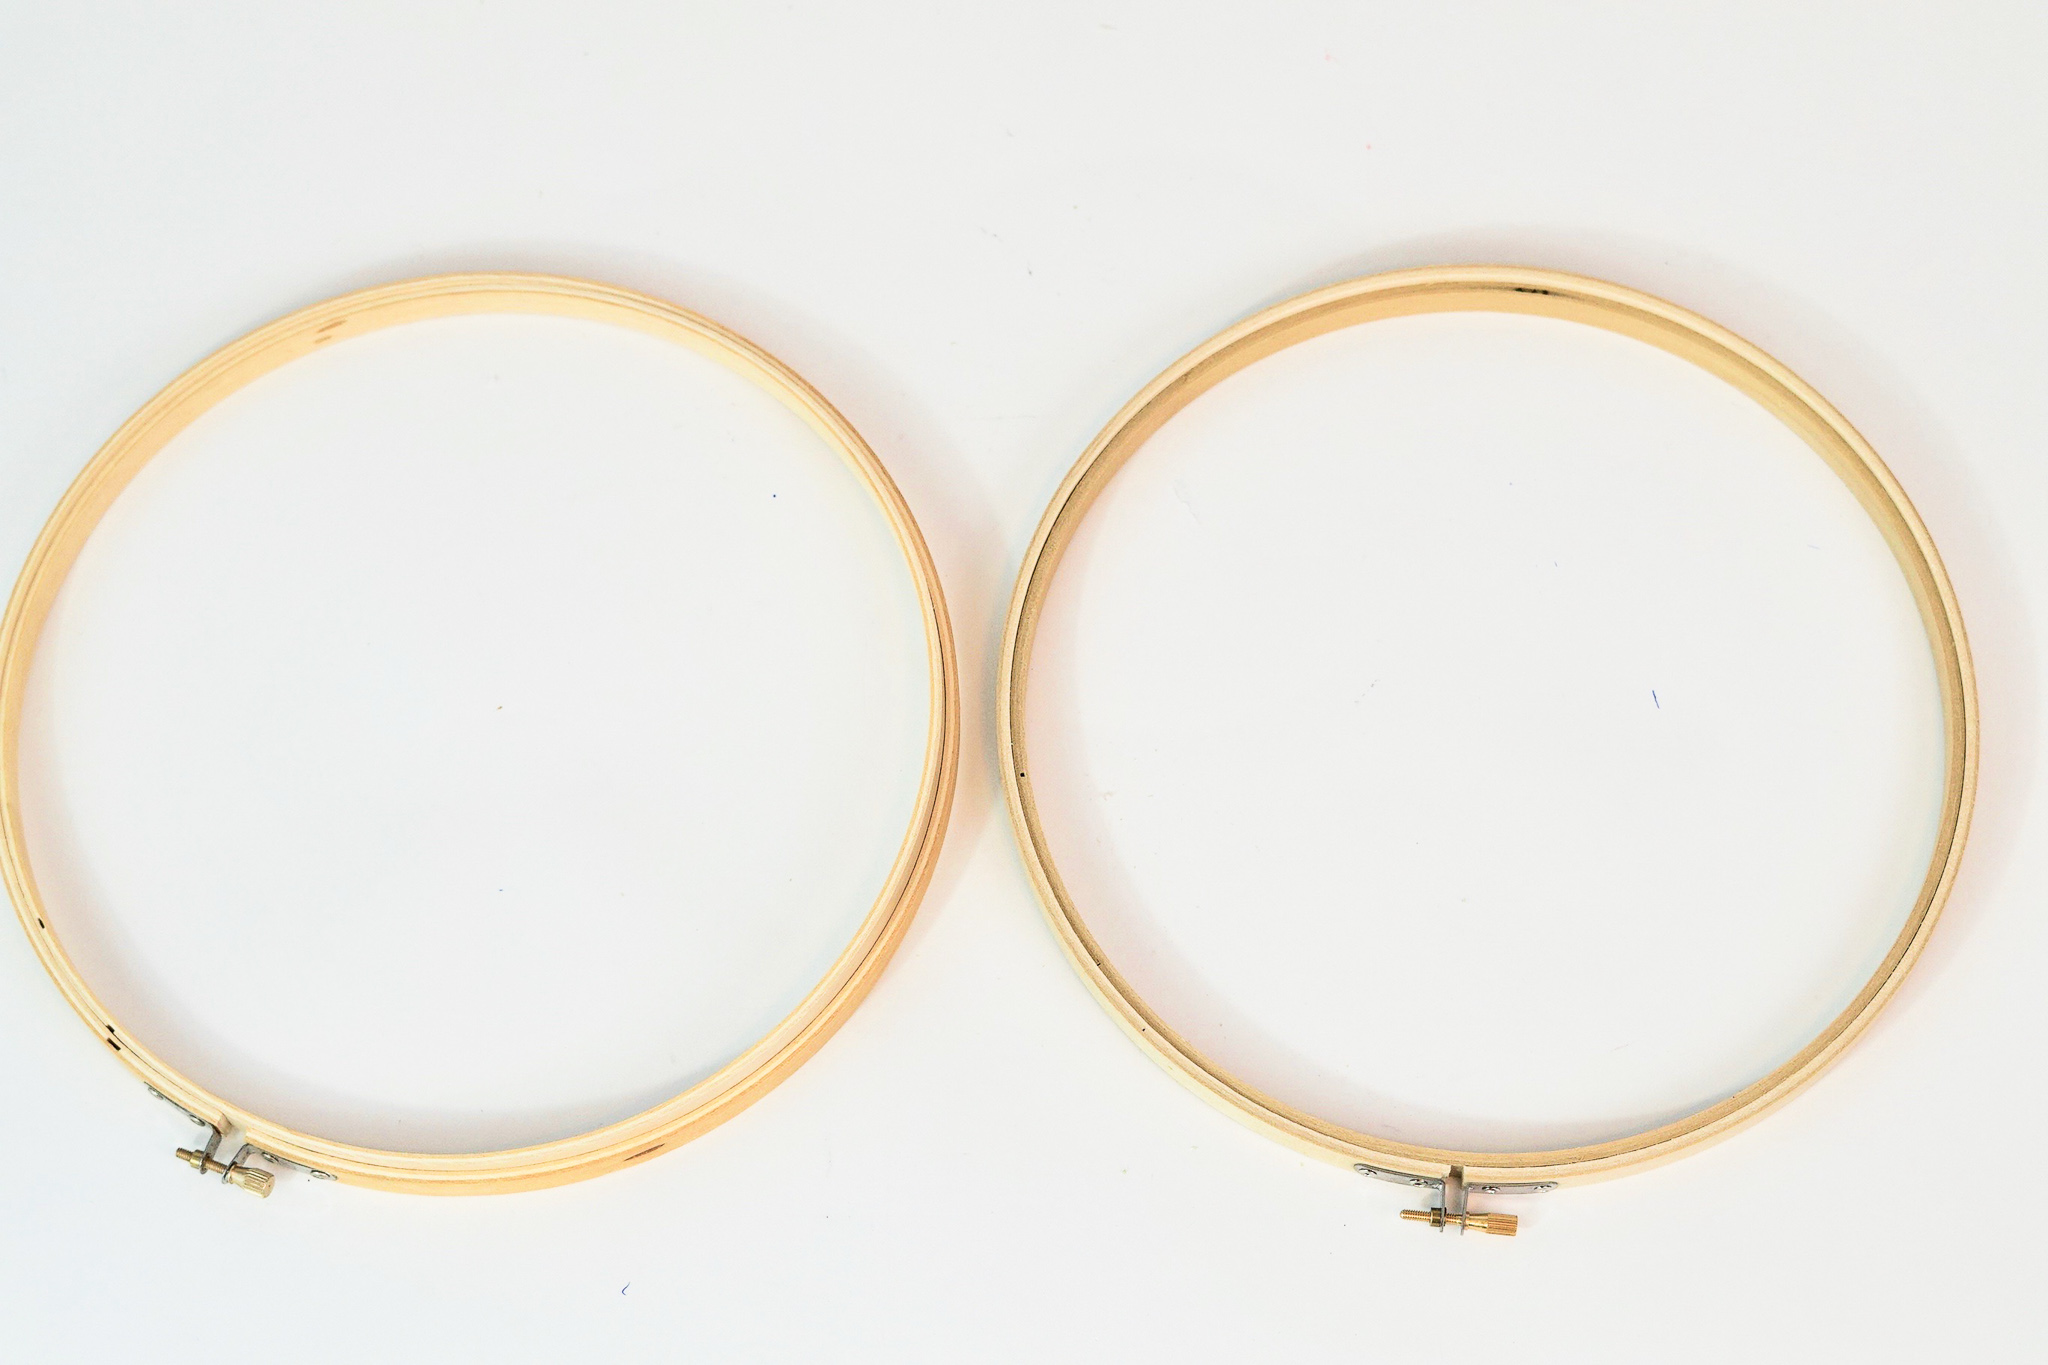
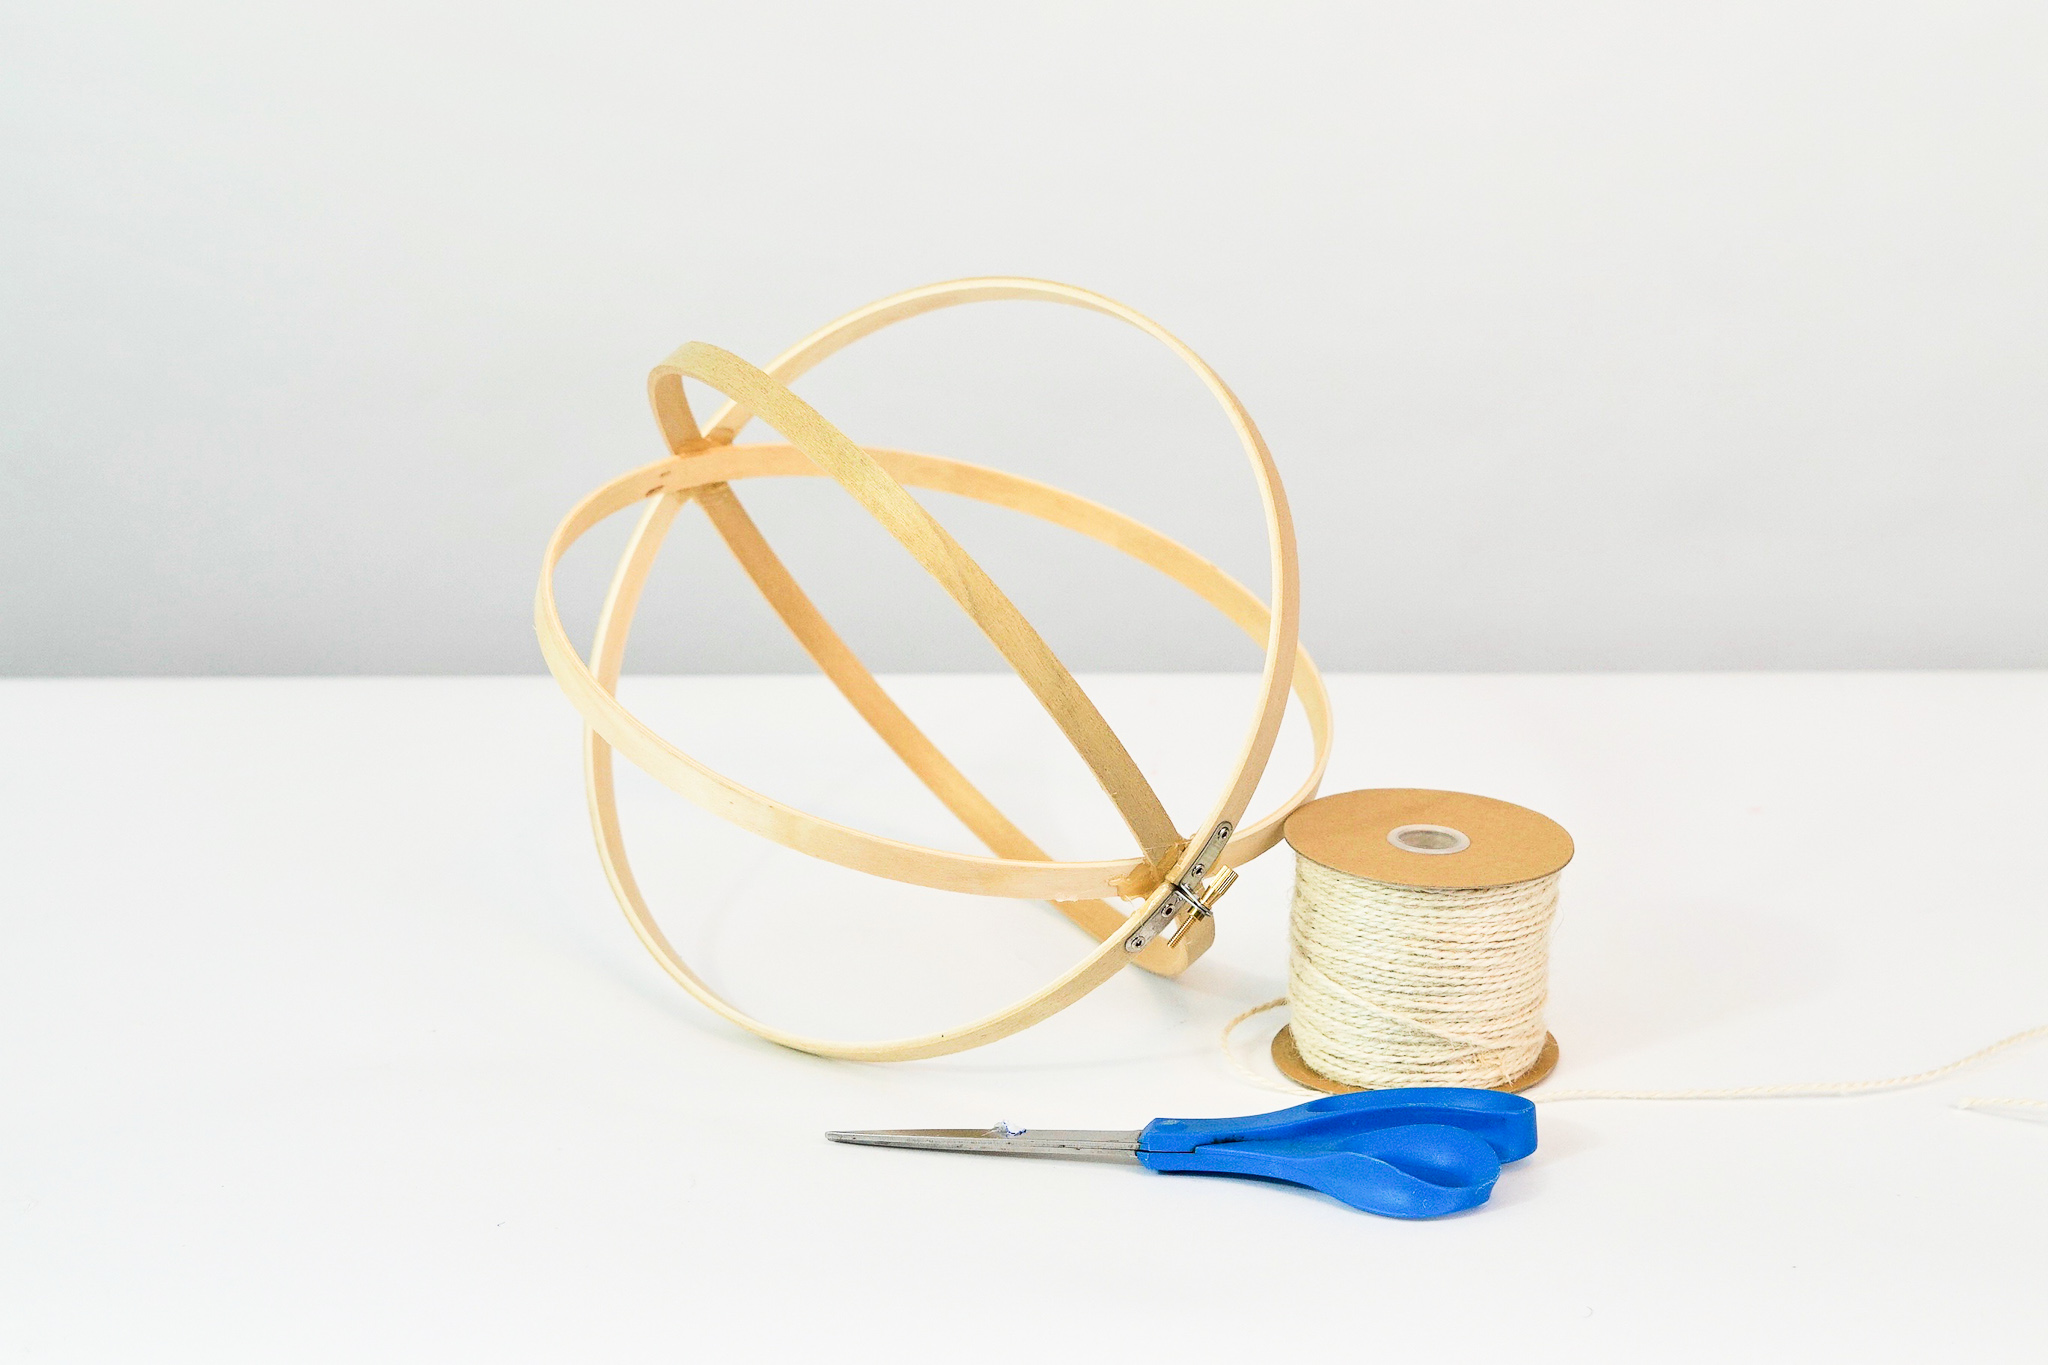
STEP 1: To create the orb, take two 8 inch embroidery hoops and unscrew each one. They each come with two pieces but you will only need to use three of the four hoops. Now take two of the hoops without a screw and one hoop with a screw. Intertwine them all together using hot glue at the seams to secure them. Give them 10 minutes to dry. Apply additional hot glue to the bottom of the orb and allow it to dry. [See Video]
Make the Hanger Using Twine
STEP 2: Remove the screw from the top of the embroidery hoops. Loop twine through the hole where the screw was removed and make a knot on the end of the twine to create your hanging system.
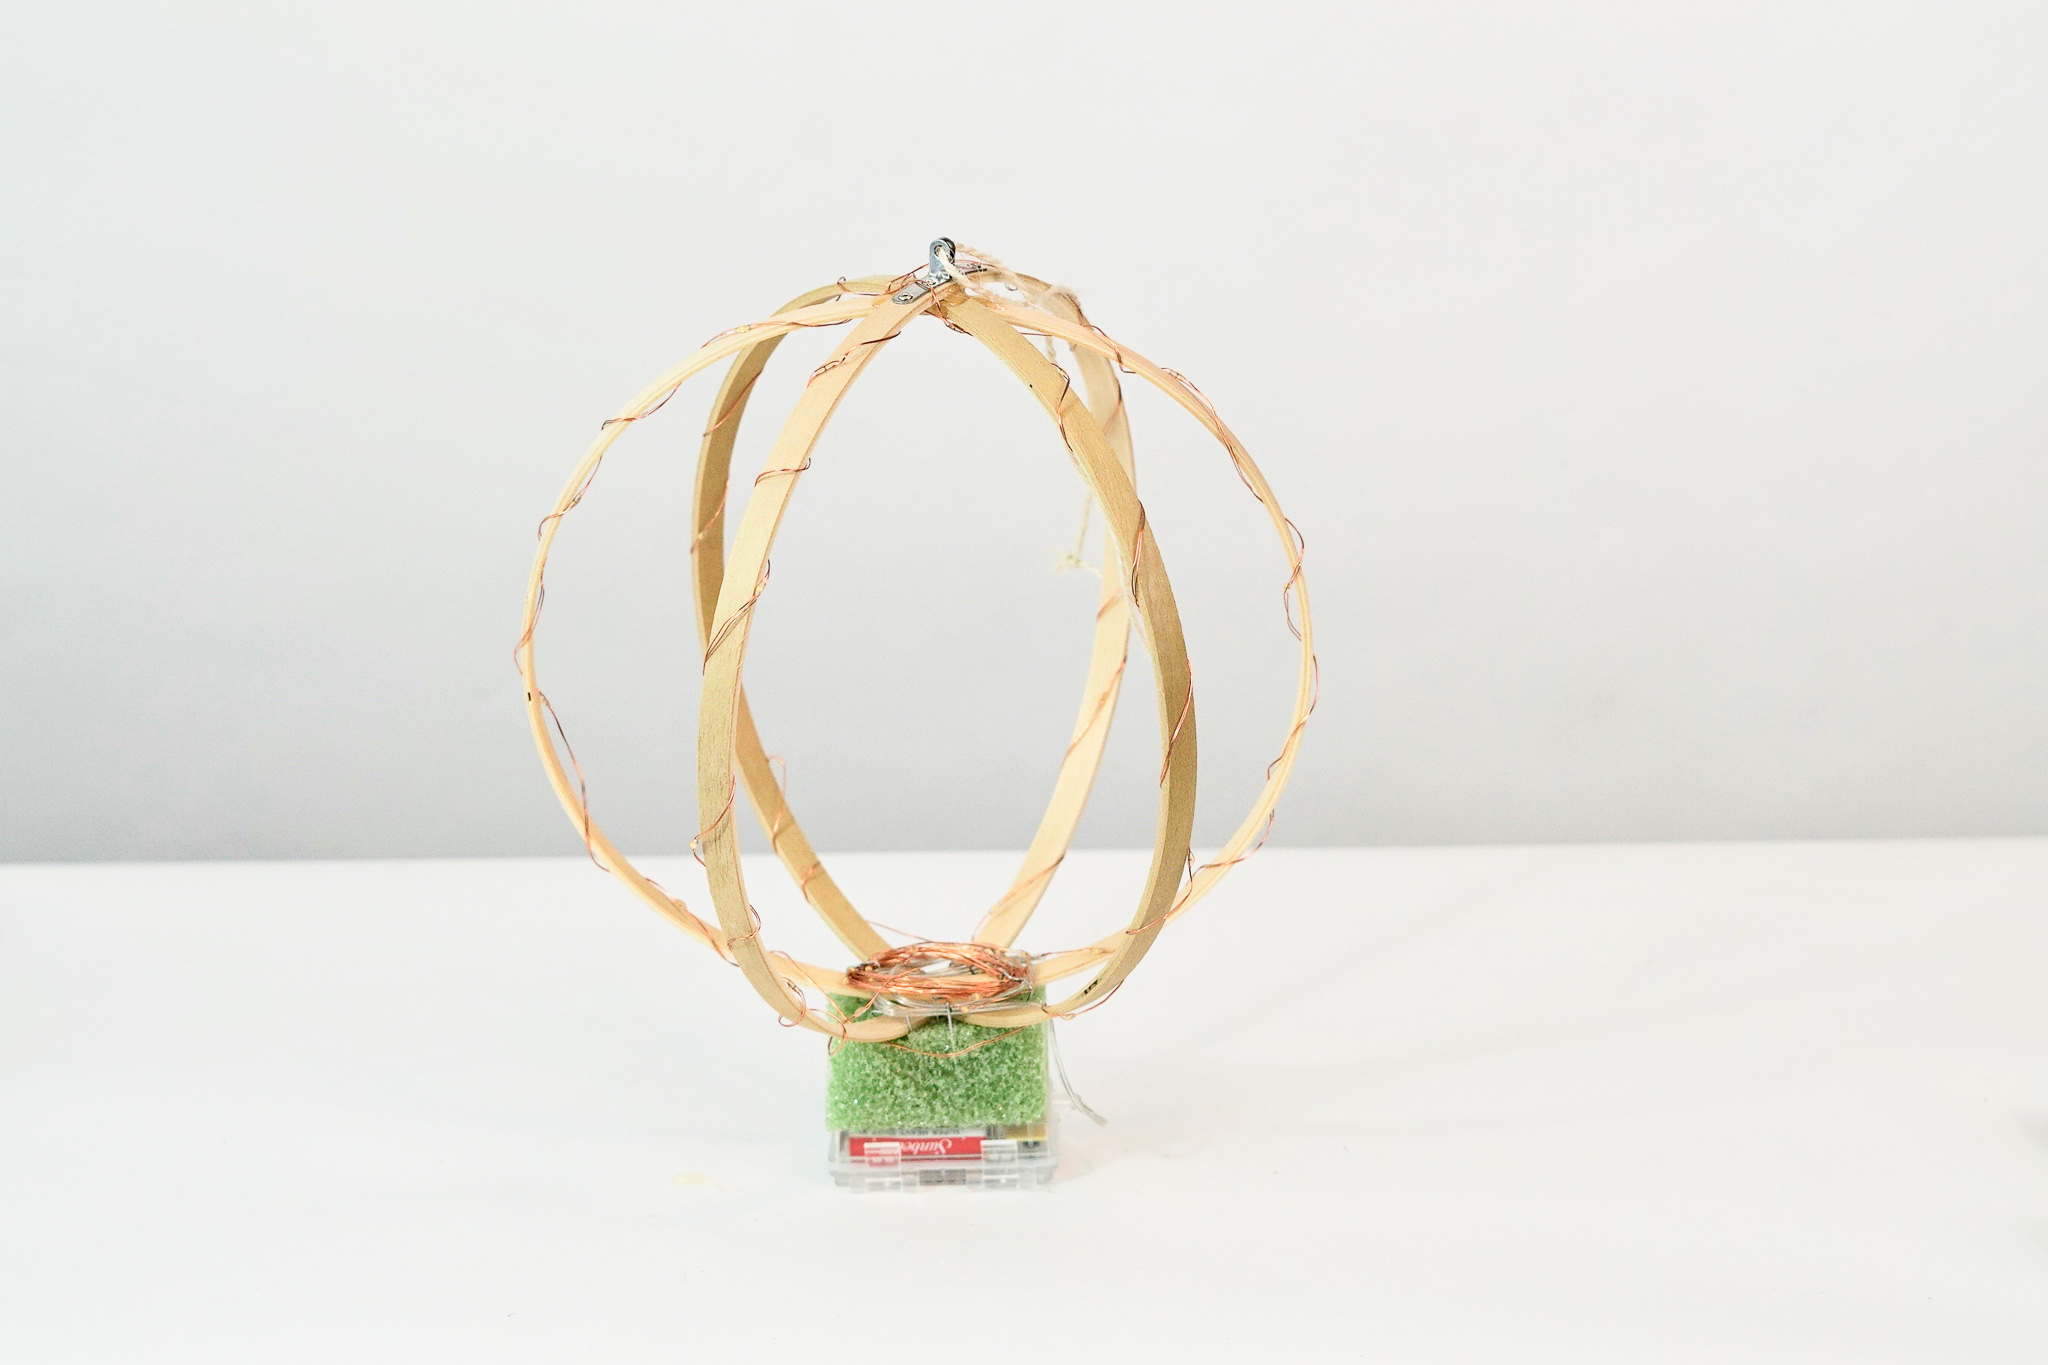
Add the Lights
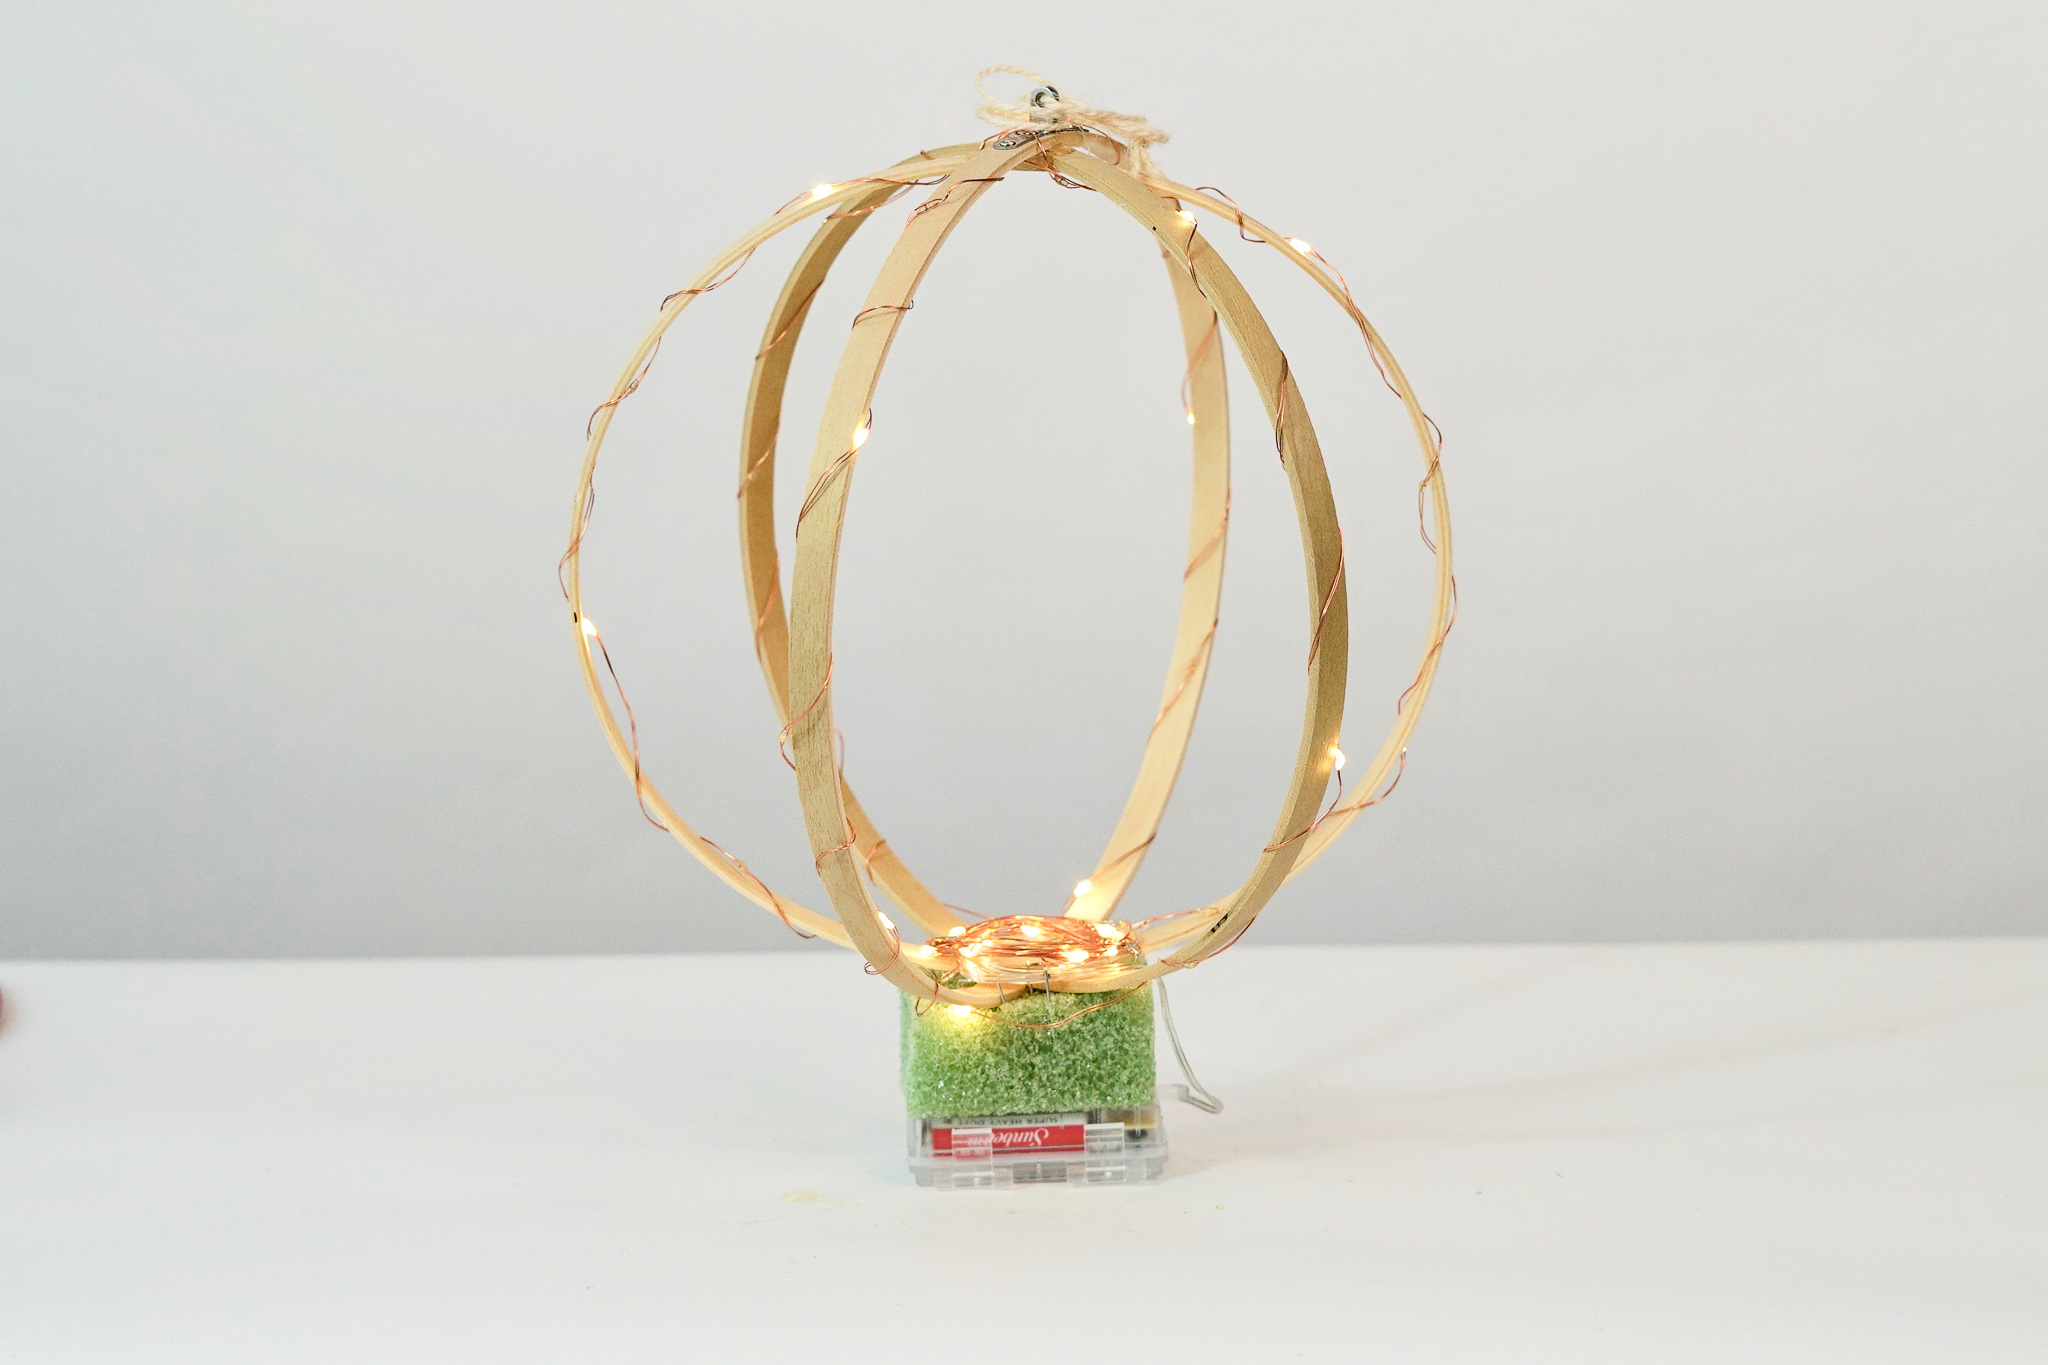
STEP 3: Cut the foam cube in half with a foam cutter. Trim the cube down to match the size of the fairy light battery pack. Hot glue the battery pack to the foam. Pay careful attention to what side the battery pack is being glued down. You want to be able to easily turn the lights off and on and change the batteries as needed. Allow it to dry for 10 minutes. [See Video]

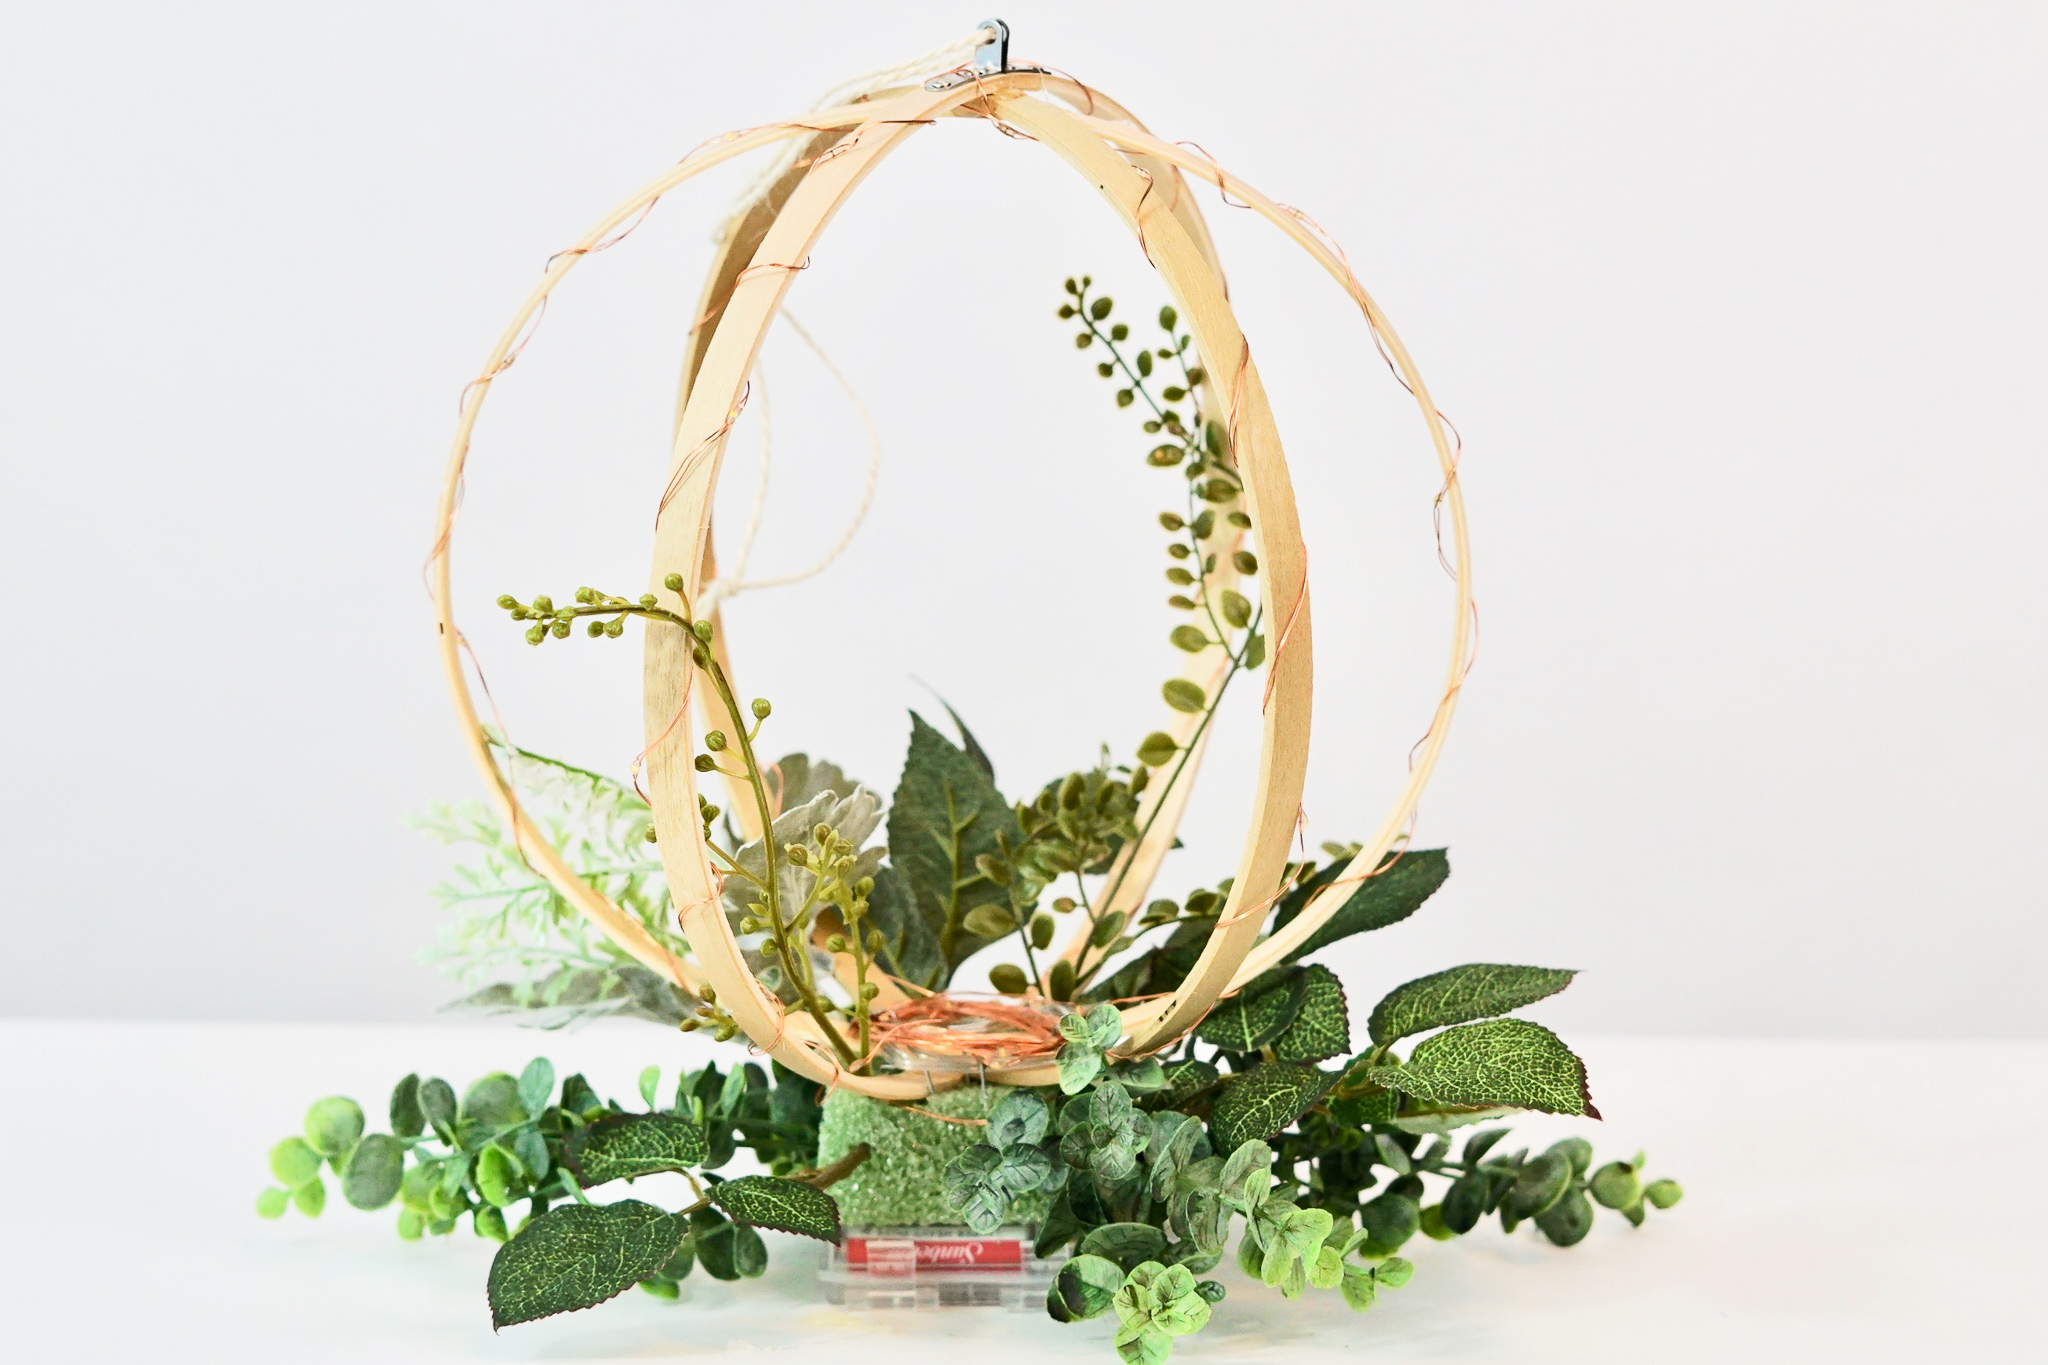
Make the Chandelier Effect
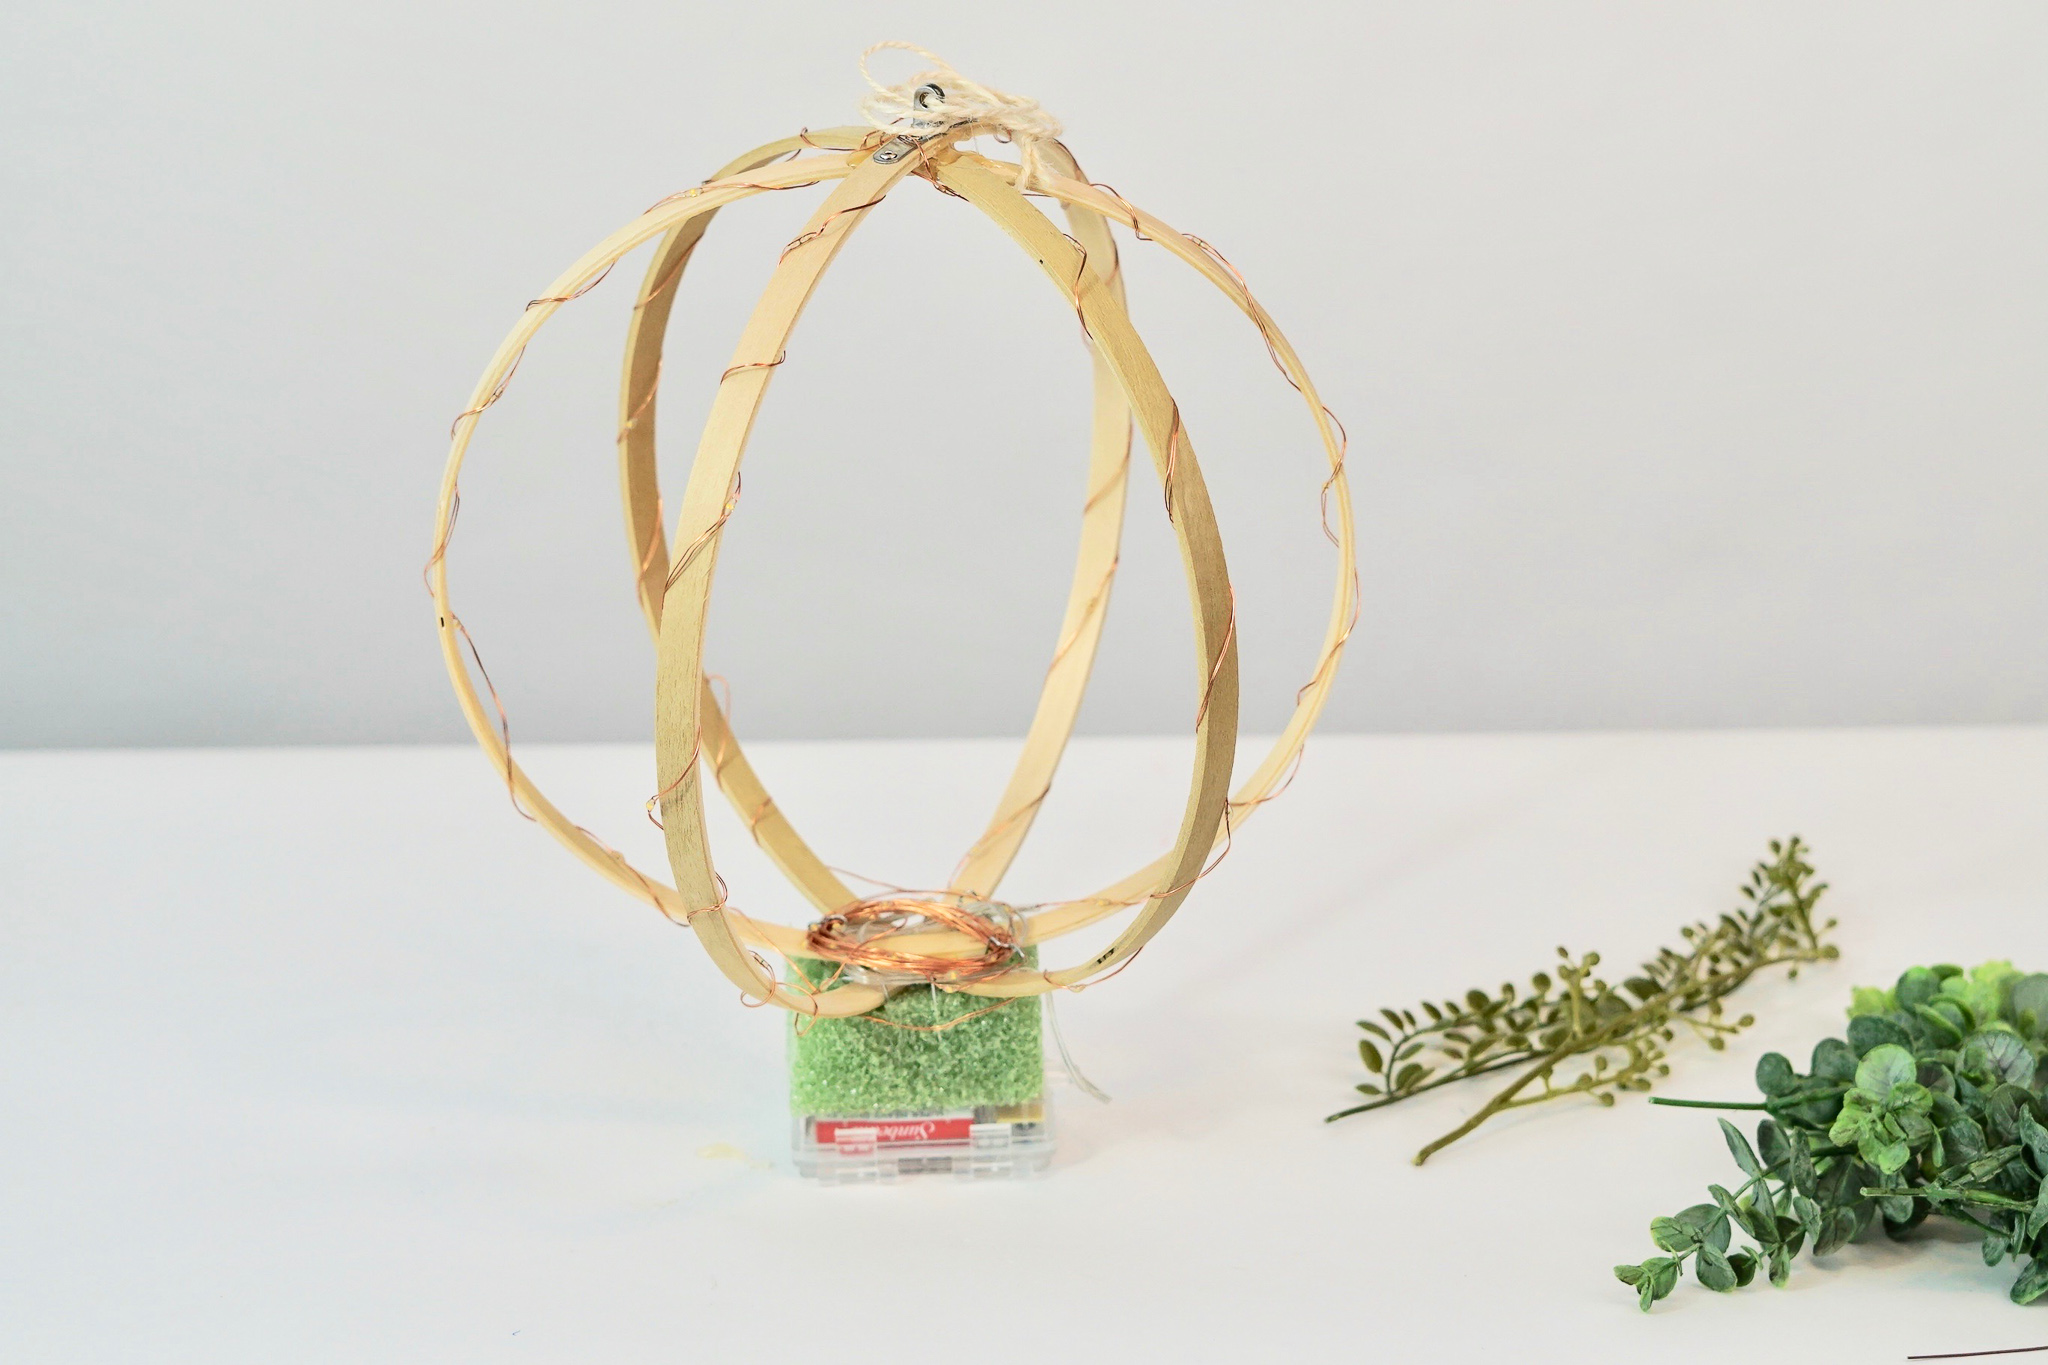
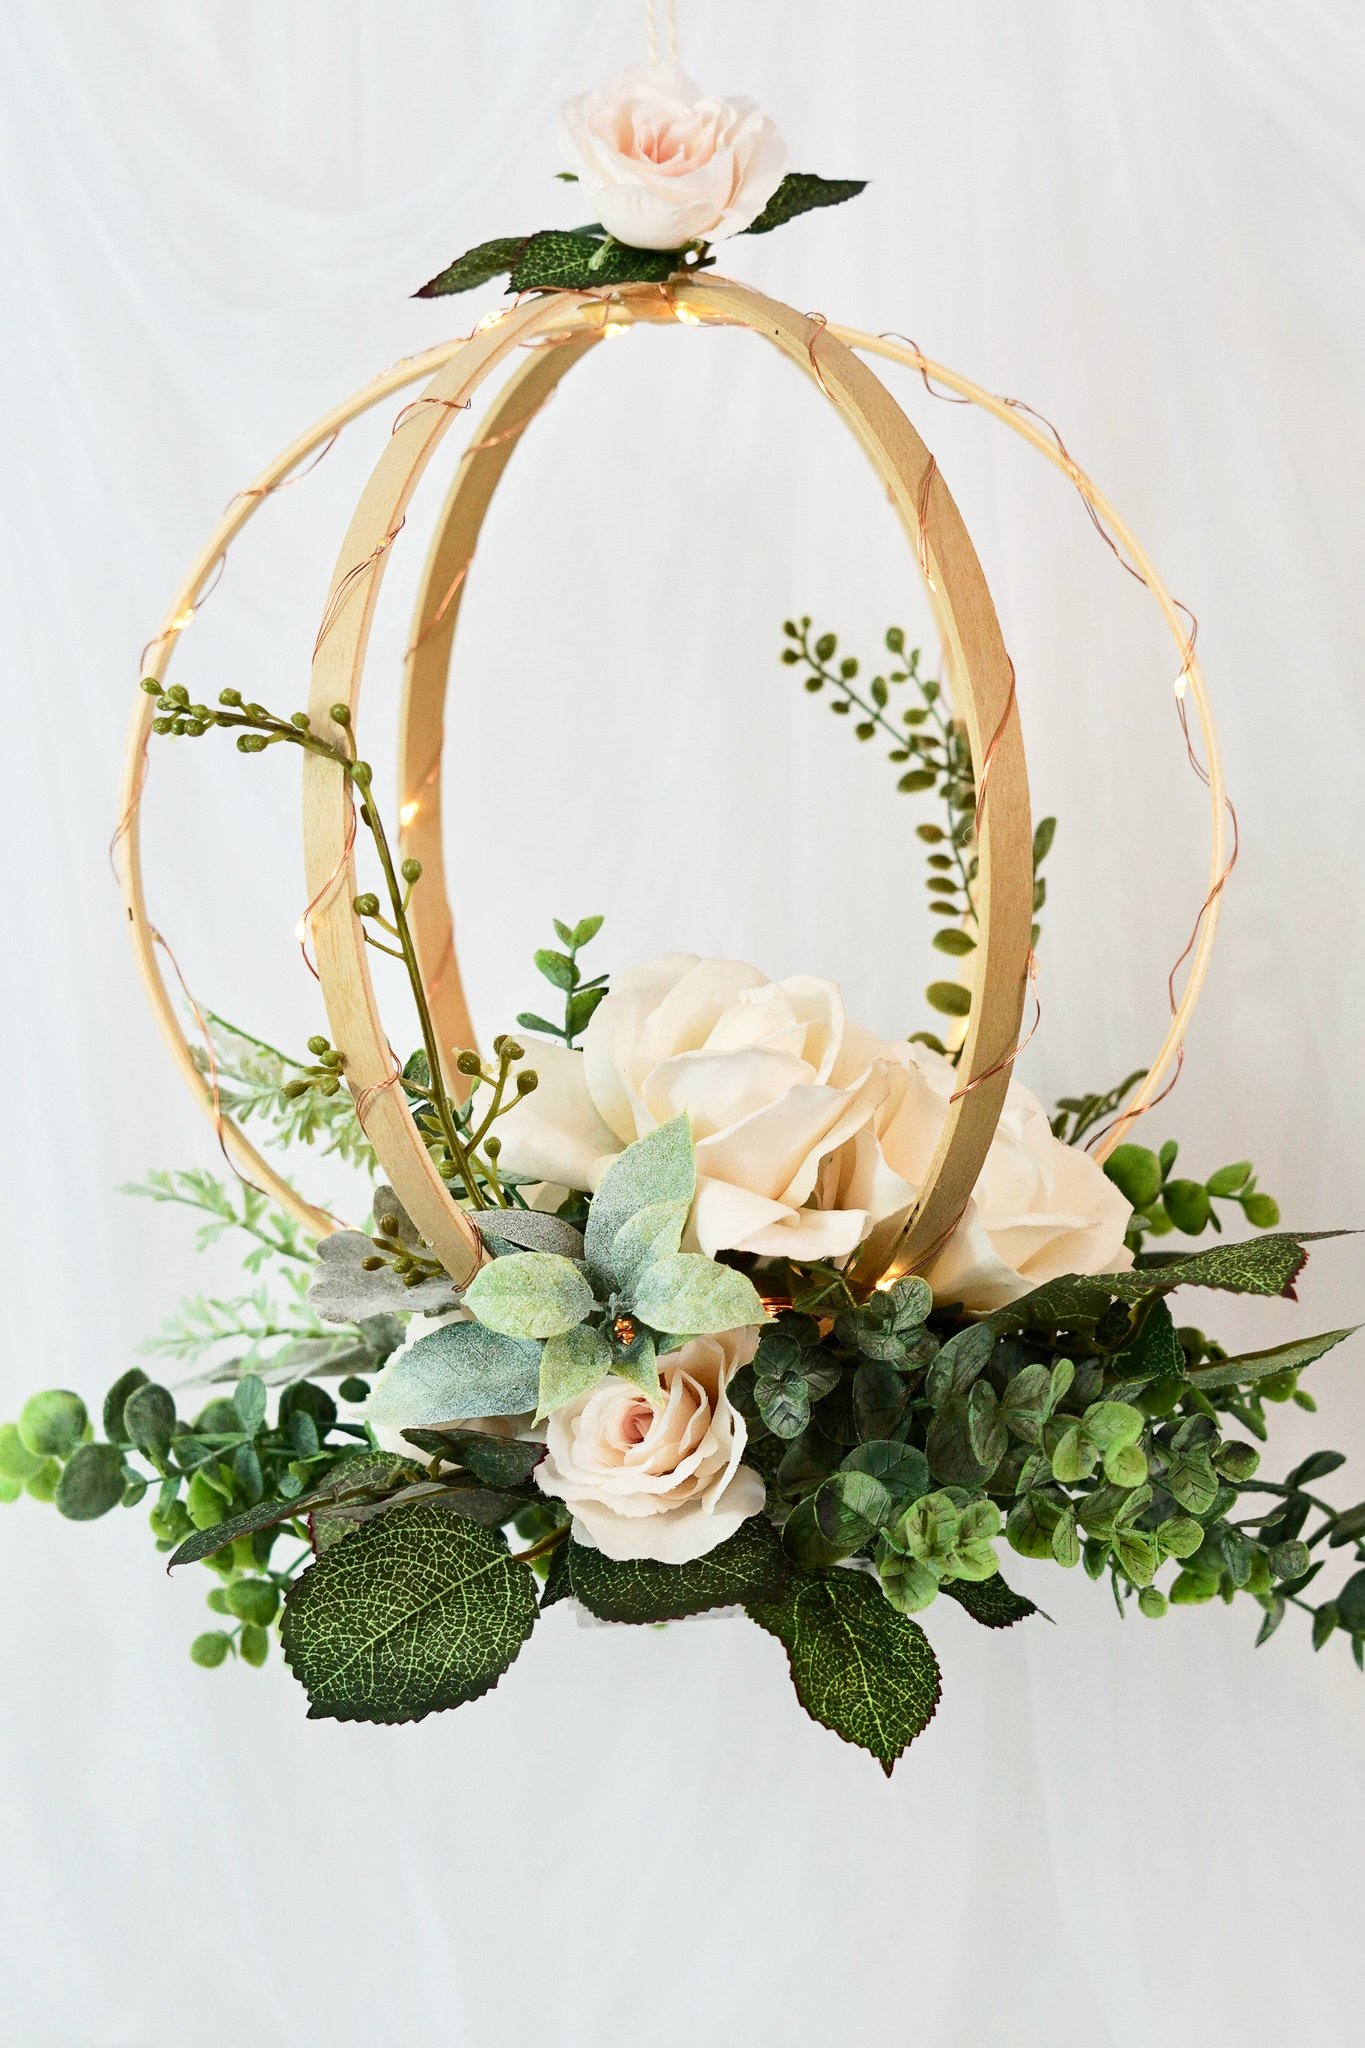
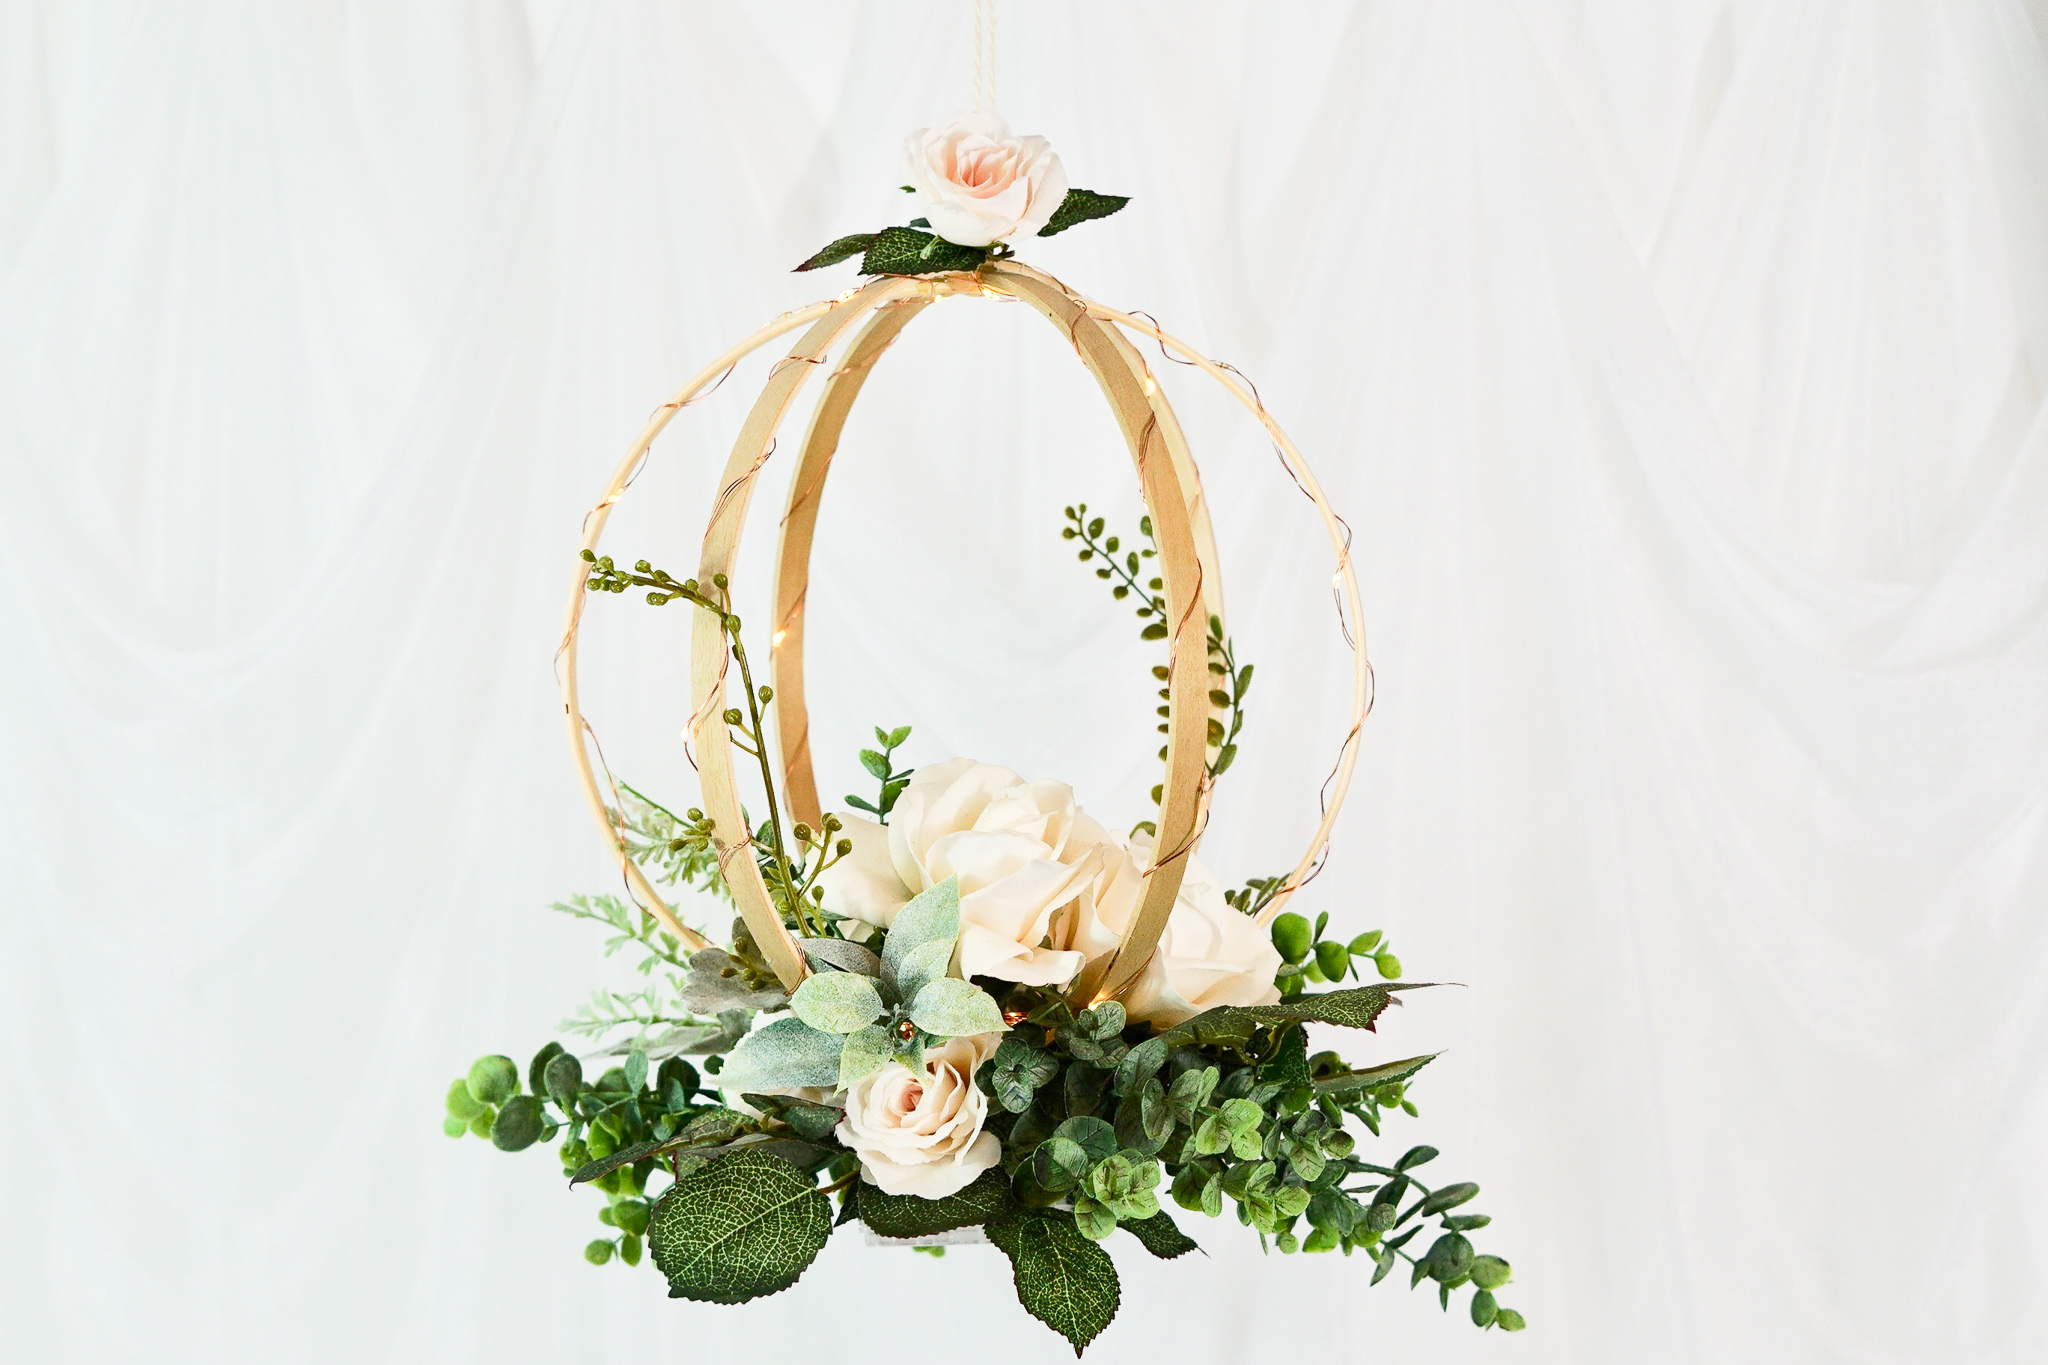
STEP 4: Attach the orb you created in step one to the top side of the foam cube using hot glue and floral pins. Pin the excess wire from the lights down with floral pins. Wrap the lights evenly around all the hoops and pin down the excess lights with floral pins. Be sure you do not penetrate the wire. [See Video]
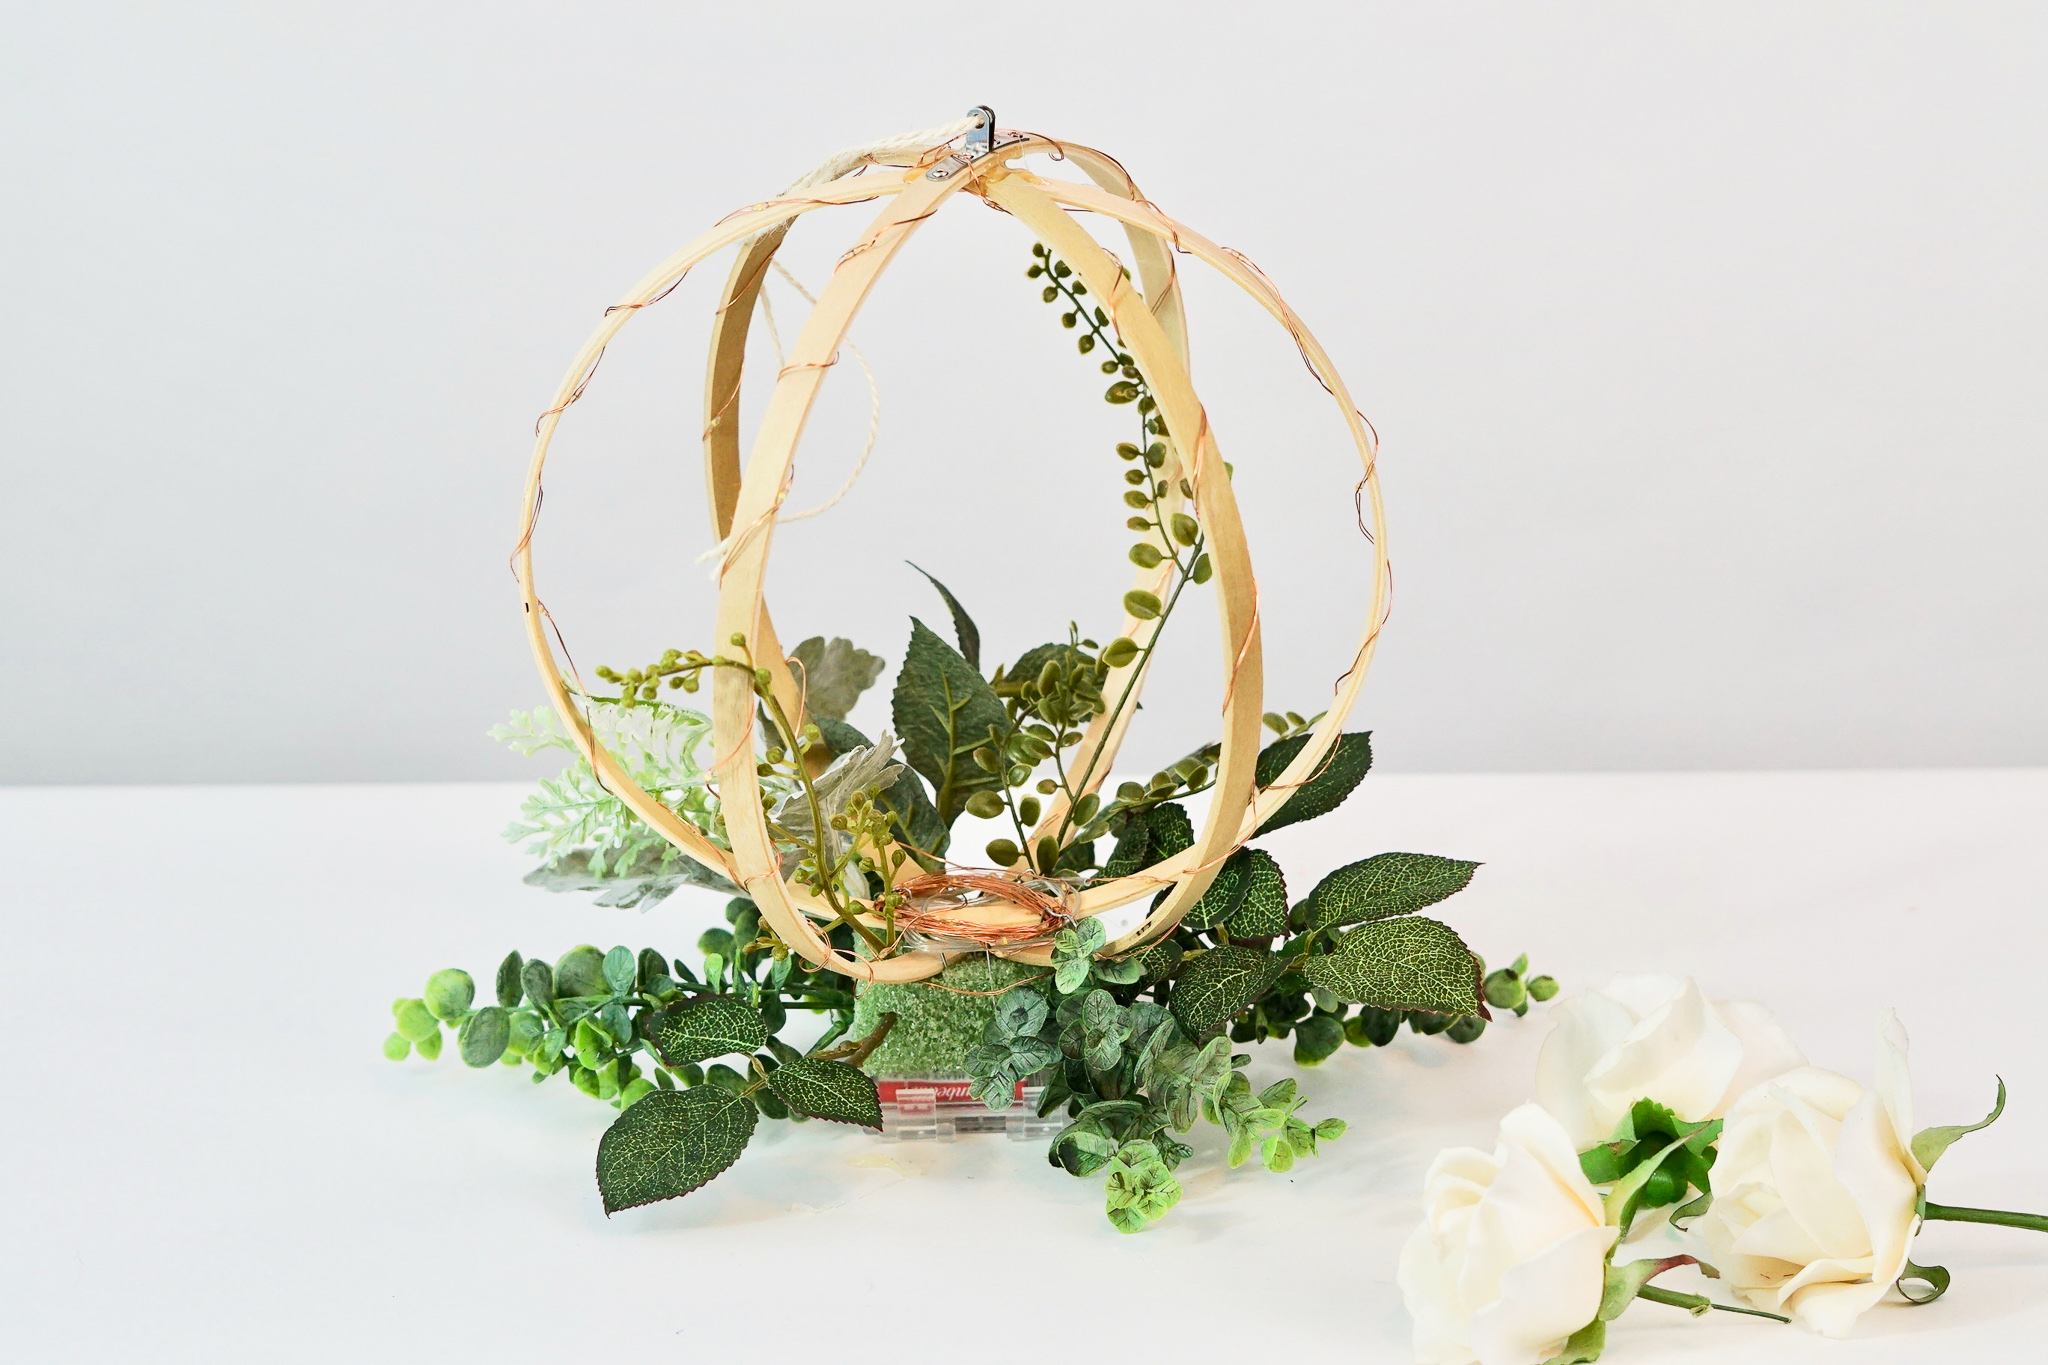
THE FINAL STEPS!
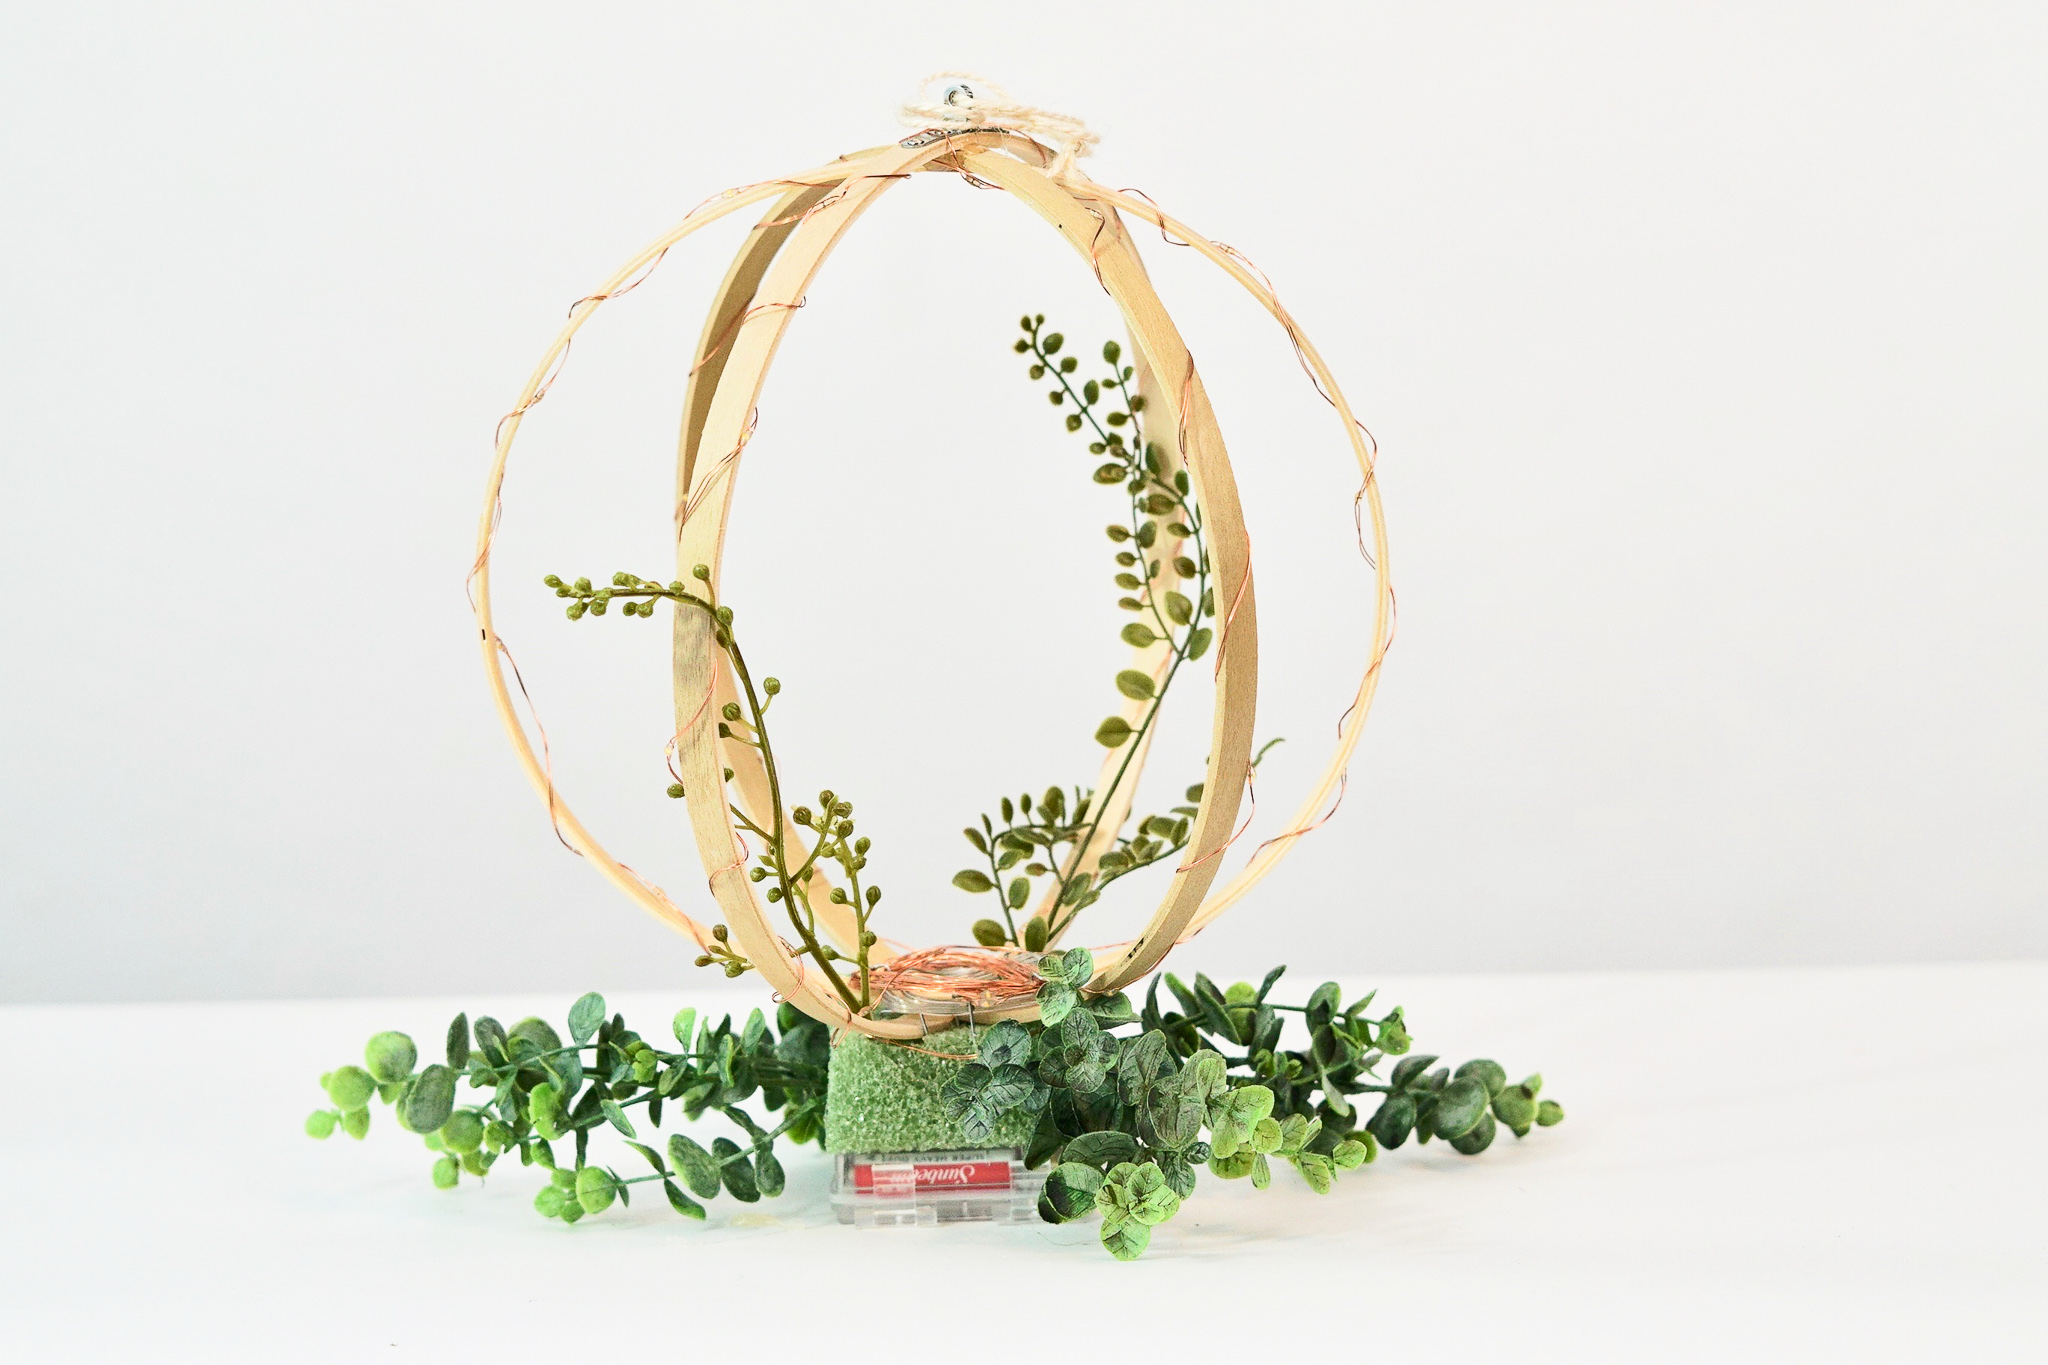
STEP 5: Attach 6-8 Eucalyptus stems, 1-3 frosted leaves, 4-6 green leaf stems, 2-4 large roses, and 4-6 tea roses to the foam cube. Fill in the empty spaces with additional leaves. Cover the screw at the top of the orb with leaves and a rose.
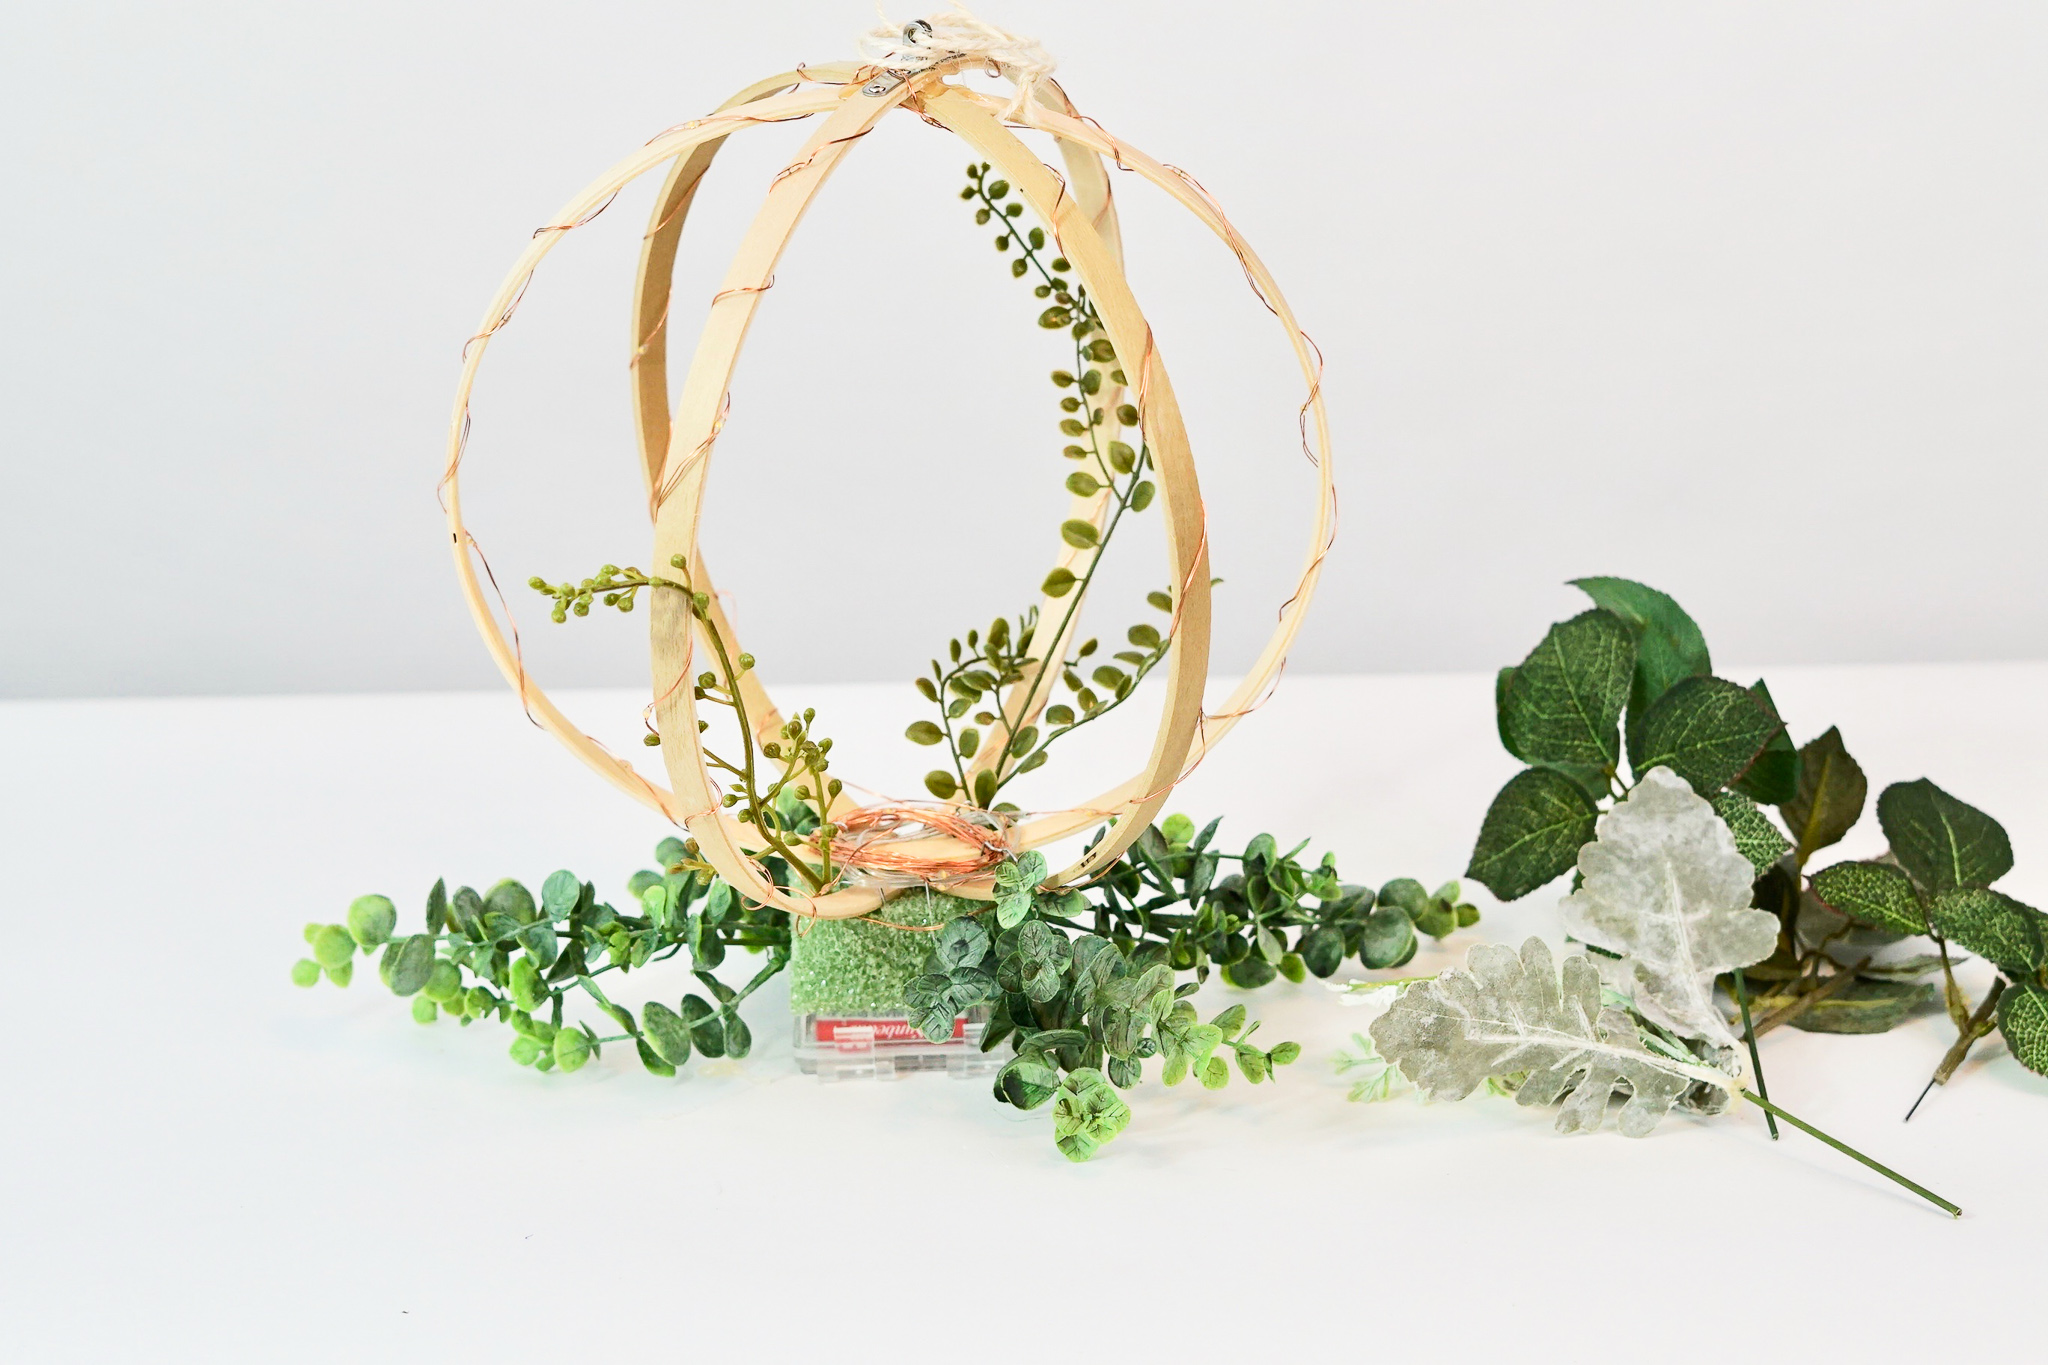
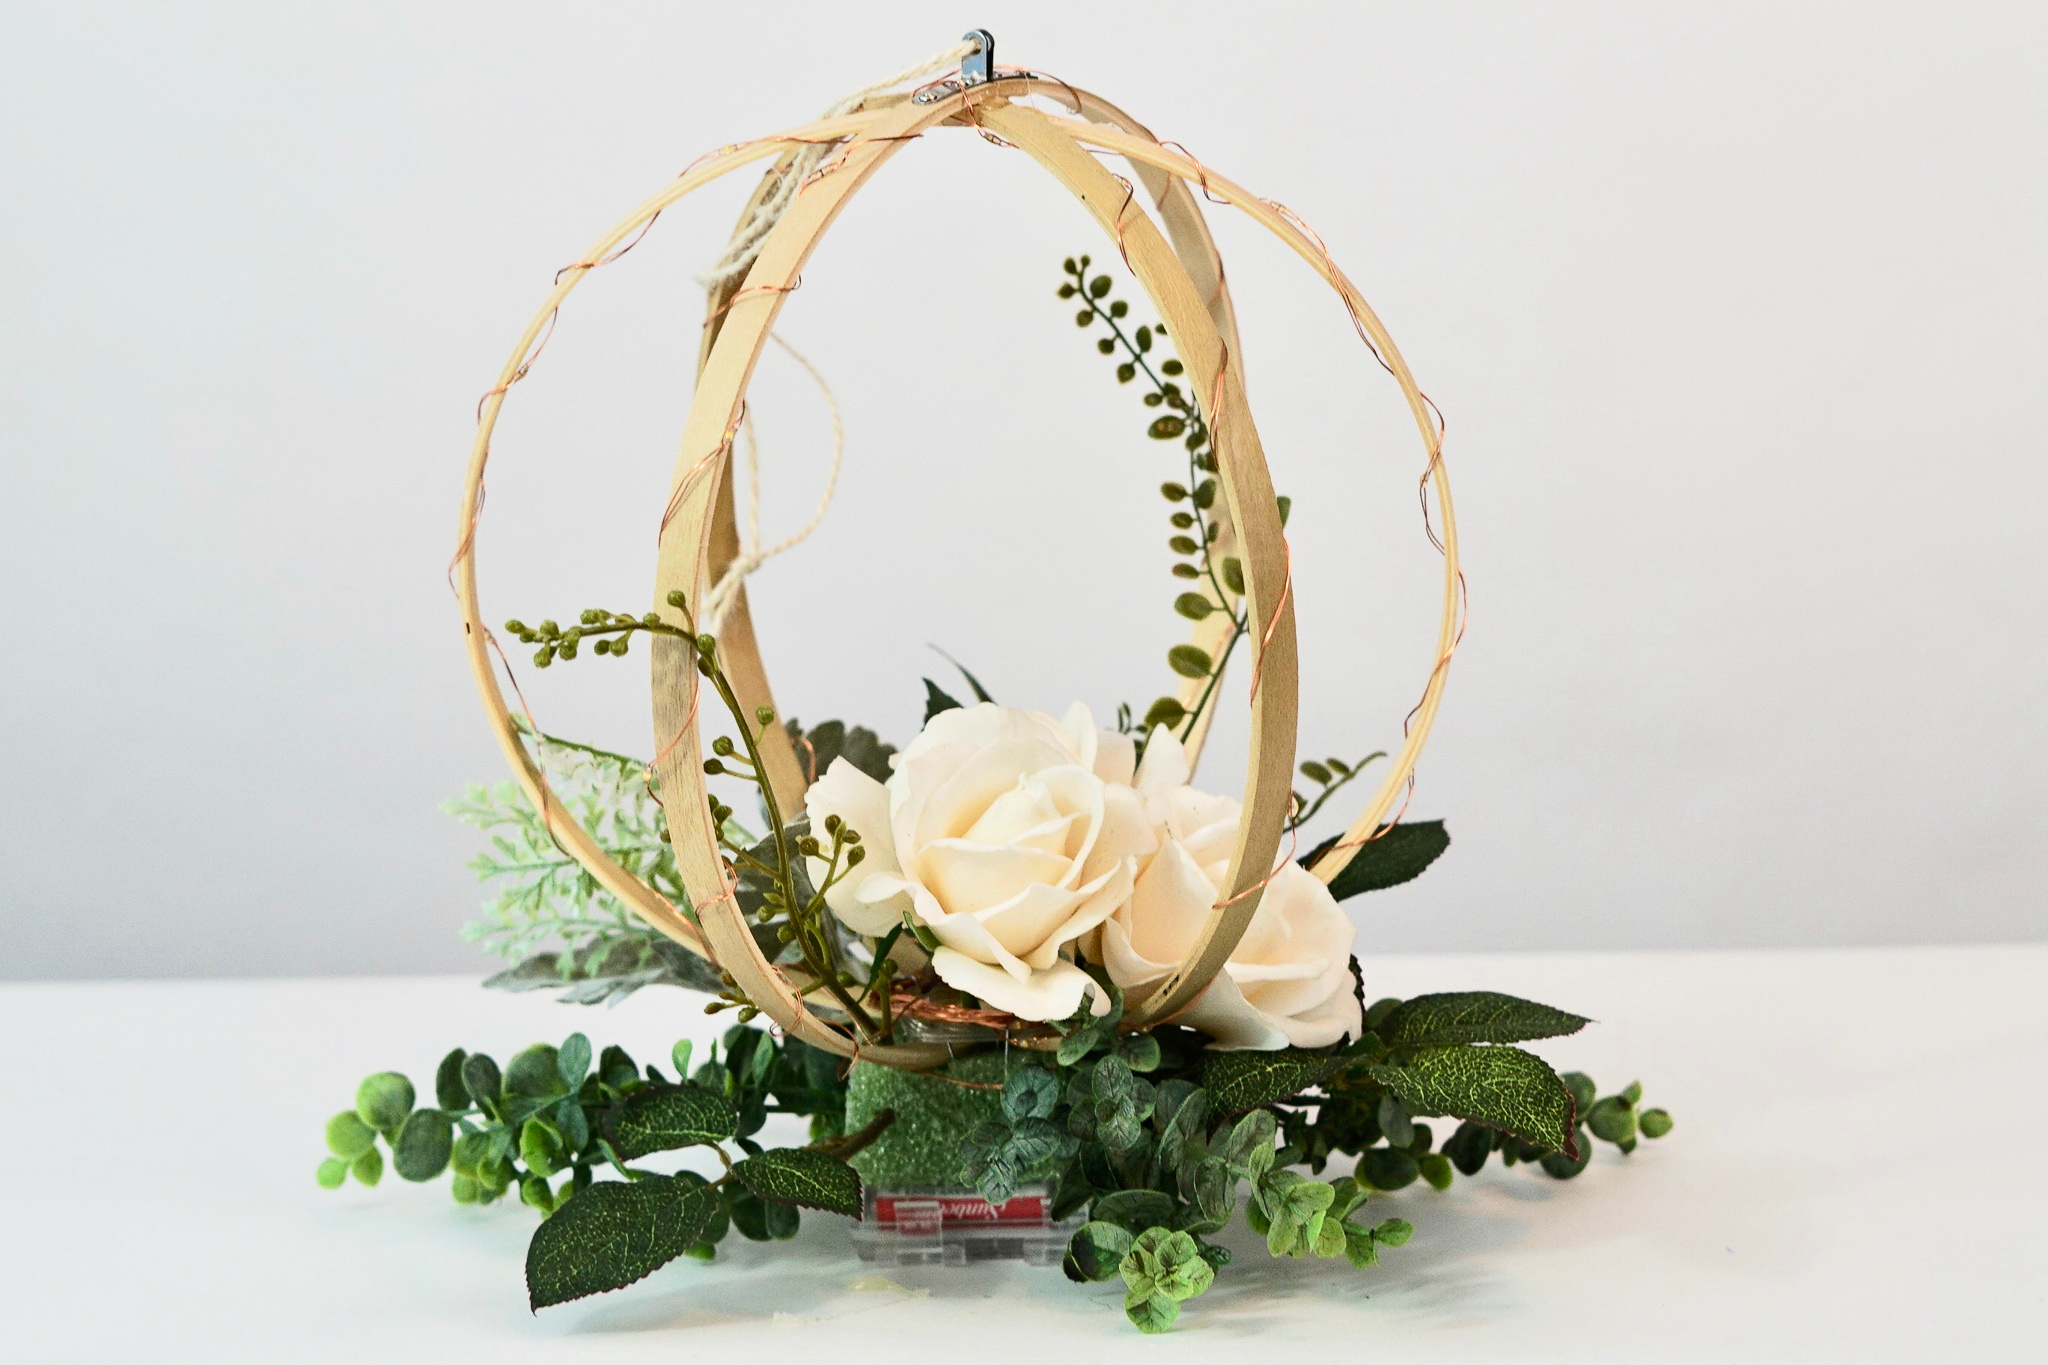
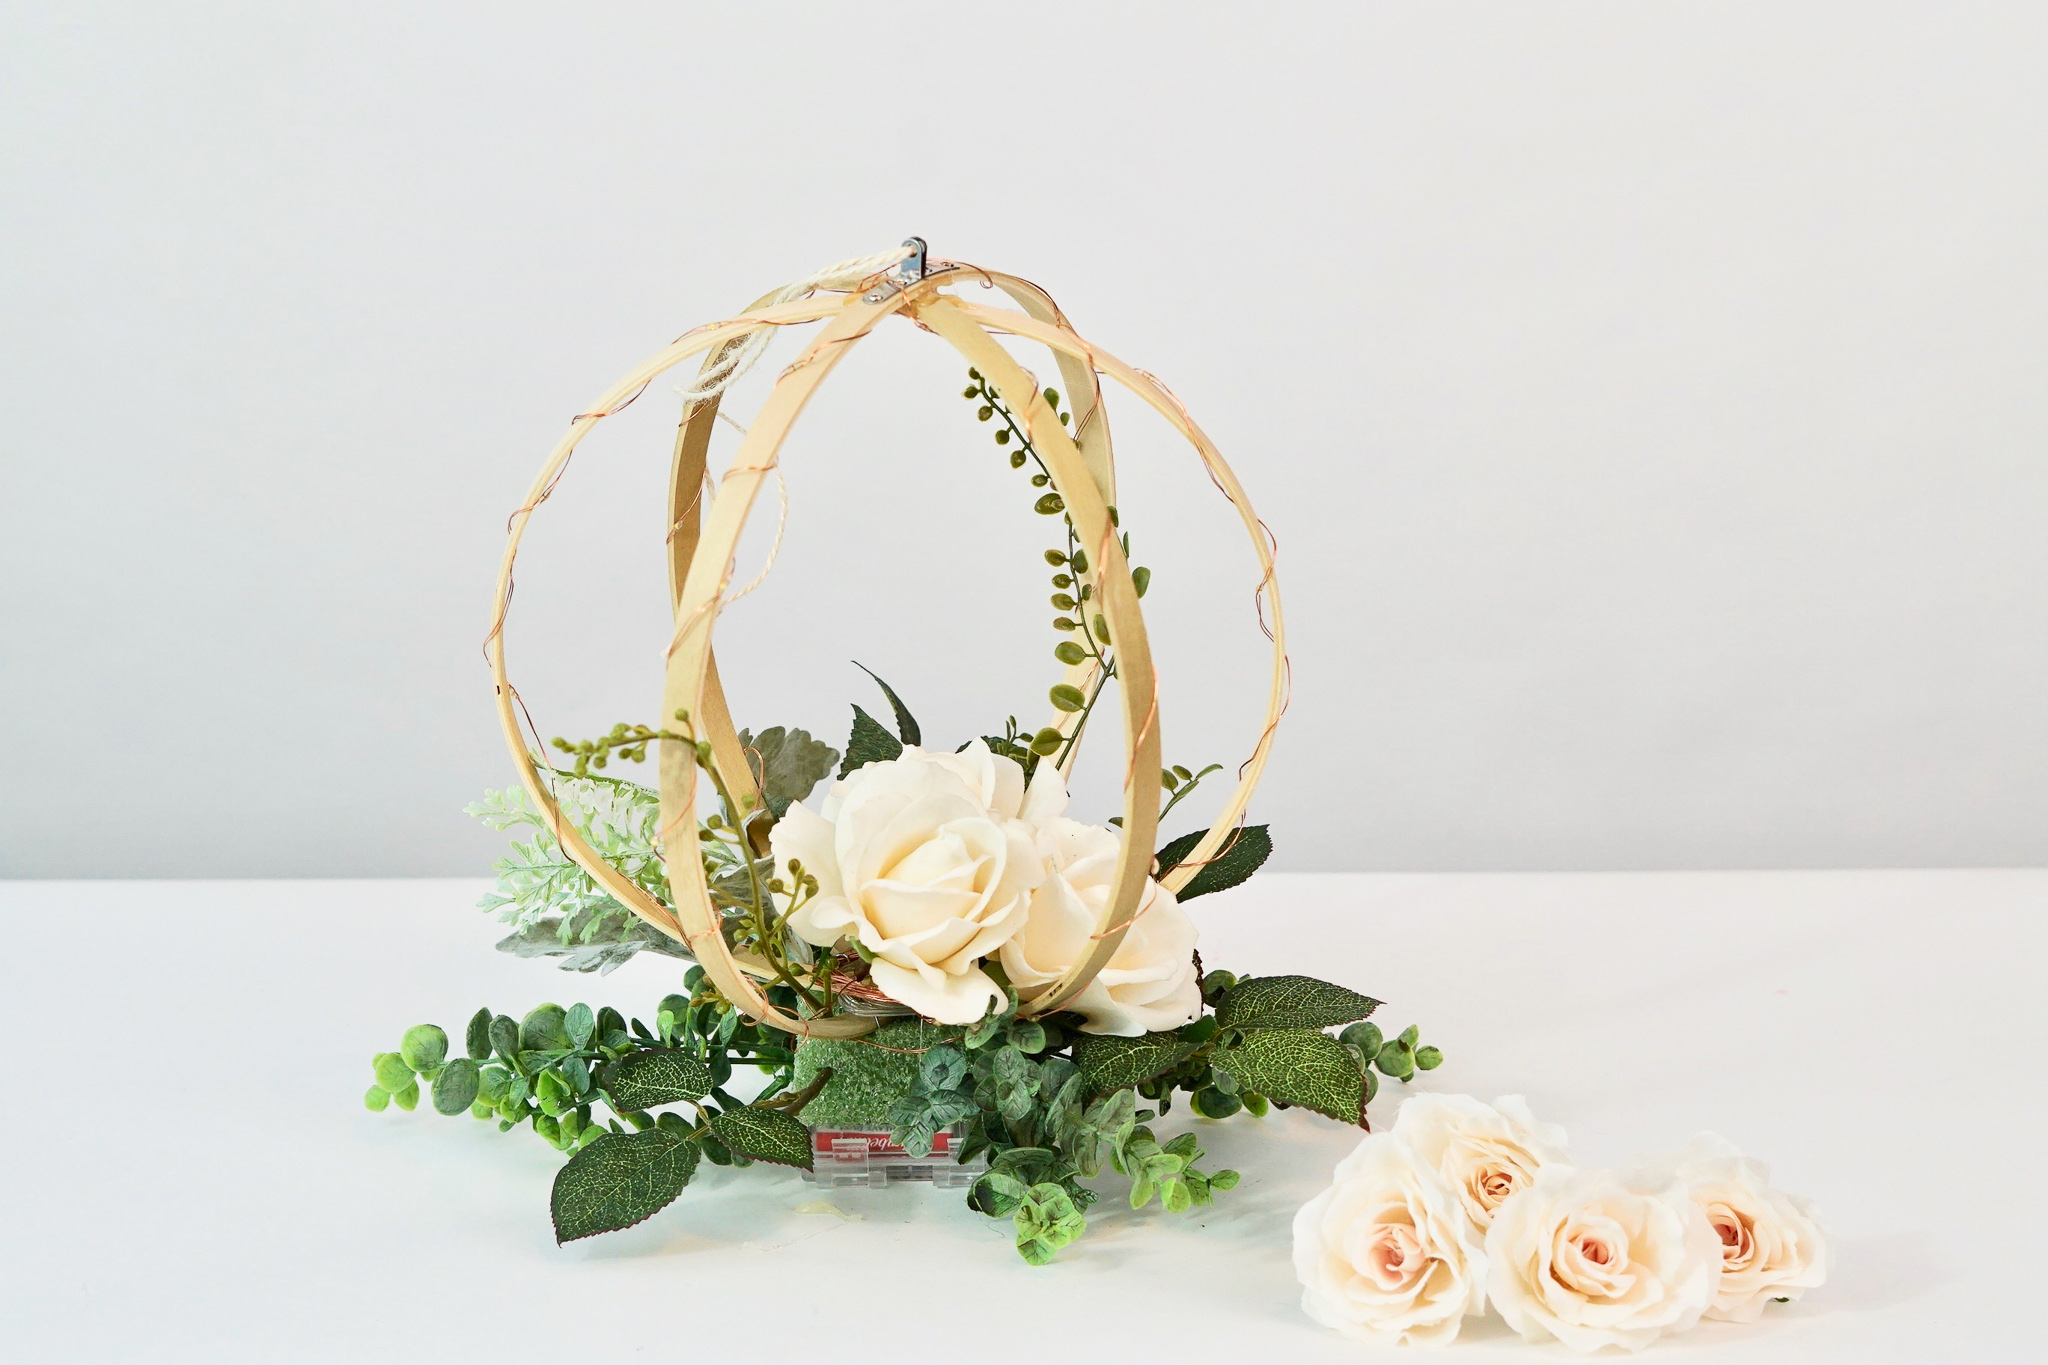
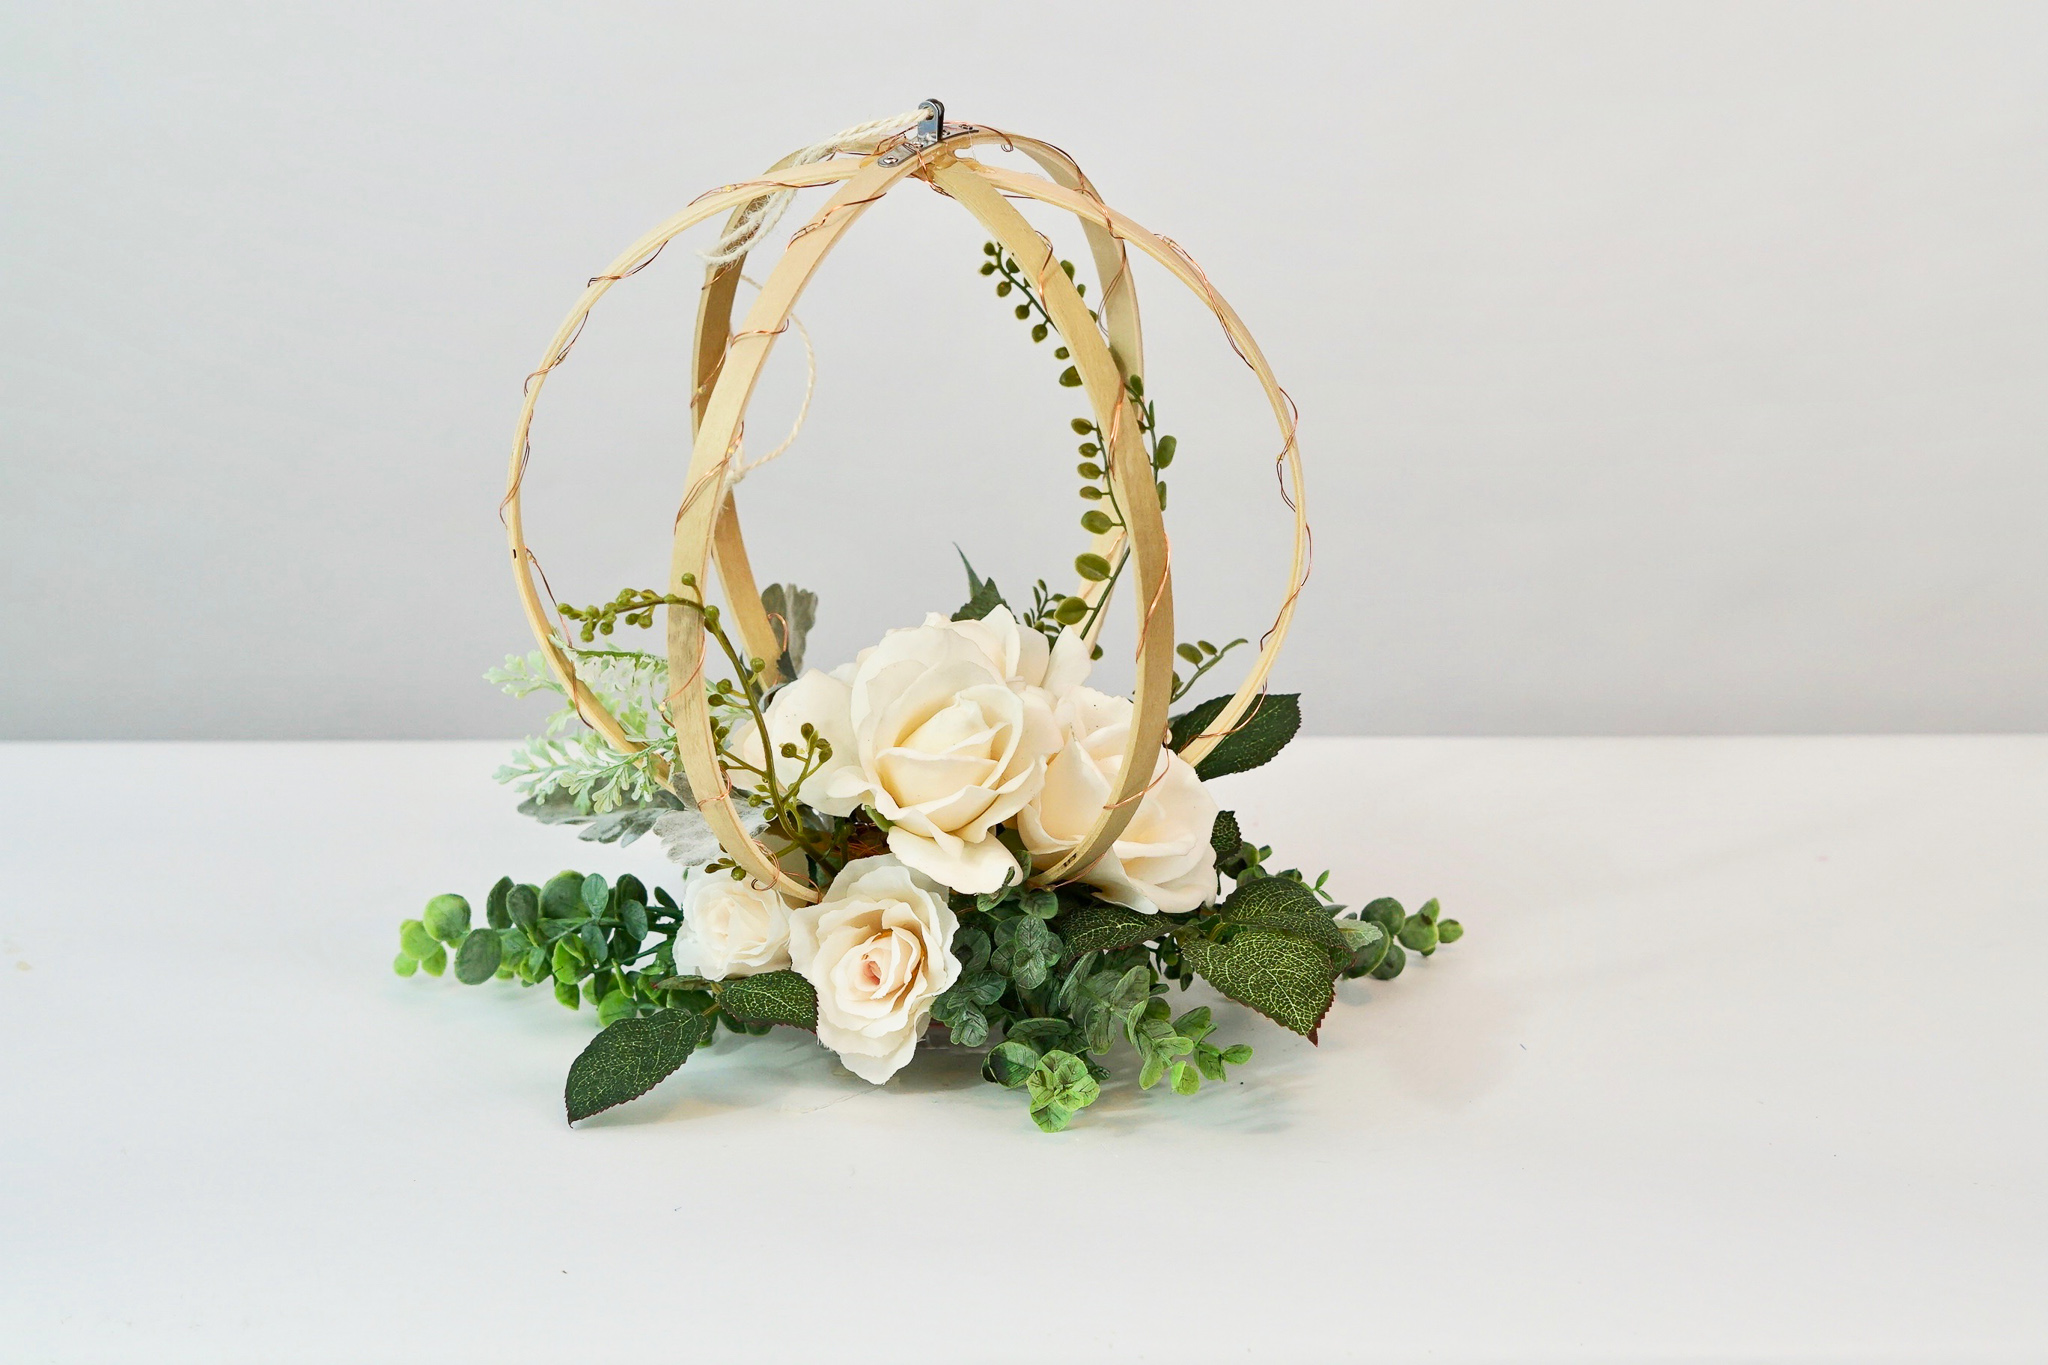
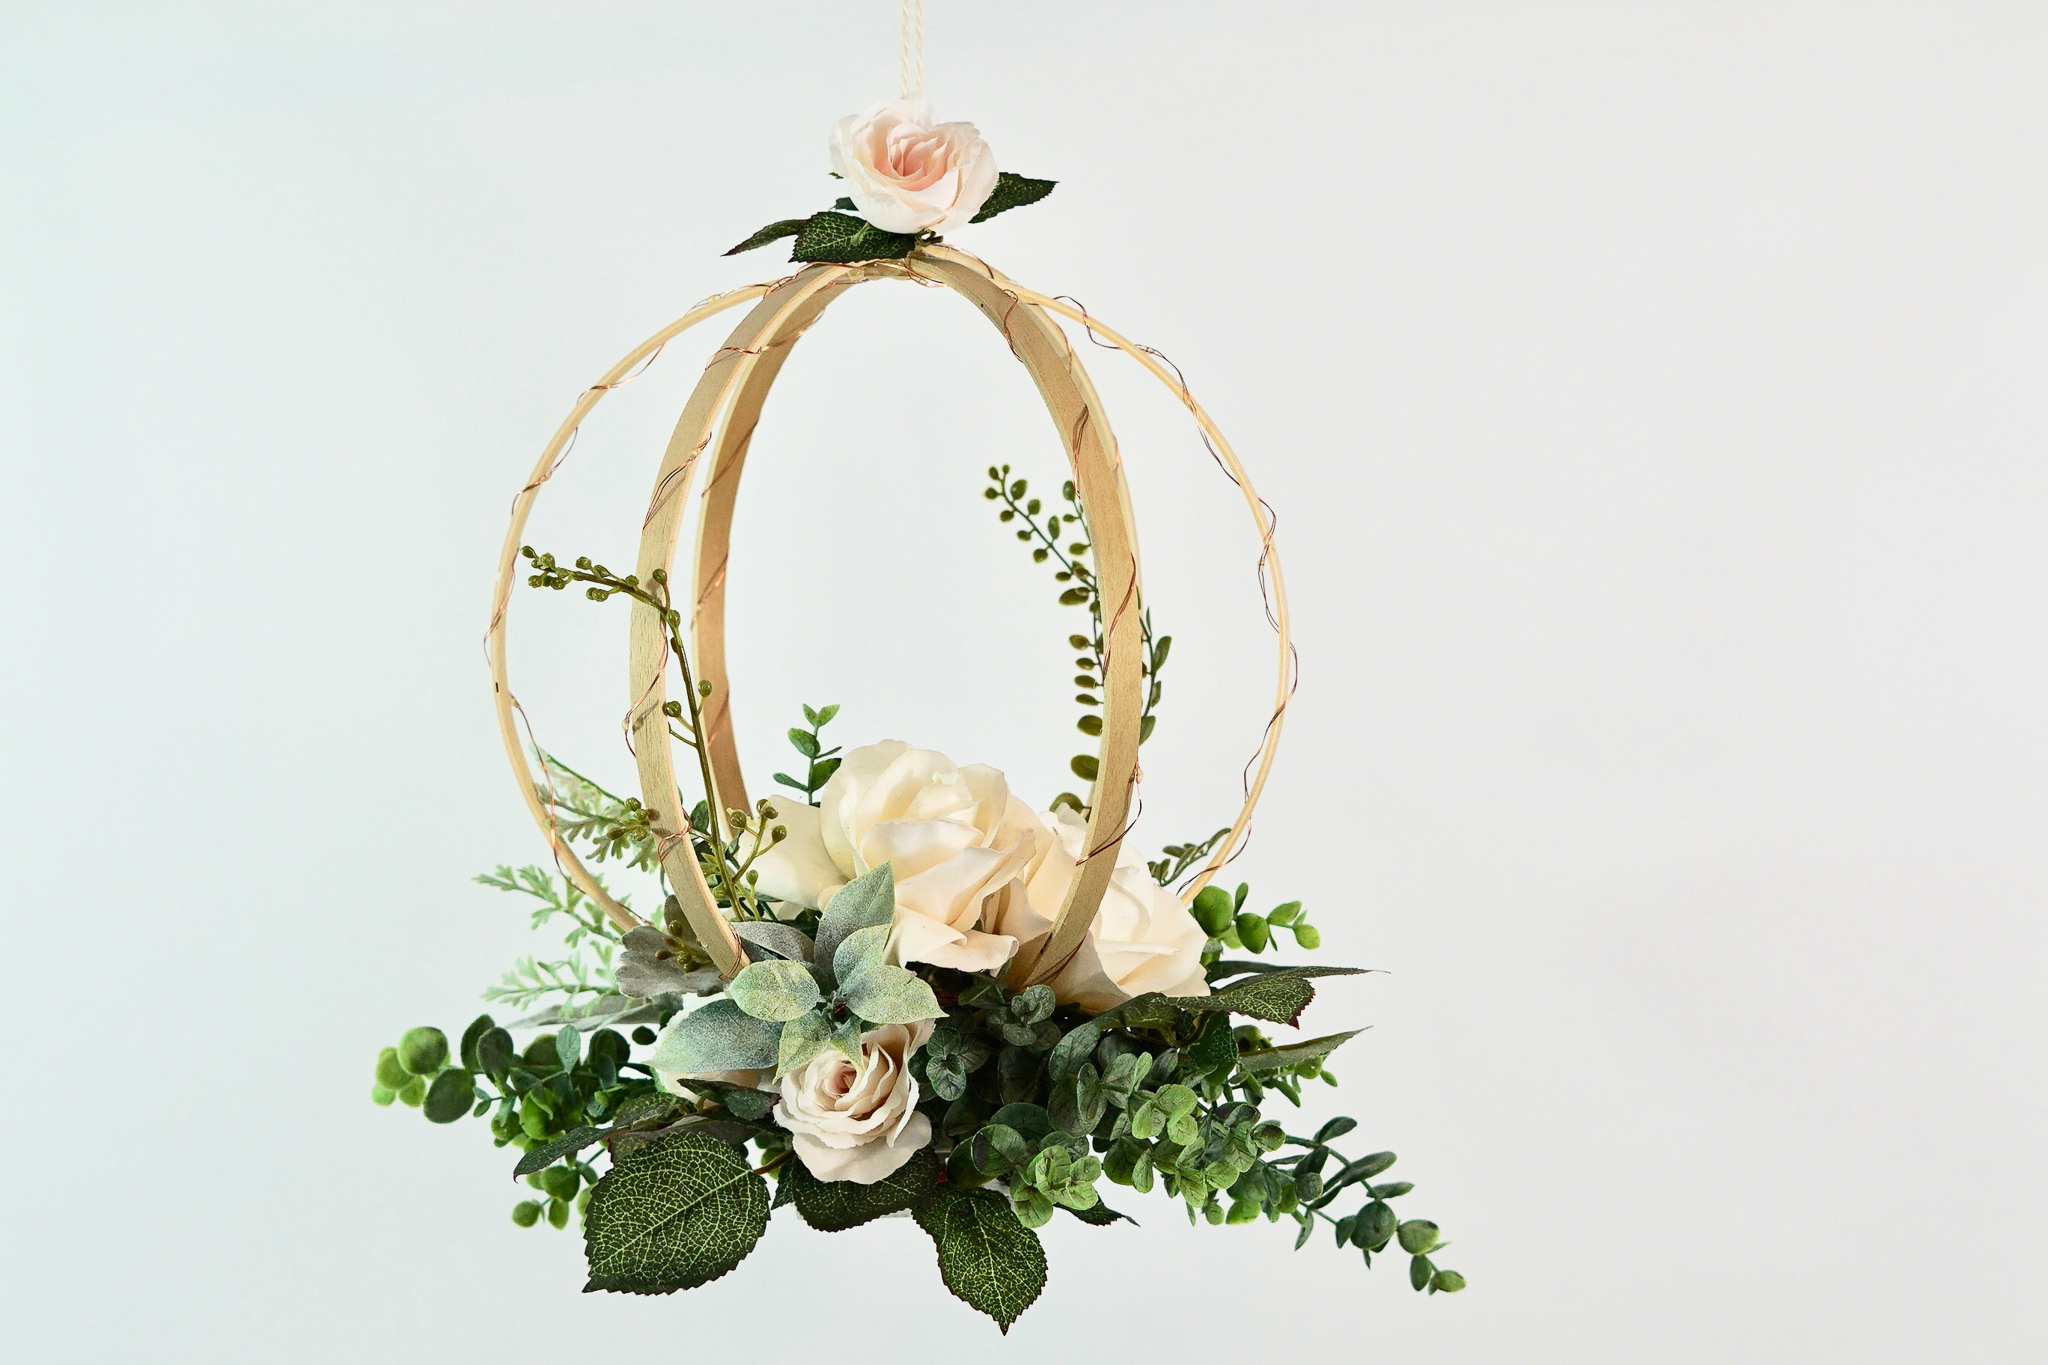
I absolutely love how this DIY Lighted Hanging Embroidery Hoop Orb Wedding Decor turned out! The outcome is amazing and definitely gives you an extra special touch to your wedding!
If you like the outcome please subscribe to our Youtube Channel for more DIY Videos and follow us on Facebook and Pinterest.
Need help with an upcoming project? Be sure to send us a project request!
“Remember When Every Penny Counts, Count on MissPlanIt”
I love it. If it is hanging how to hide the base of the battery?