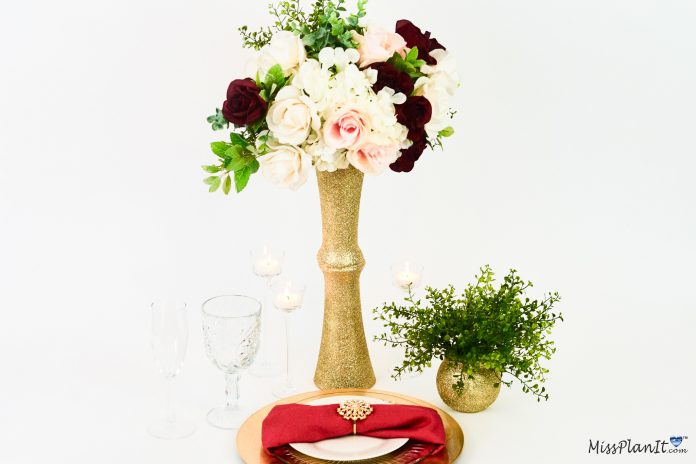
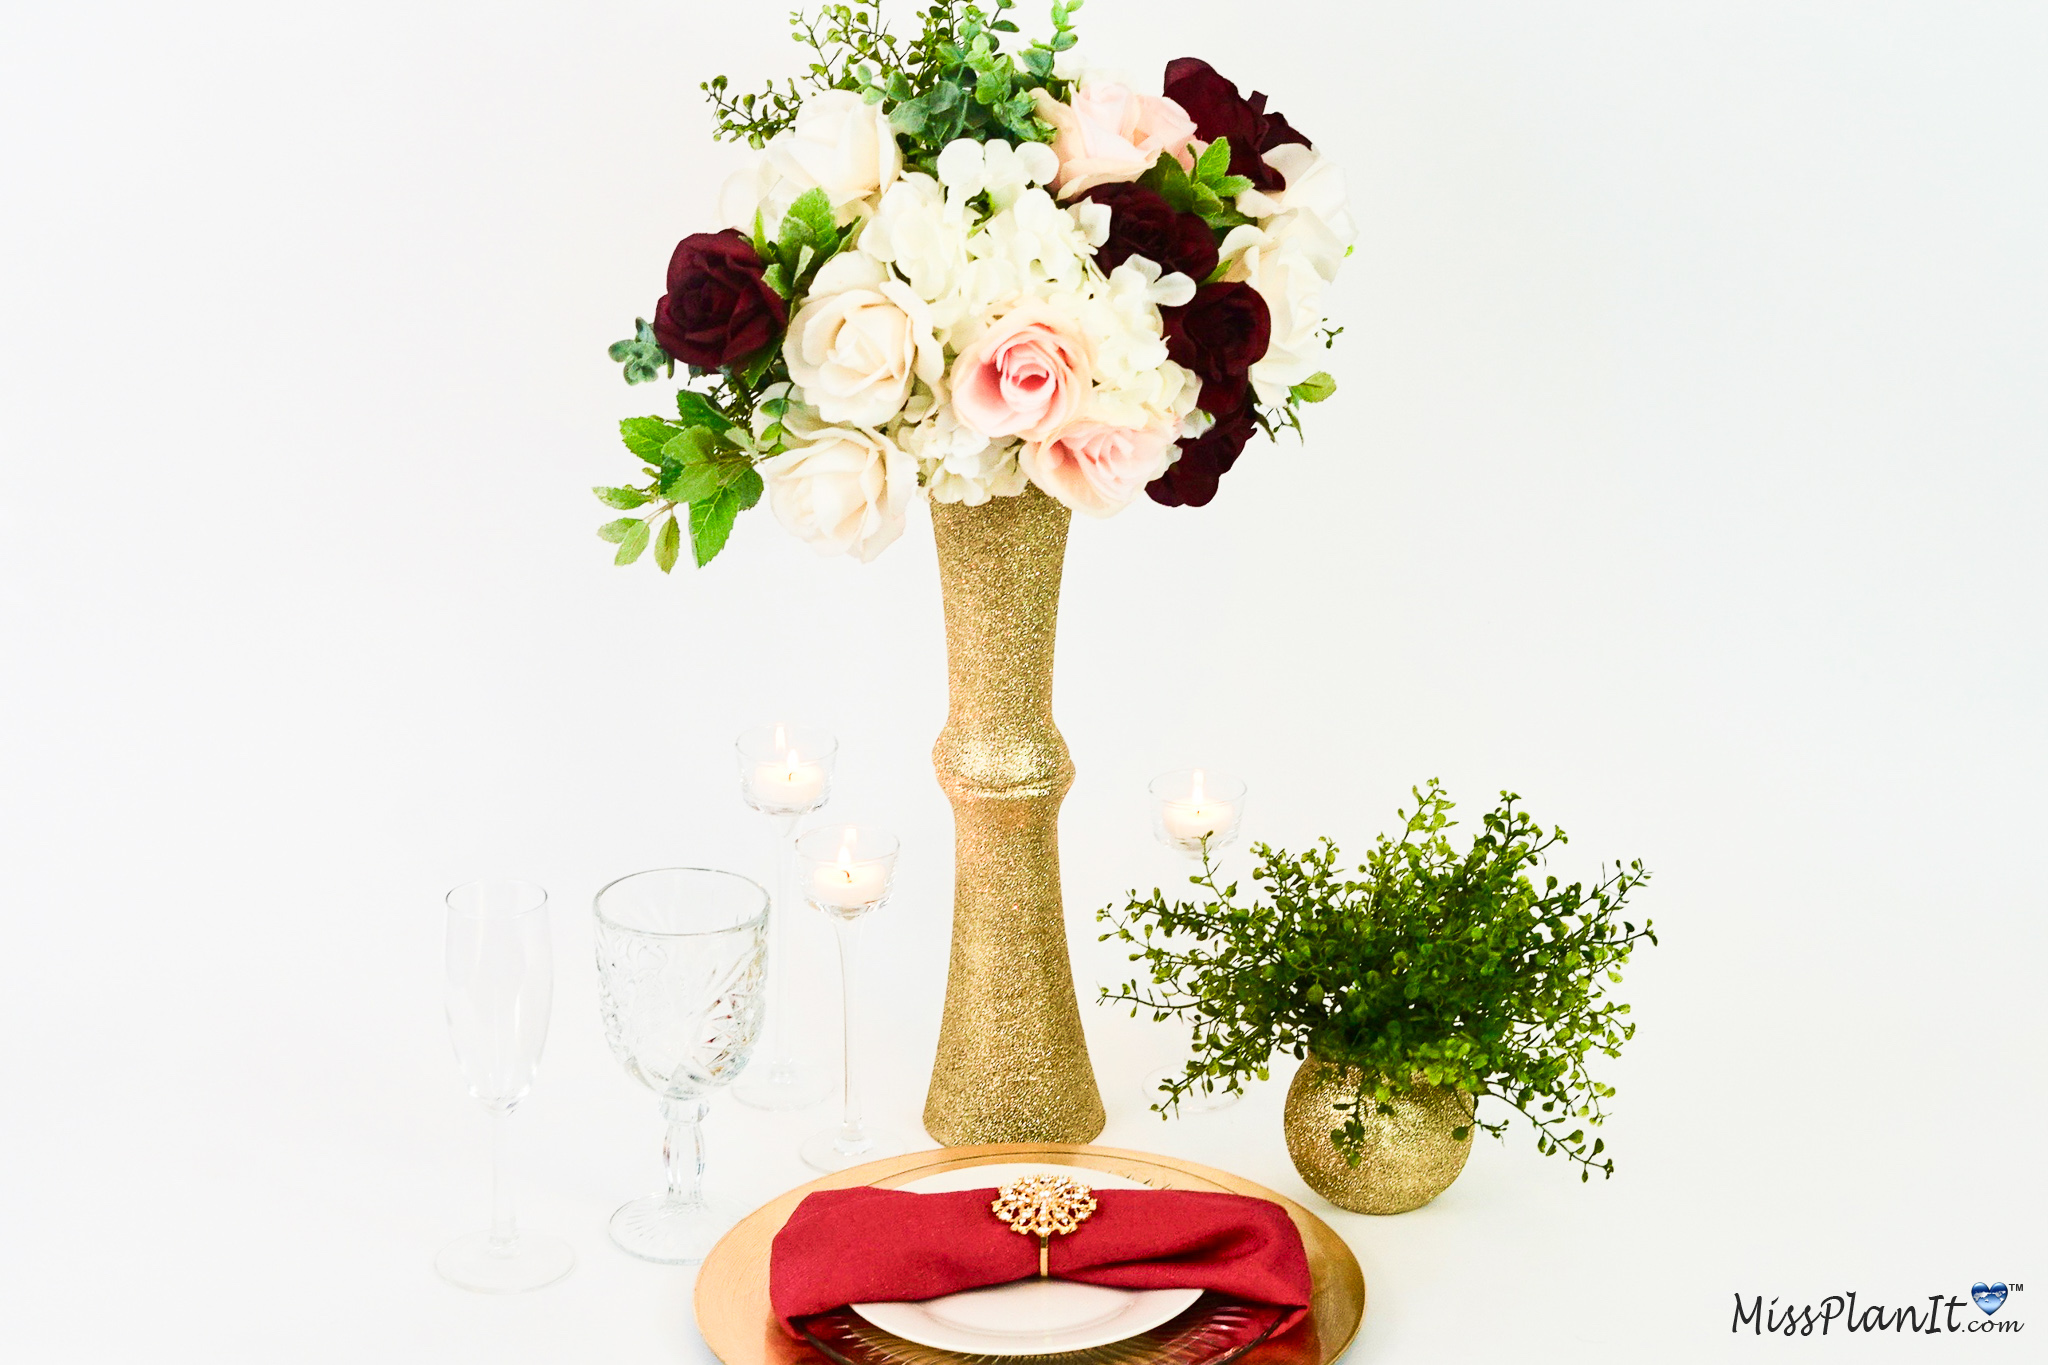
This week’s DIY Rustic Glam Wedding Centerpiece is simply beautiful and affordable. I was able to create a $2 Wedding Vase using Dollar Tree Pilsner Glasses. The glasses are $1 a piece and I only needed two of them. You too can easily create a $2 or $3 wedding vase that looks like a $25 Wedding Vase. Yes, I know that is amazing but I bet you also didn’t know mostly all the flowers for this DIY were from the Dollar Tree. Their velvetty roses have an appearance of real flowers but they are usually only available during this time of year. So if you plan to recreate this piece be sure to grab all the velvetty roses from Dollar Tree that you can. The supply list can be found below. Now let’s get started. For video instructions, please check out the video tutorial below!
[convertkit form=917377]
VIDEO TUTORIAL:
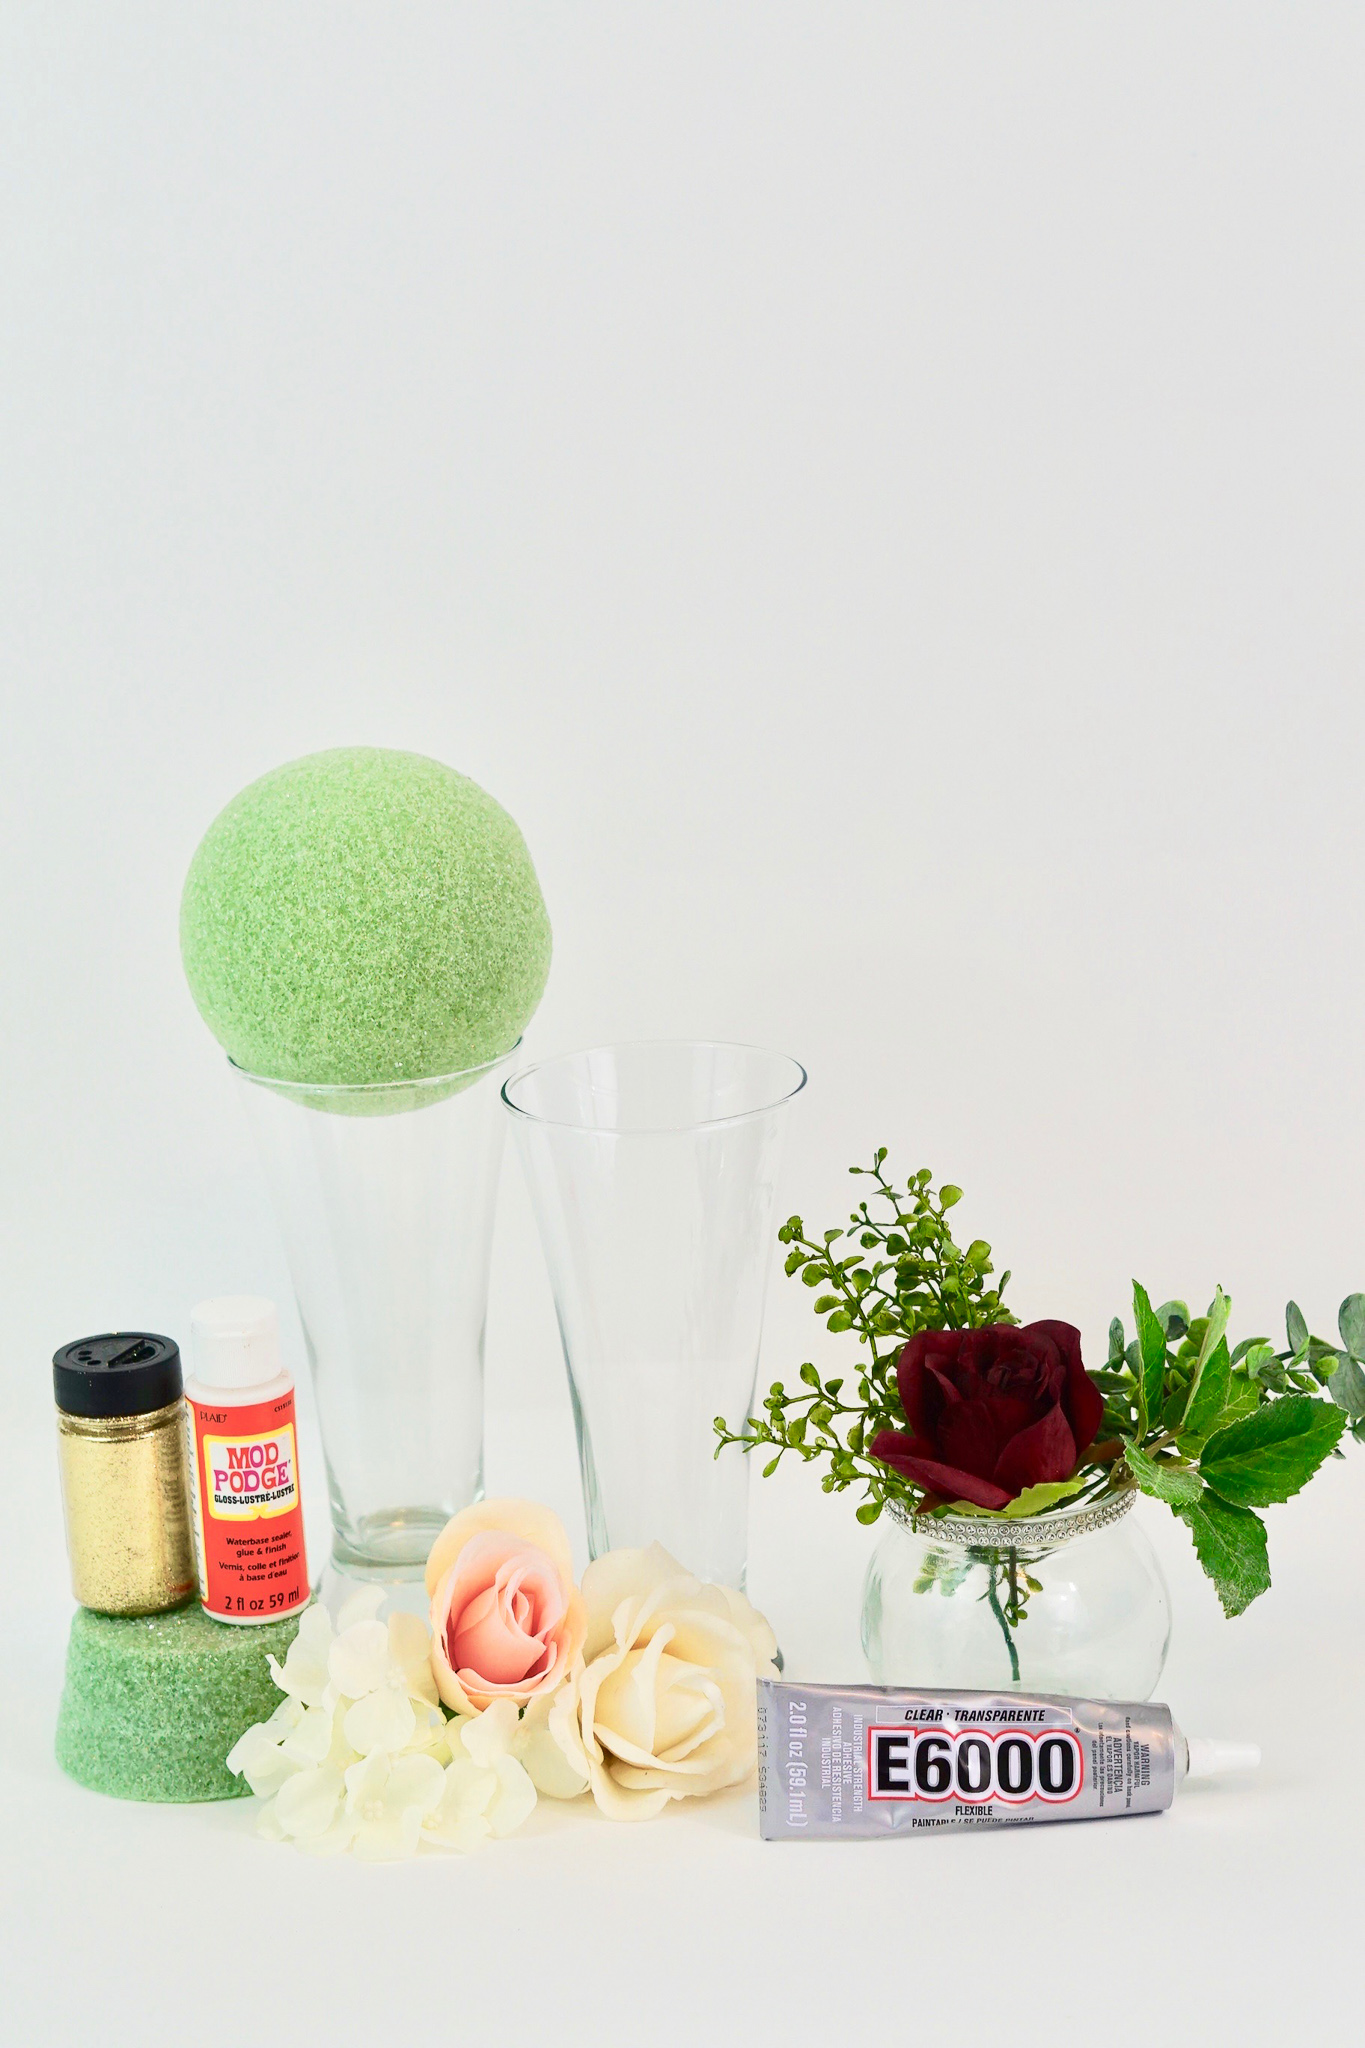
SUPPLIES:
Flared Glass Pilsner Glasses, 19.25 oz.
Rhinestone Rimmed Round Glass Candle Holders
Green Foam Pot Inserts
Mod Podge Gloss Craft Adhesive, 2-oz. Bottles
Floral Garden 5-Stem Cream Velvety Roses, 14 in.
7-Stem Queen Rose Bushes, 14.5 in. Pink
Mini Leaves Bush
Eucalyptus Bush With Small Leaves
Gold Extra Fine Glitter – 2 Ounce
Green Styrofoam Ball – 5”
Mini Mint Bush
E6000 Clear Industrial Strength Adhesive – 2 Ounce
Floral Garden 6-Stem Artificial Hydrangea Bushes, 16 in
Burgundy Roses
Krylon Clear Coat Acrylic Spray Paint
For written instructions, please continue reading below:
How to Make a Beautiful Rustic Glam Wedding Centerpiece
Directions:
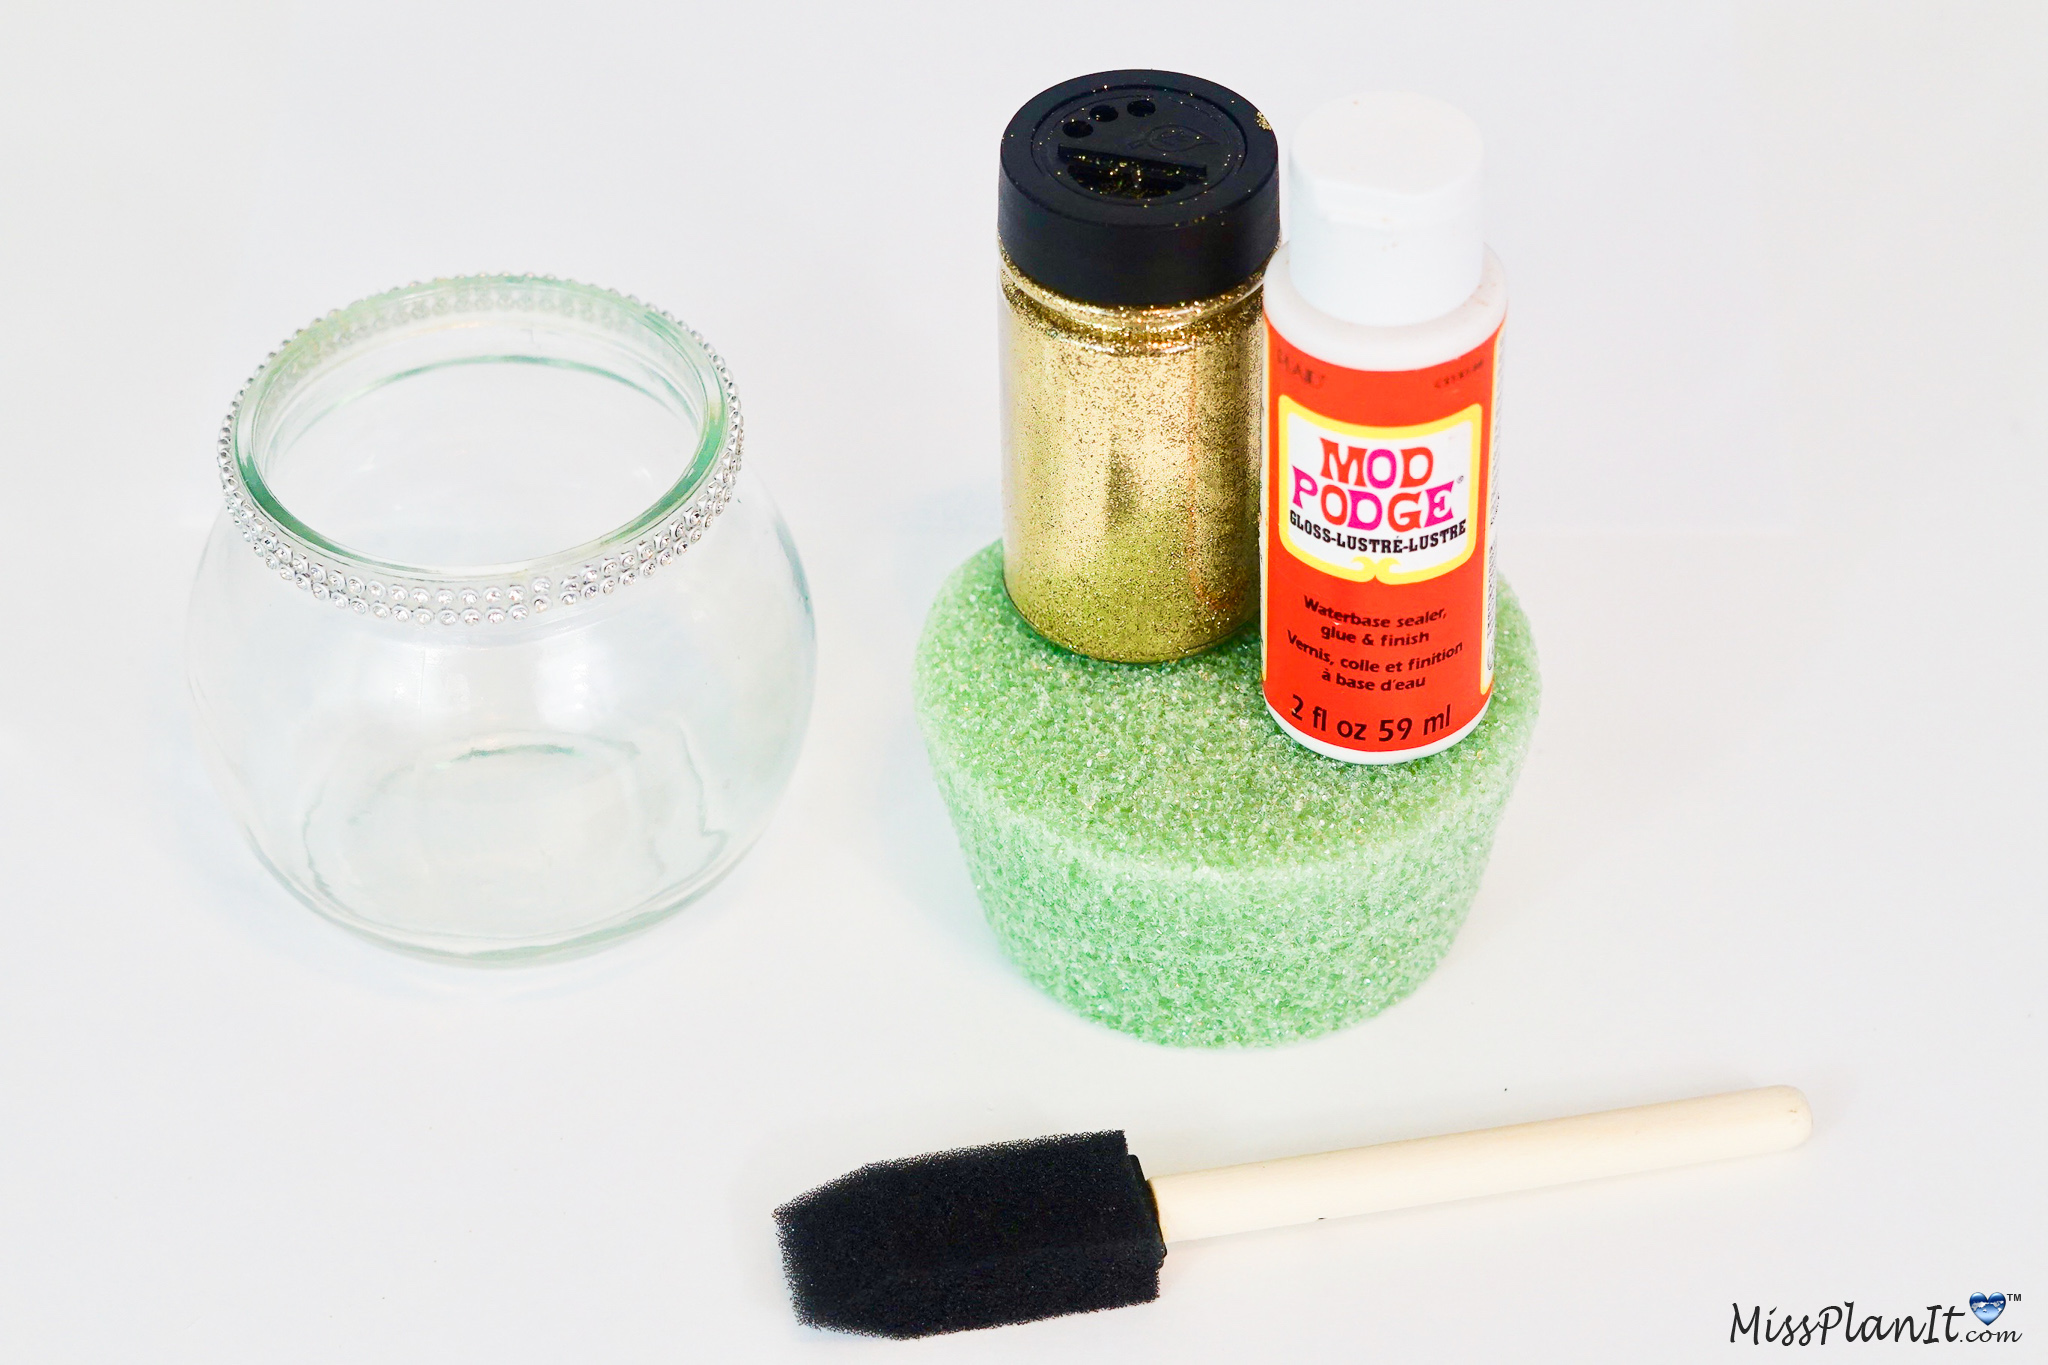
STEP 1: Remove the rhinestone trim from the glass candle holder. Next cut the green foam pot insert in half. Place the glass candleholder on one of the halves and press down to make an indention. Now trim the indented area off, this is so it fits inside of the candleholder.
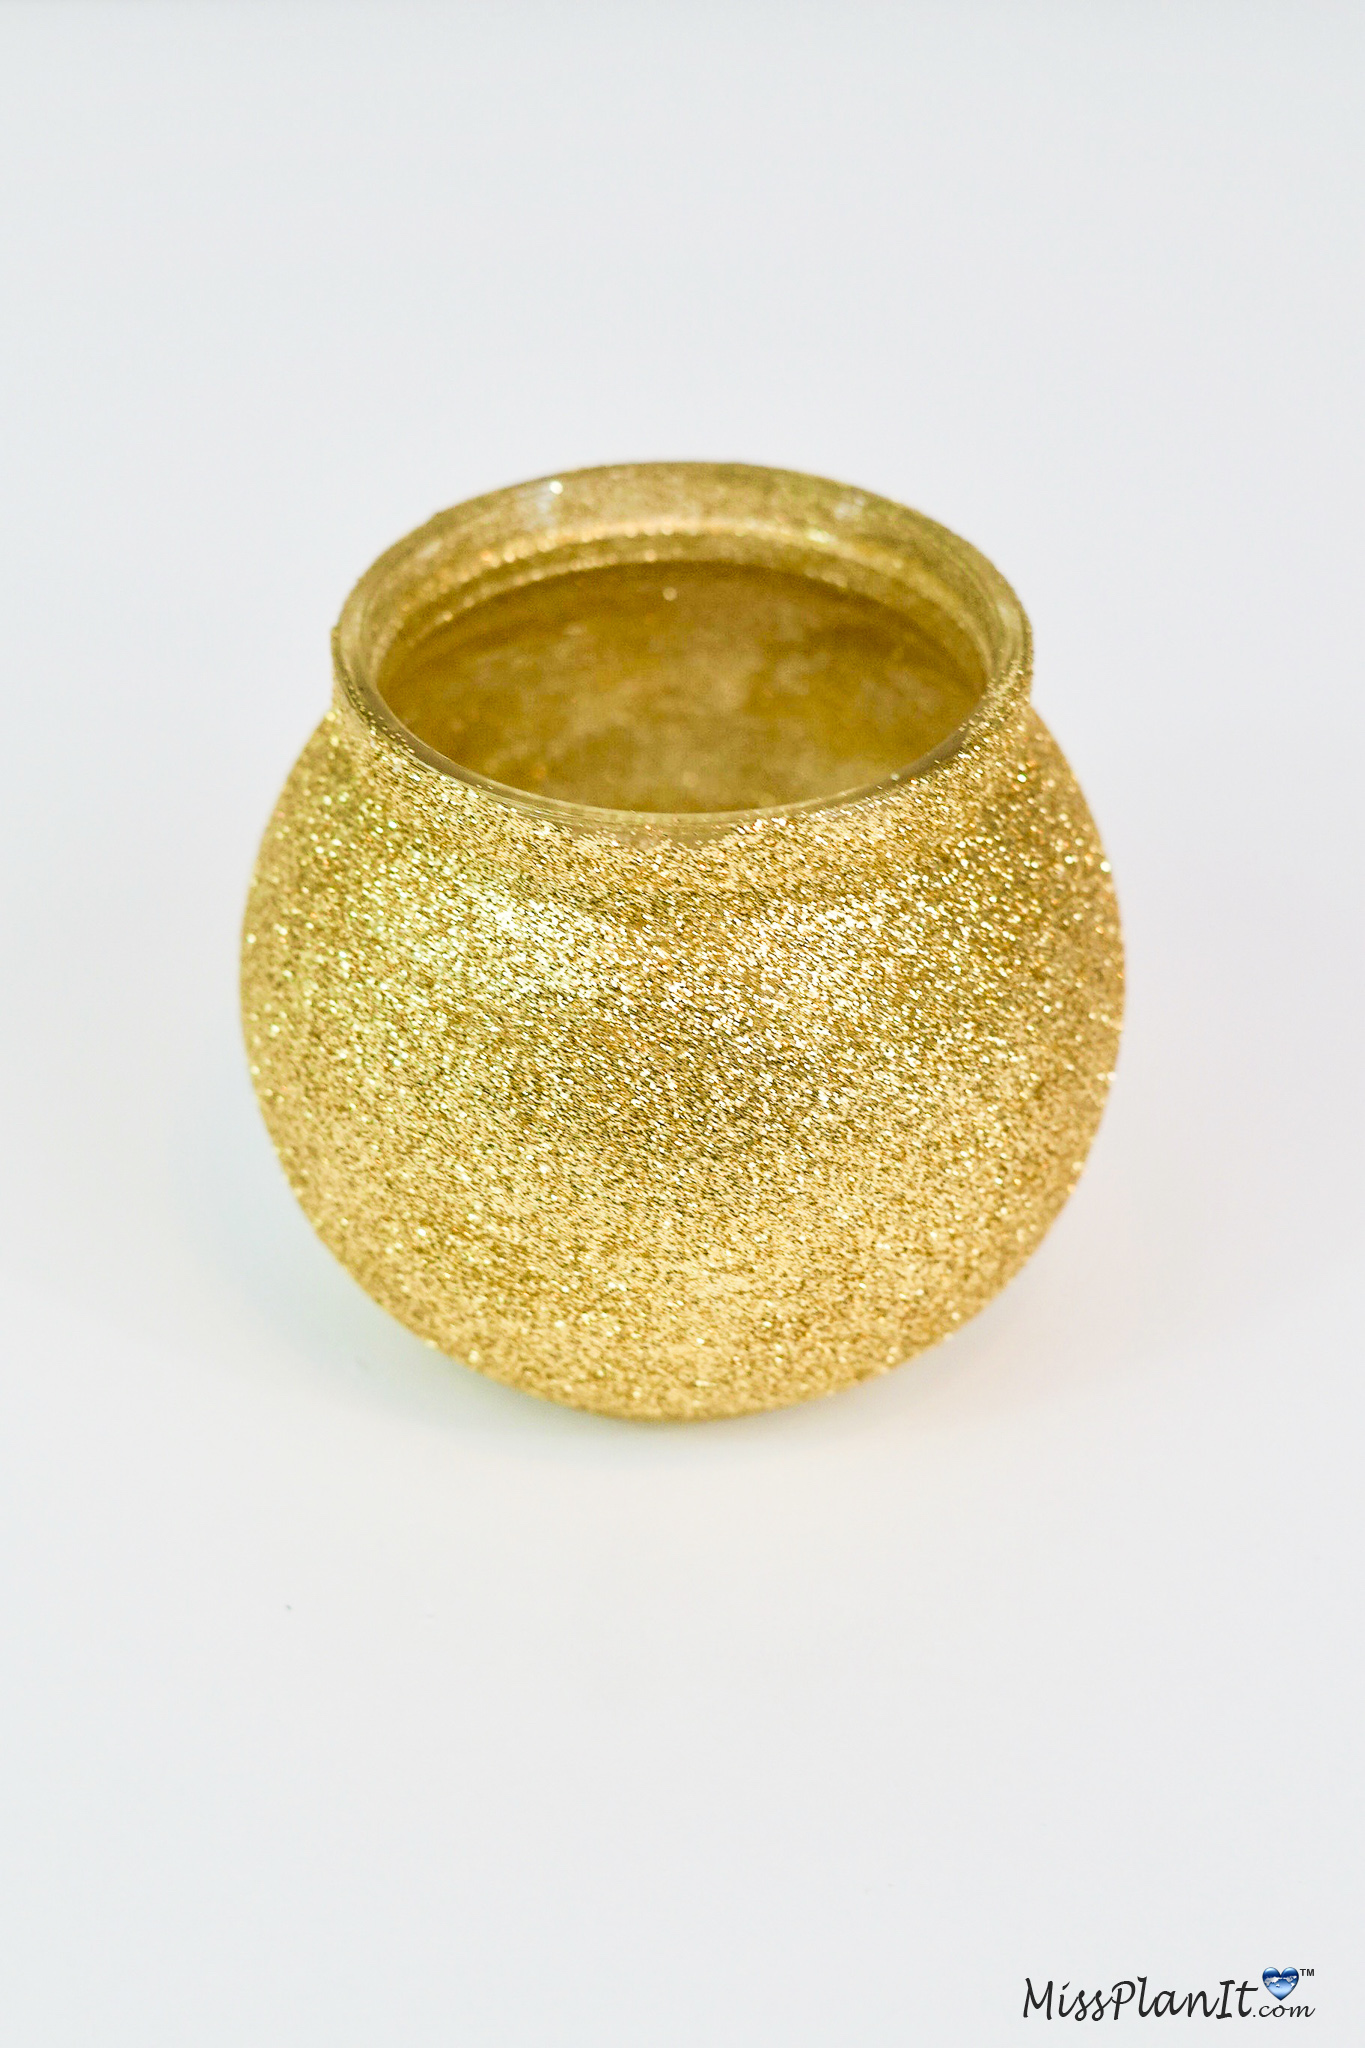
Cover the CandleHolder with Mod Podge and Gold Glitter
STEP 2: Evenly paint mod podge on the candleholder in sections. Paint mod podge on the bottom of the candleholder then sprinkle on the gold glitter. Repeat this step by painting the middle section and then the top section with mod podge and then sprinkling on the glitter.
TIP: If there is any missing glitter on the candleholder, simply apply mod podge in that place and sprinkle on your glitter. It will all dry seamlessly!
Add Greenery to the Candleholder Foam Pot Insert
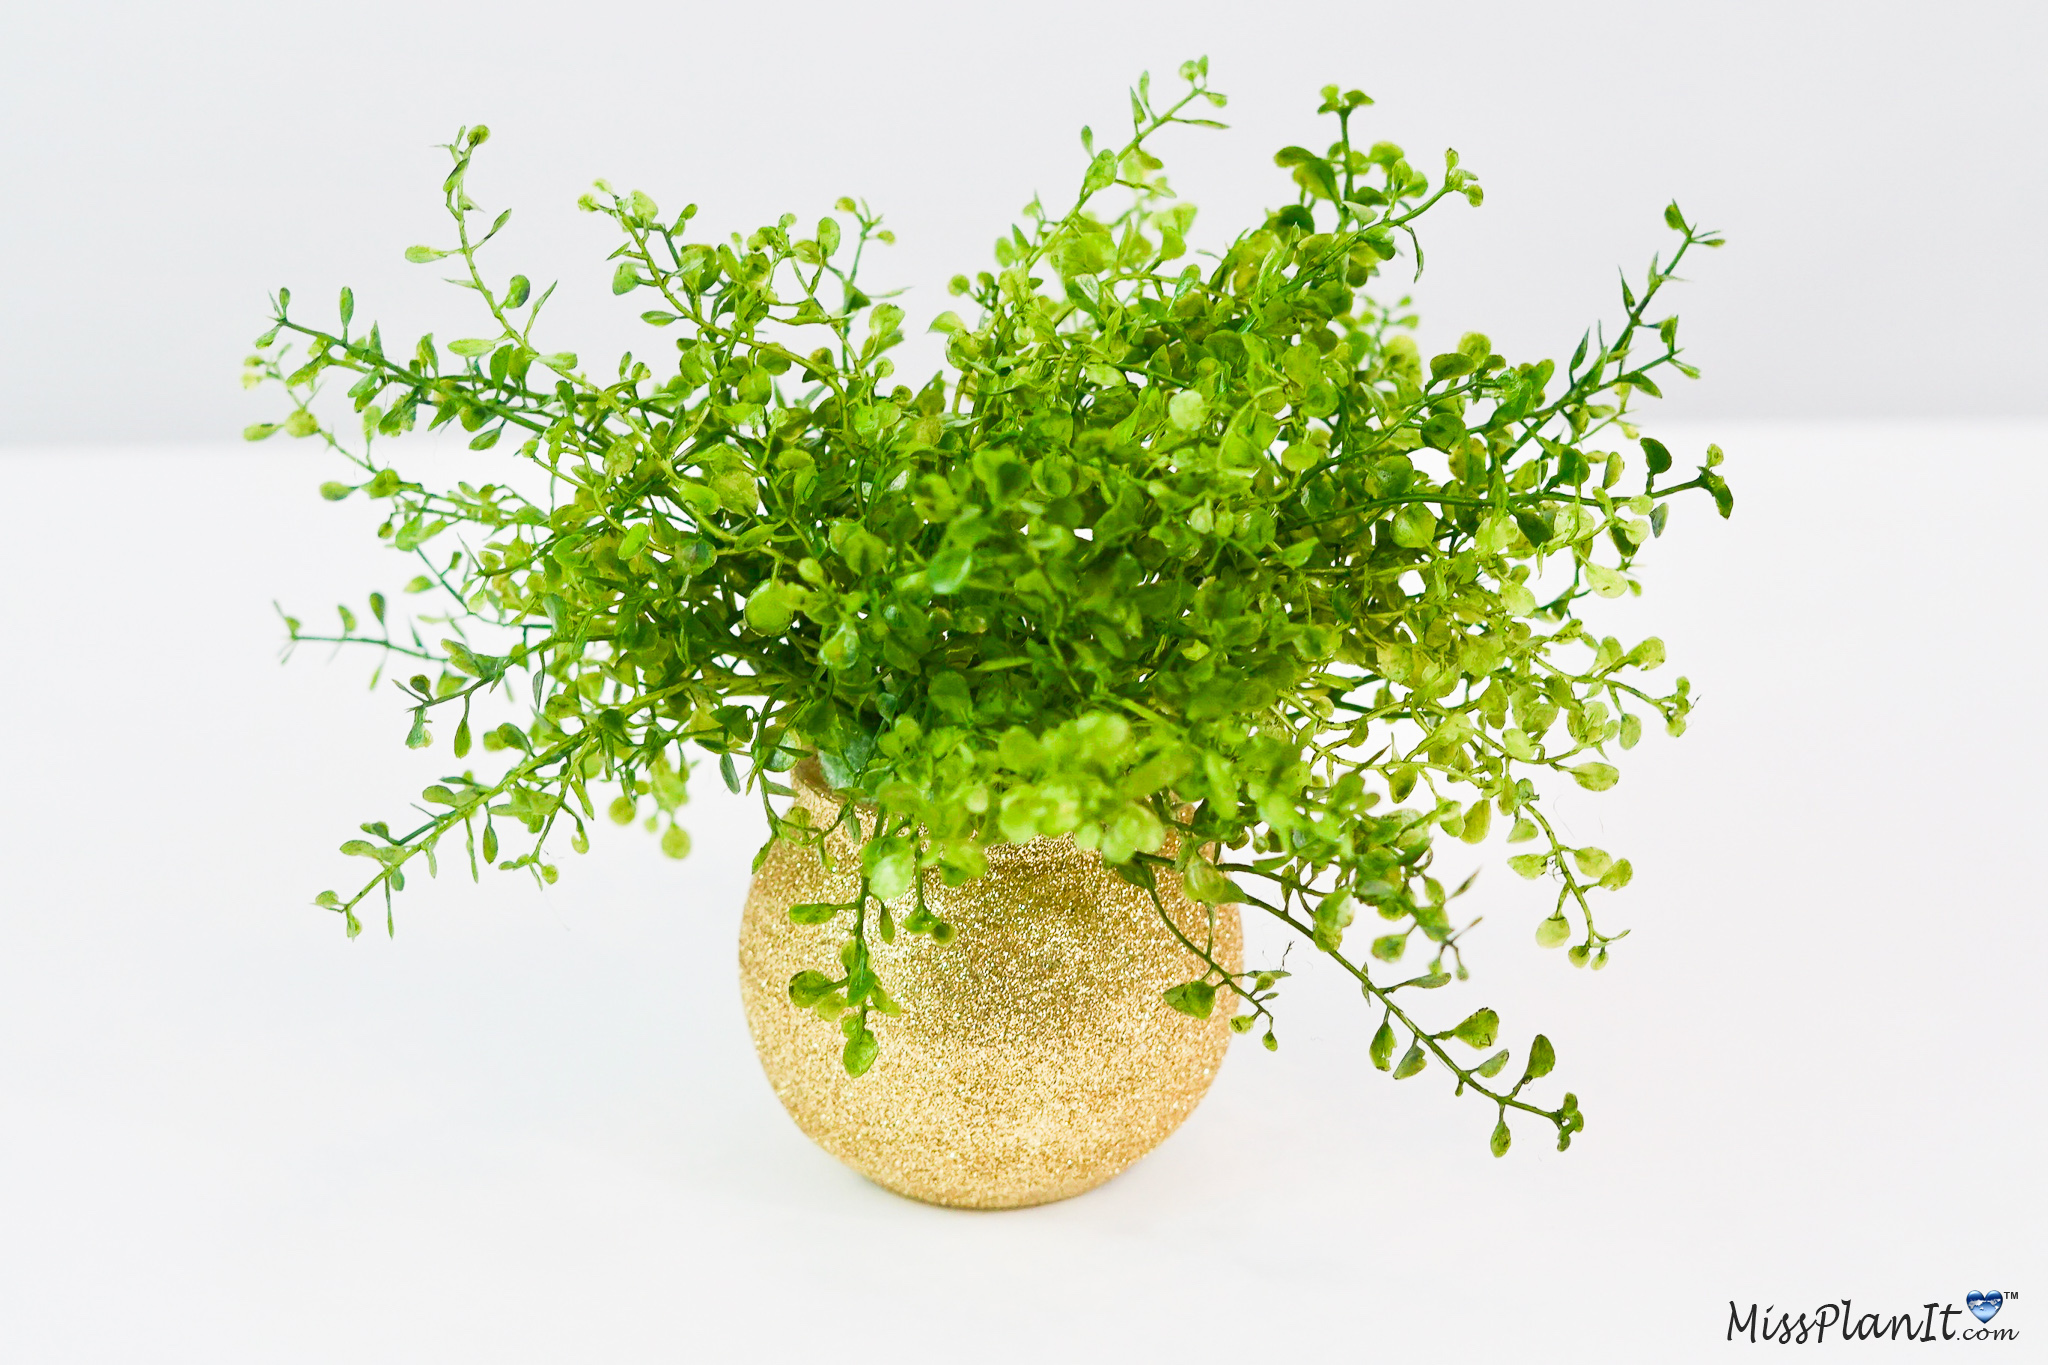
STEP 3: Insert the foam pot insert you trimmed in Step 1 into the rim of the candleholder. Then attach 4-6 mini leaf bushes to the foam. Once you have attached all the greenery, trim it to the shape, height and size you would like it at.
Dazzle Up The Pilsner Glasses with Gold Glitter
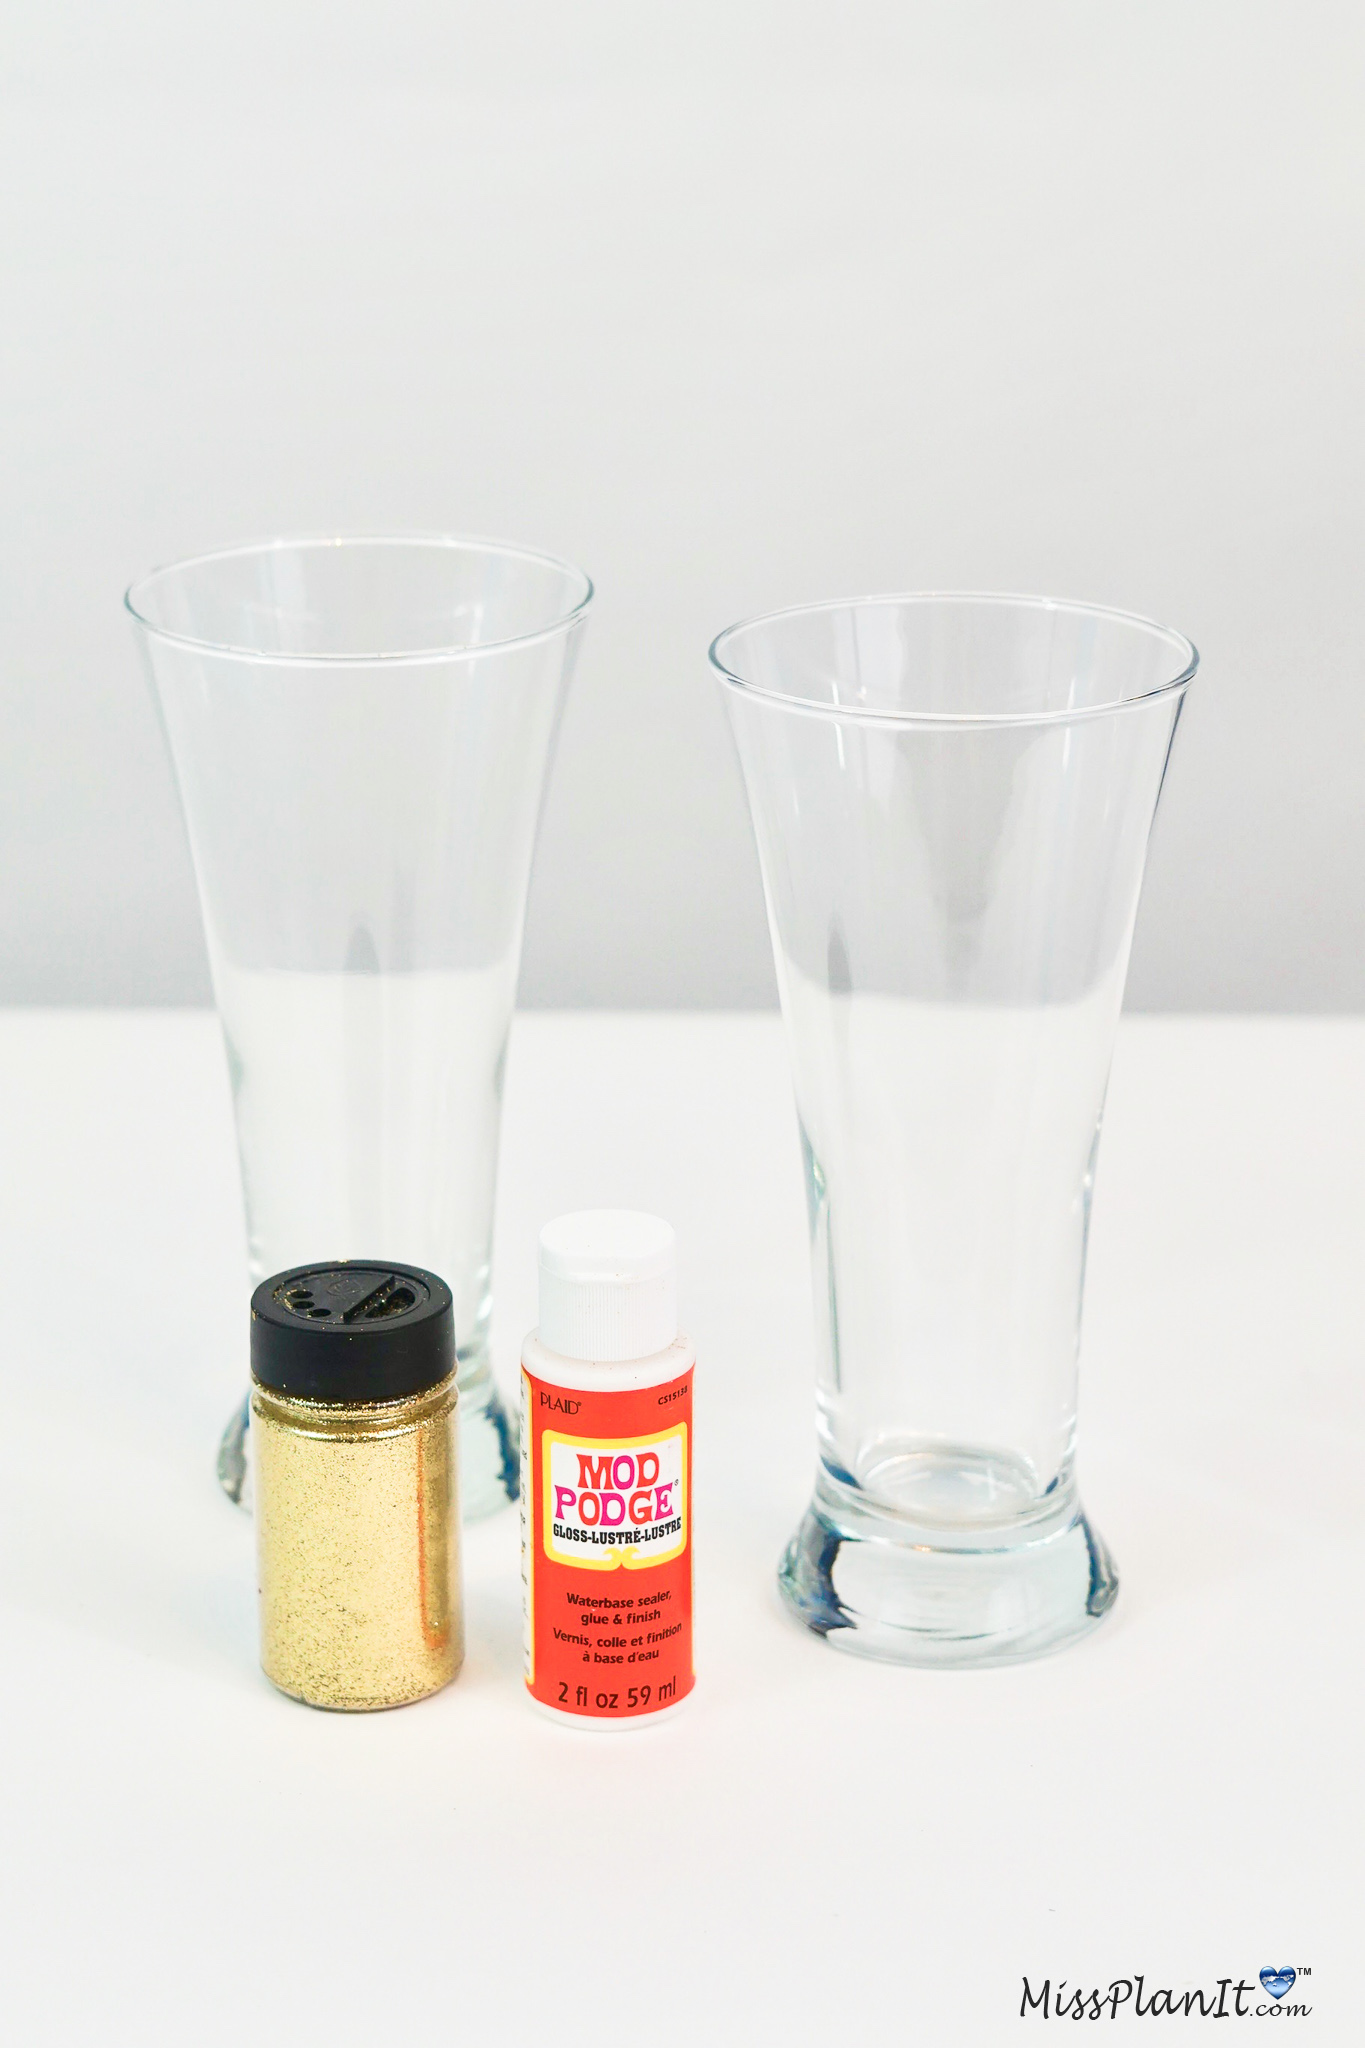
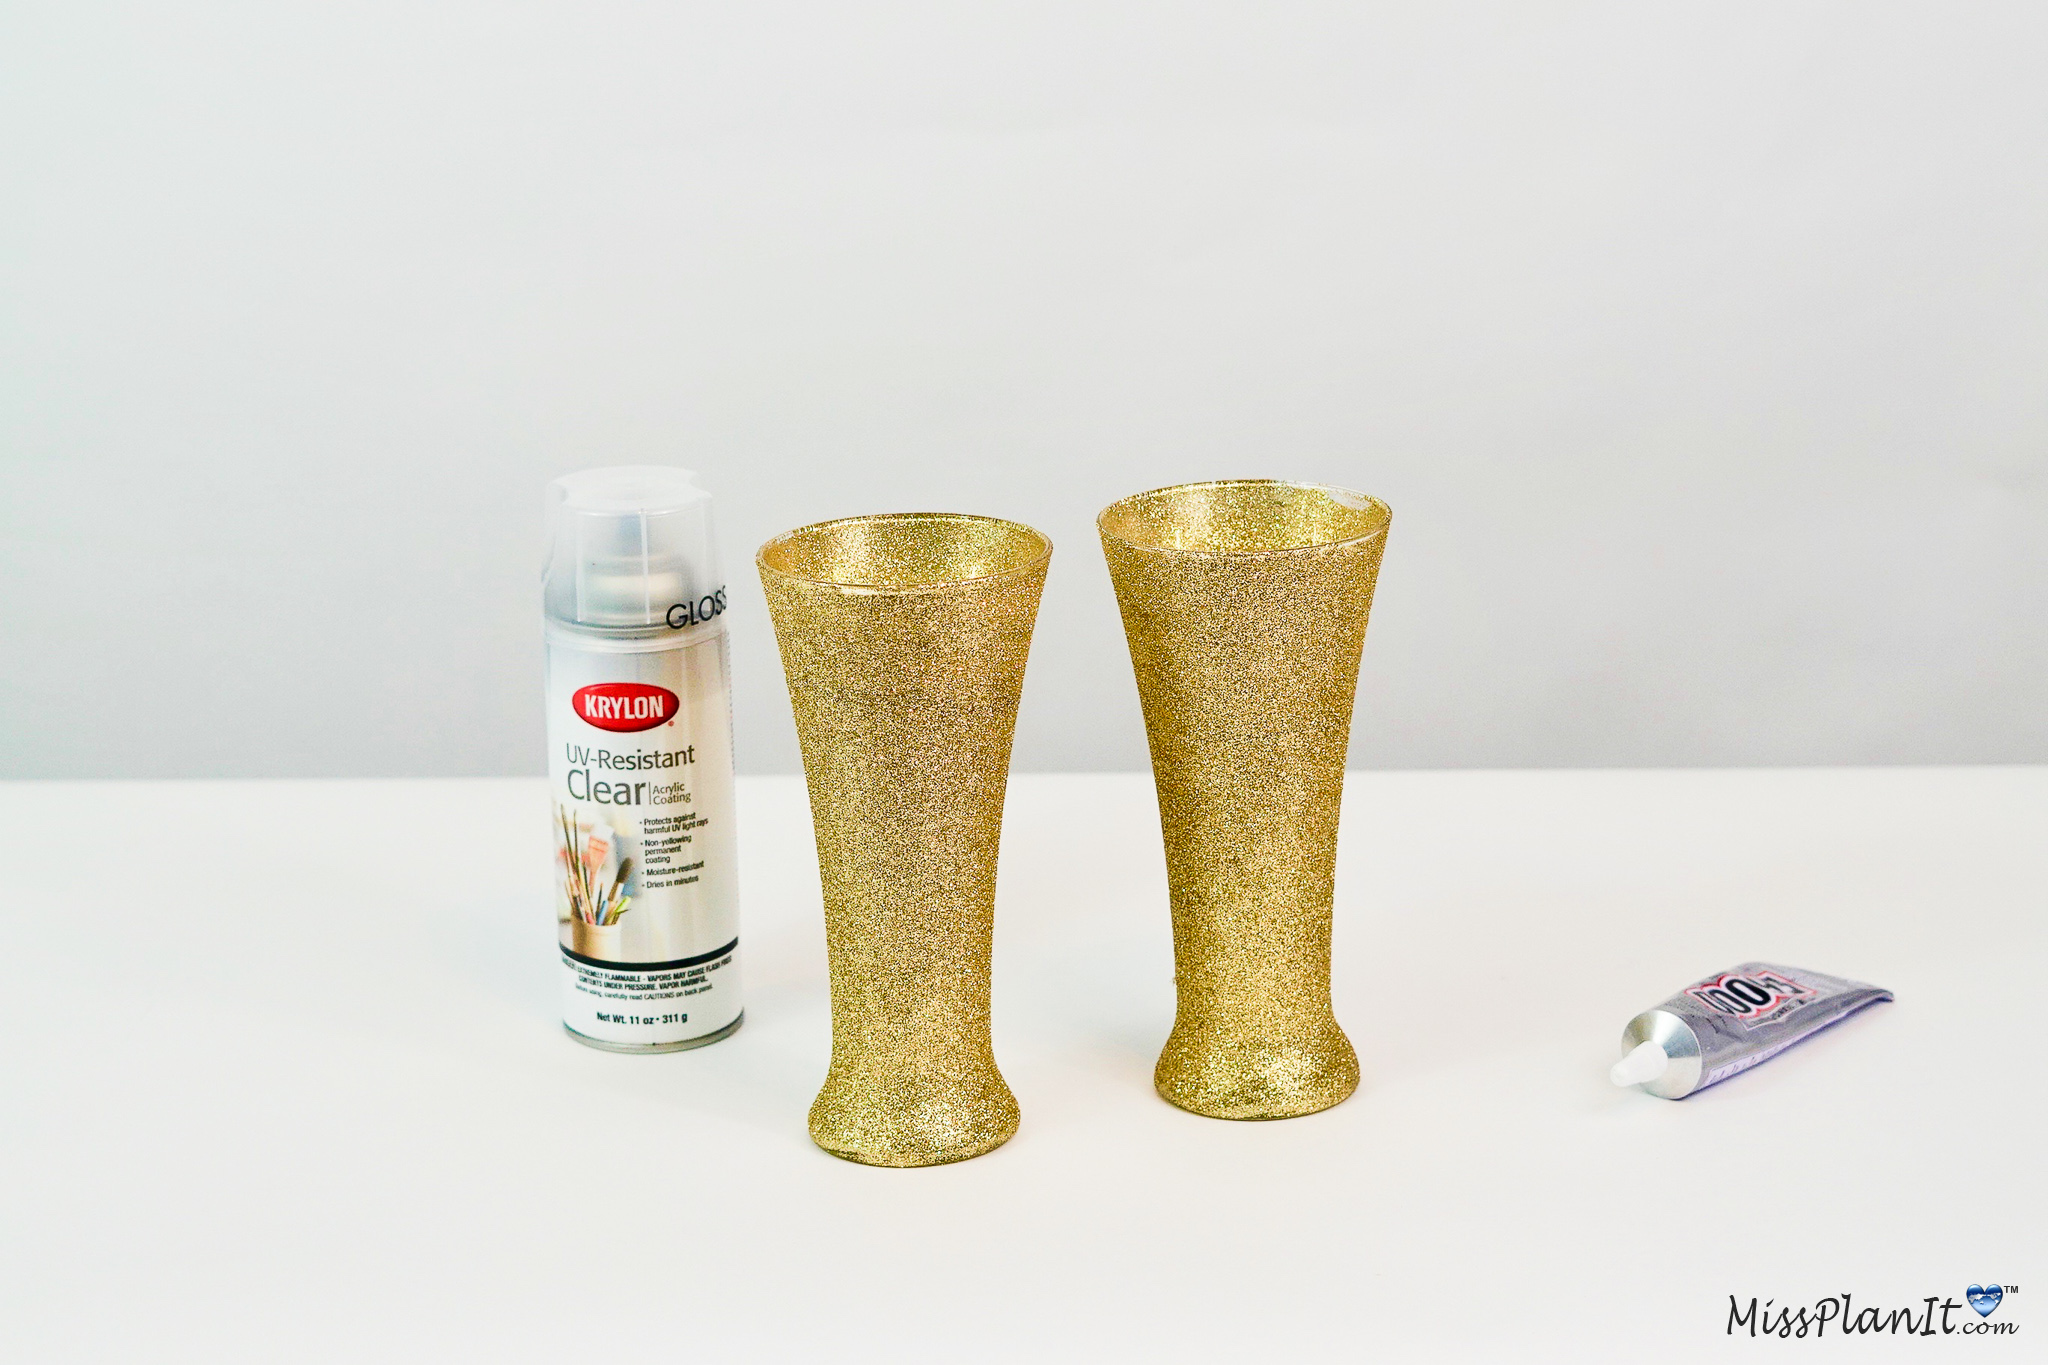
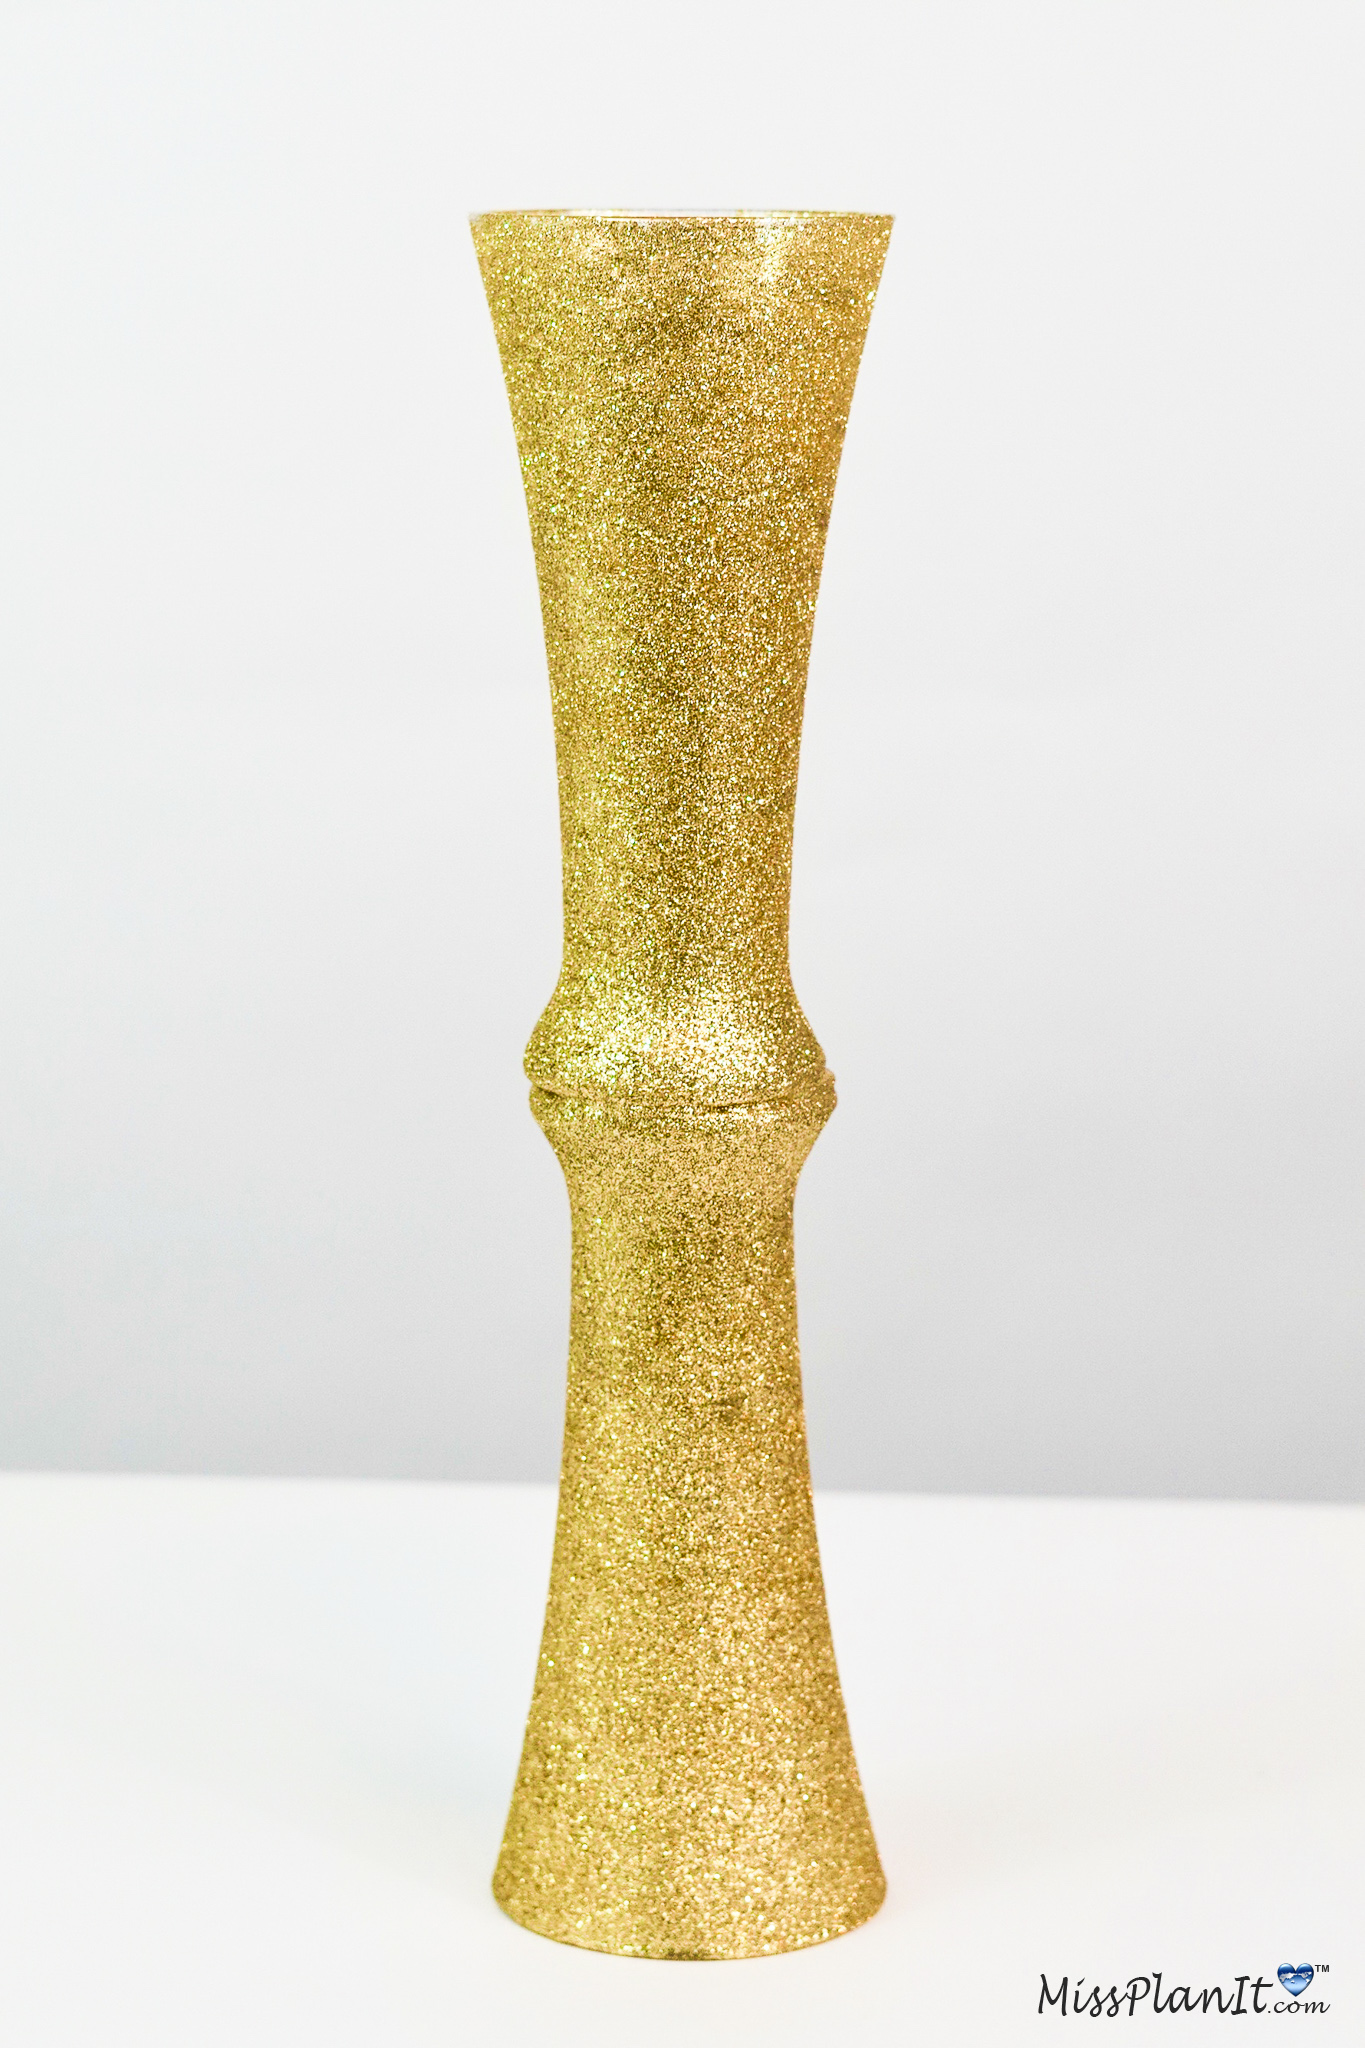
STEP 4: Repeat step 2 to each pilsner glass. Also starting with the bottom, middle and then top section. Once the glitter has dried, spray the glasses with a clear acrylic spray to seal in the glitter. This helps it to not flake excessively.
Apply E6000 to the bottom of one of the pilsner glasses and then place the other glass on top (bottom to bottom). Set a book on top as a weight and allow it to dry for 3 hours. Once it is dry apply modge podge and glitter to the seam so that it blends nicely.
Attach the Foam Ball to the Rim and All Your Flowers
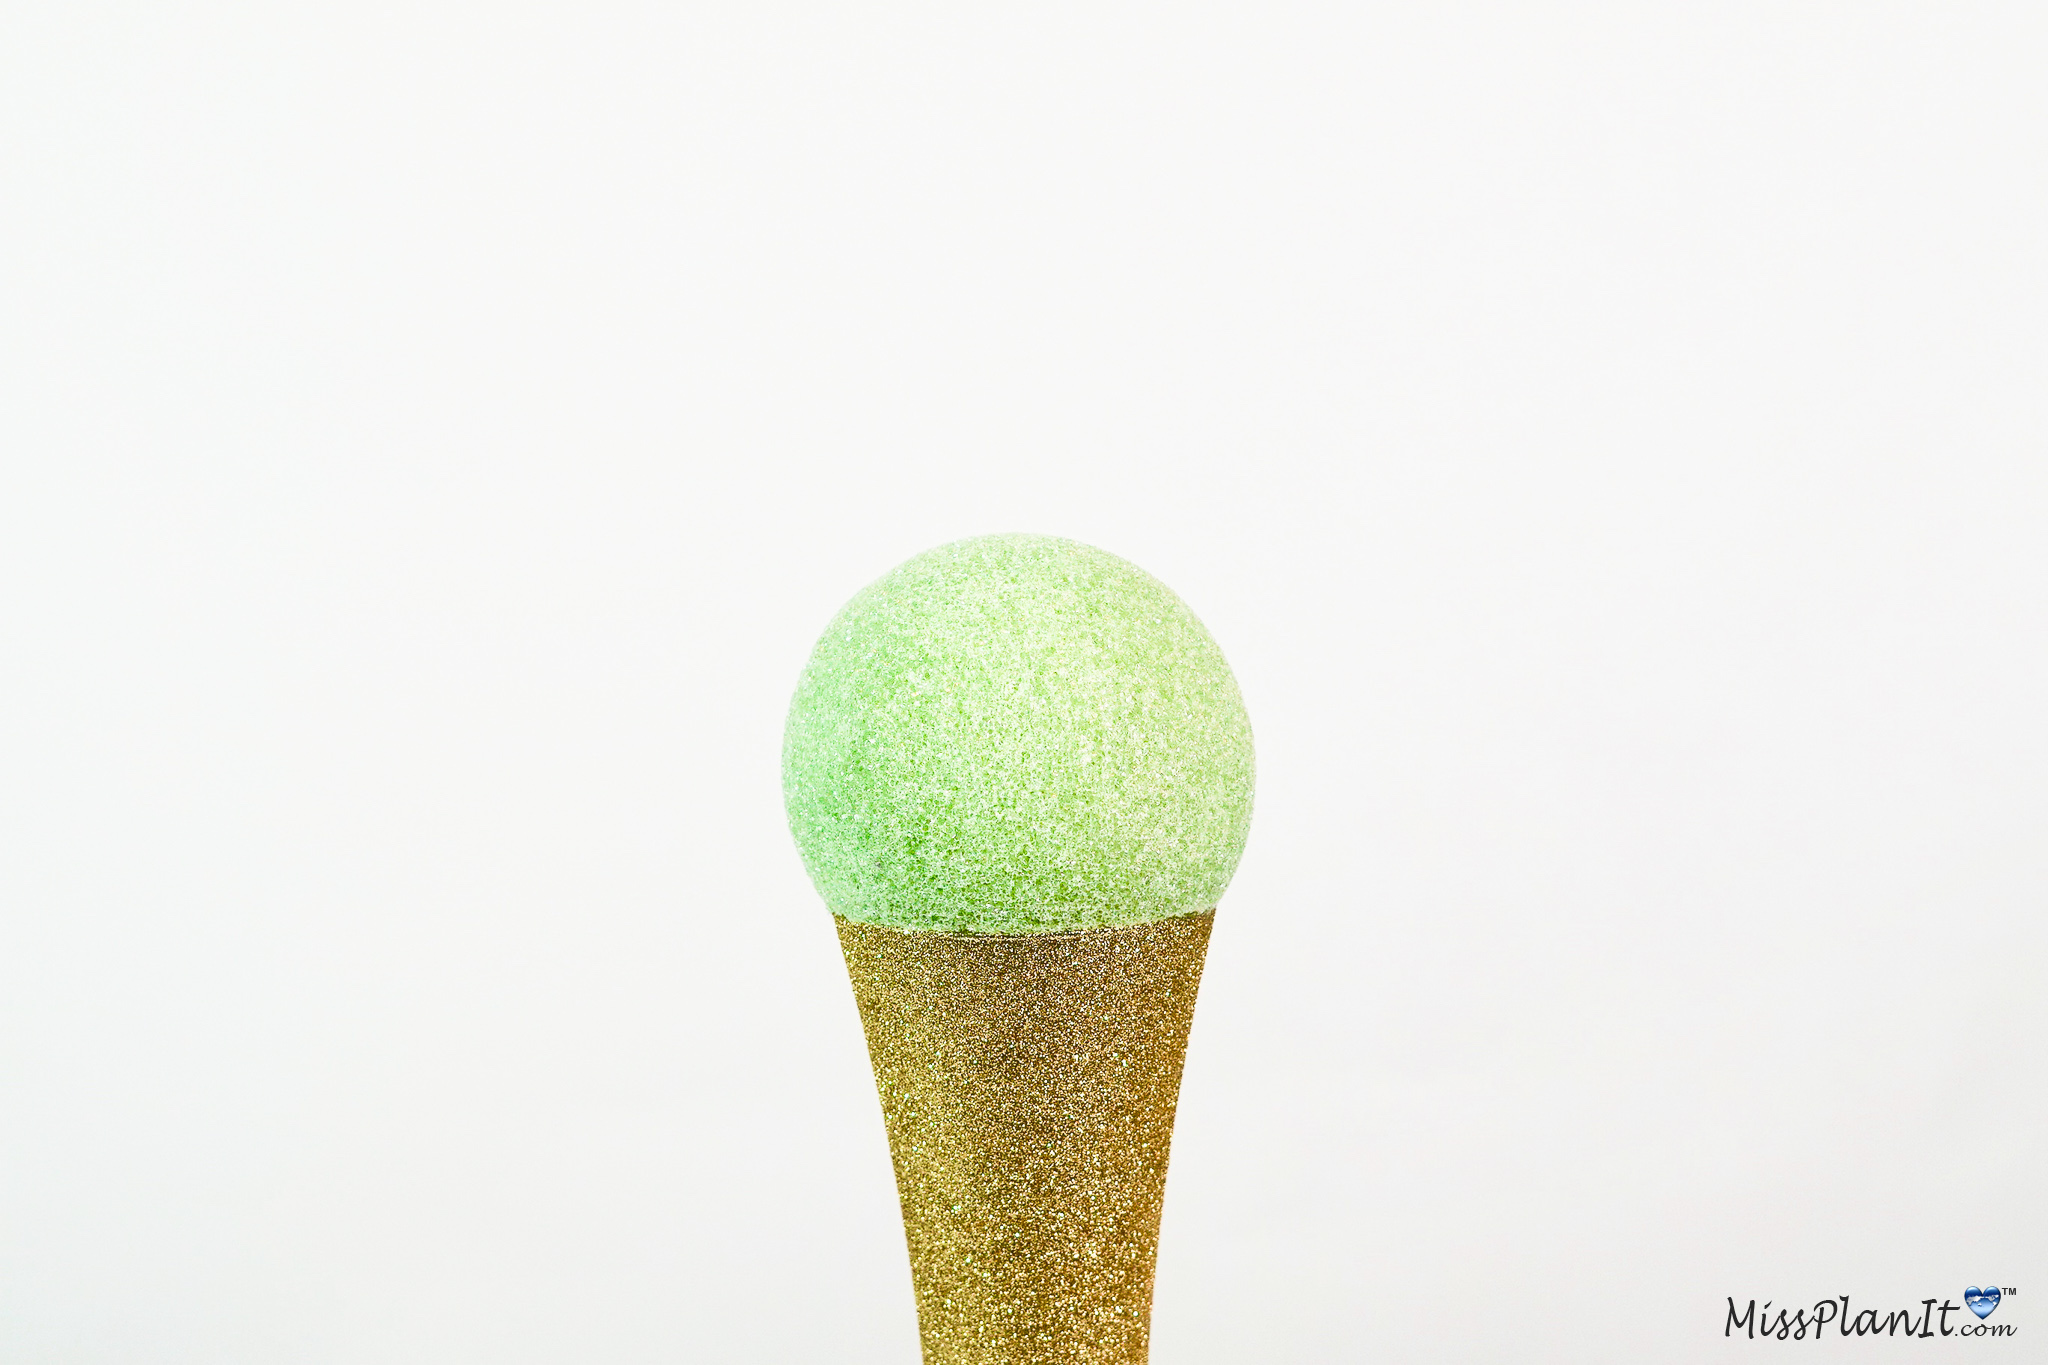
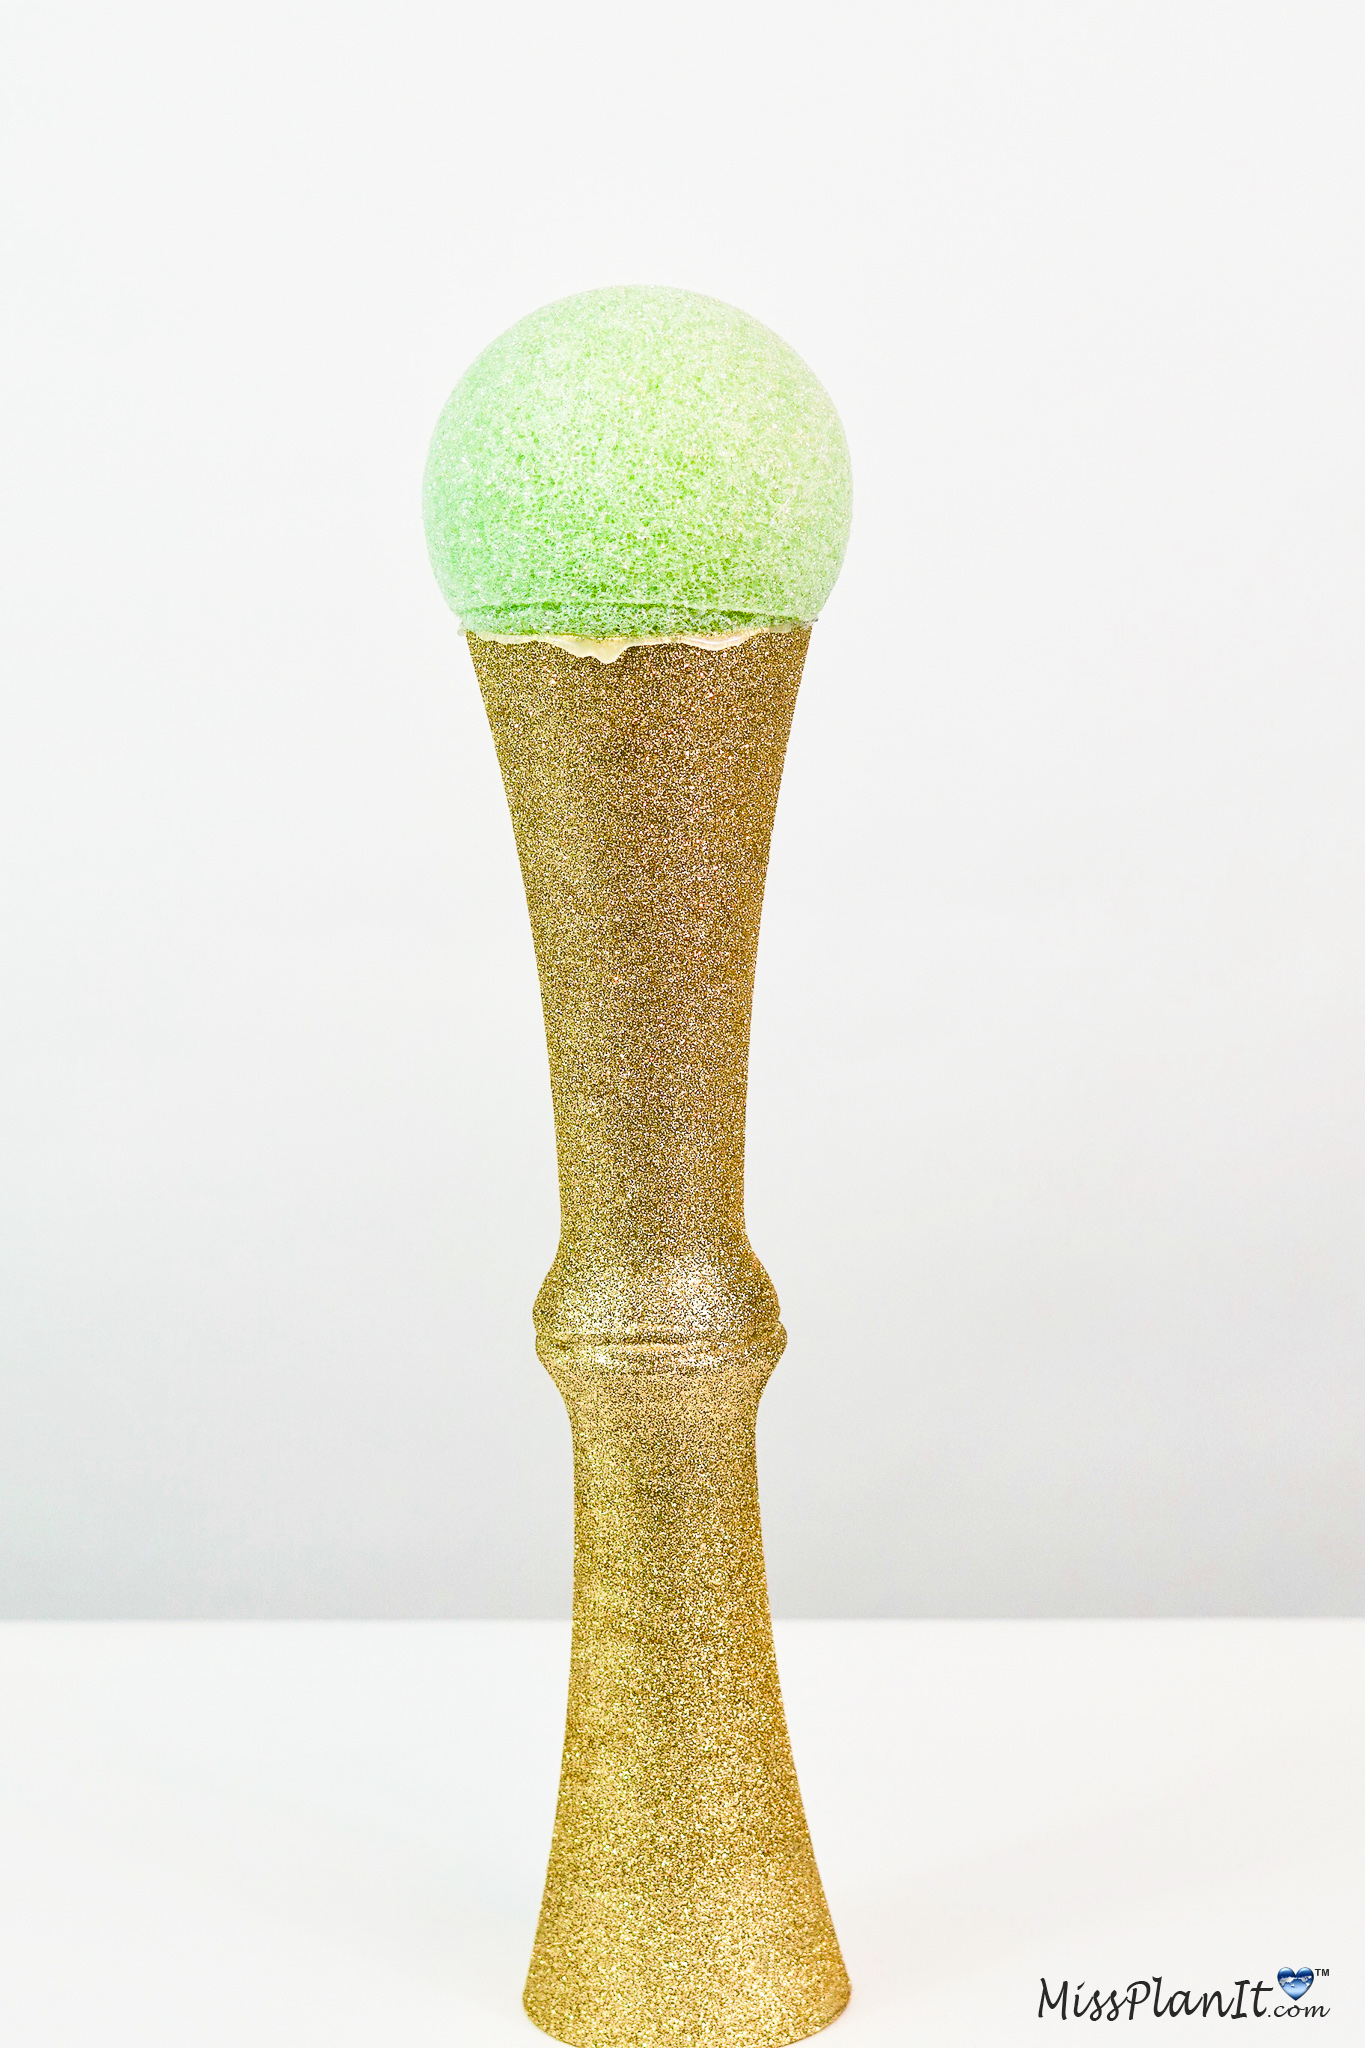
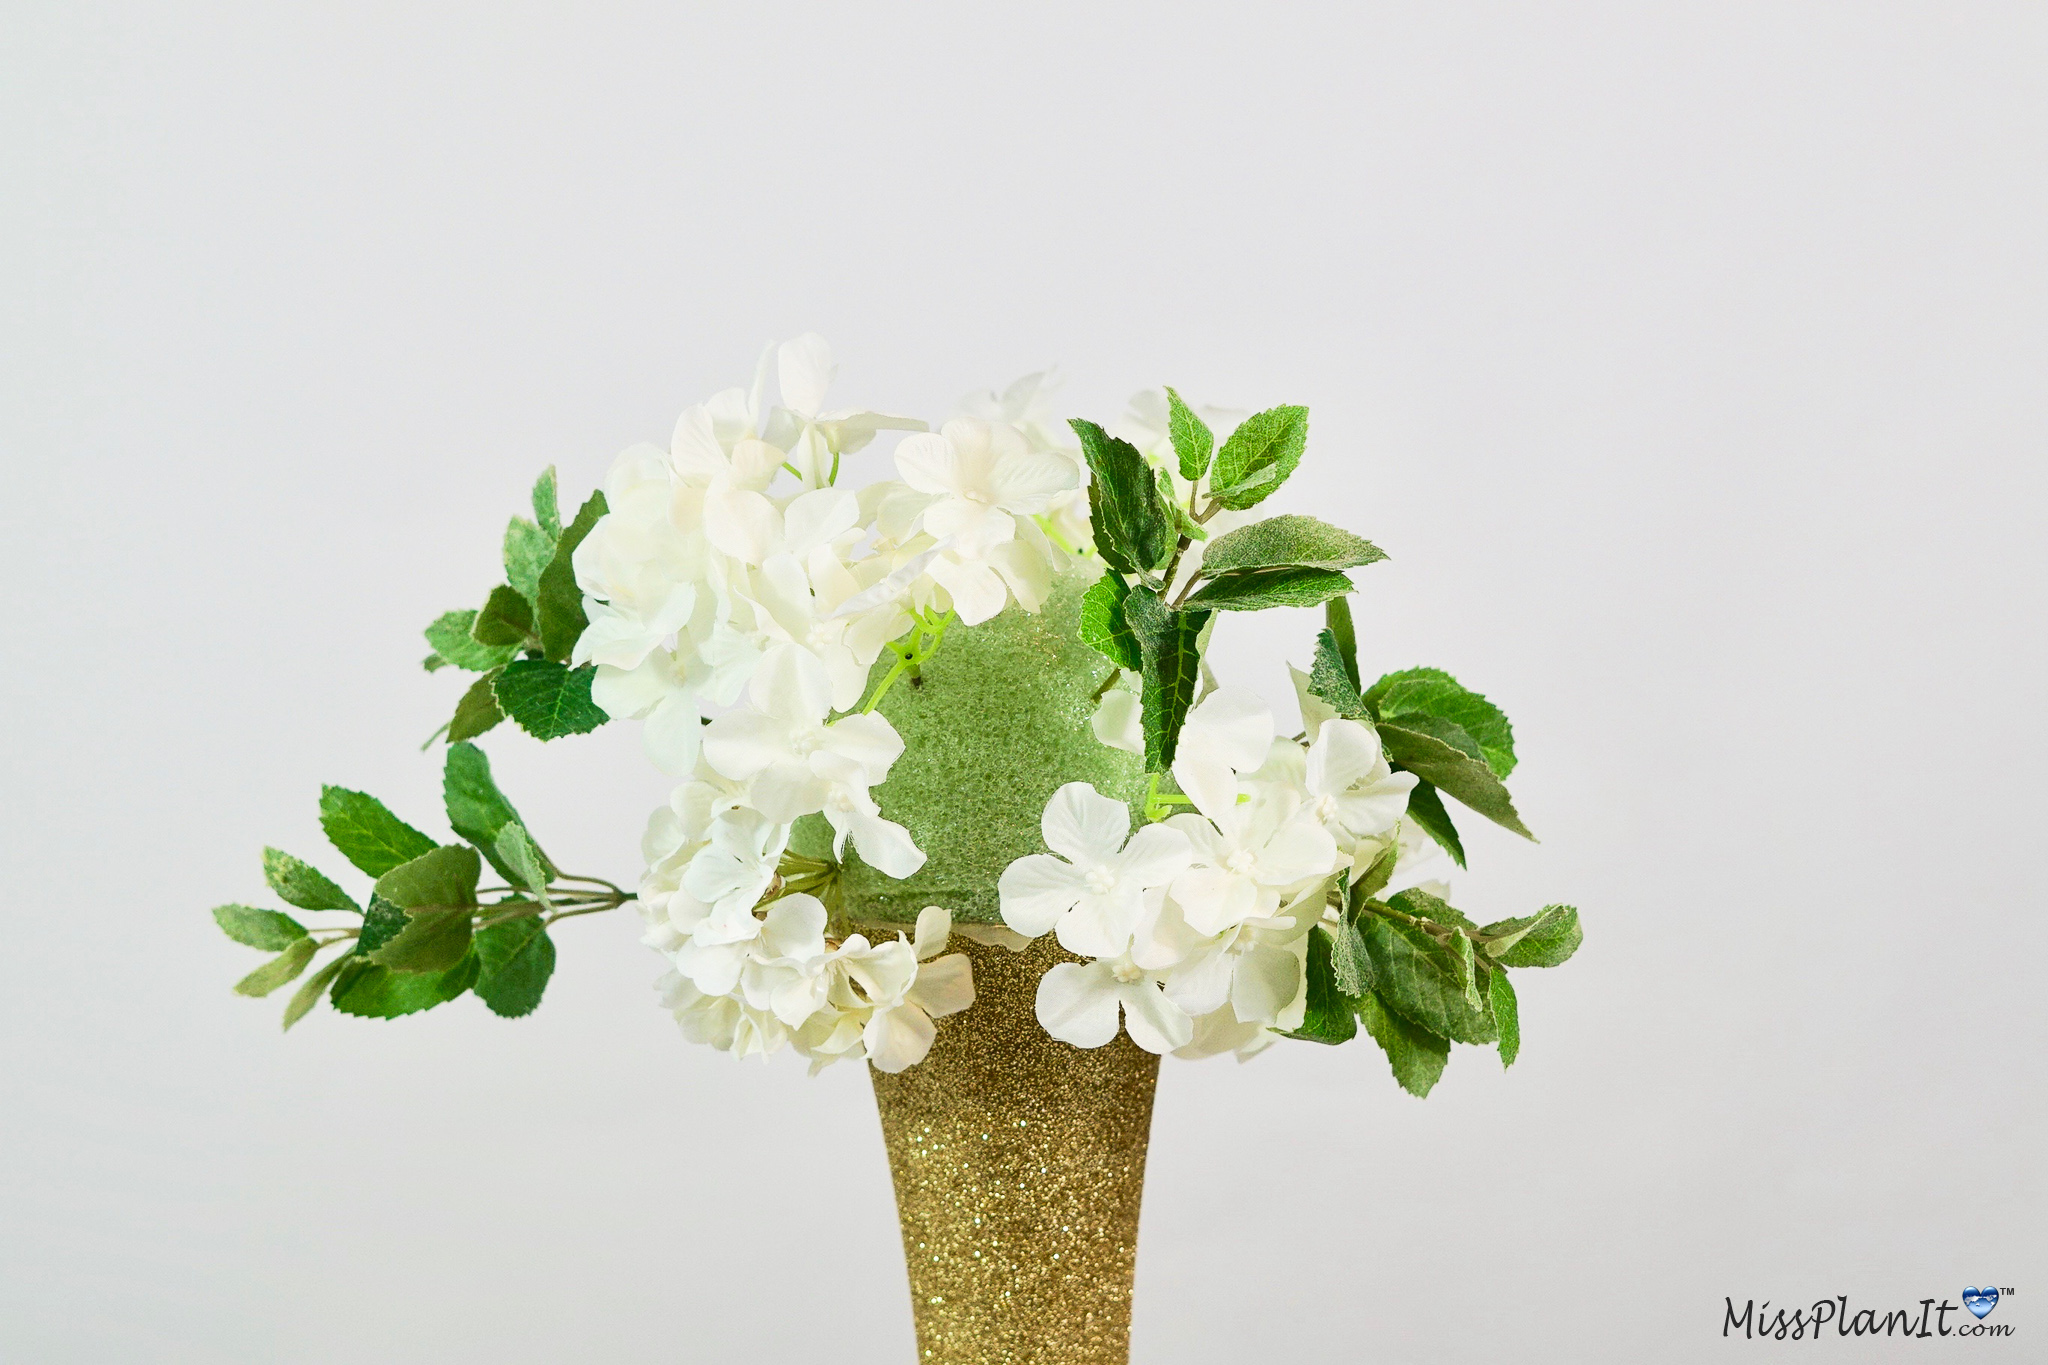
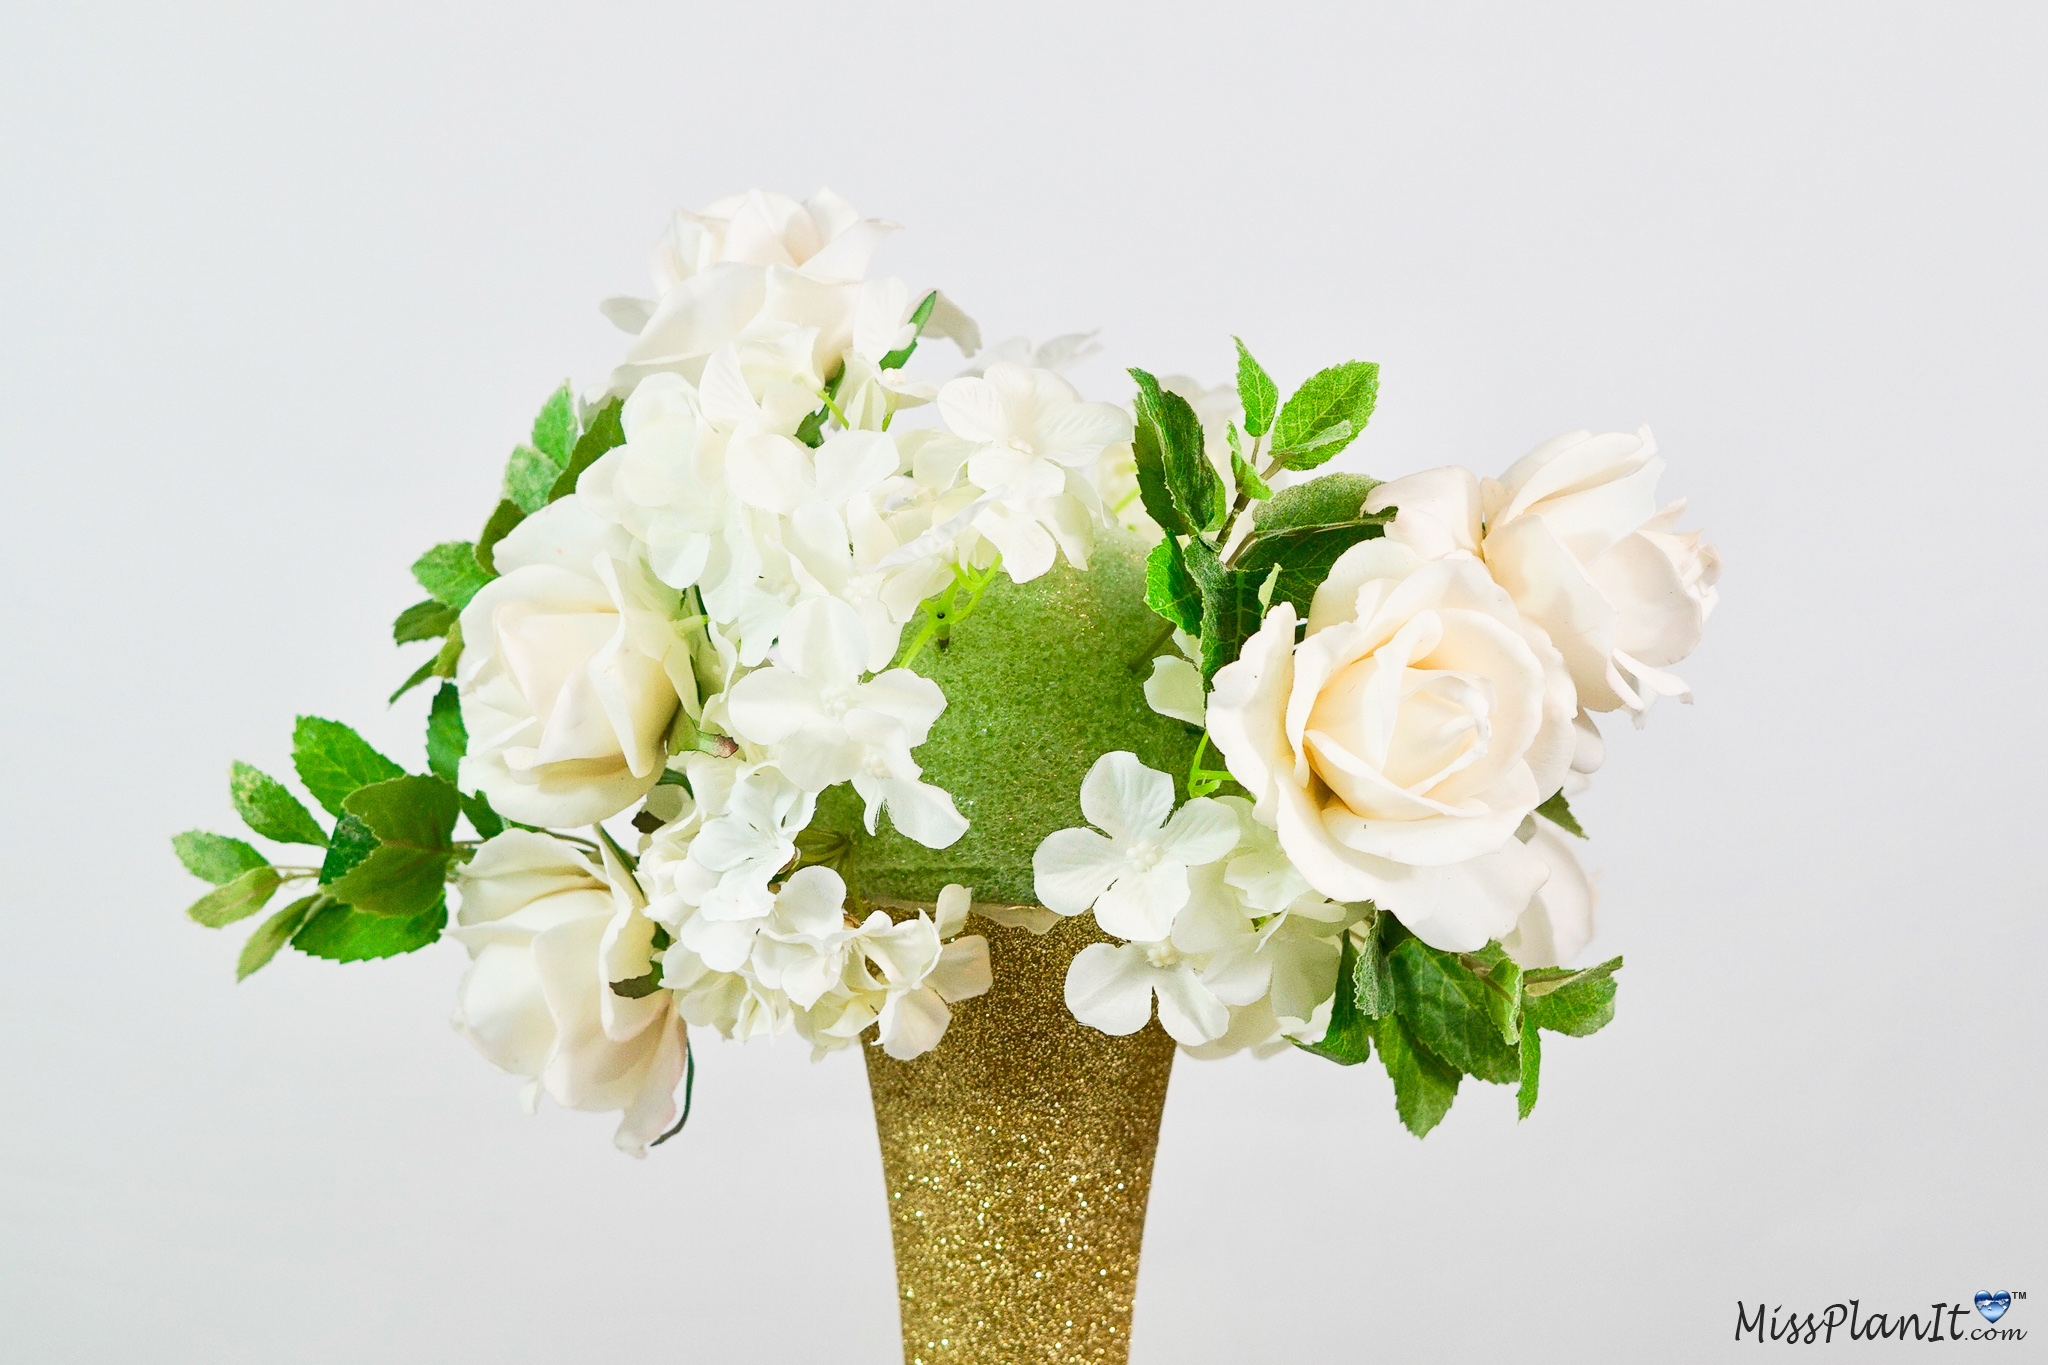
STEP 5: Place the 5 inch foam ball on the rim of the vase and press down to make an indention. Then apply hot glue to the rim and attach the 5 inch foam ball.
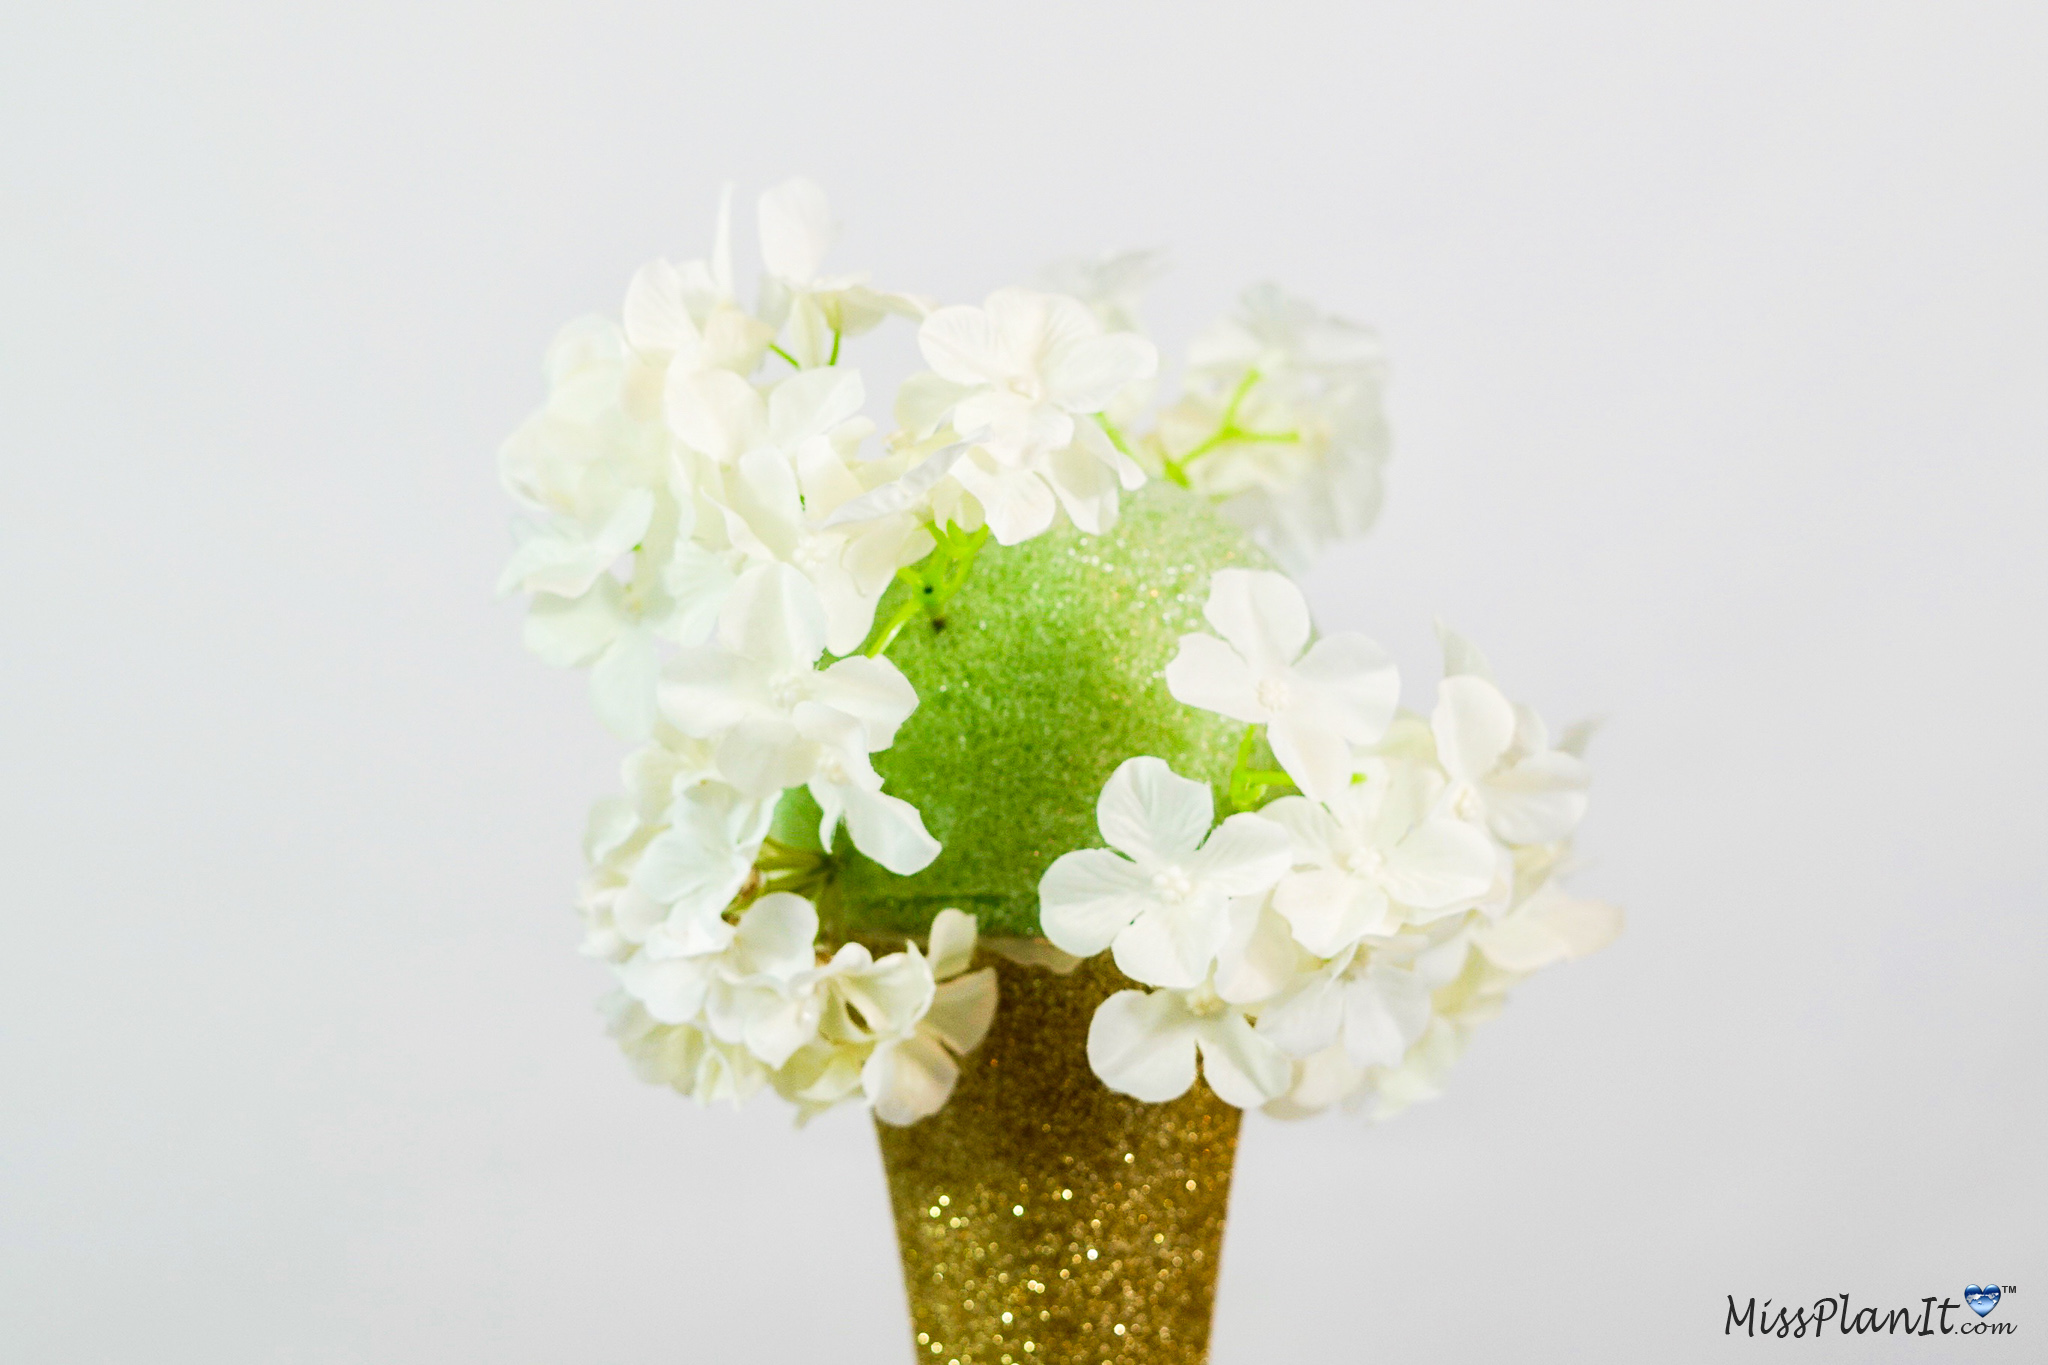
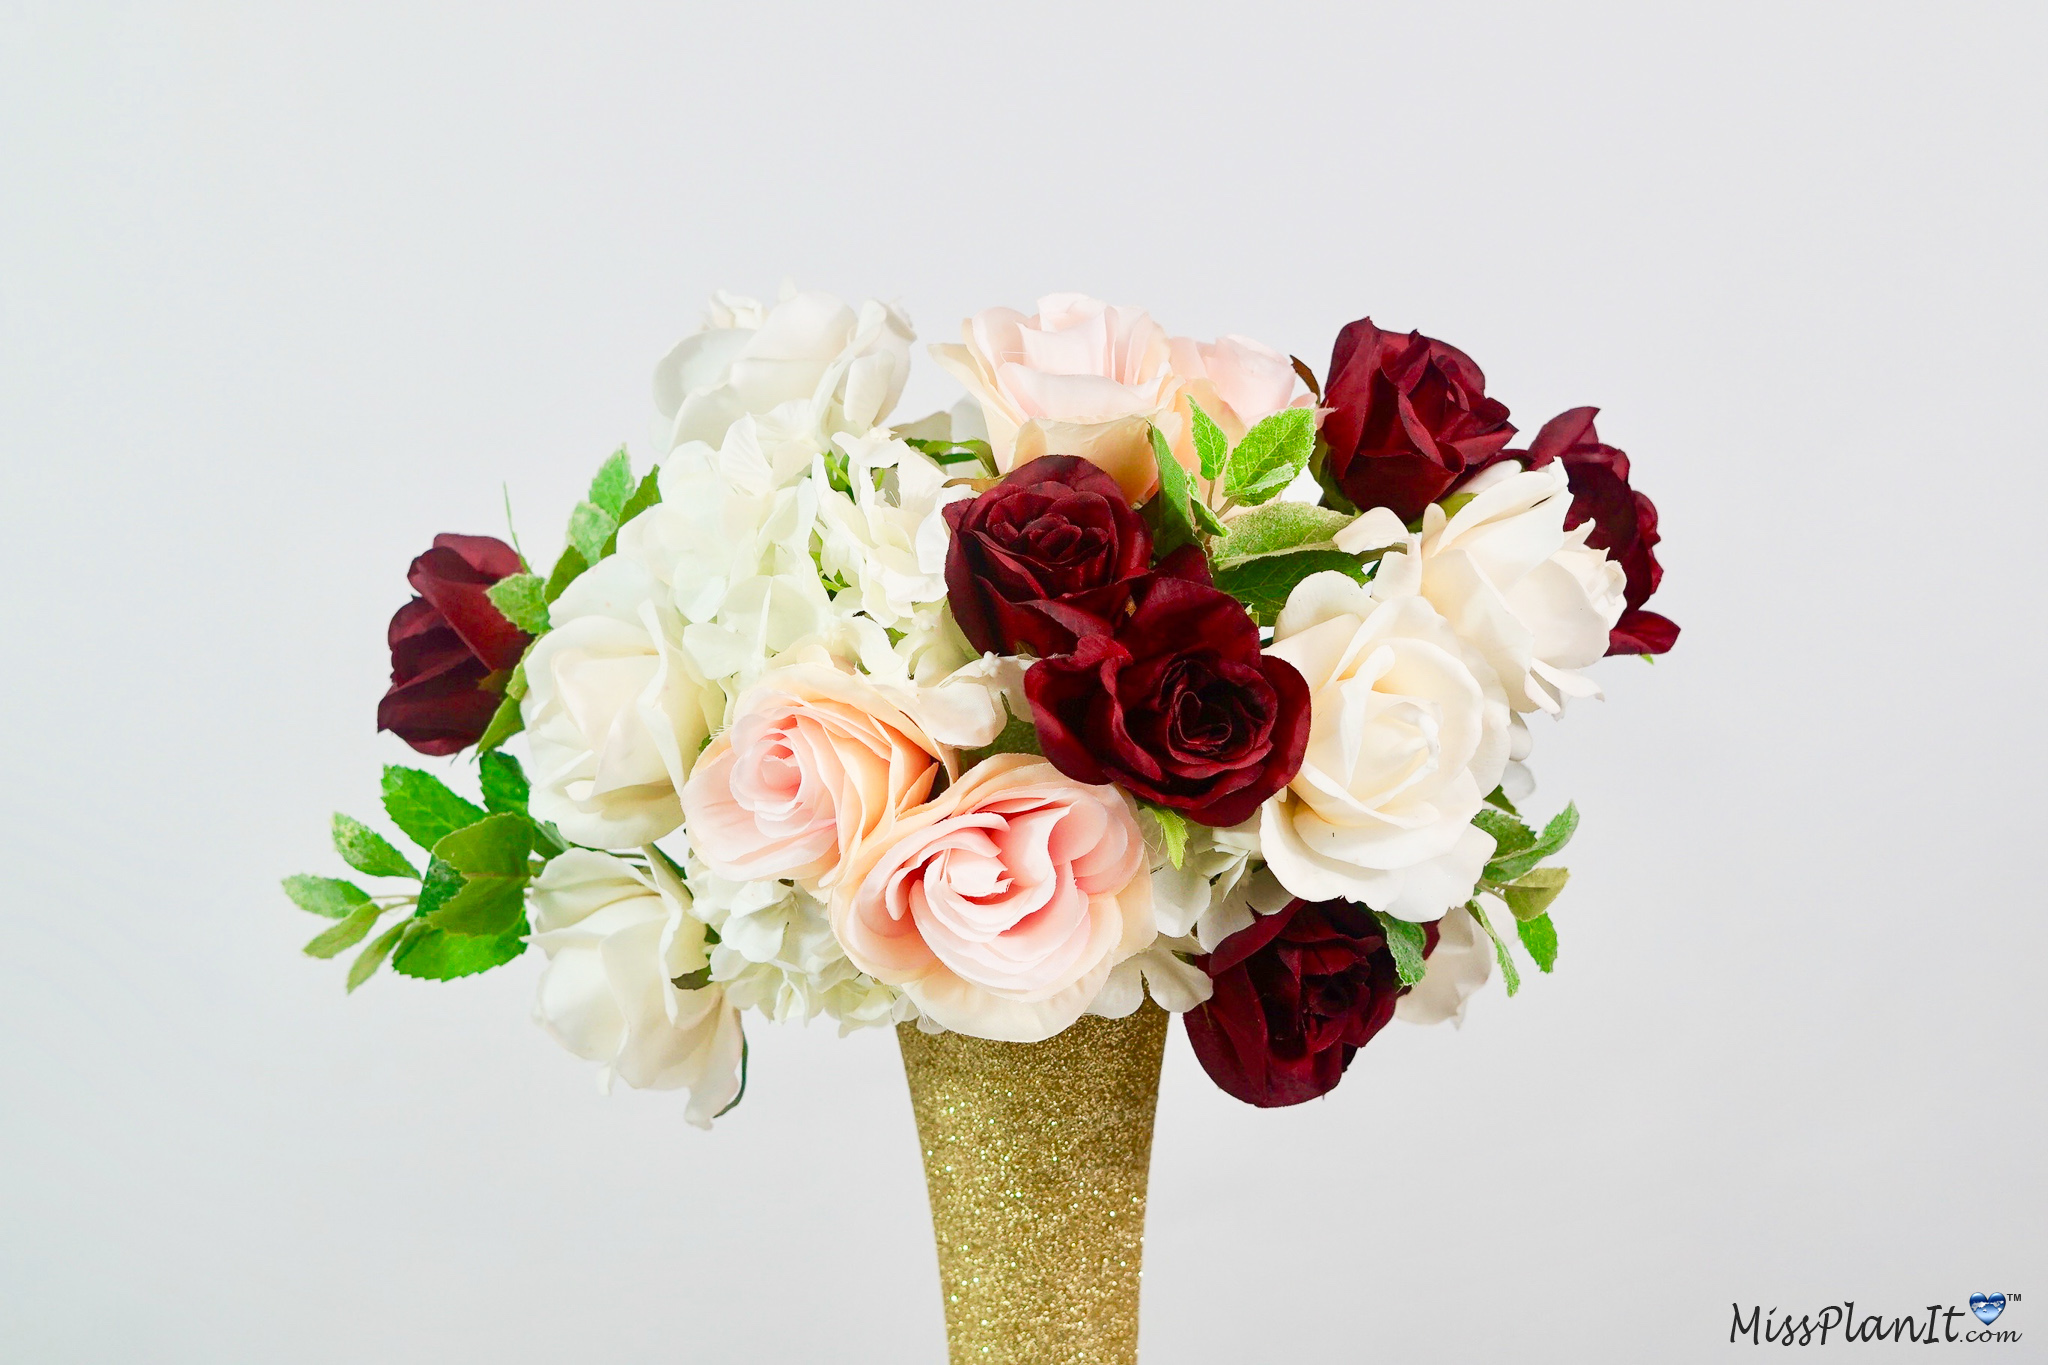
Attach 6-8 small hydrangea heads, 4-6 mini mint bush stems, 6-8 cream velvetty rose blossoms, and 4-6 blush rose blossoms to the foam ball. Lastly, attach 8-12 burgundy rose blossoms, 4-6 small eucalyptus leaf stems, and 3-5 mini leaf bush stems.
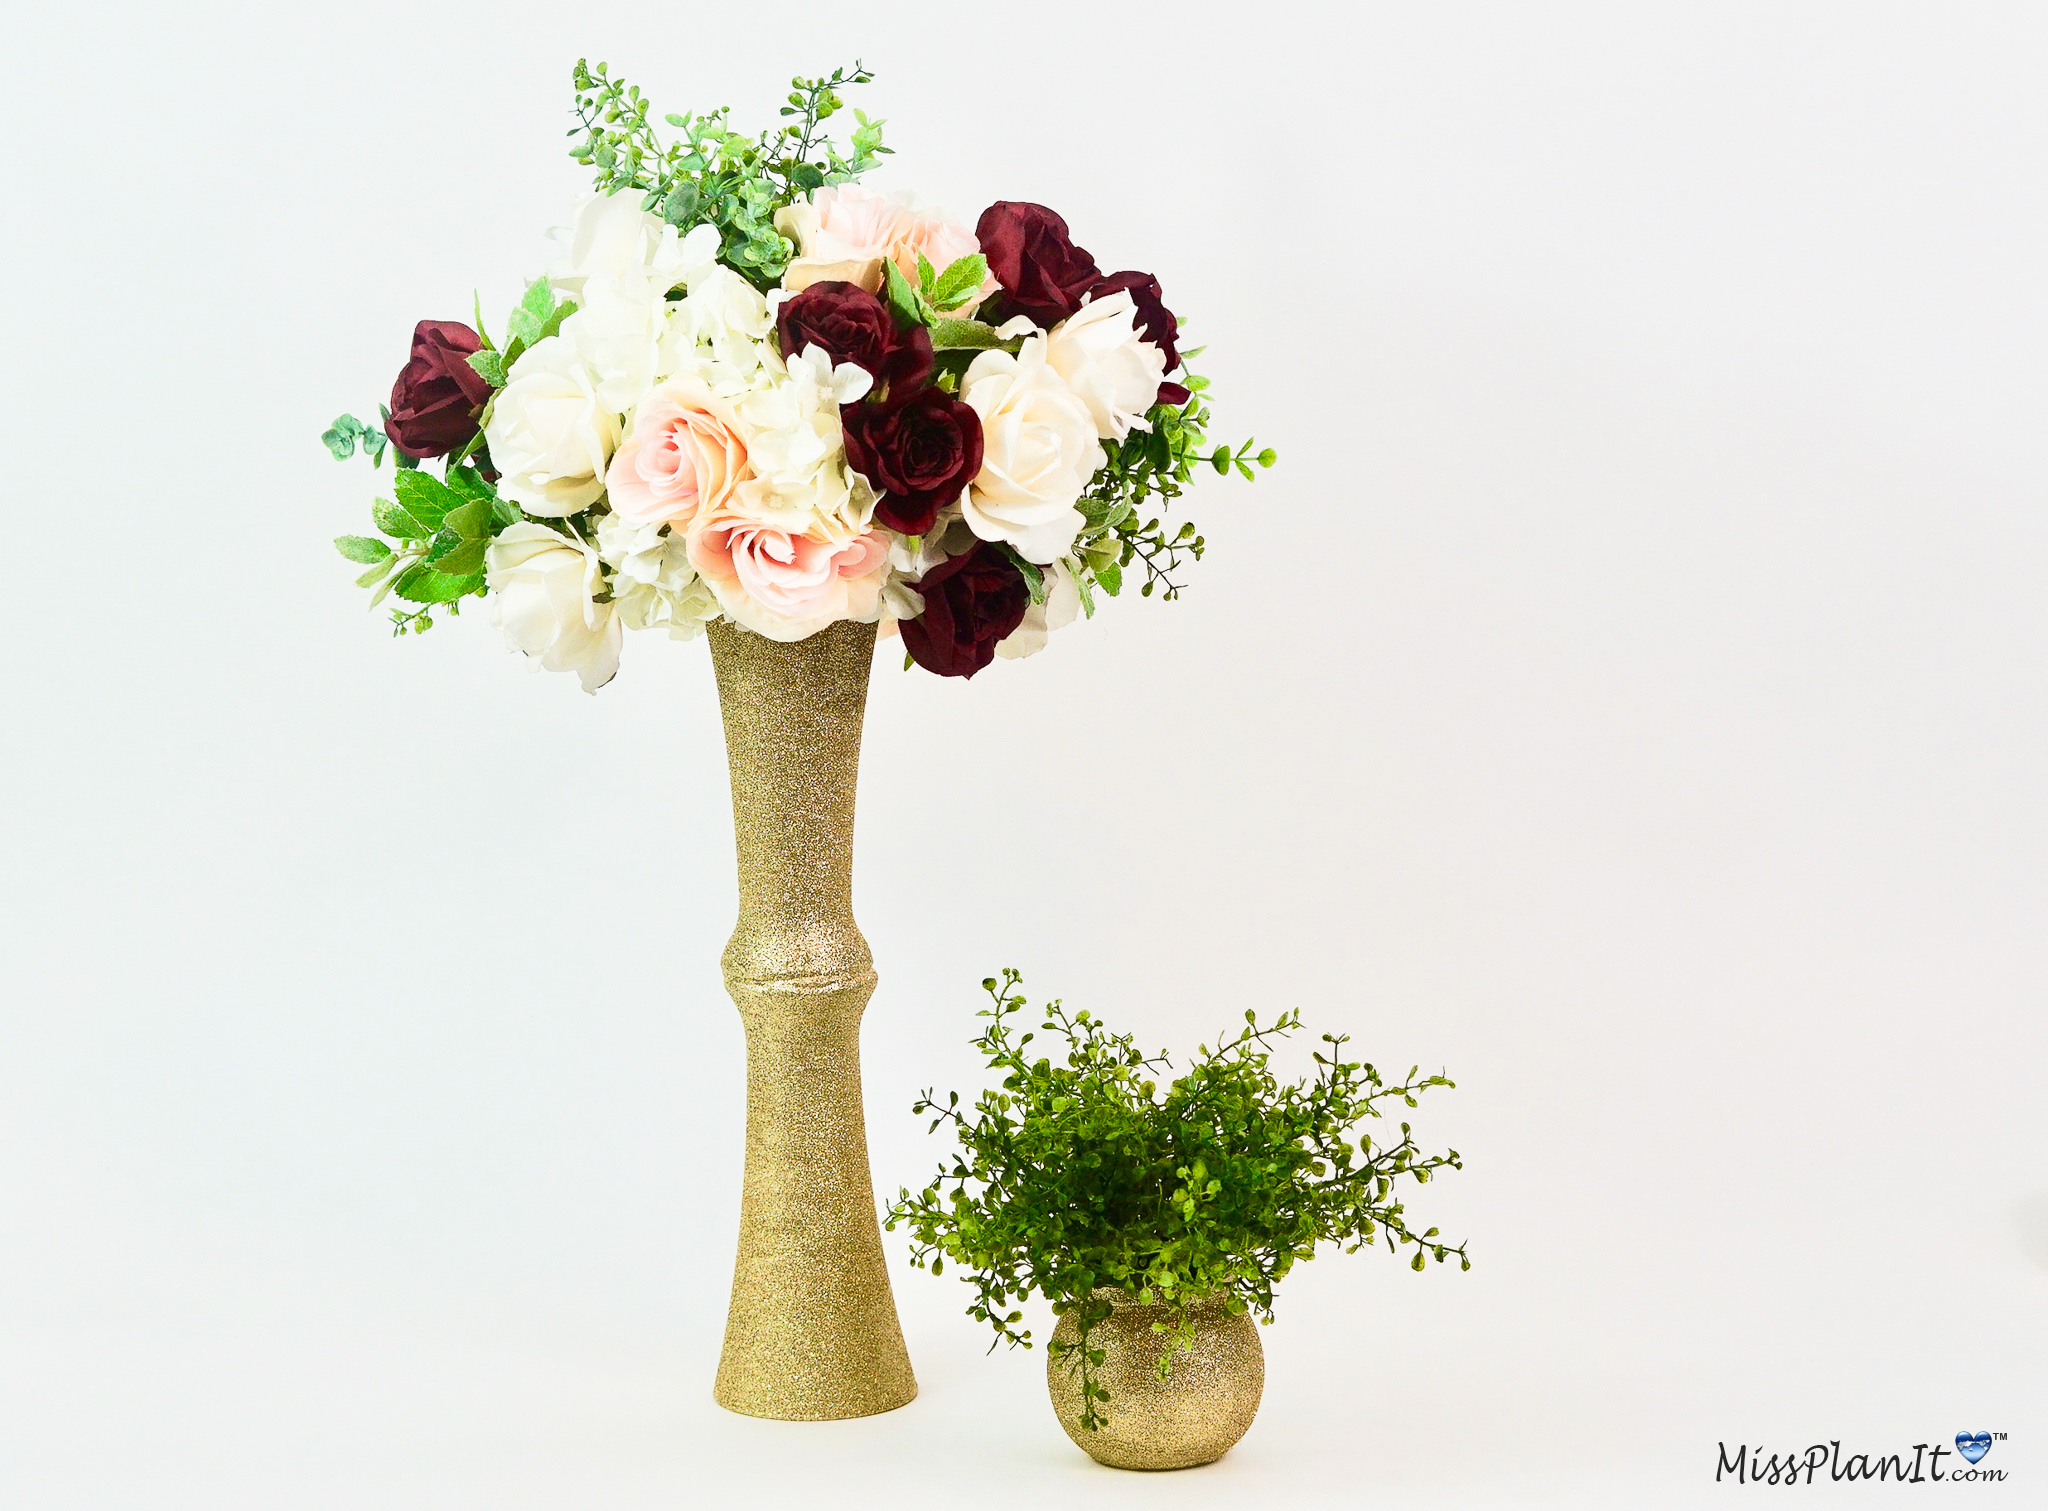
THE FINAL STEP
STEP 6: Set the table!
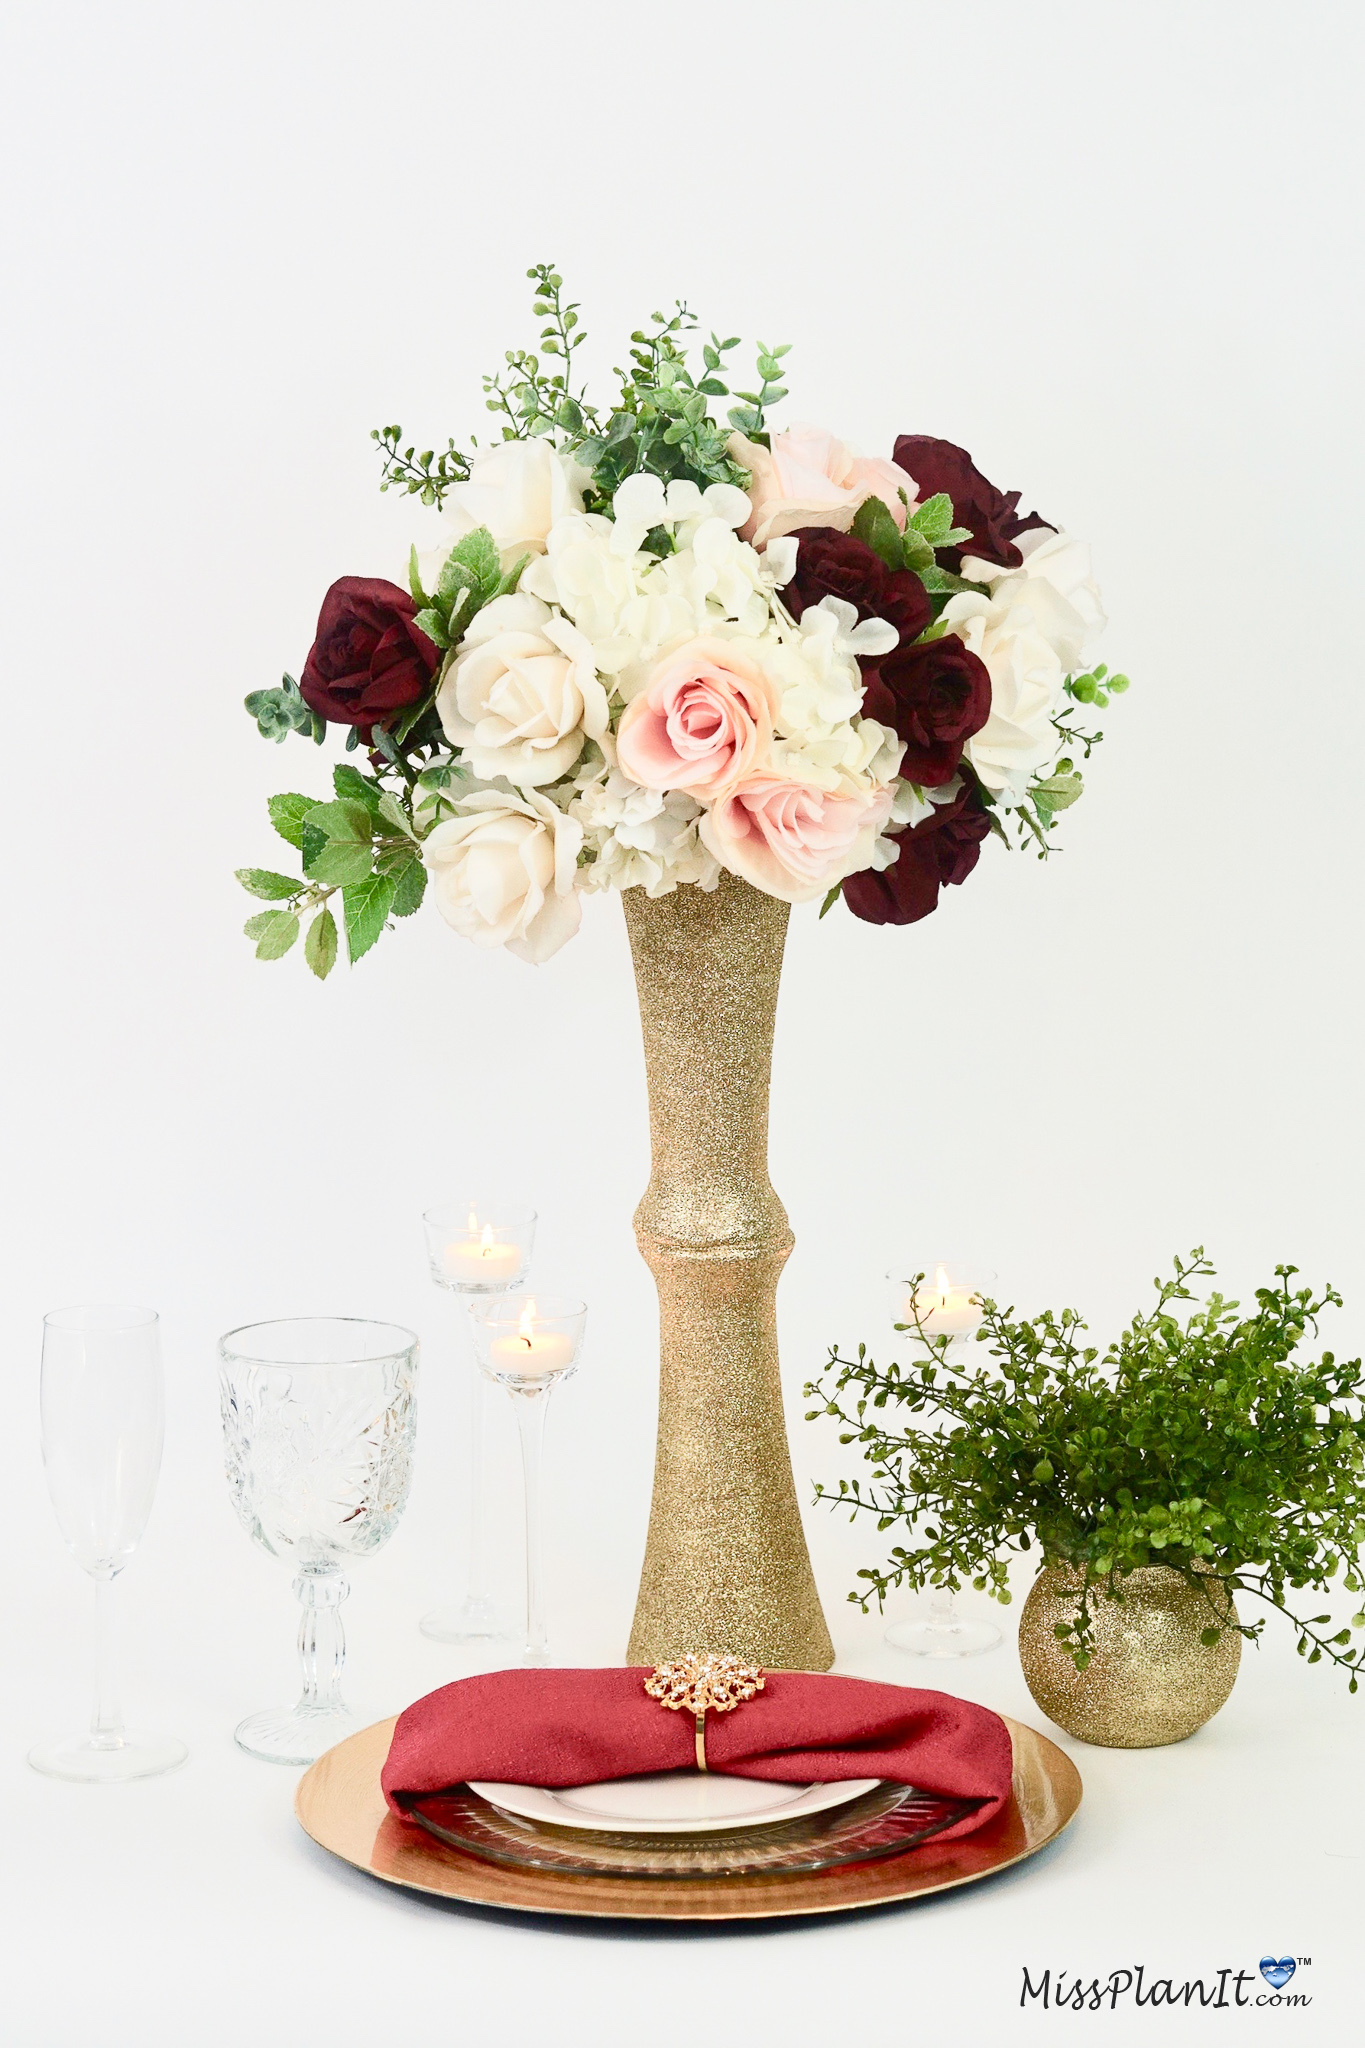
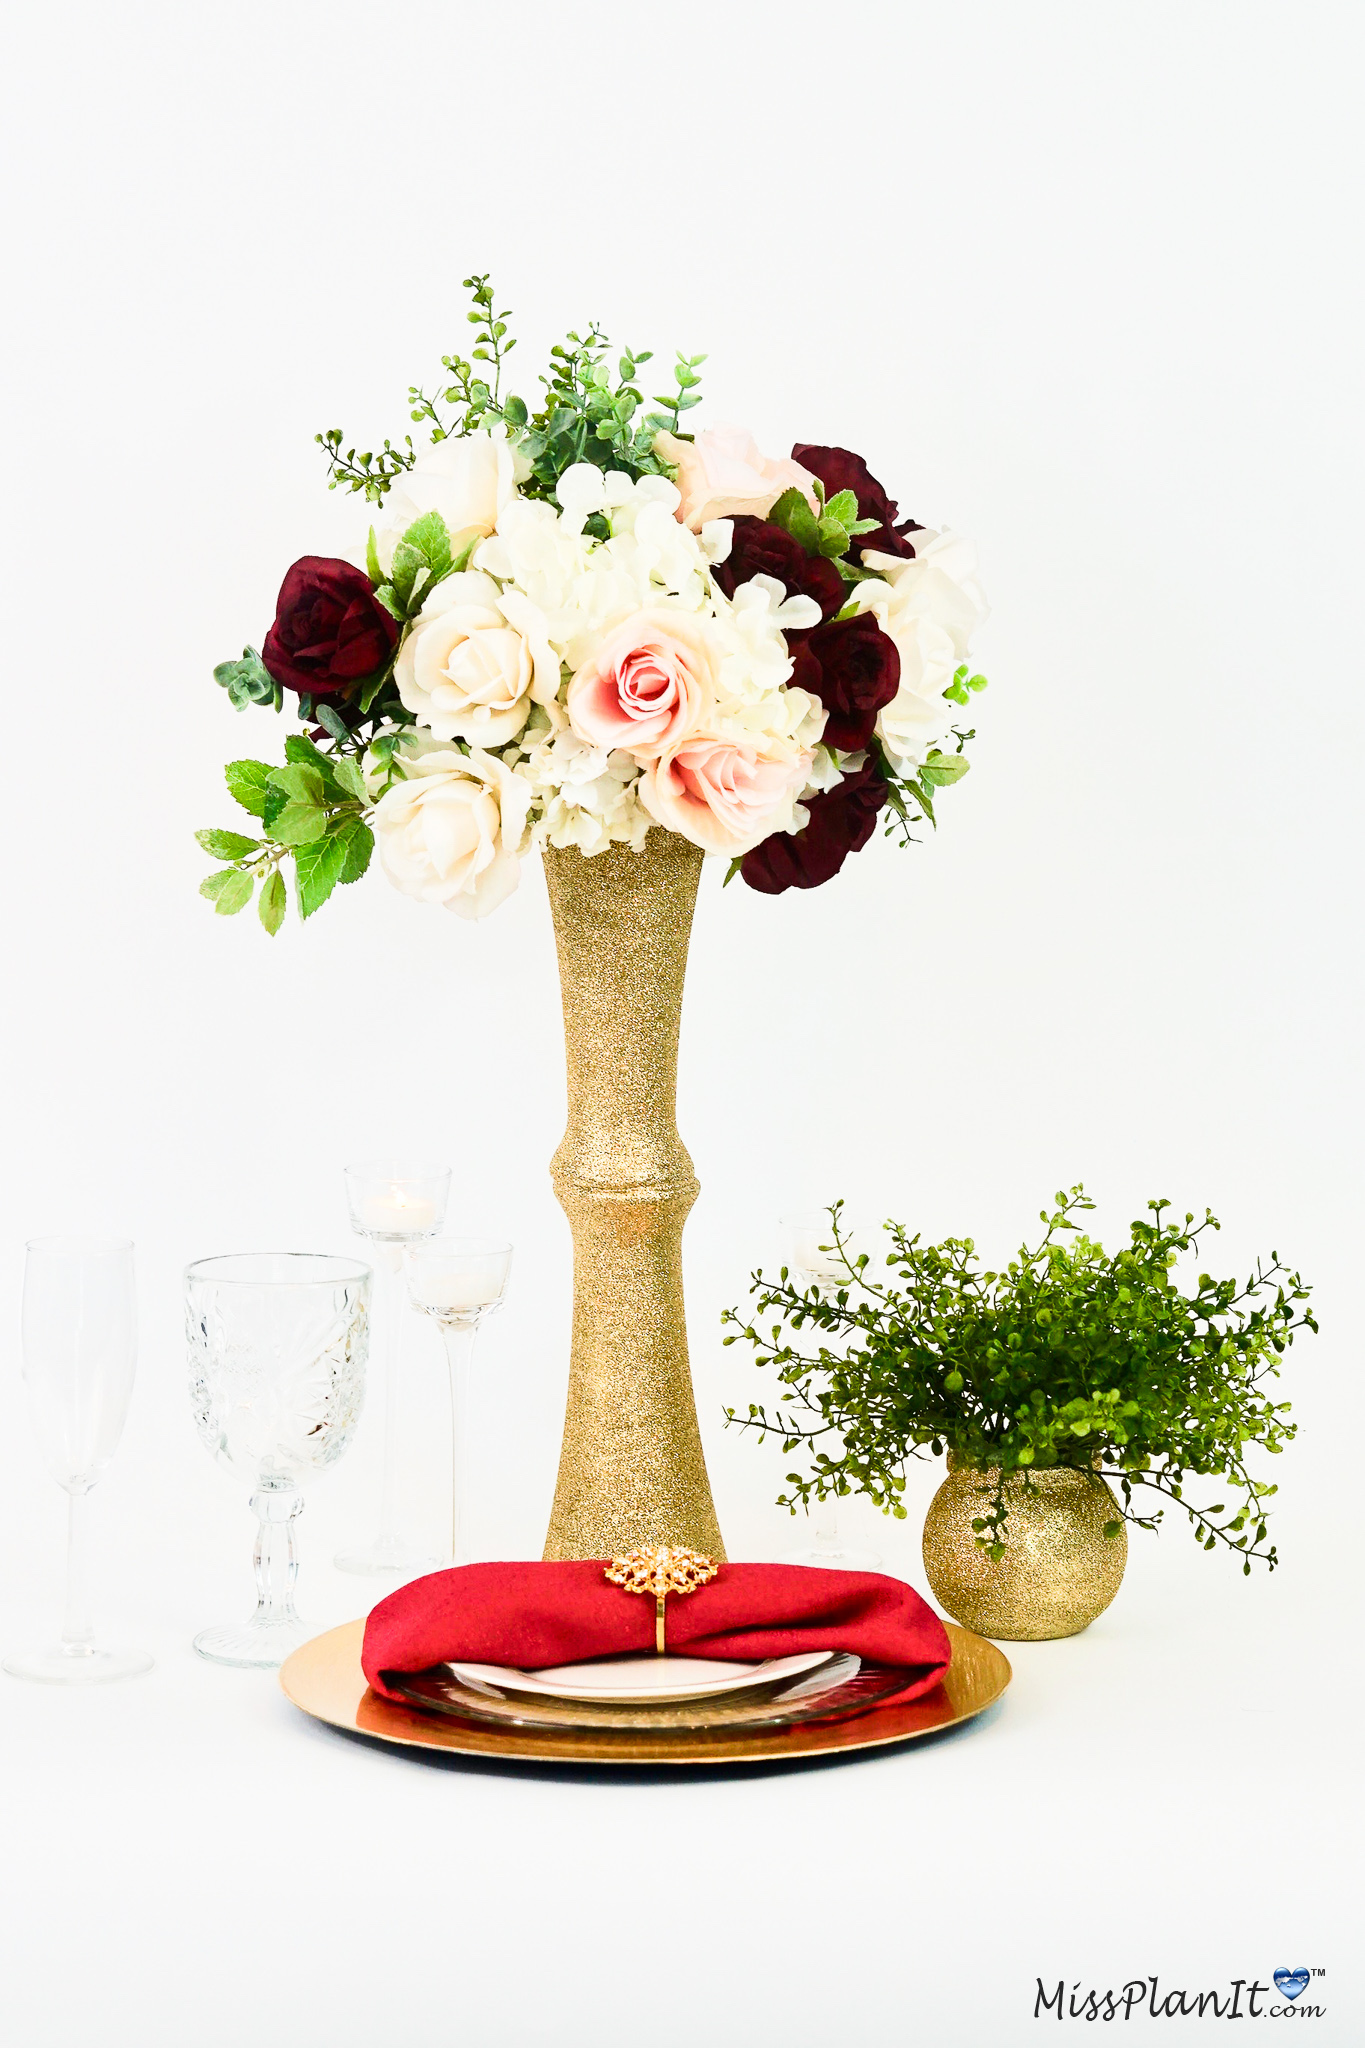
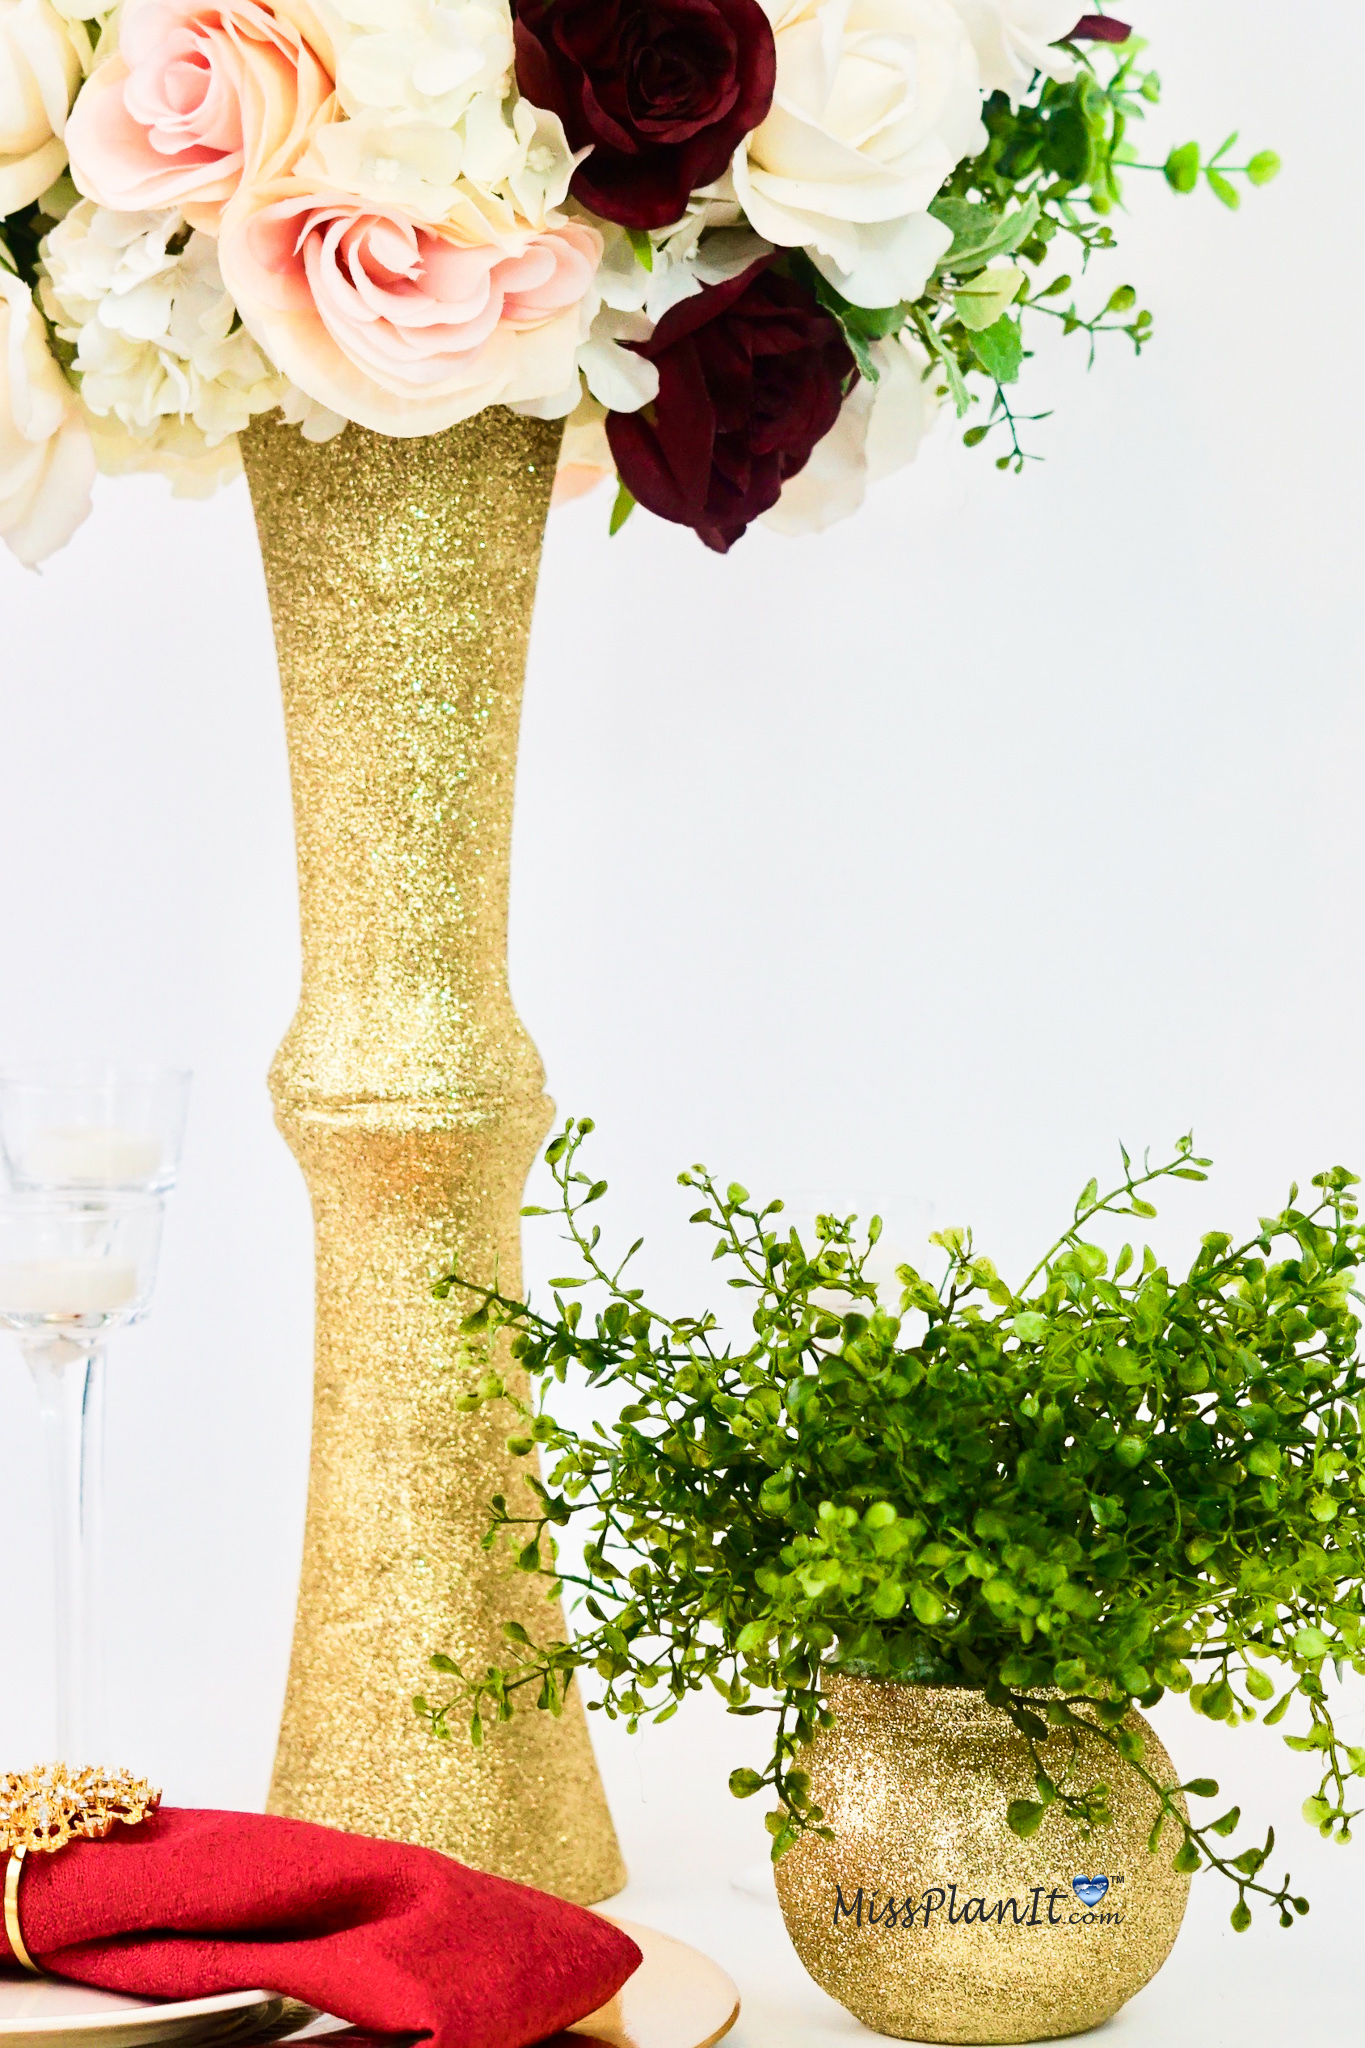
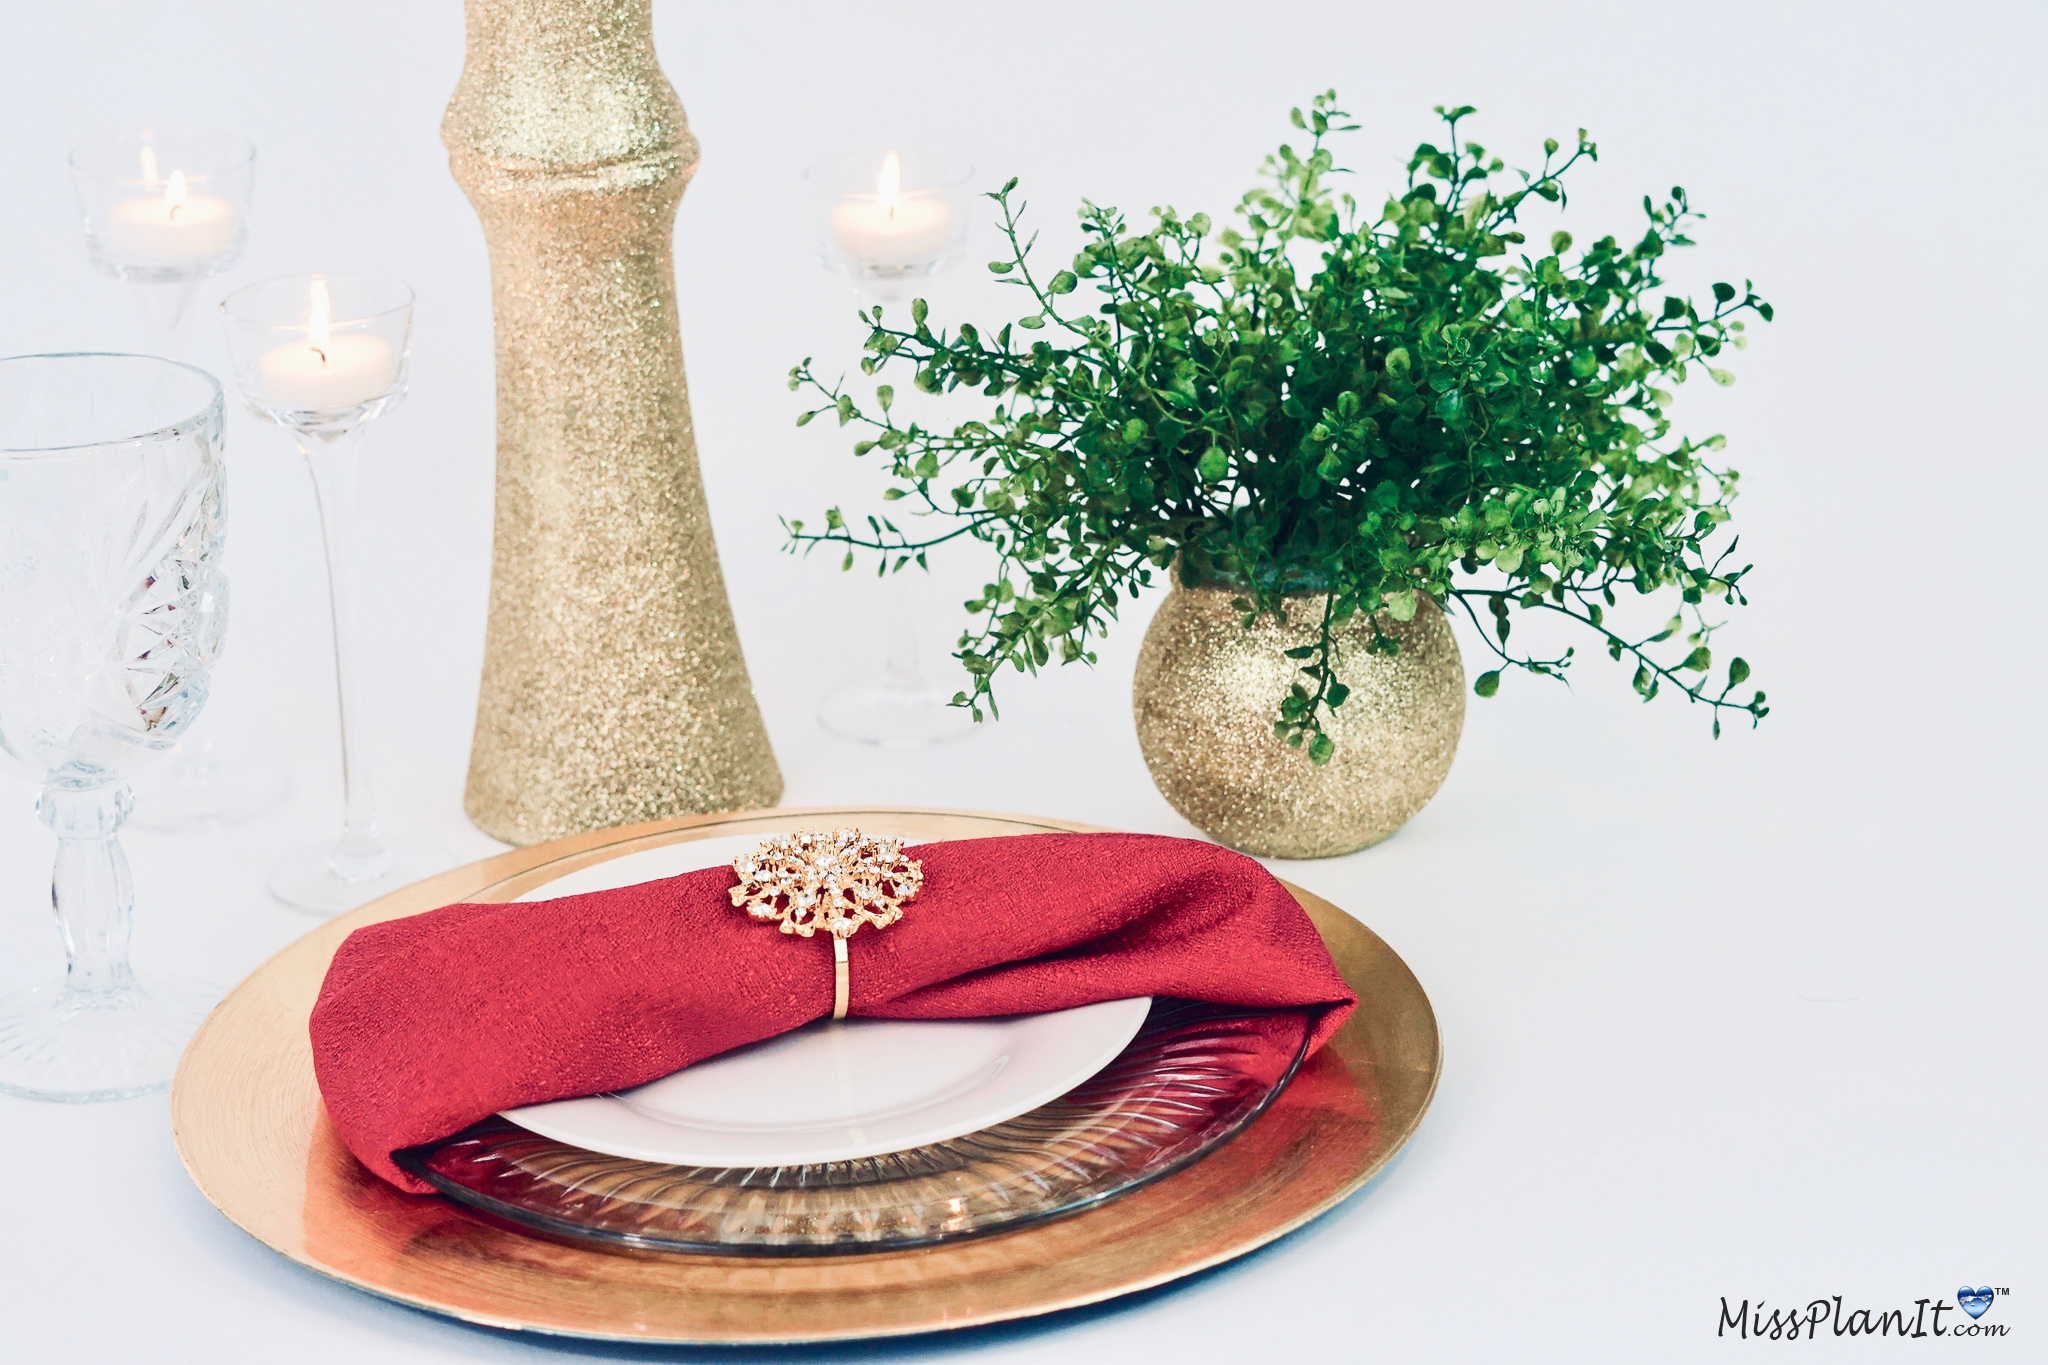
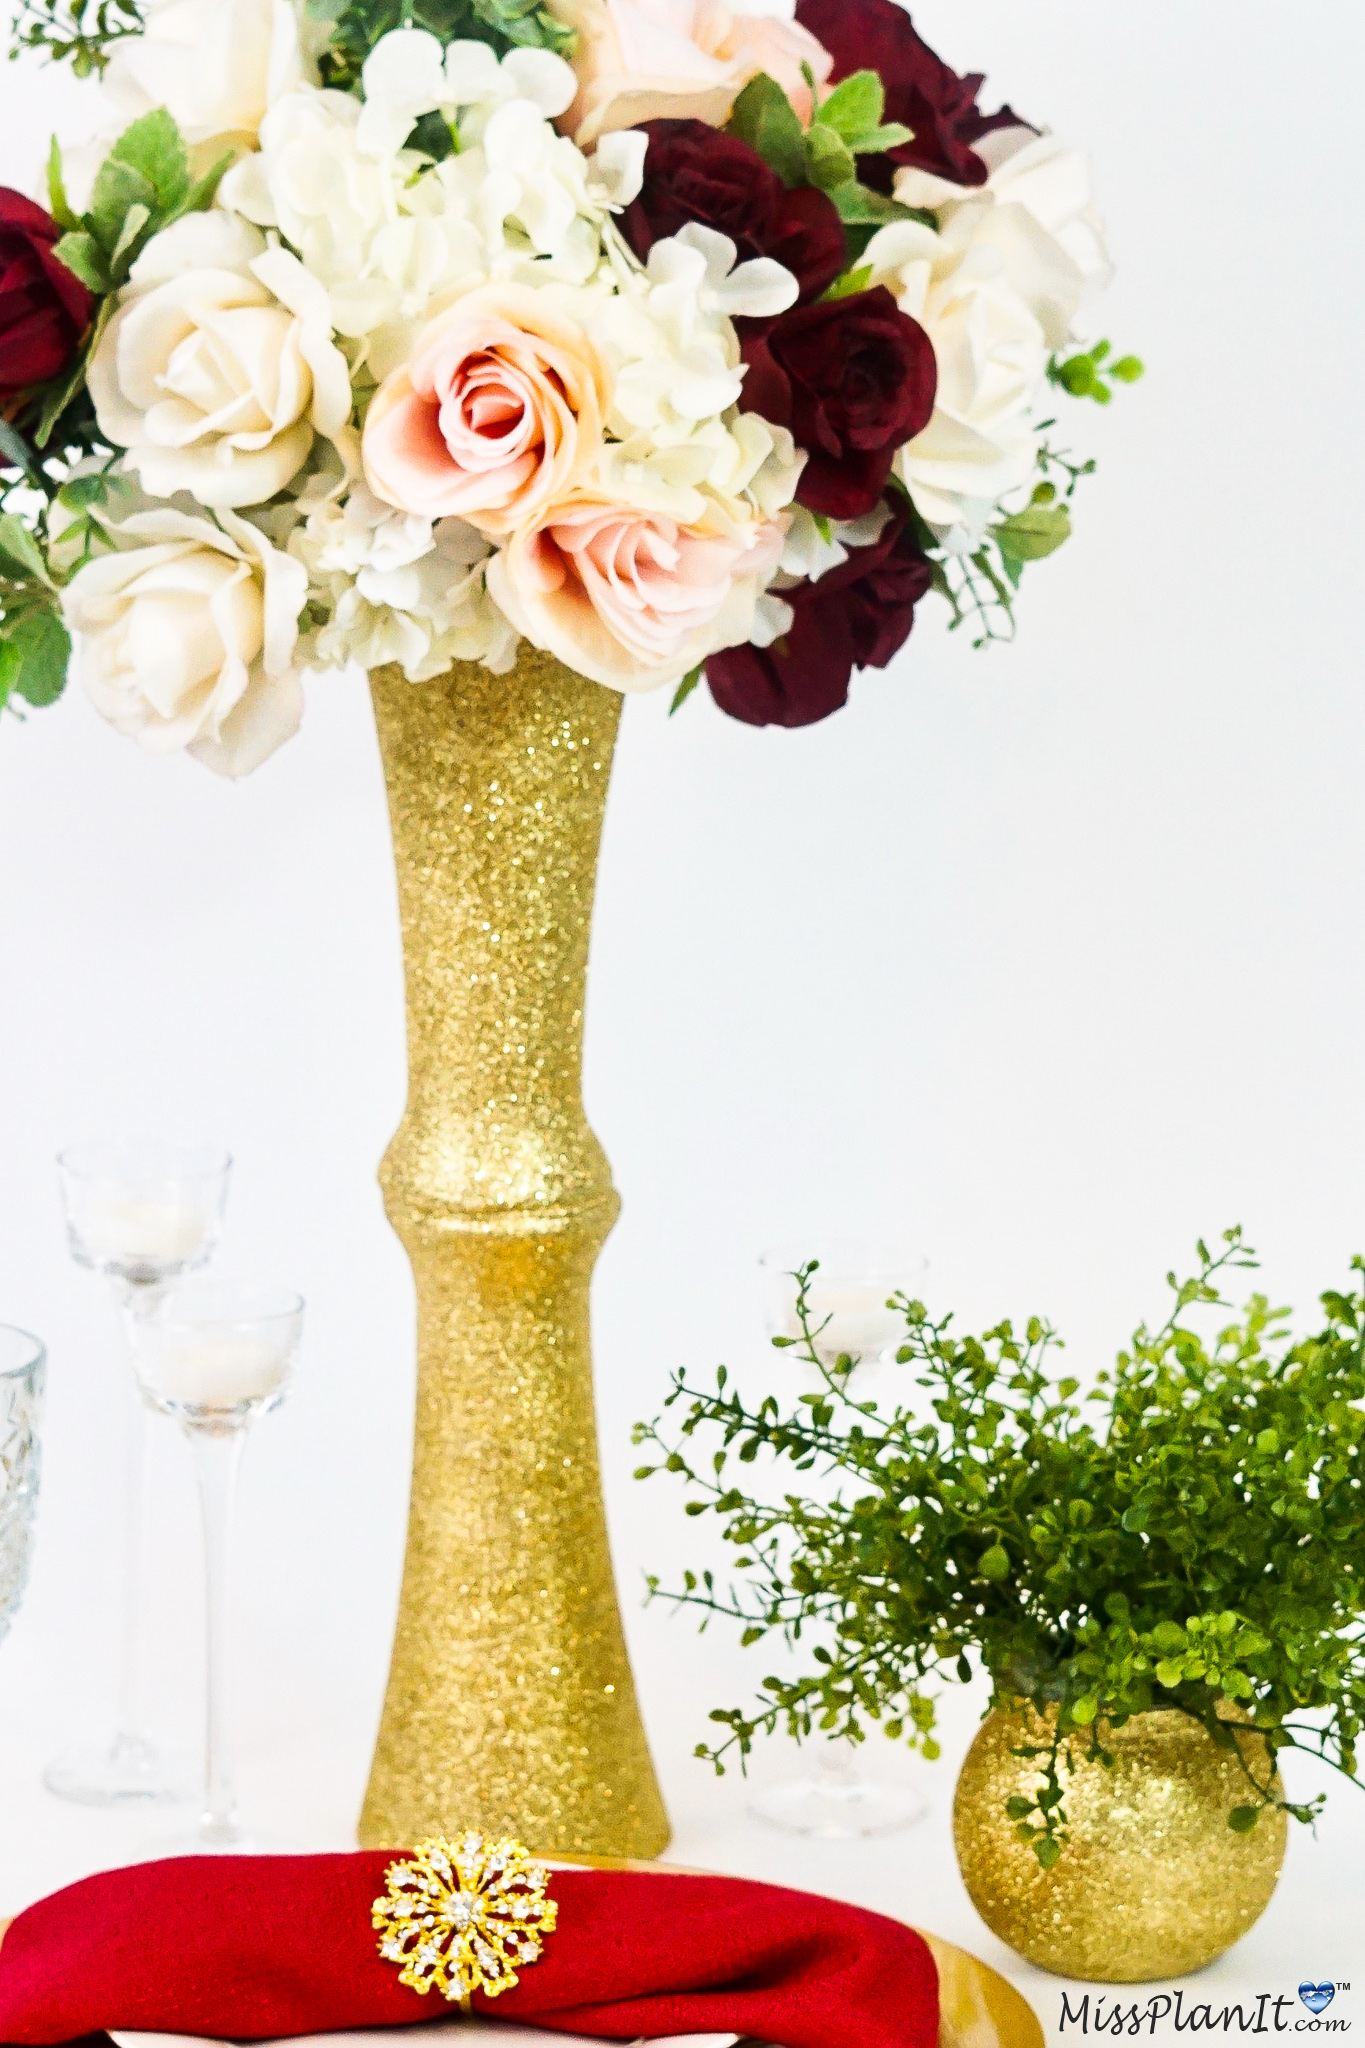
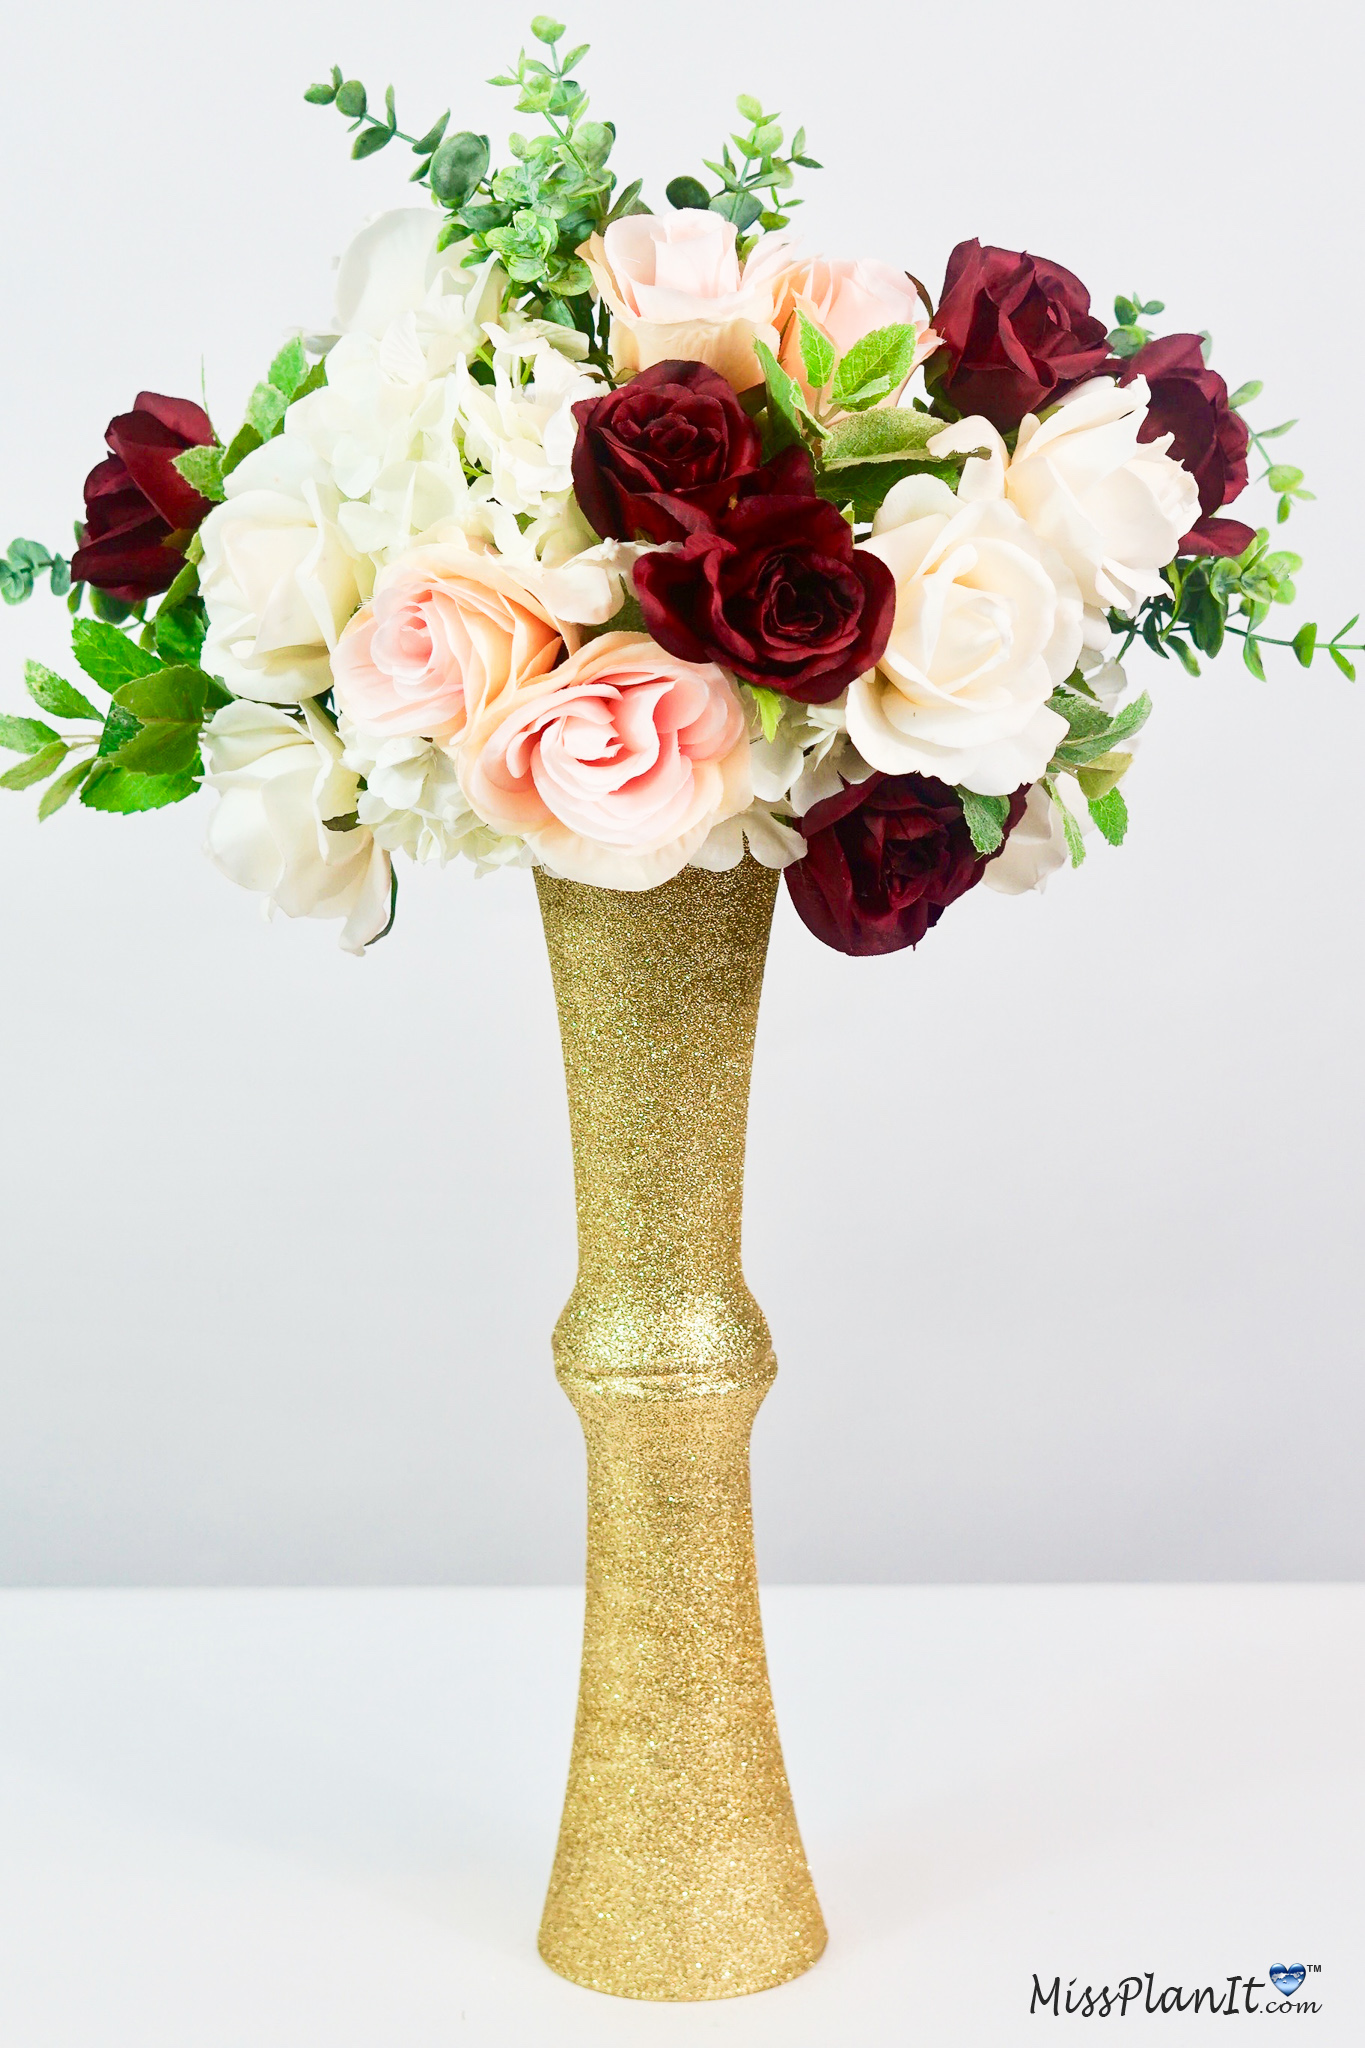
I absolutely love how this DIY Beautiful Rustic Glam Wedding Centerpiece turned out! The outcome is amazing and definitely gives you an extra special touch to your wedding!
If you like the outcome please subscribe to our Youtube Channel for more DIY Videos and follow us on Facebook and Pinterest.
Need help with an upcoming project? Be sure to send us a project request!
“Remember When Every Penny Counts, Count on MissPlanIt”


