THIS POST MAY CONTAIN AFFILIATE LINKS. PLEASE READ MY DISCLOSURE FOR MORE INFO.
Stylish Simplicity: Centerpieces That Impress Without the Stress!
Hey Ya’ll!
If you’re all about elegant vibes on a budget, you’re in for a treat. Today, I’m showing you how to create a stunning tall wedding centerpiece using beautiful hydrangea and cream roses. It’s simple, stylish, and guaranteed to wow your guests—without breaking the bank! So what are we waiting for? Let’s jump right in!
BUT WAIT!
Before we get started I want to share an awesome tip on how you can earn cash back with your online purchases for all the items you will need to complete this project!
As our saying goes “When Every Penny Counts, Count on Miss PlanIt.” We love to save money and get great deals. Prior to us purchasing anything online, we check out Rakuten, find the store, click the current deal for that store and complete our purchase.
If you have never used Rakuten, you are MISSING OUT. So for this project, you would go to Rakuten.com, sign up, and then type in the store you plan to purchase from.
When completing a purchase through Rakuten you earn cash back that you can have mailed to you or sent via PayPal. Be sure to check it out! Click here to sign up for Rakuten, and RIGHT NOW when you sign up, you will receive a $10 cash welcome bonus through my link when you spend $25.00!
You were already going to complete your purchase online, so why not get some cash back on things you already planned to purchase!
Let’s Get Started: Click the links below to purchase the supplies needed for this project:
- Half Ball
- Large Hydrangea Heads
- Medium Hydrangea Heads
- Trumpet Vase 17.5 “
- Tall Trumpet Vase 24”
- Floral Pins
- Diamond Acrylic Crystal Garland
- Acrylic Crystal Rain Drop
- Real Touch Roses
- FloraCraft FōM Cutter
Project Video:
If you prefer written instructions, please continue reading.
Stylish Weddings on a Budget!
Step 1:
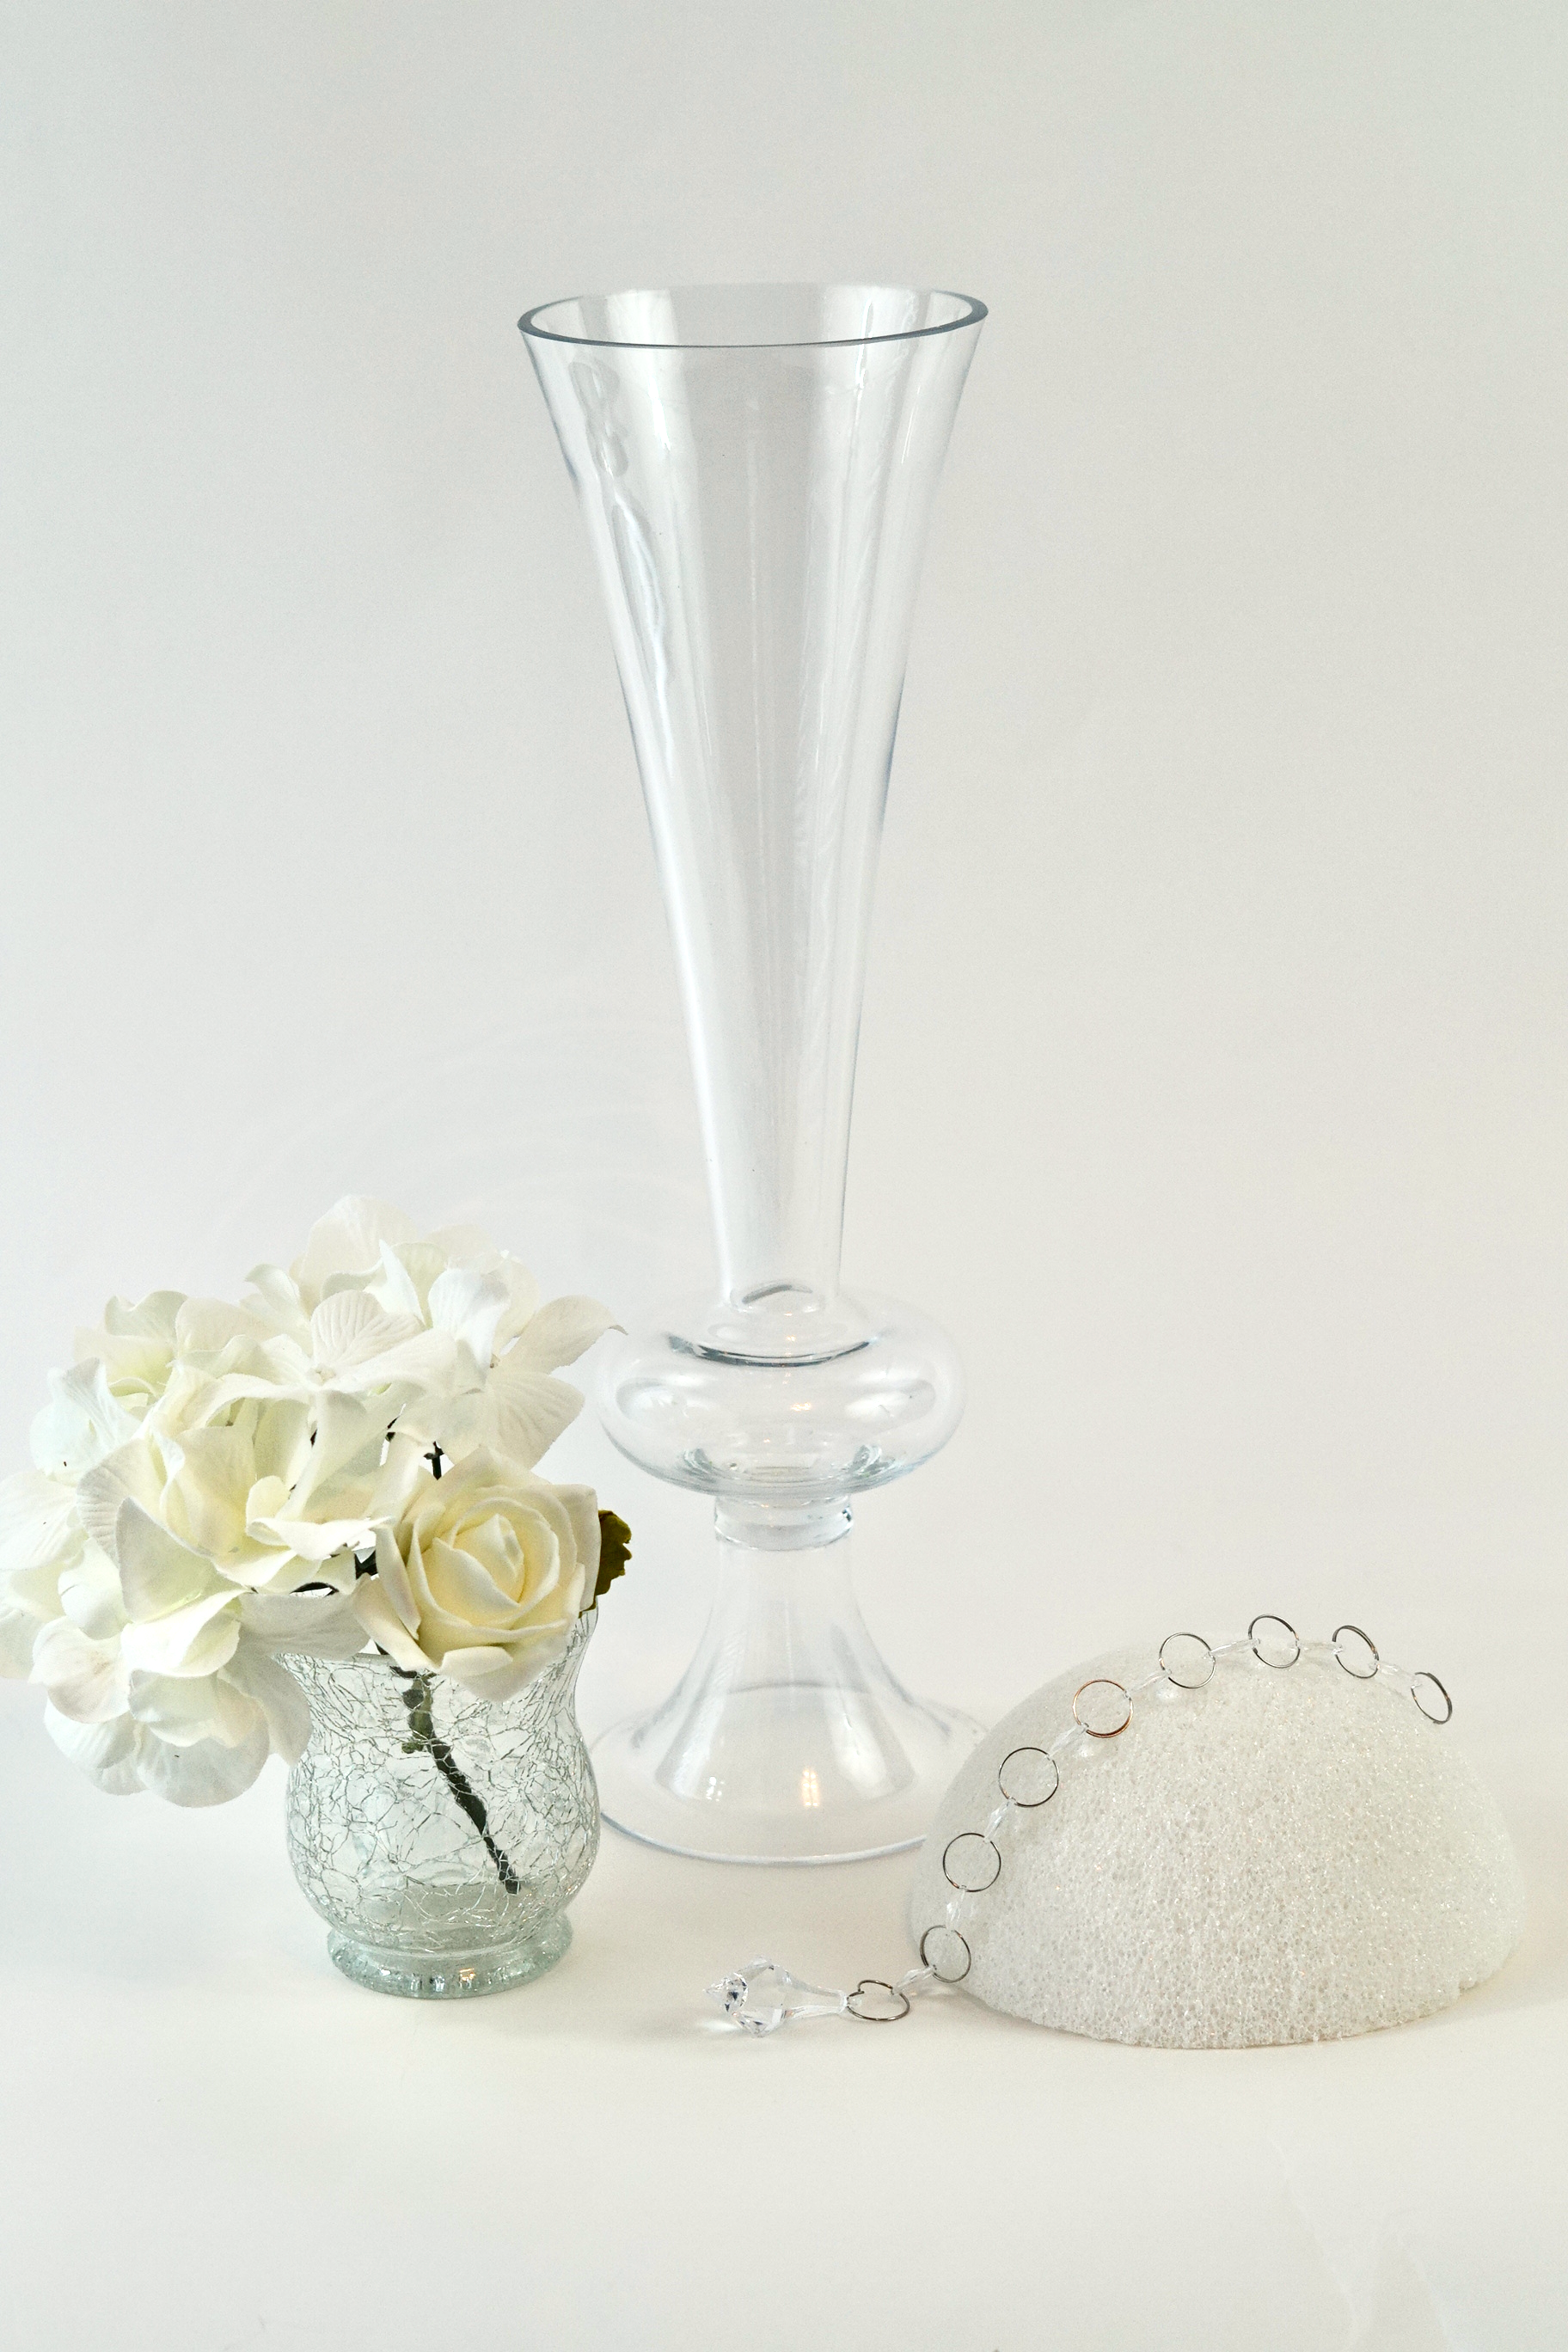
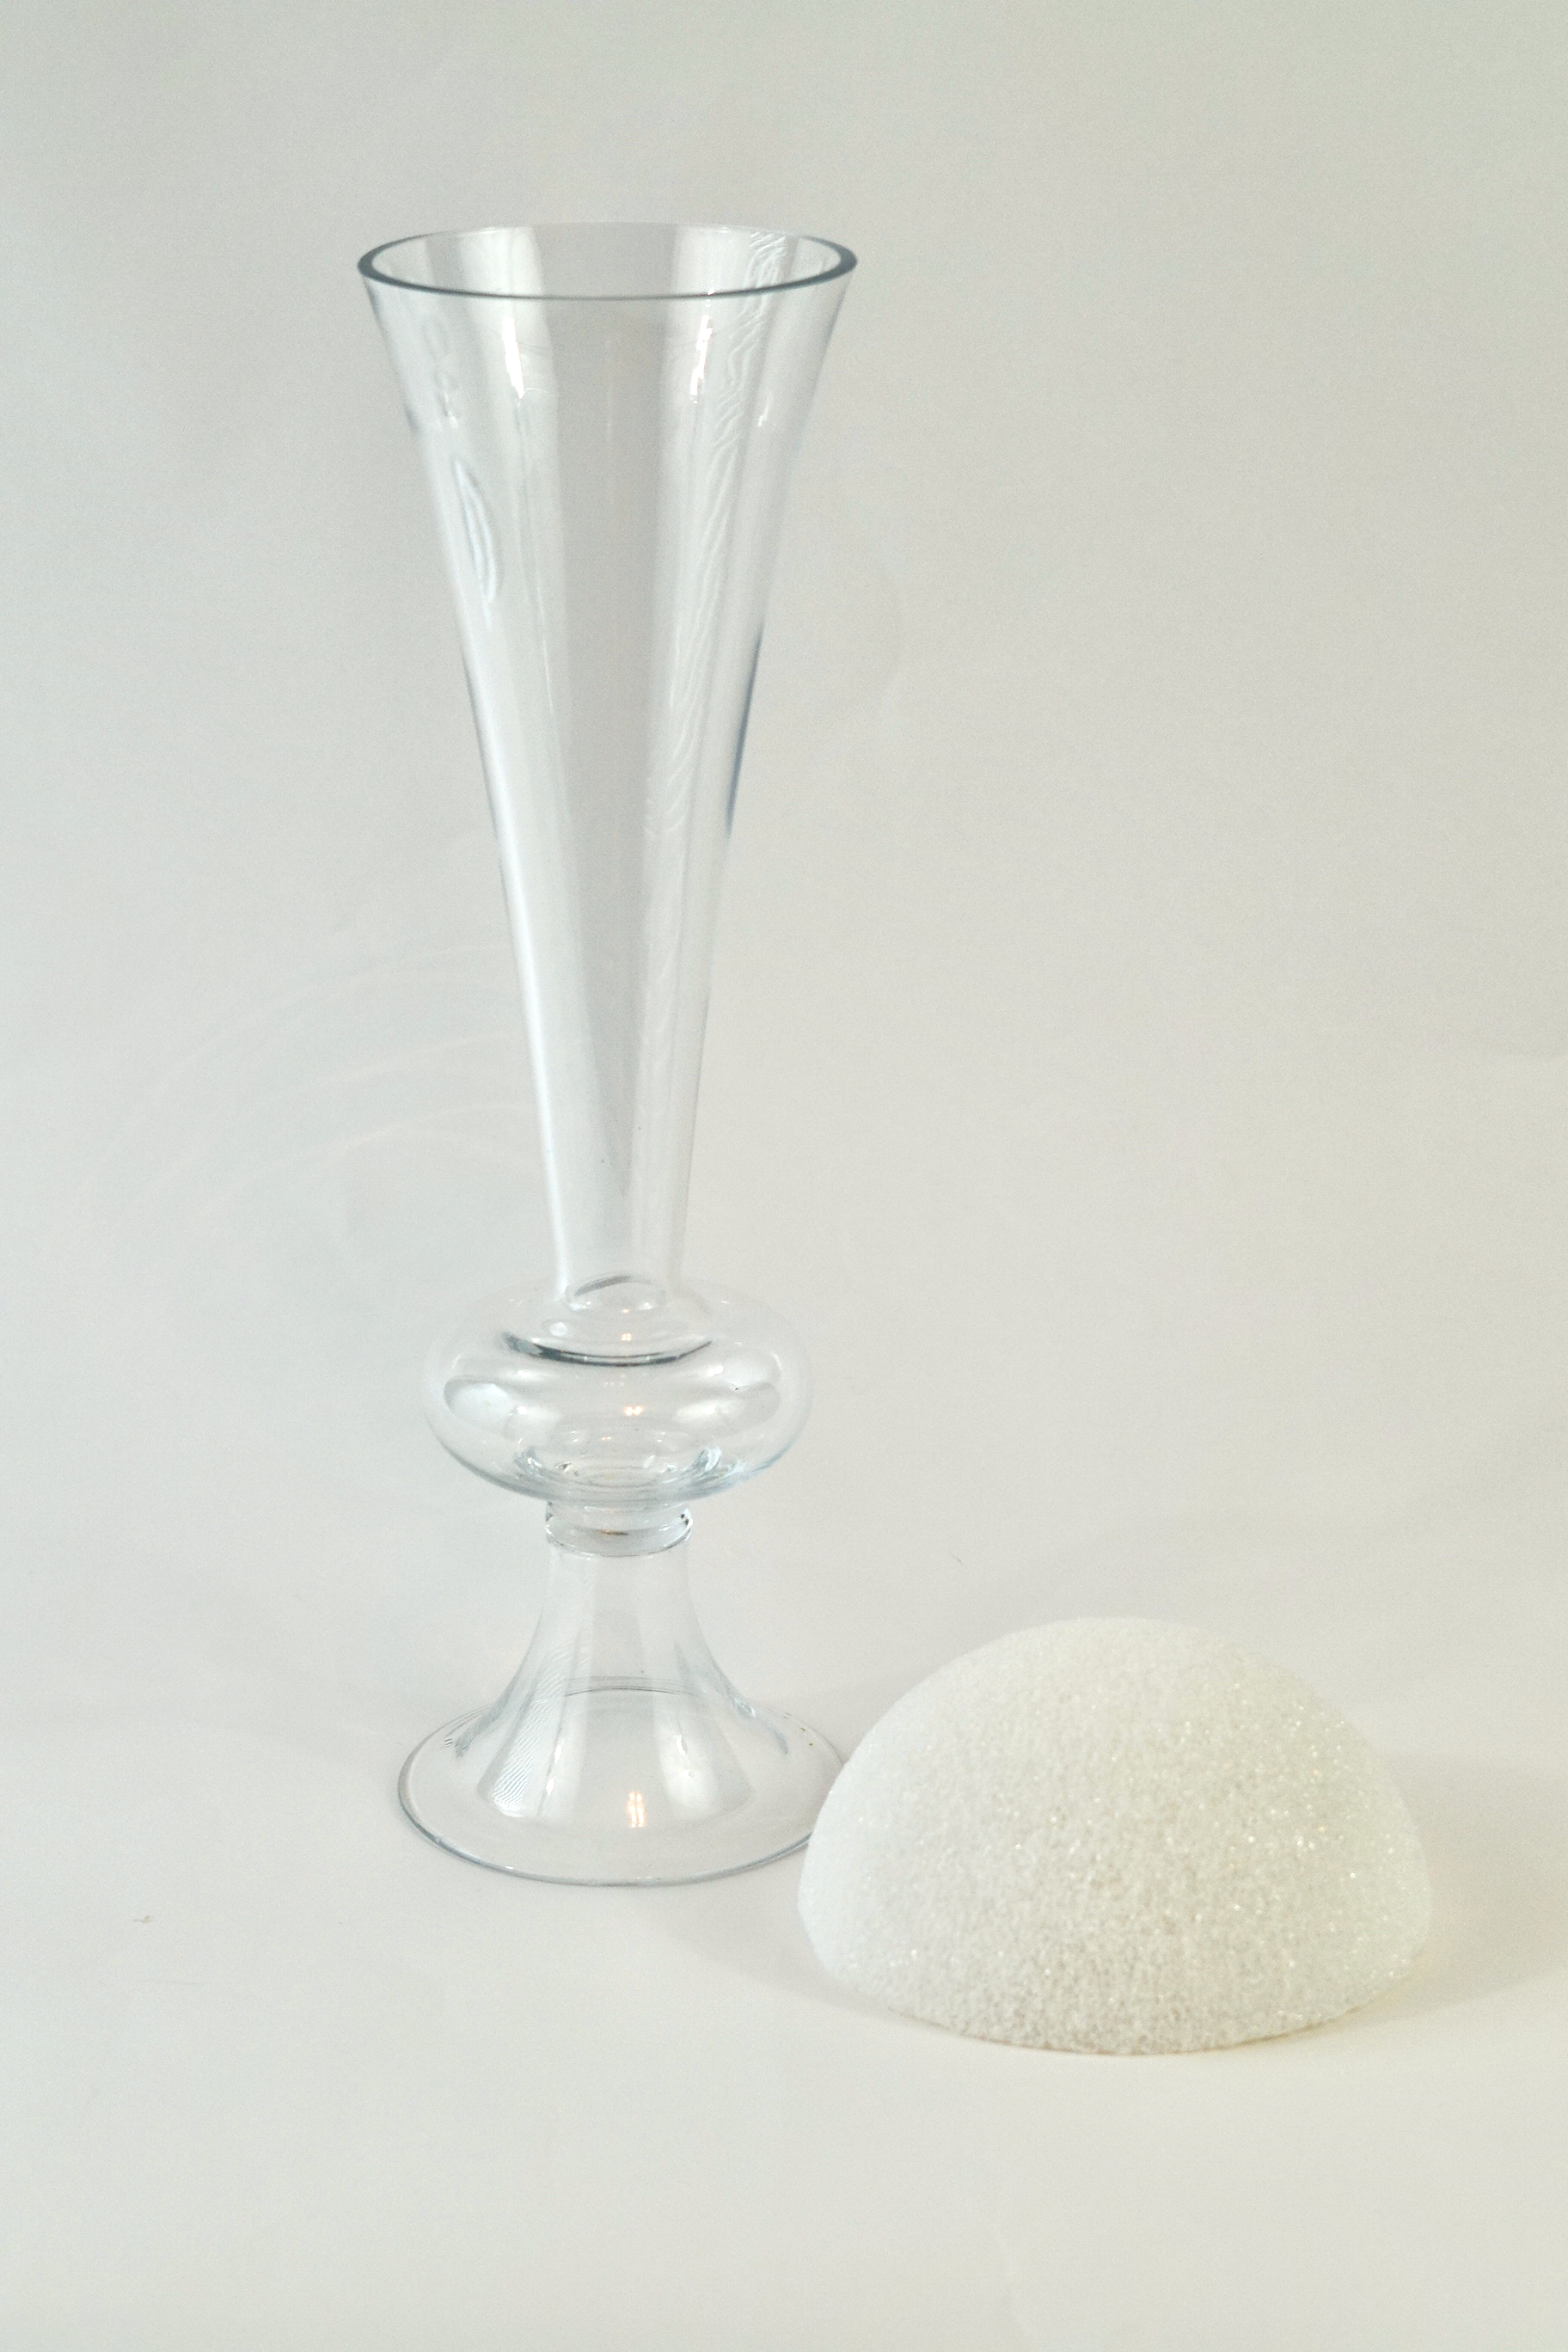
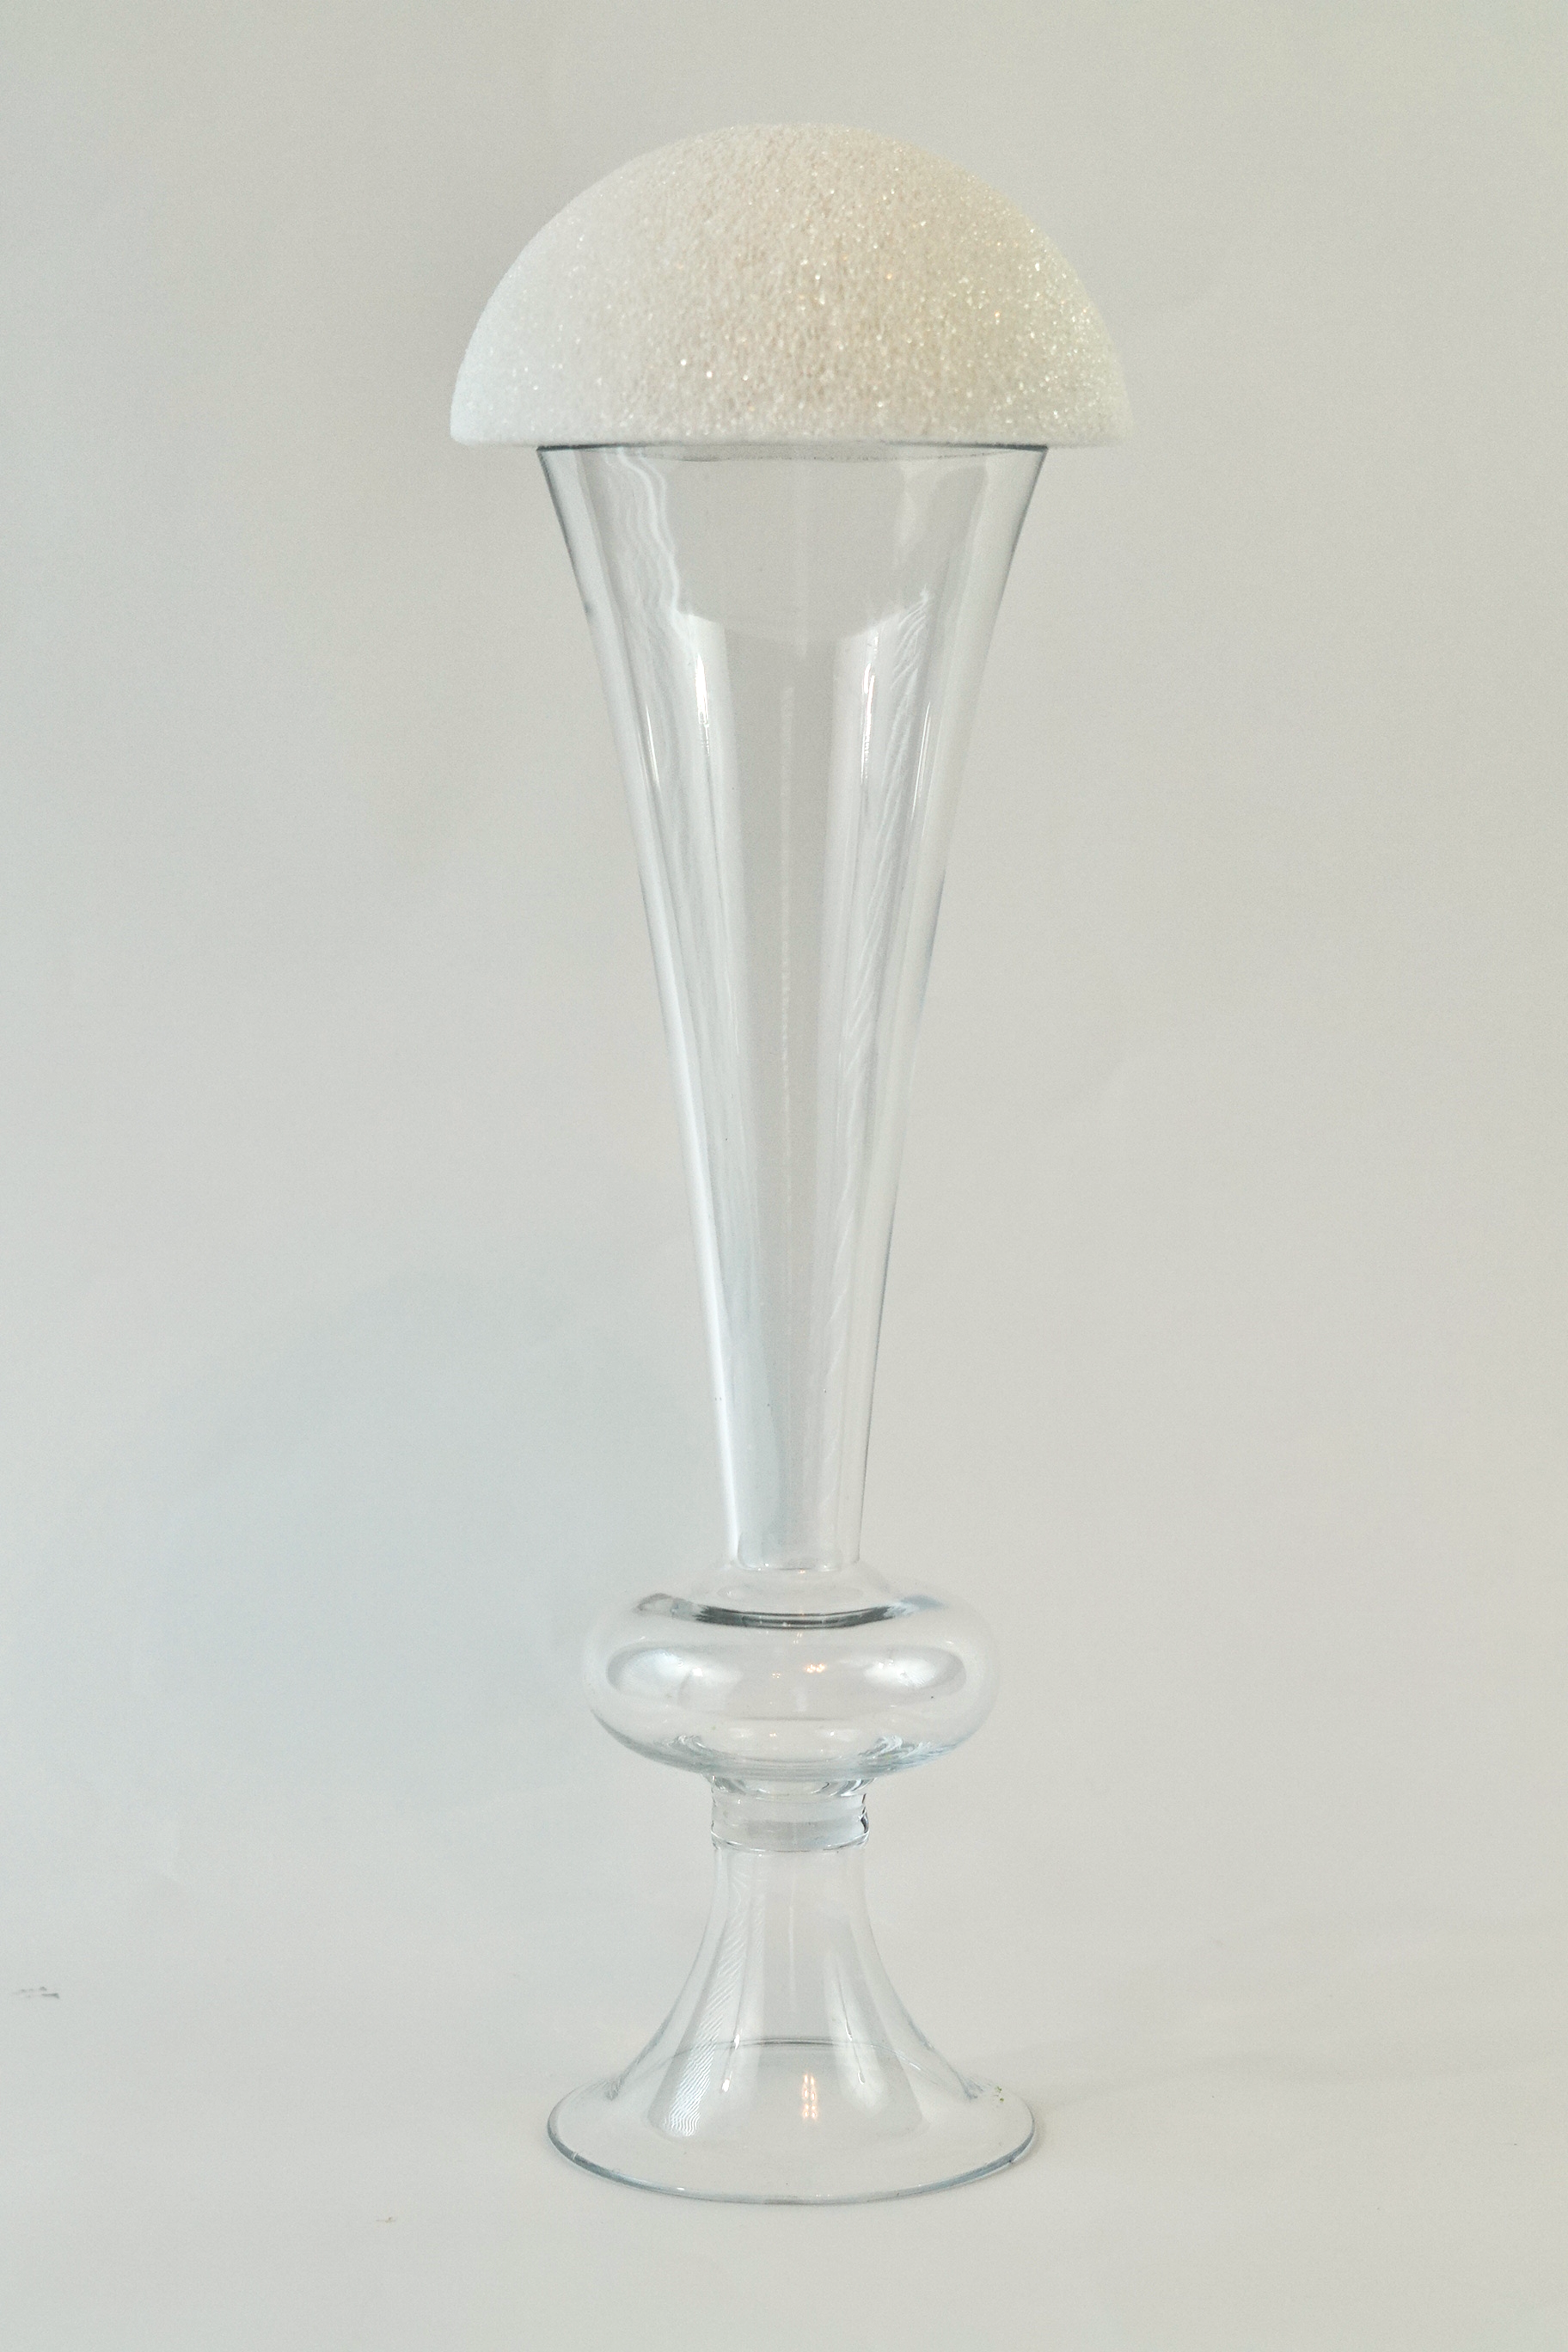
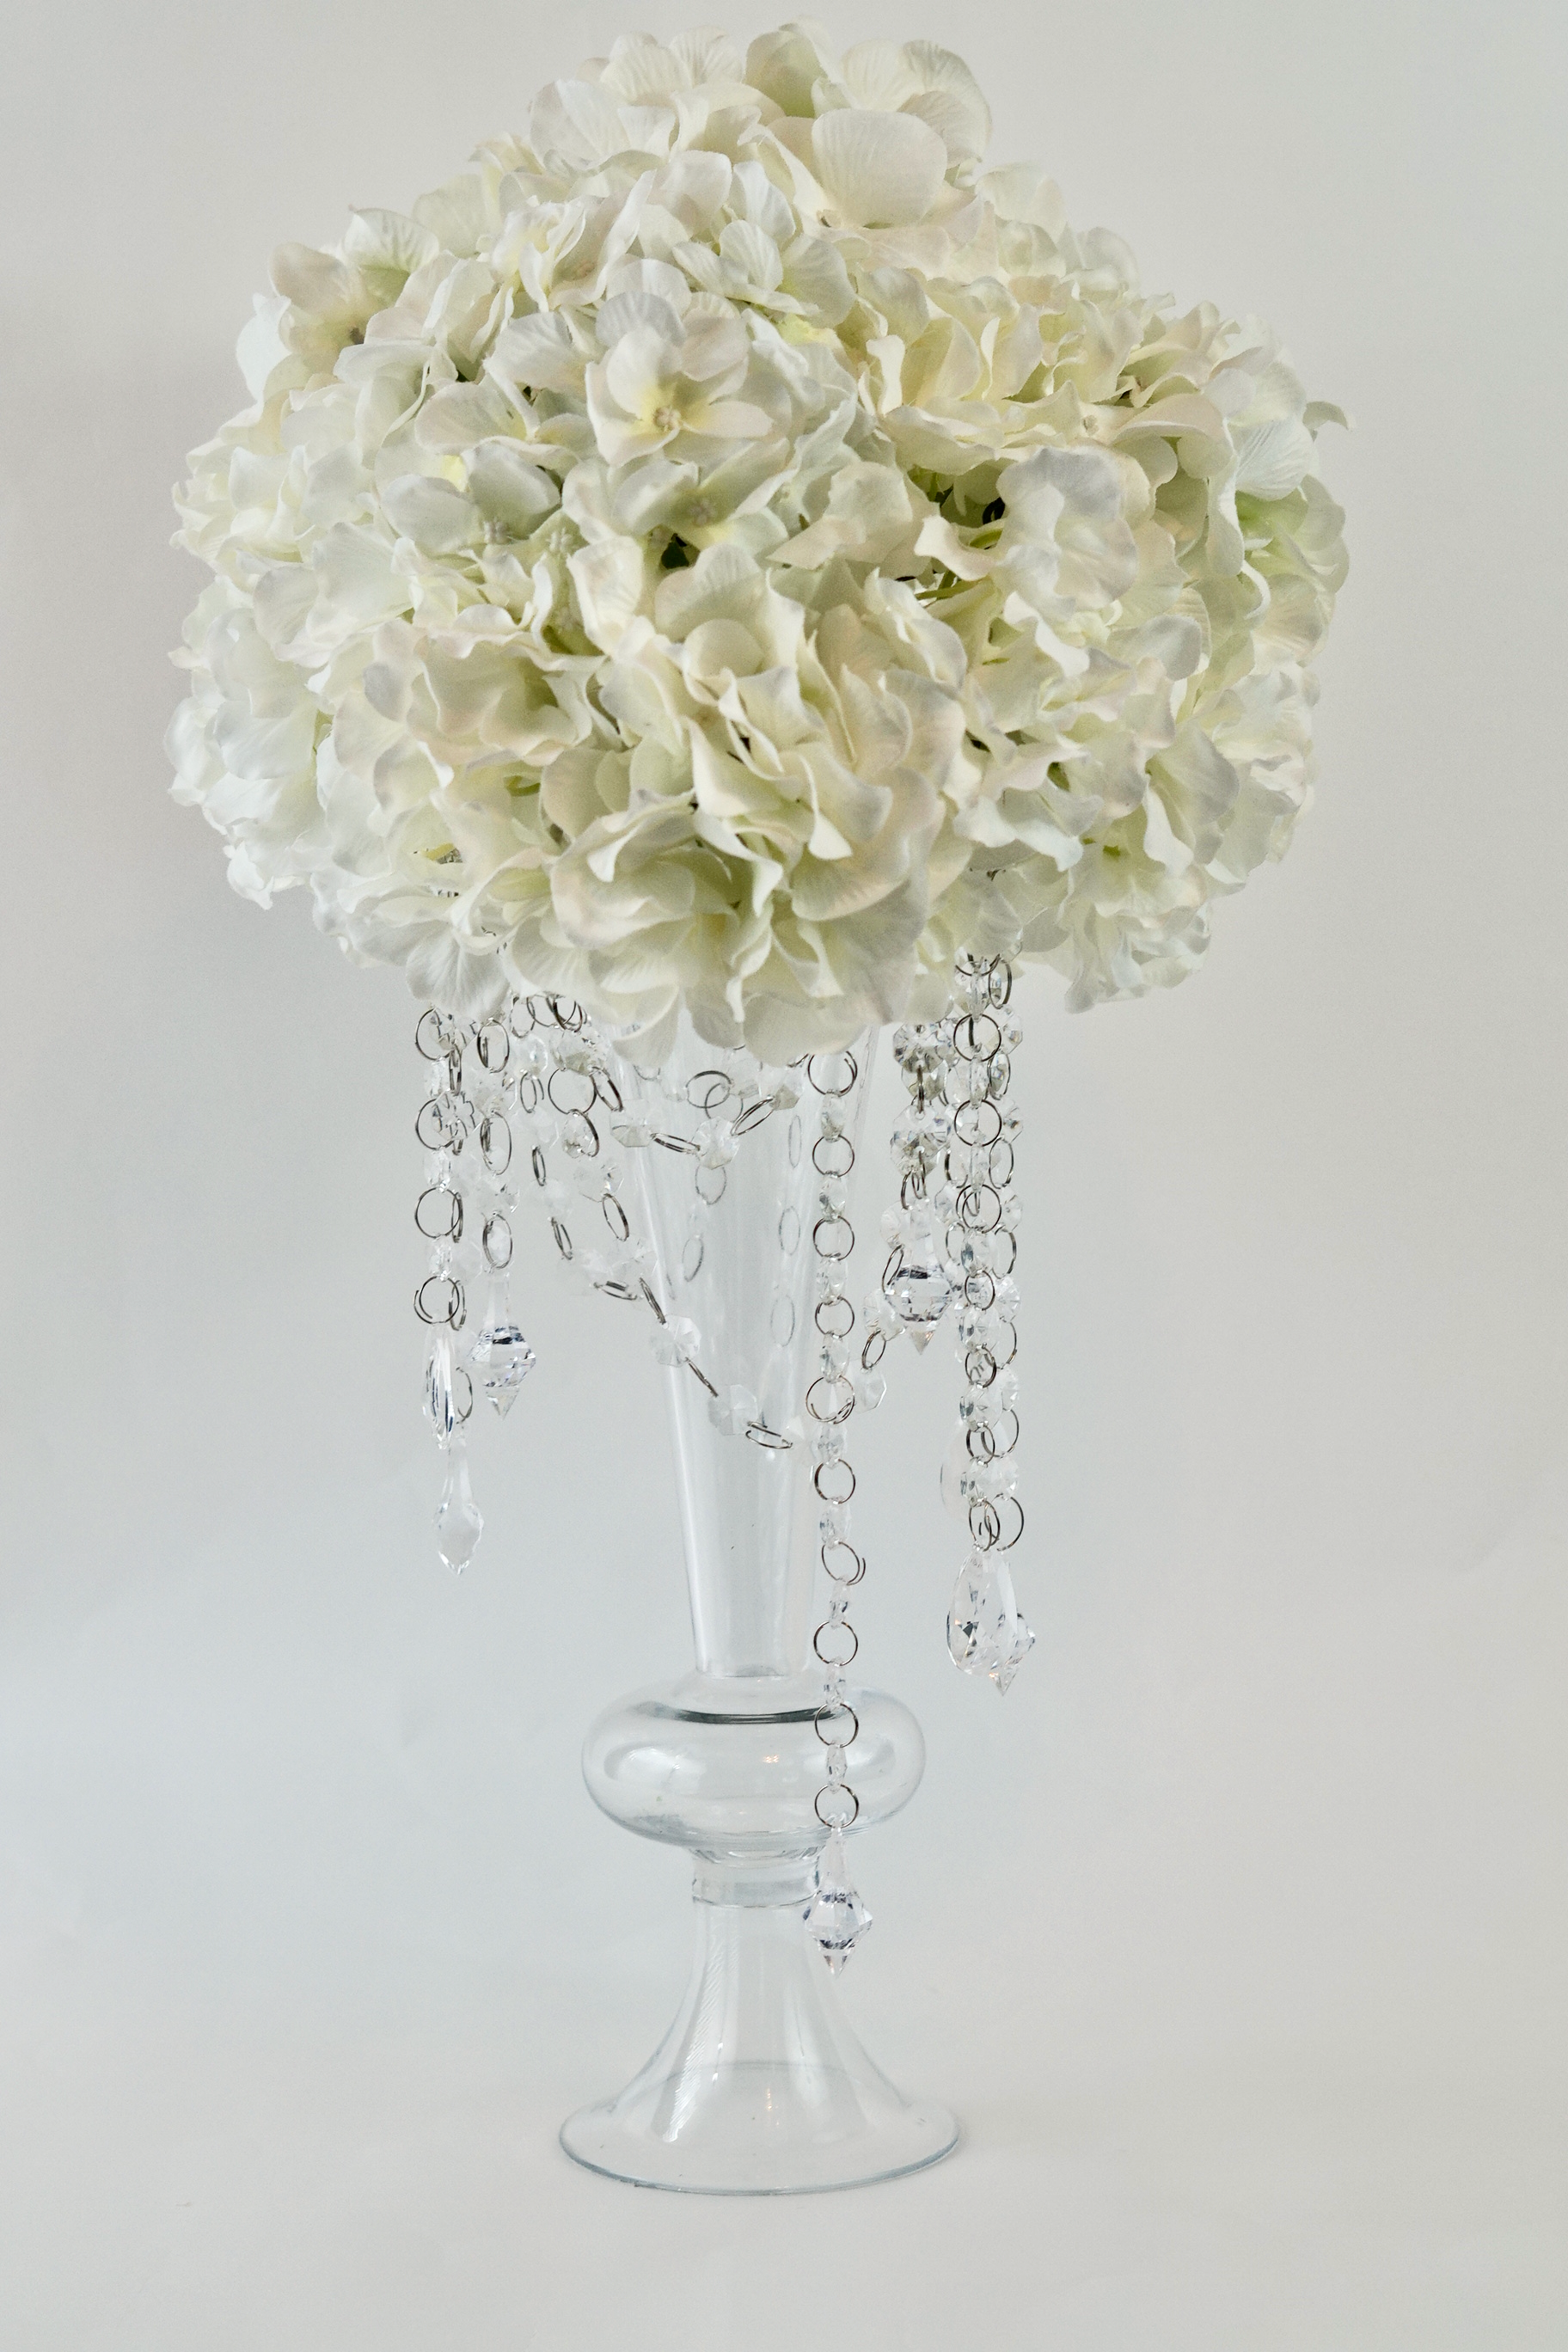
Creating a strong base is always the most important step. For this base you have the option to use a 17in or 24 in Trumpet Vase. Once you’ve made your selection we will press the rim of the vase onto the flat surface of the Half Styrofoam Ball, creating an indention. Next carve out the indention using the FloraCraft Foam Cutter. Add hot glue into the indention and place the rim of the Trumpet Vase into the indention. Allow 10 minutes for the Hot Glue to set up.
Picture-Perfect Wedding Centerpiece , Effortlessly Planned!

Step 2:
Next attach 8-10 strands of Gem Garland at various lengths to the Styrofoam Half Ball with Floral Pins. Allow your creativity to flow. There’s no wrong way to execute this step! Have fun!
Step 3:
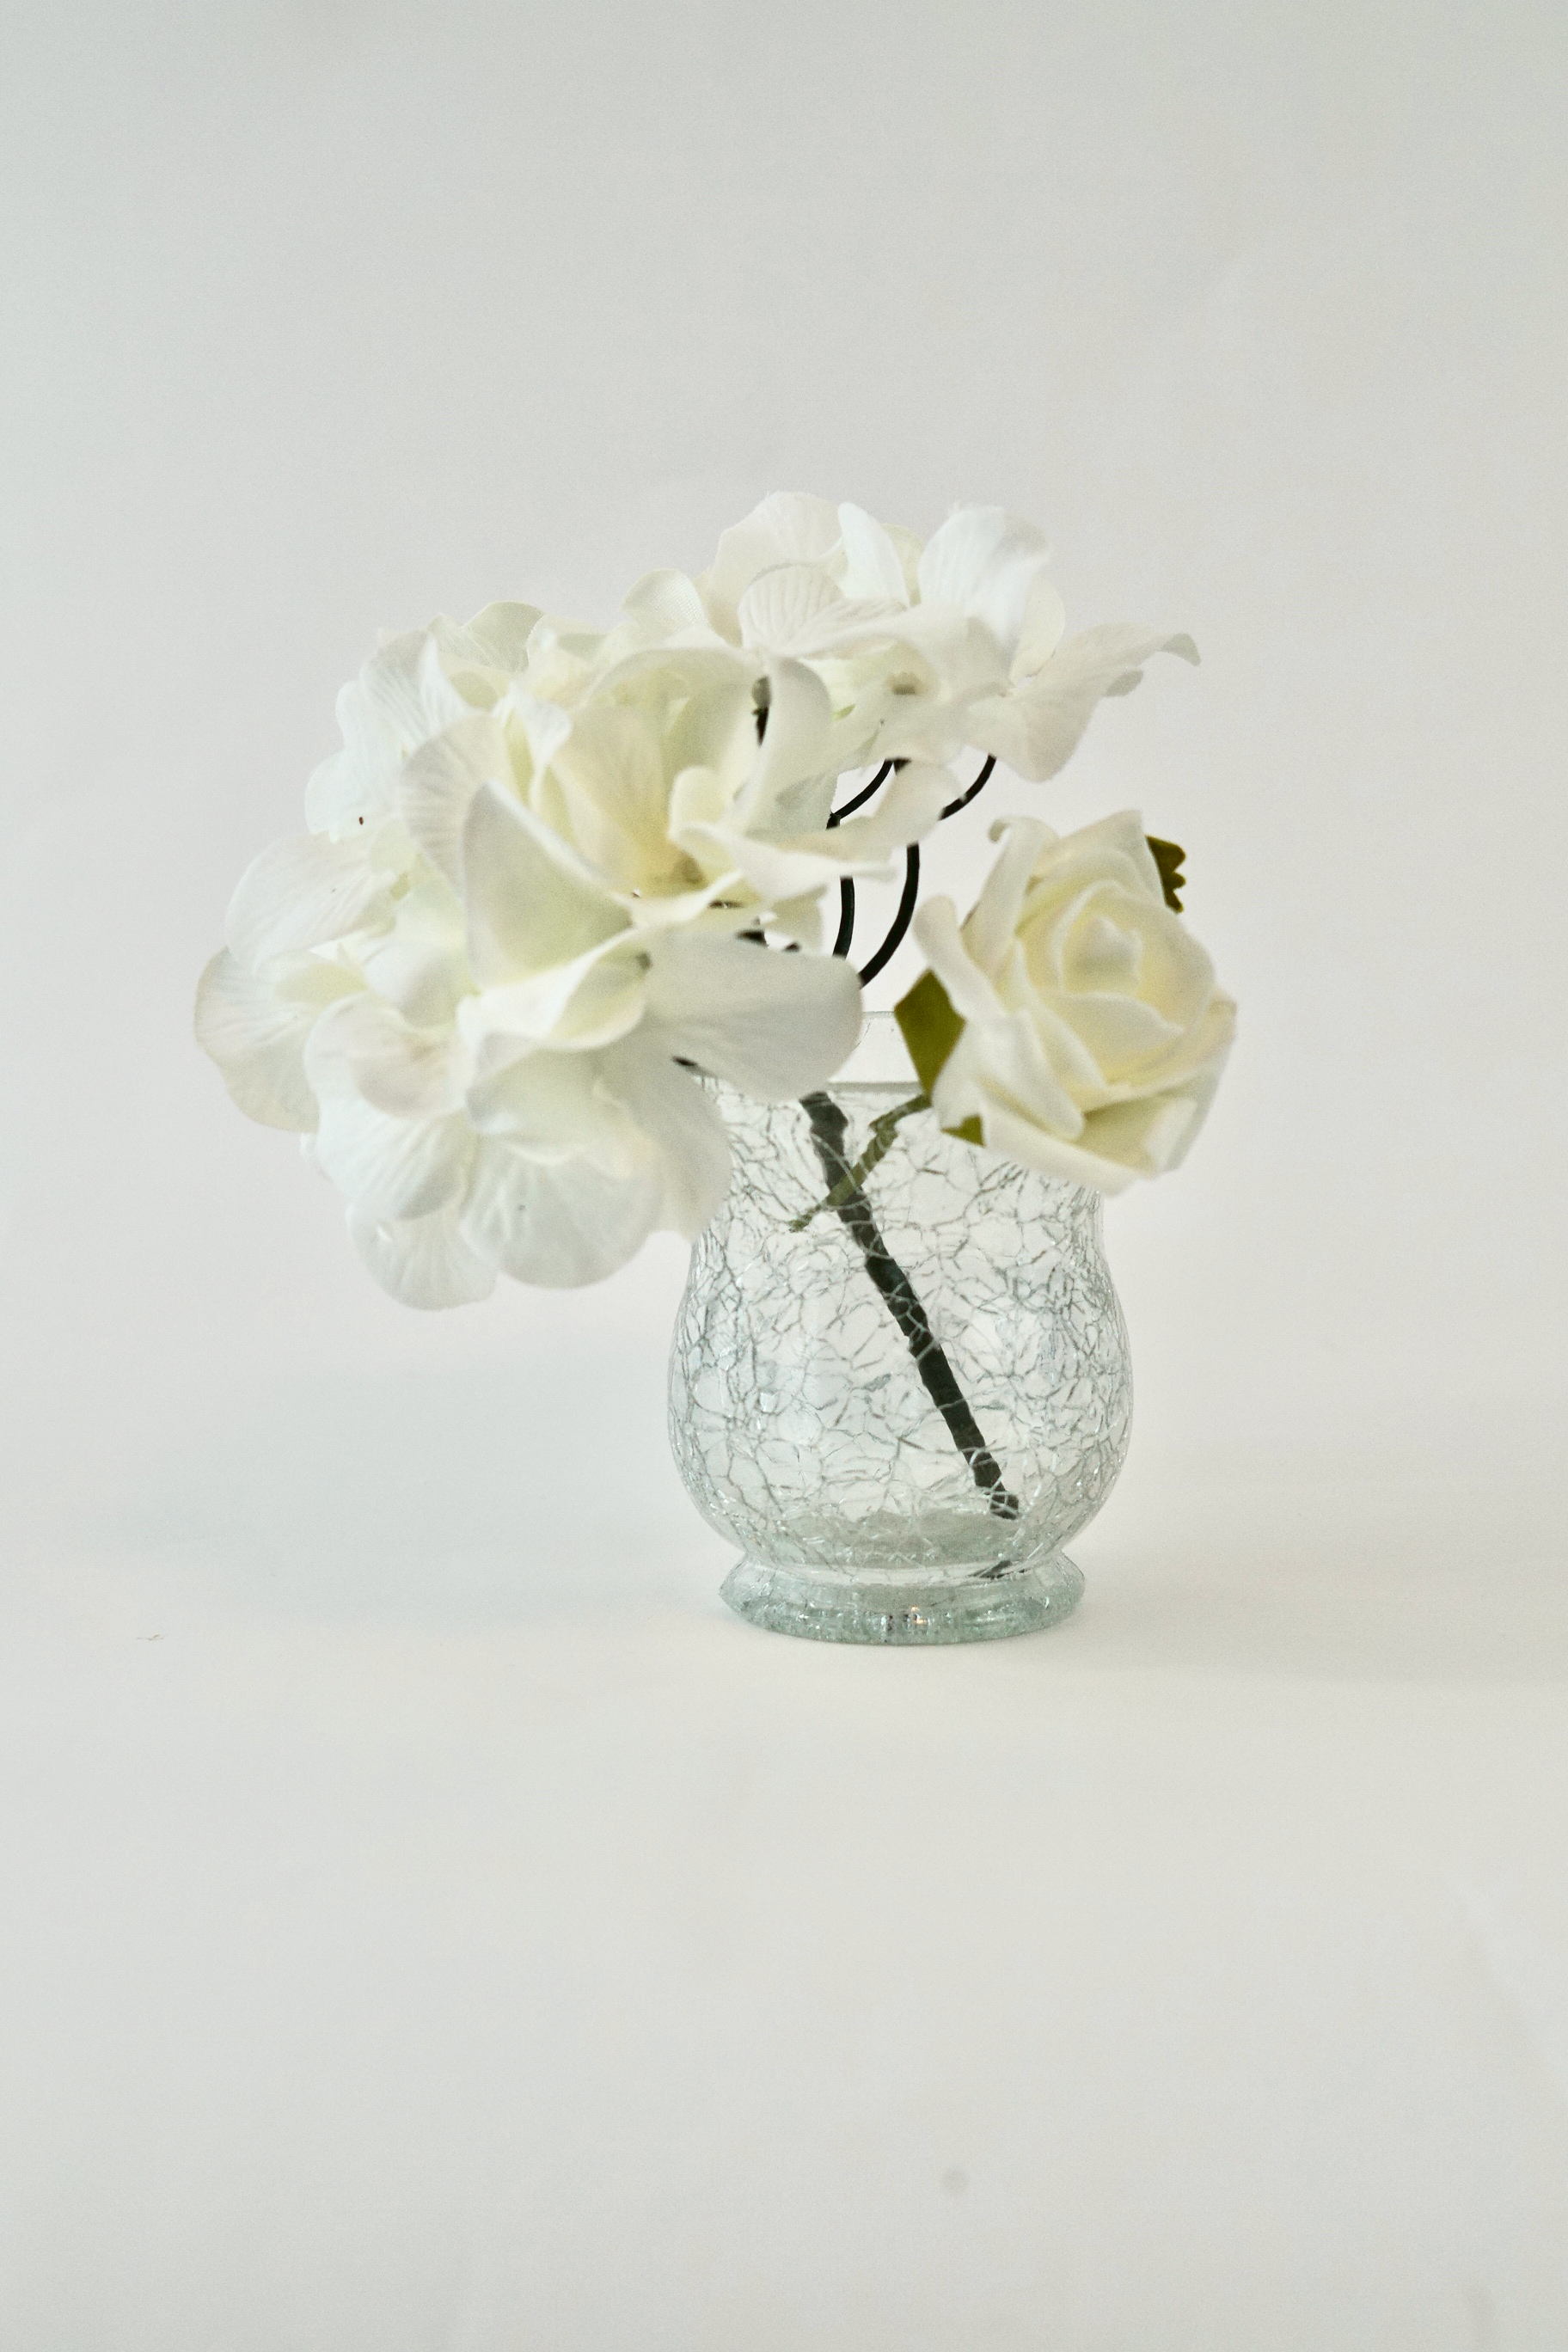
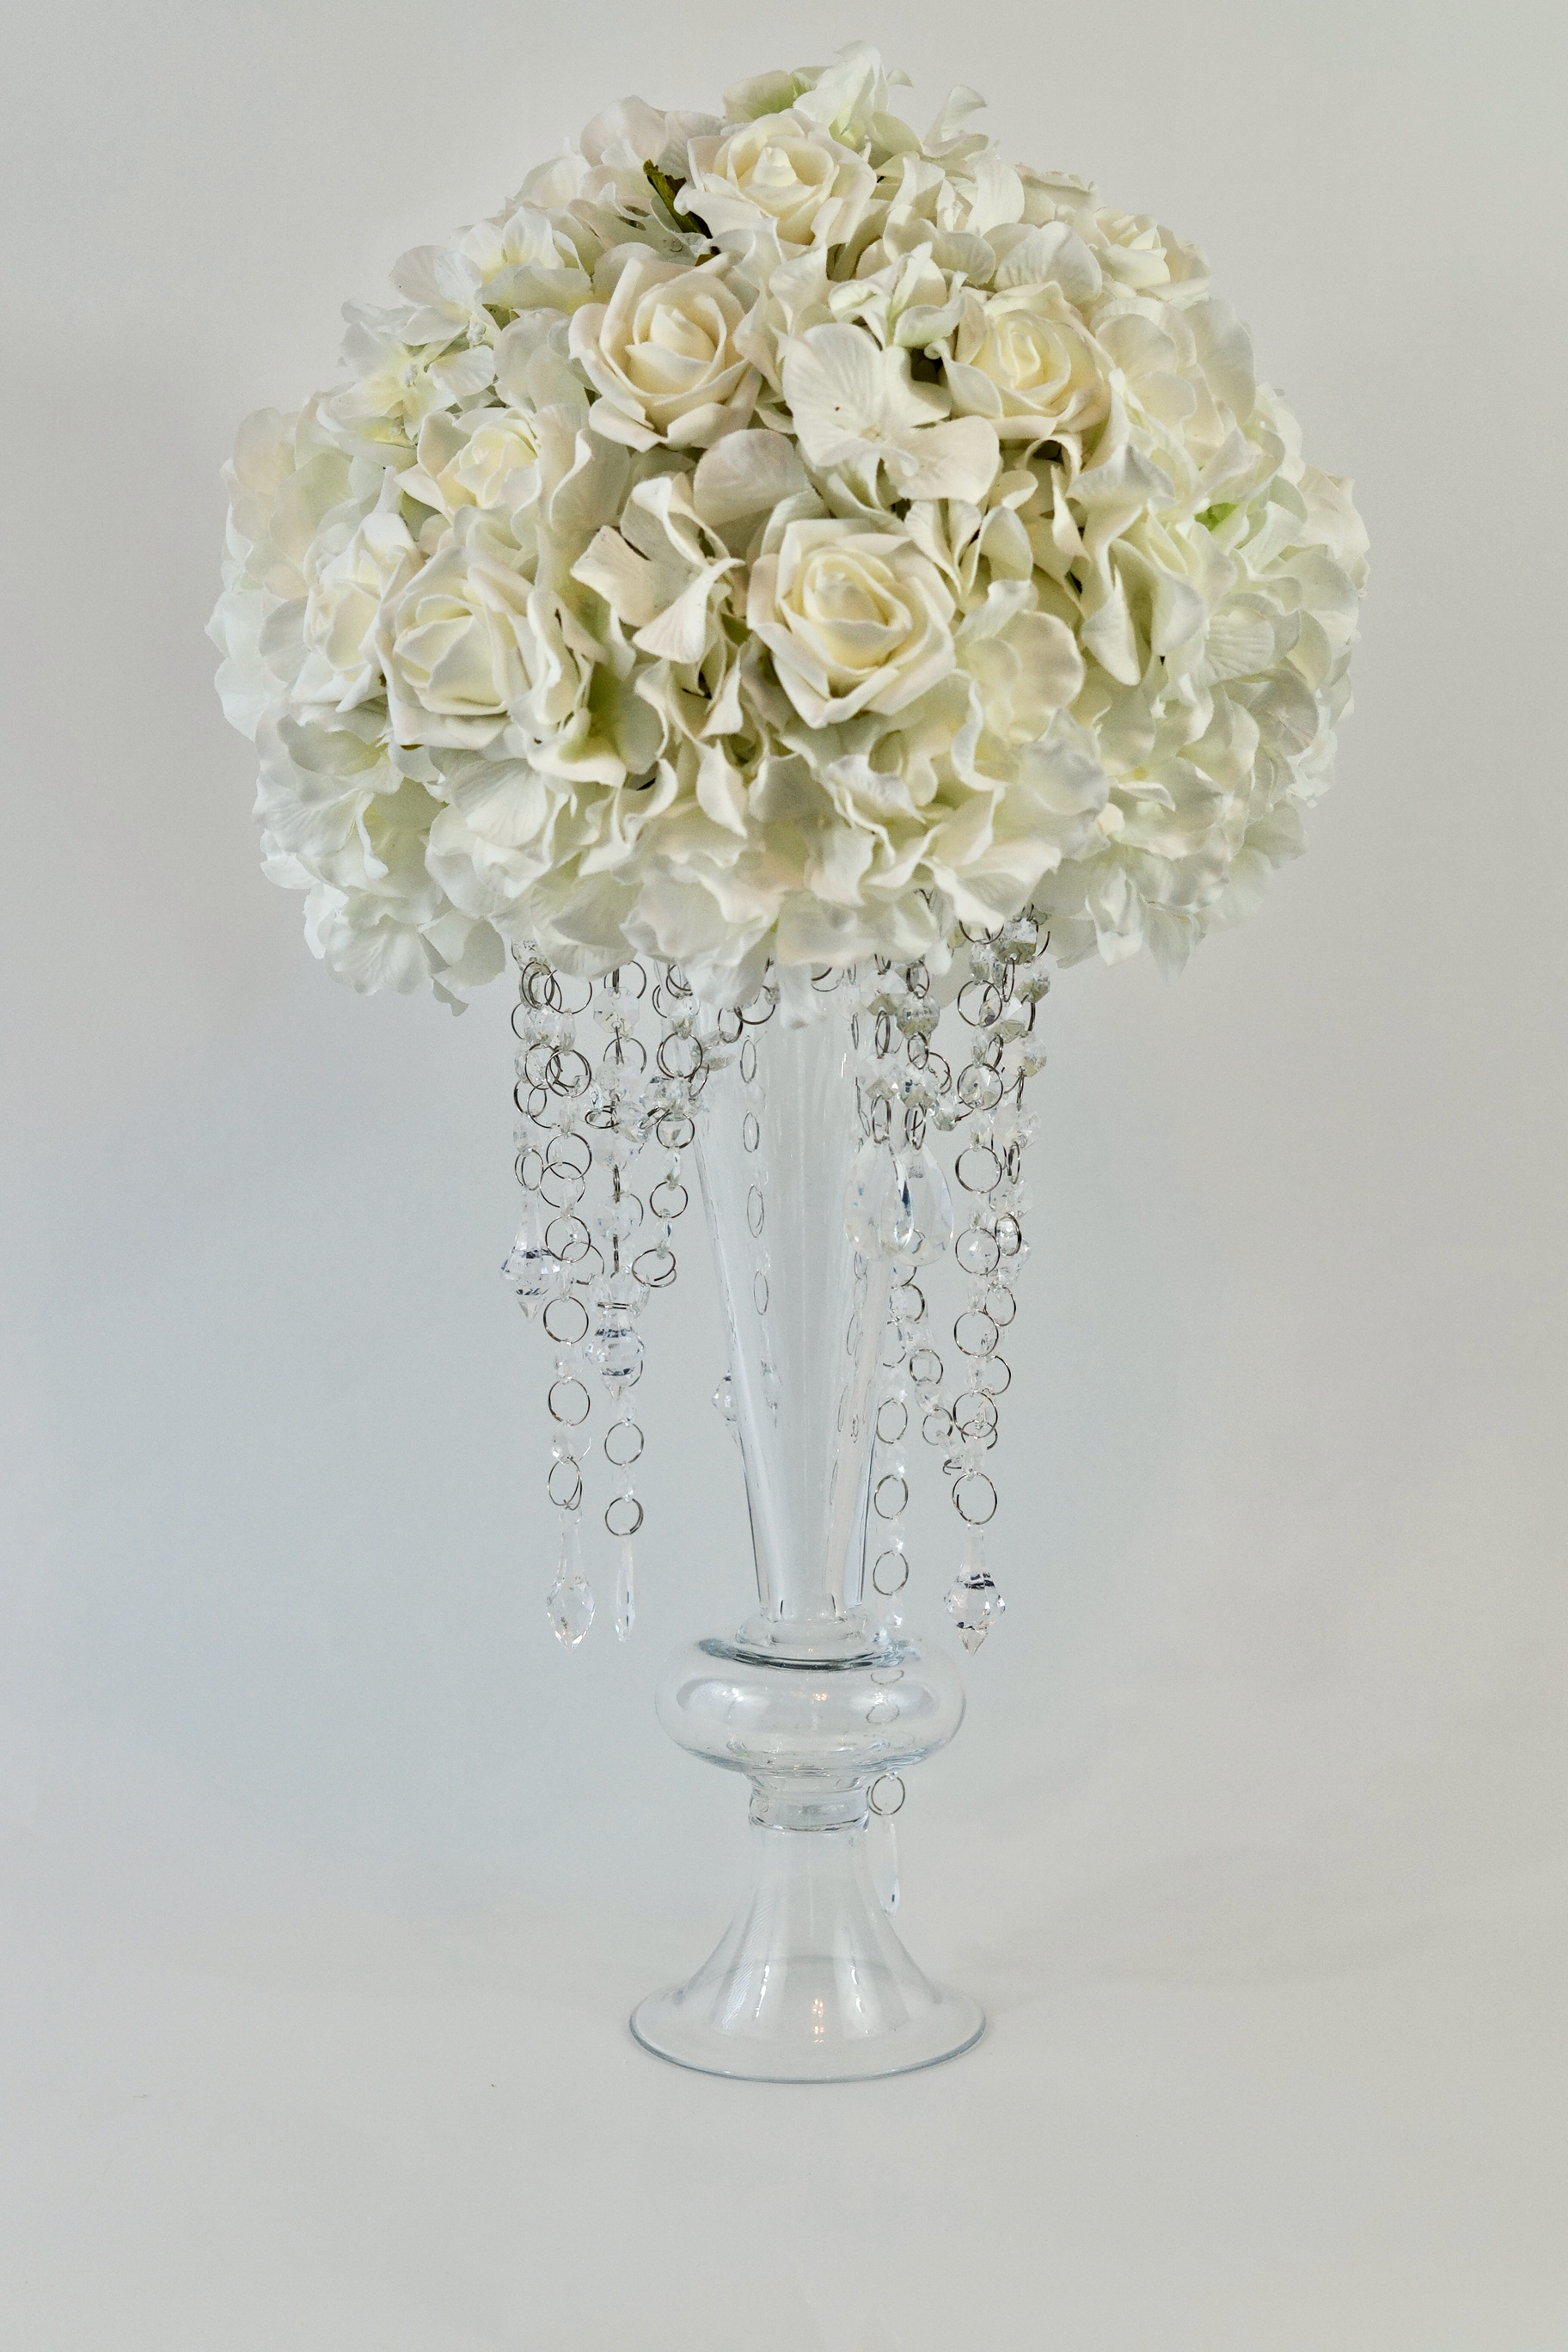
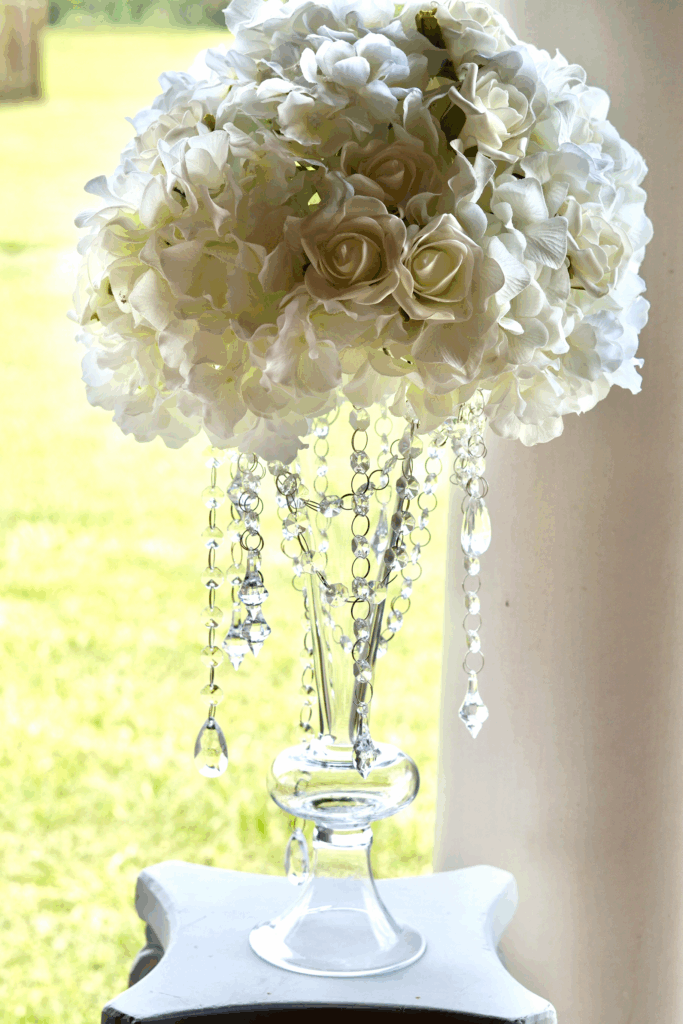
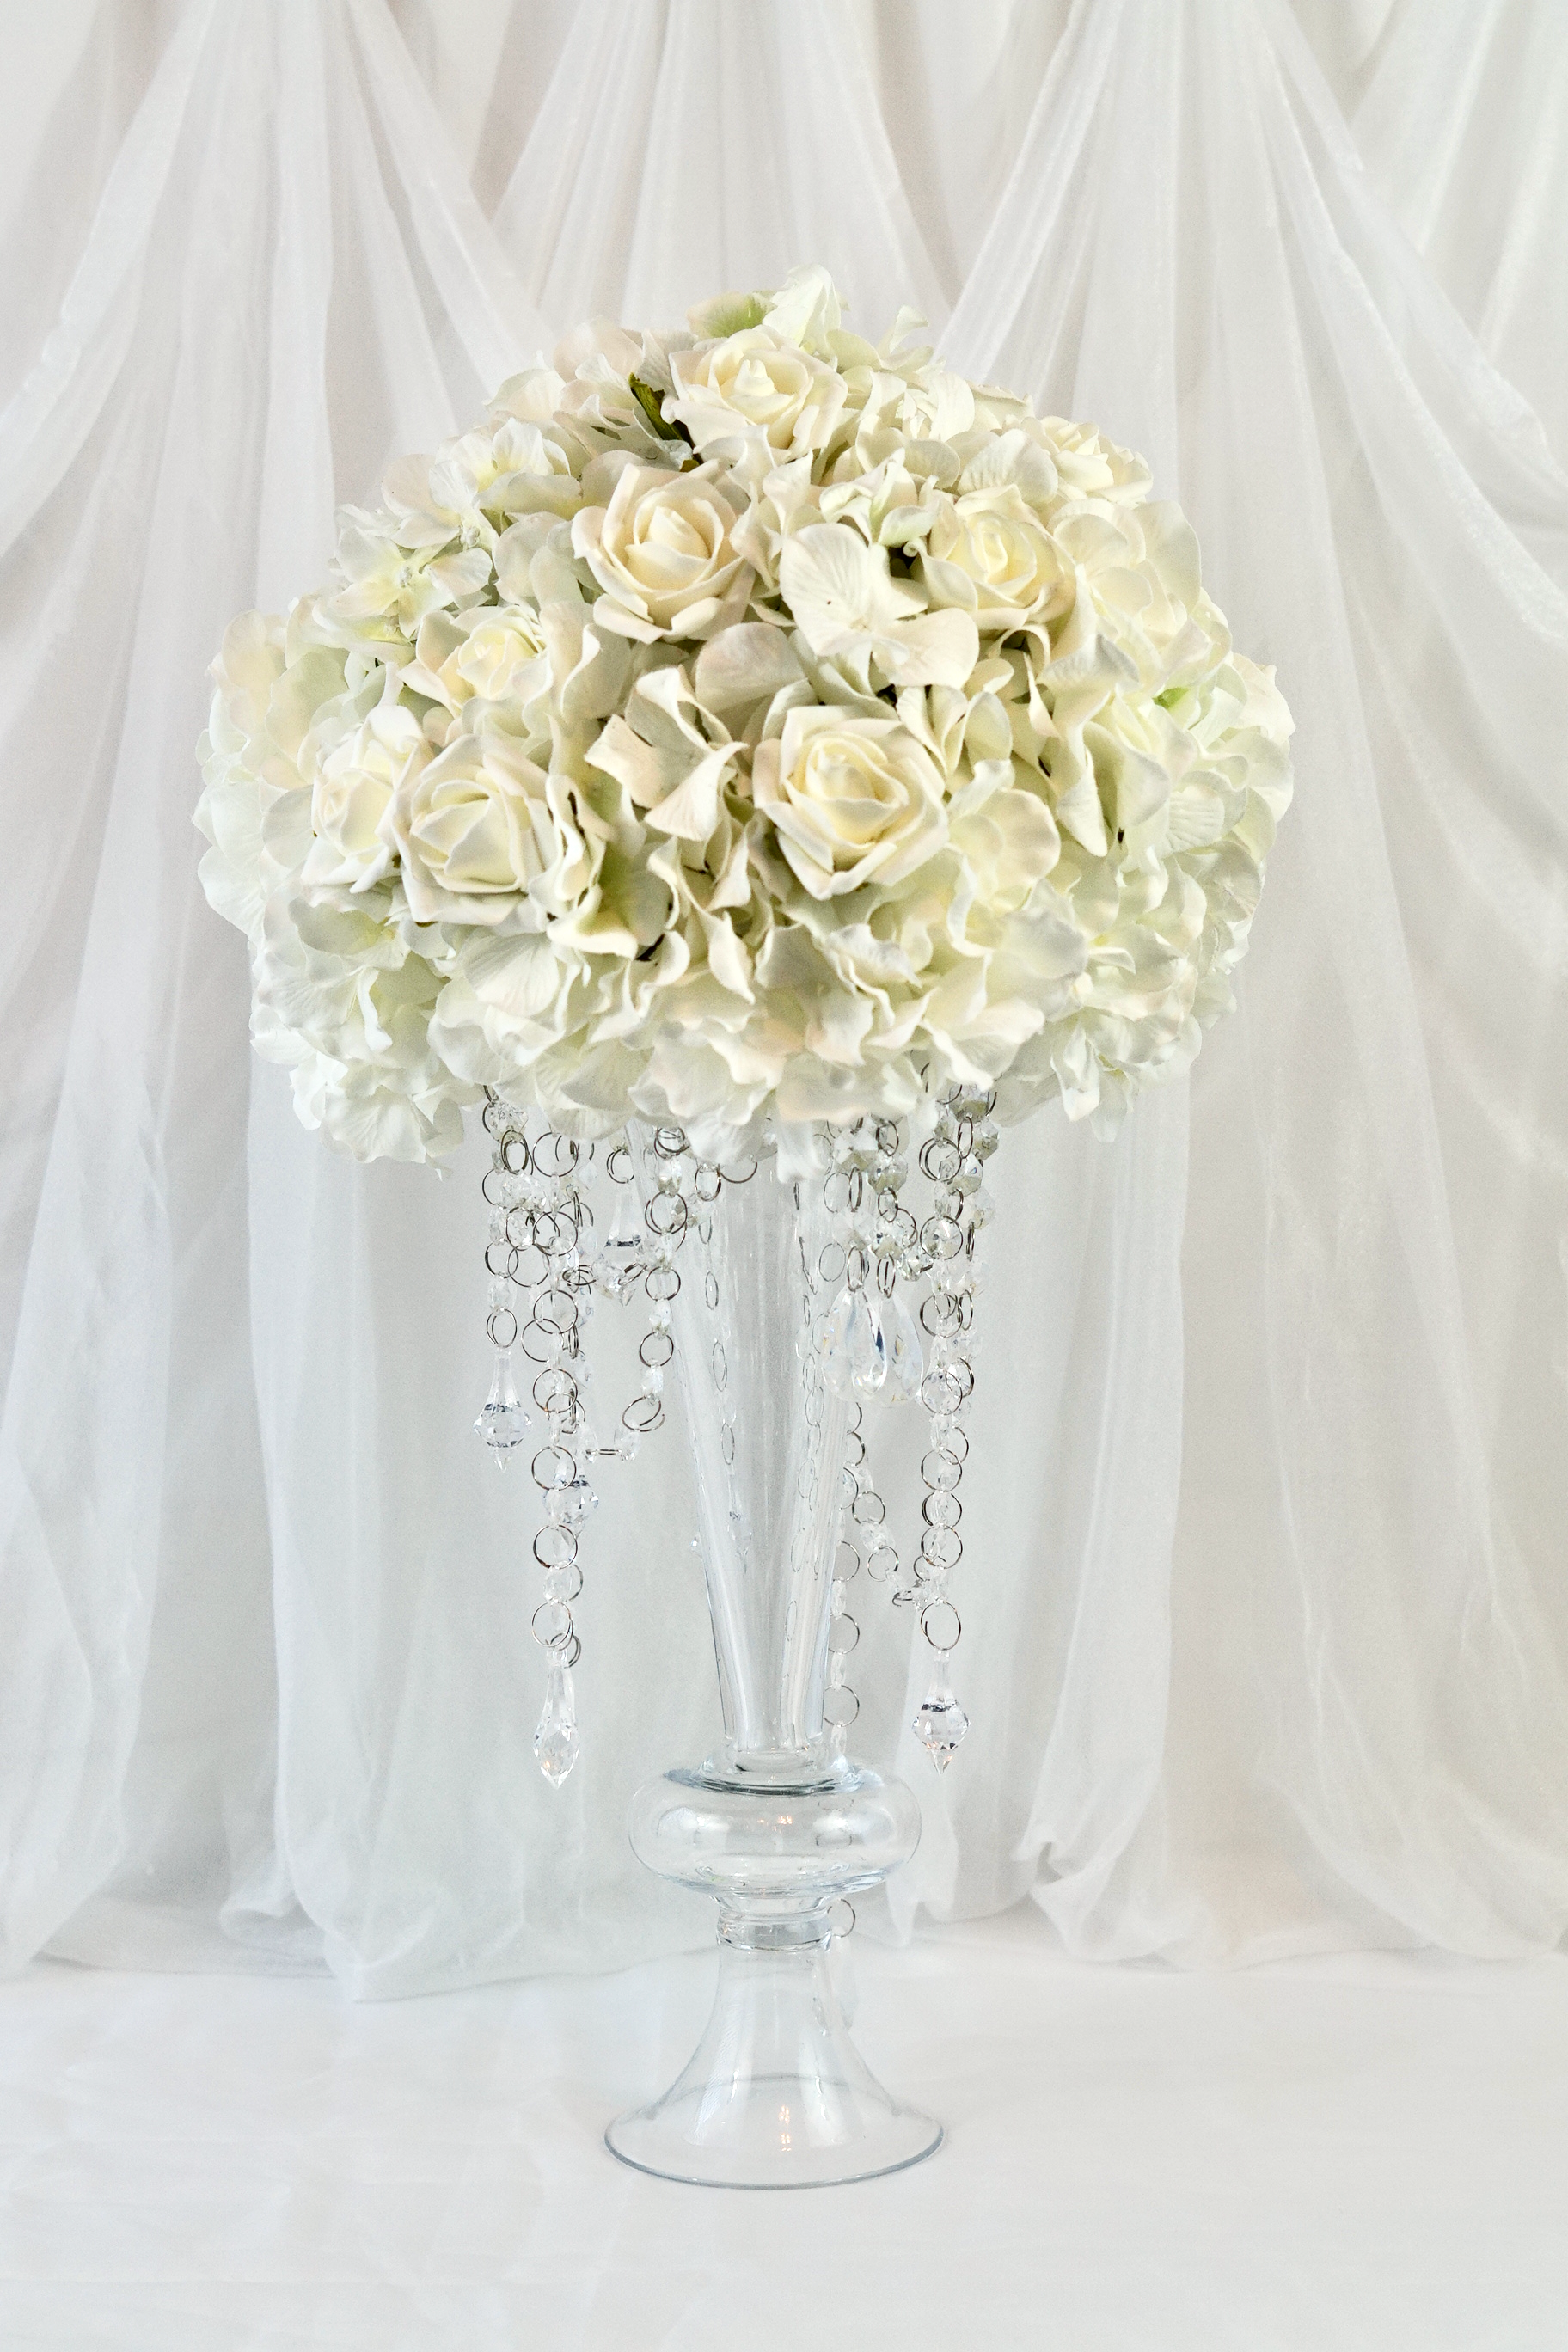
Our third and final step is to add 10-12 Large Hydrangea Heads starting at the top then working for way down. Continue filing in any empty spots with Medium Hydrangea Heads. Finally add 12-14 Rose Blossoms to complete the look.
Dream I Do’s, Without the Stress!
We’re always amazed by how simple touches can create such unforgettable moments. Thank you for allowing us to be part of something so personal and beautiful. Wishing you a lifetime filled with happiness, meaningful memories, and all the love your hearts can hold!
Don’t forget to sign up for Rakuten to earn cash back on your online purchases. Planning a wedding is expensive, our goal is to help you stay within your budget and make every penny count. Click here to sign up for Rakuten, and RIGHT NOW when you sign up, you will receive a $10 cash welcome bonus through my link when you spend $25.00!
If you like the outcome please subscribe to our Youtube Channel for more DIY Videos and follow us on Facebook and Pinterest. Also if you need help with an upcoming project be sure to send us a project request! “Remember When Every Penny Counts, Count on MissPlanIt”