
Lets Create this Blush Cascading Bridal Bouquet!
THIS POST MAY CONTAIN AFFILIATE LINKS. PLEASE READ MY DISCLOSURE FOR MORE INFO.
Discover How To Effortlessly Create A Gorgeous Cascading Wedding Bouquet Like A Floral Expert!
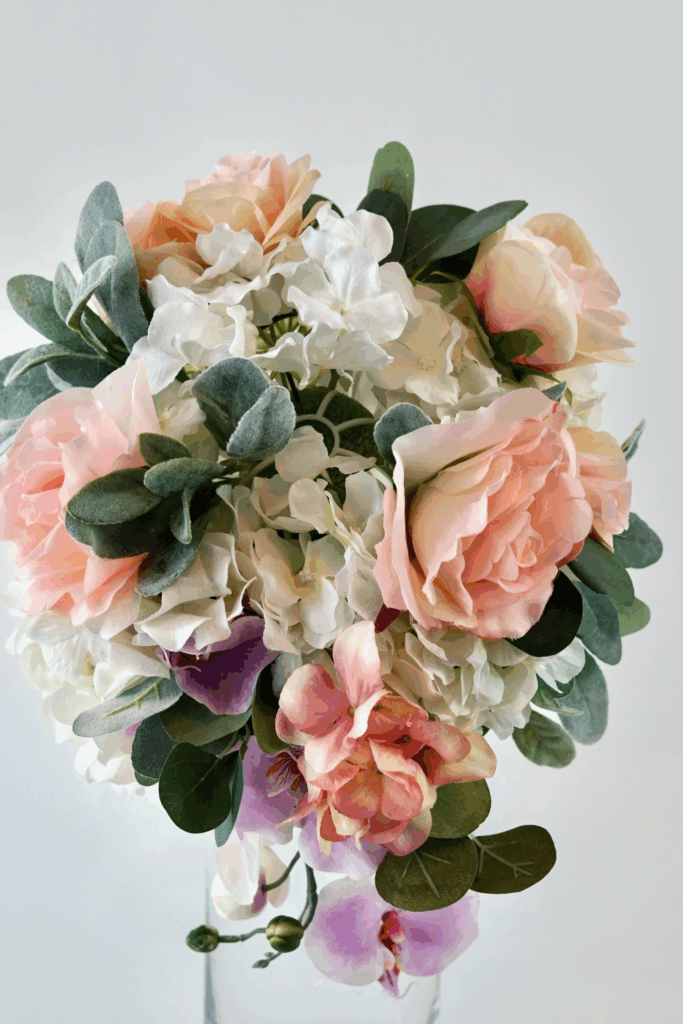
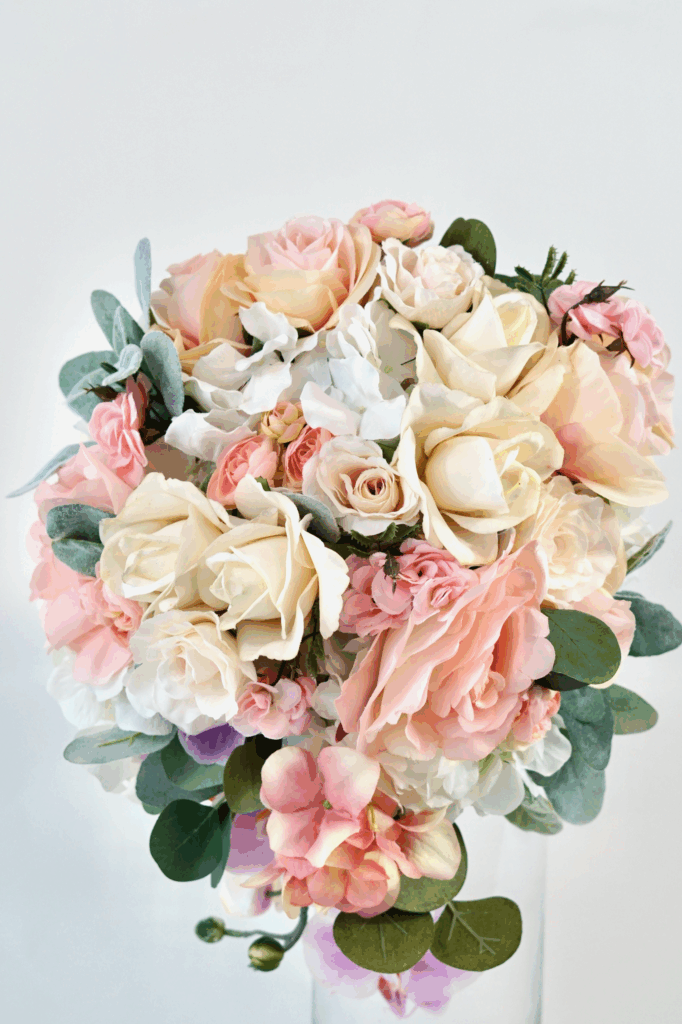
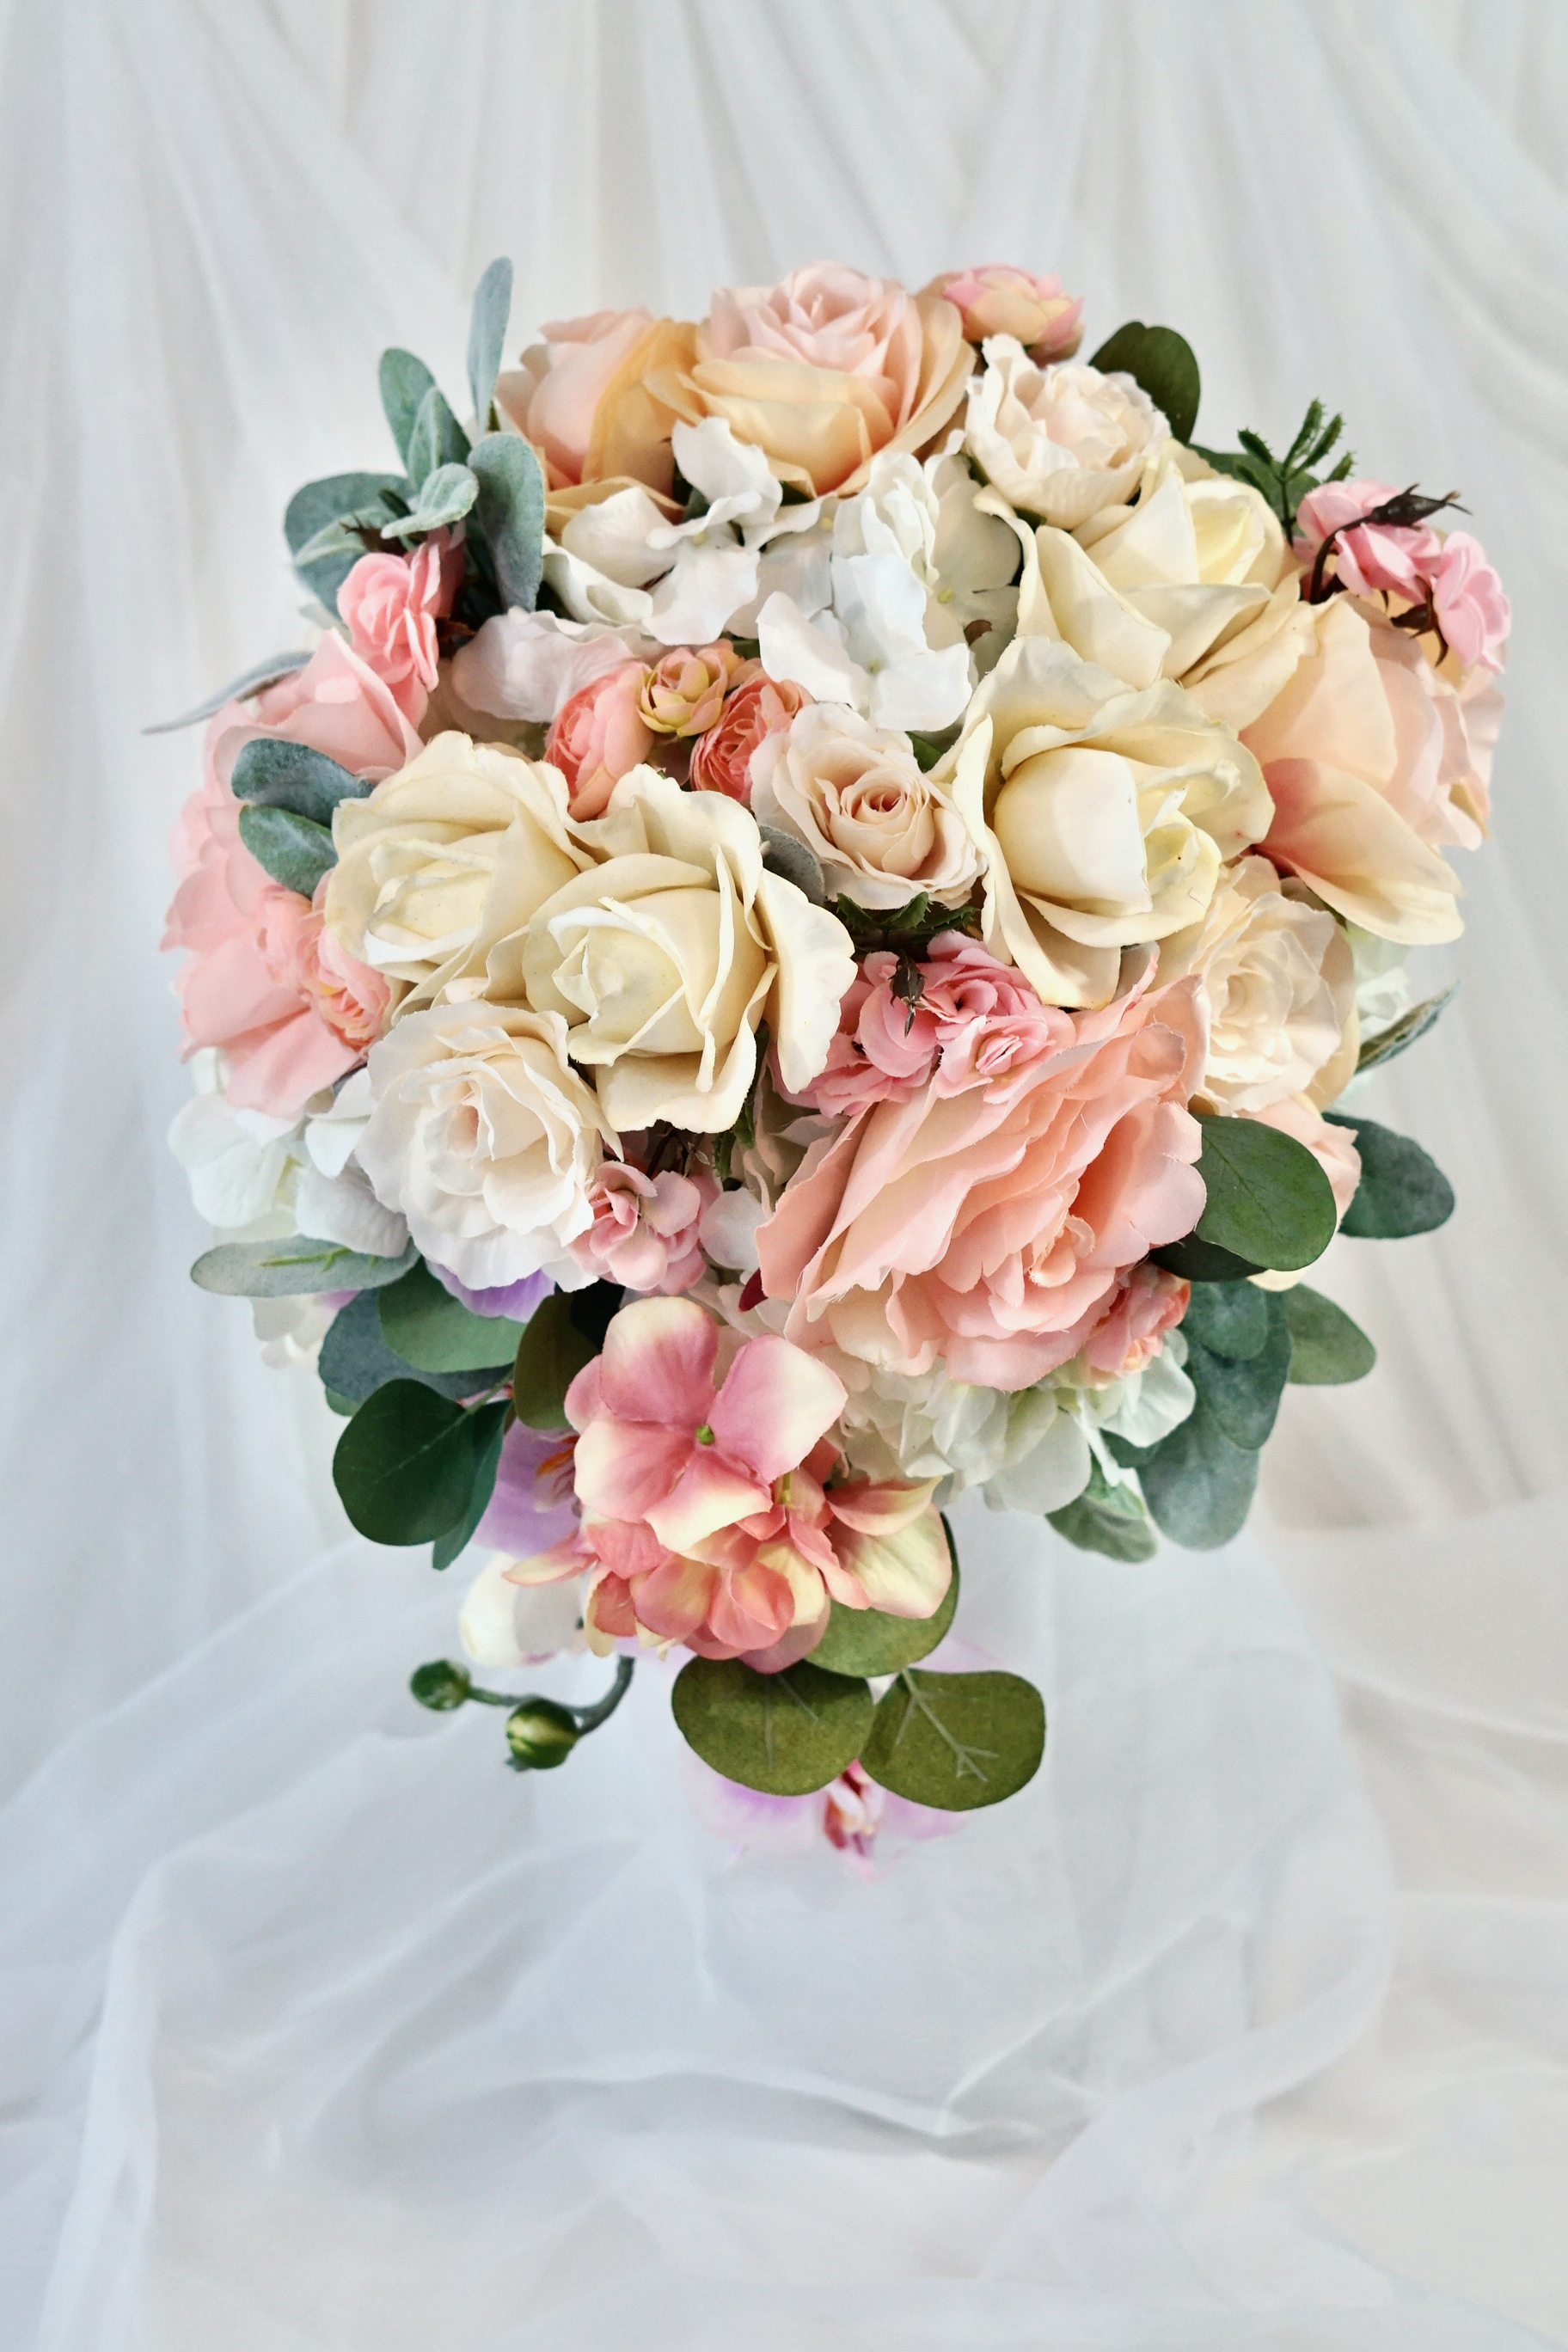
Feast your eyes on this week’s dreamy blush cascading wedding bouquet! In today’s tutorial, I’ll show you exactly how to create a stunning bridal bouquet using artificial flowers that look incredibly real. This romantic design showcases soft blush, ivory, and white blooms, paired perfectly with lush greenery for a natural, elegant look.
Using artificial flowers for your bouquet is a smart, budget-friendly option—and the best part? You’ll have a beautiful keepsake to cherish long after your special day.
BUT WAIT!
Before we get started I want to share an awesome tip on how you can earn cash back with your online purchases for all the items you will need to complete this project!
As our saying goes “When Every Penny Counts, Count on Miss PlanIt.” We love to save money and get great deals. Prior to us purchasing anything online, we check out Rakuten, find the store, click the current deal for that store and complete our purchase.
If you have never used Rakuten, you are MISSING OUT. So for this project, you would go to Rakuten.com, sign up, and then type in the store you plan to purchase from.
When completing a purchase through Rakuten you earn cash back that you can have mailed to you or sent via PayPal. Be sure to check it out! Click here to sign up for Rakuten, and RIGHT NOW when you sign up, you will receive a $10 cash welcome bonus through my link when you spend $25.00!
You were already going to complete your purchase online, so why not get some cash back on things you already planned to purchase!
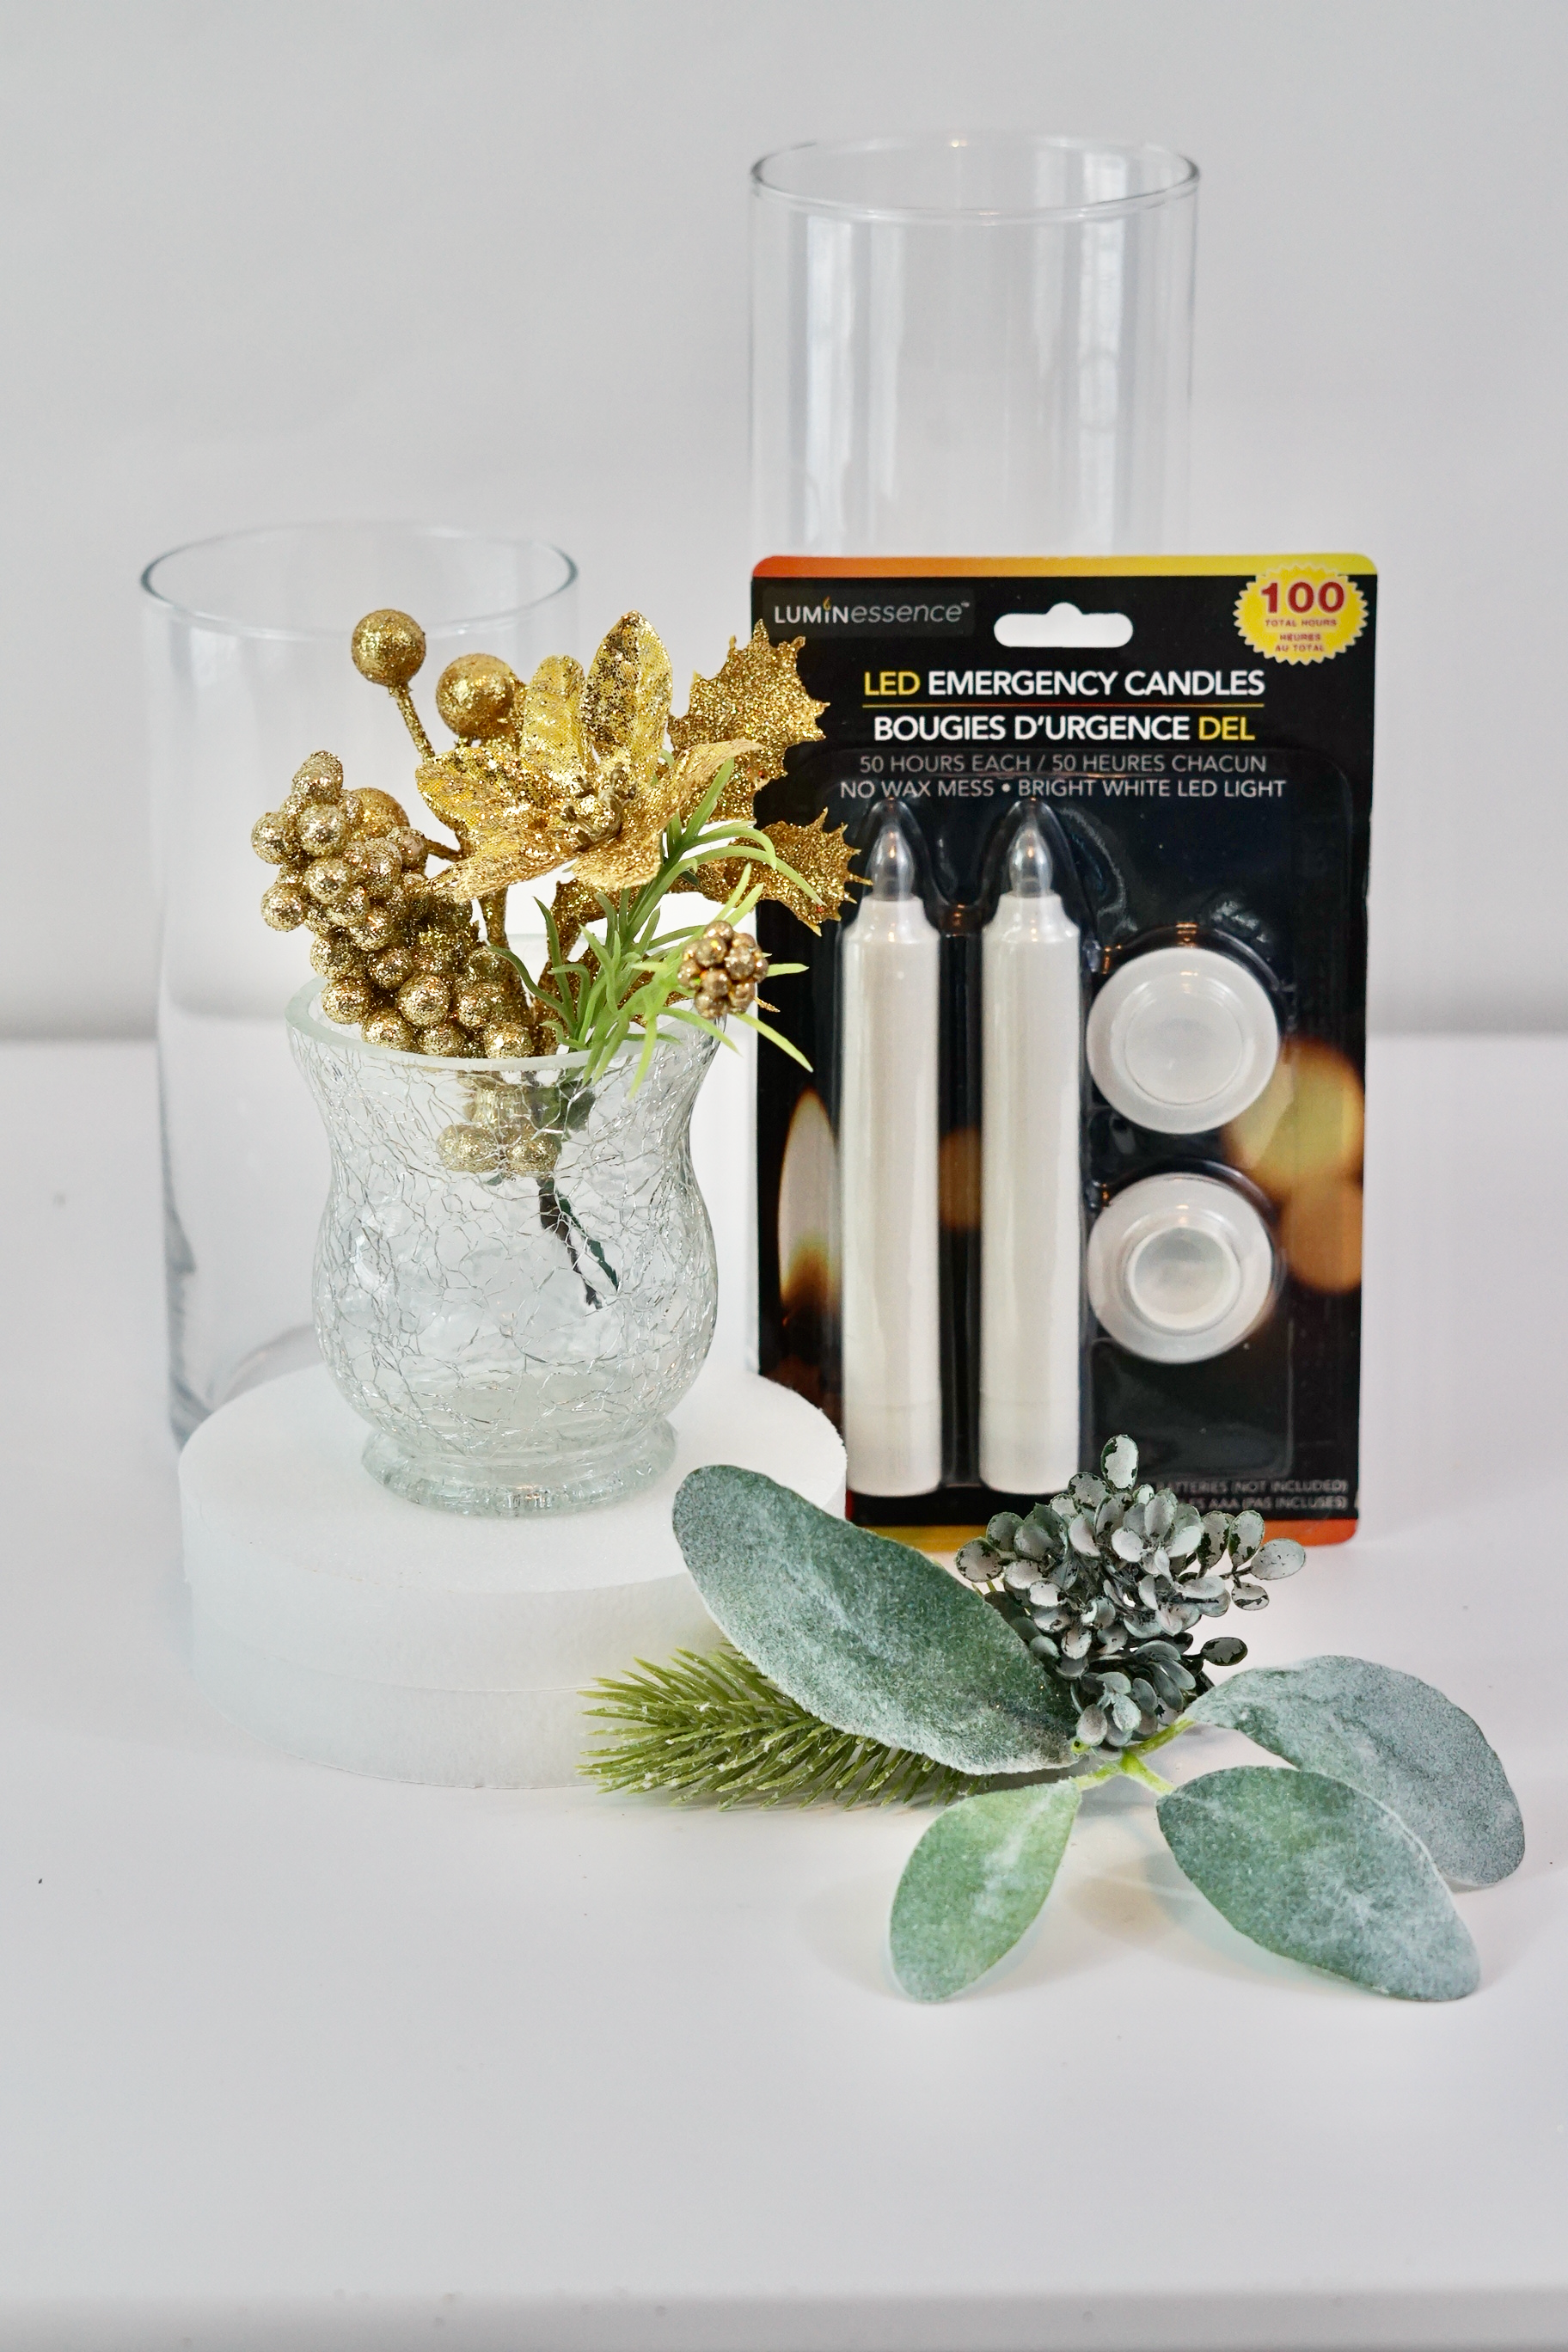
Let’s Get Started: Click the Links below to purchase the supplies need for this project:
- Bouquet Holder
- Styrofoam Cone
- Bouquet Collar
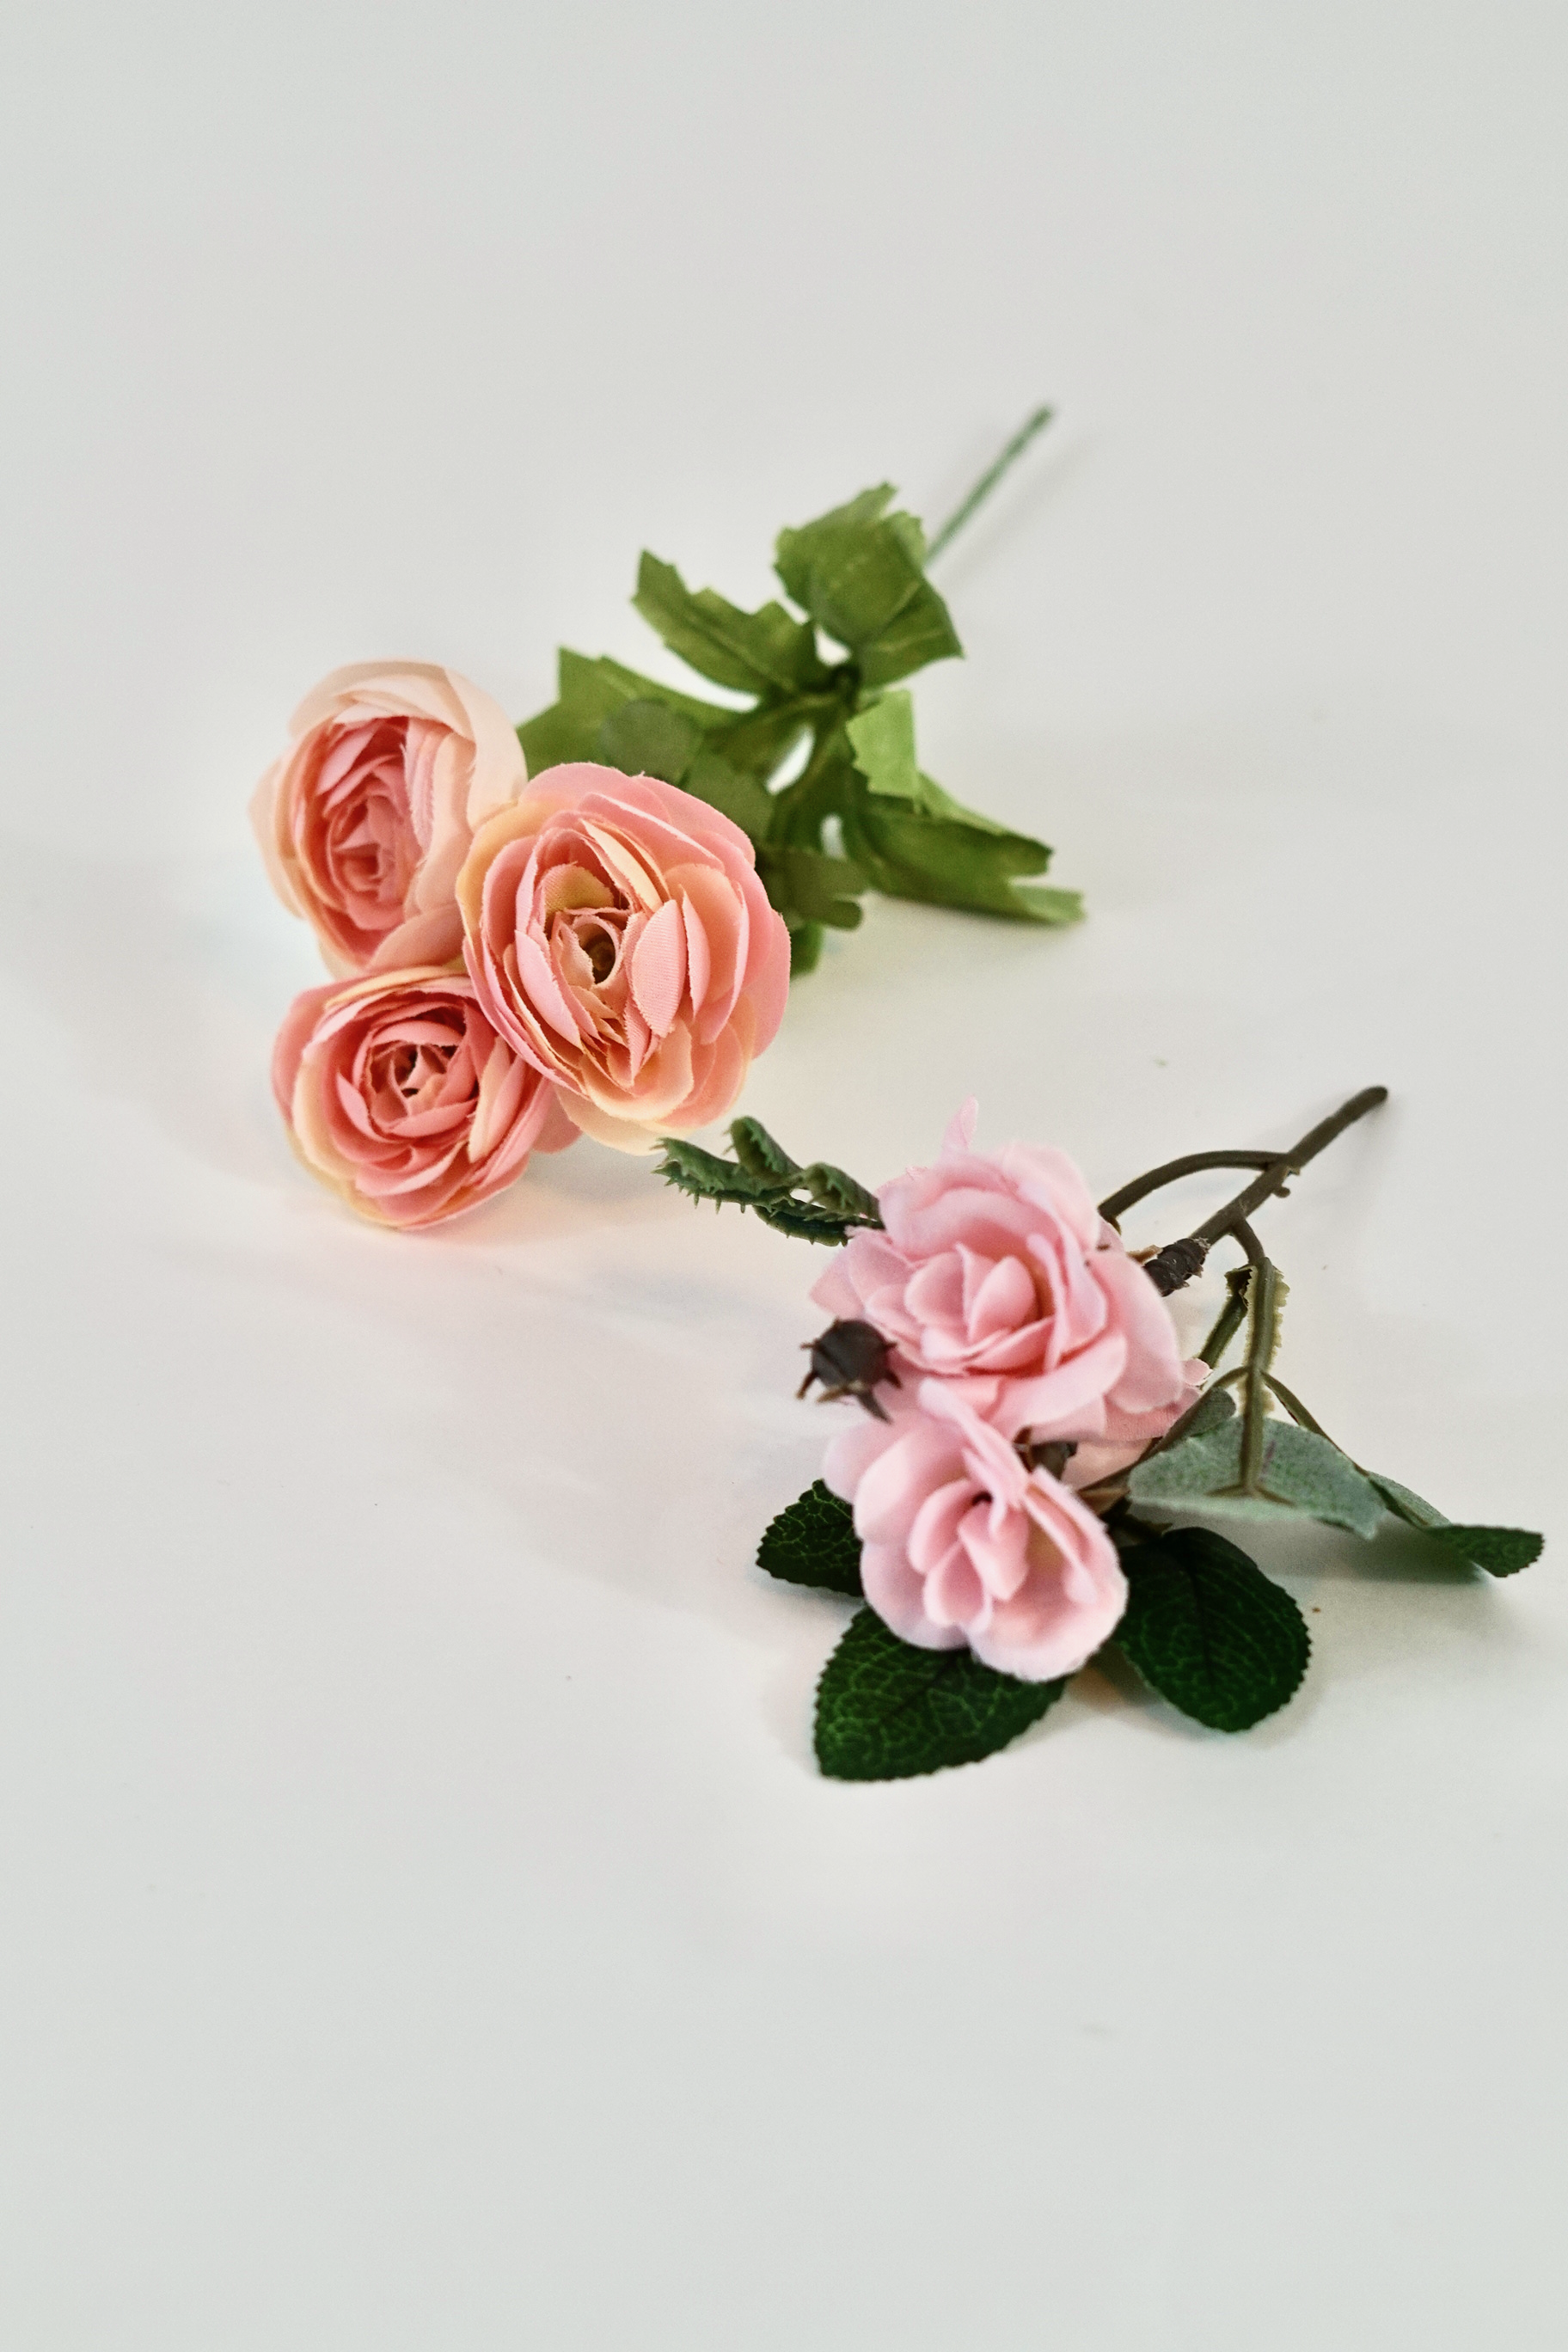
- Blush Roses
- Mauve Roses
- Ivory Roses
- Vintage Blush Tea Roses
- Dusty Rose Peonies
- White Hydrangea
- Mauve Hydrangea
- Pink Orchid
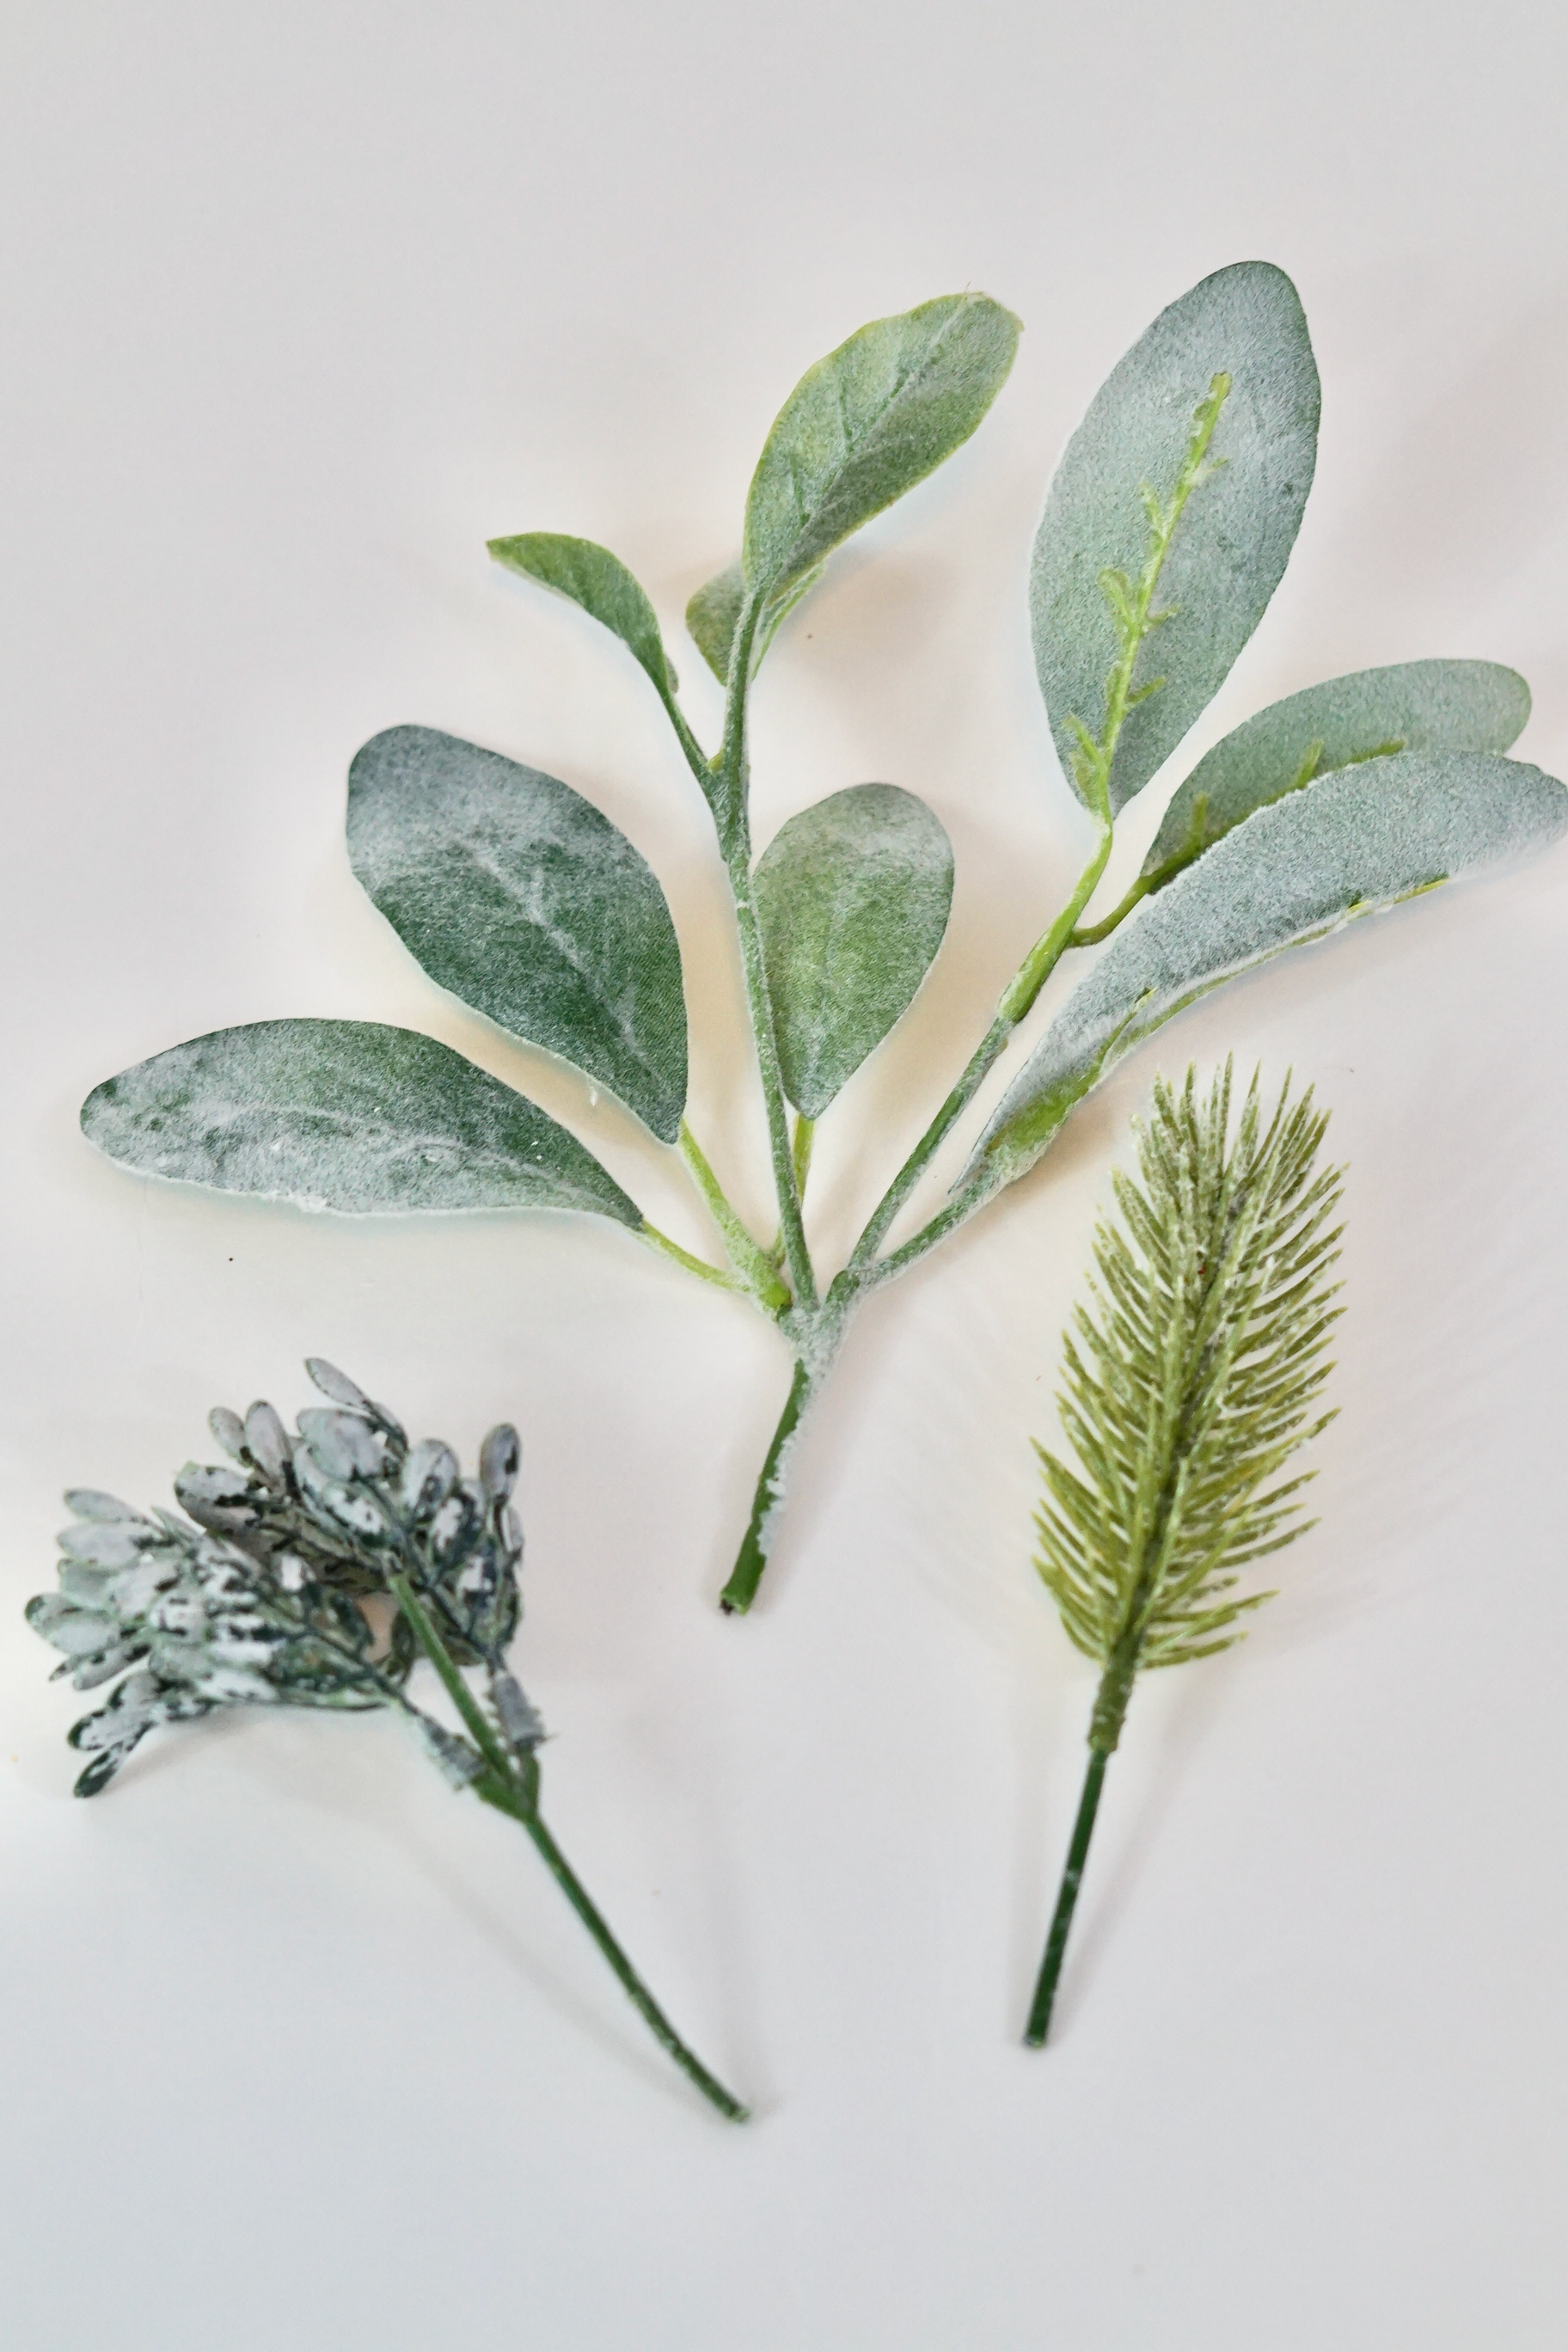
- Flocked Lamb Ear
- Silver Dollar Eucalyptus Leaf
- 20 Gauge FloralWire
Project Video:
If you prefer written instructions, please continue reading.
Dreamy Wedding Bouquets That Won’t Break the Bank!
Dreamy Wedding Bouquets That Won’t Break The Bank!
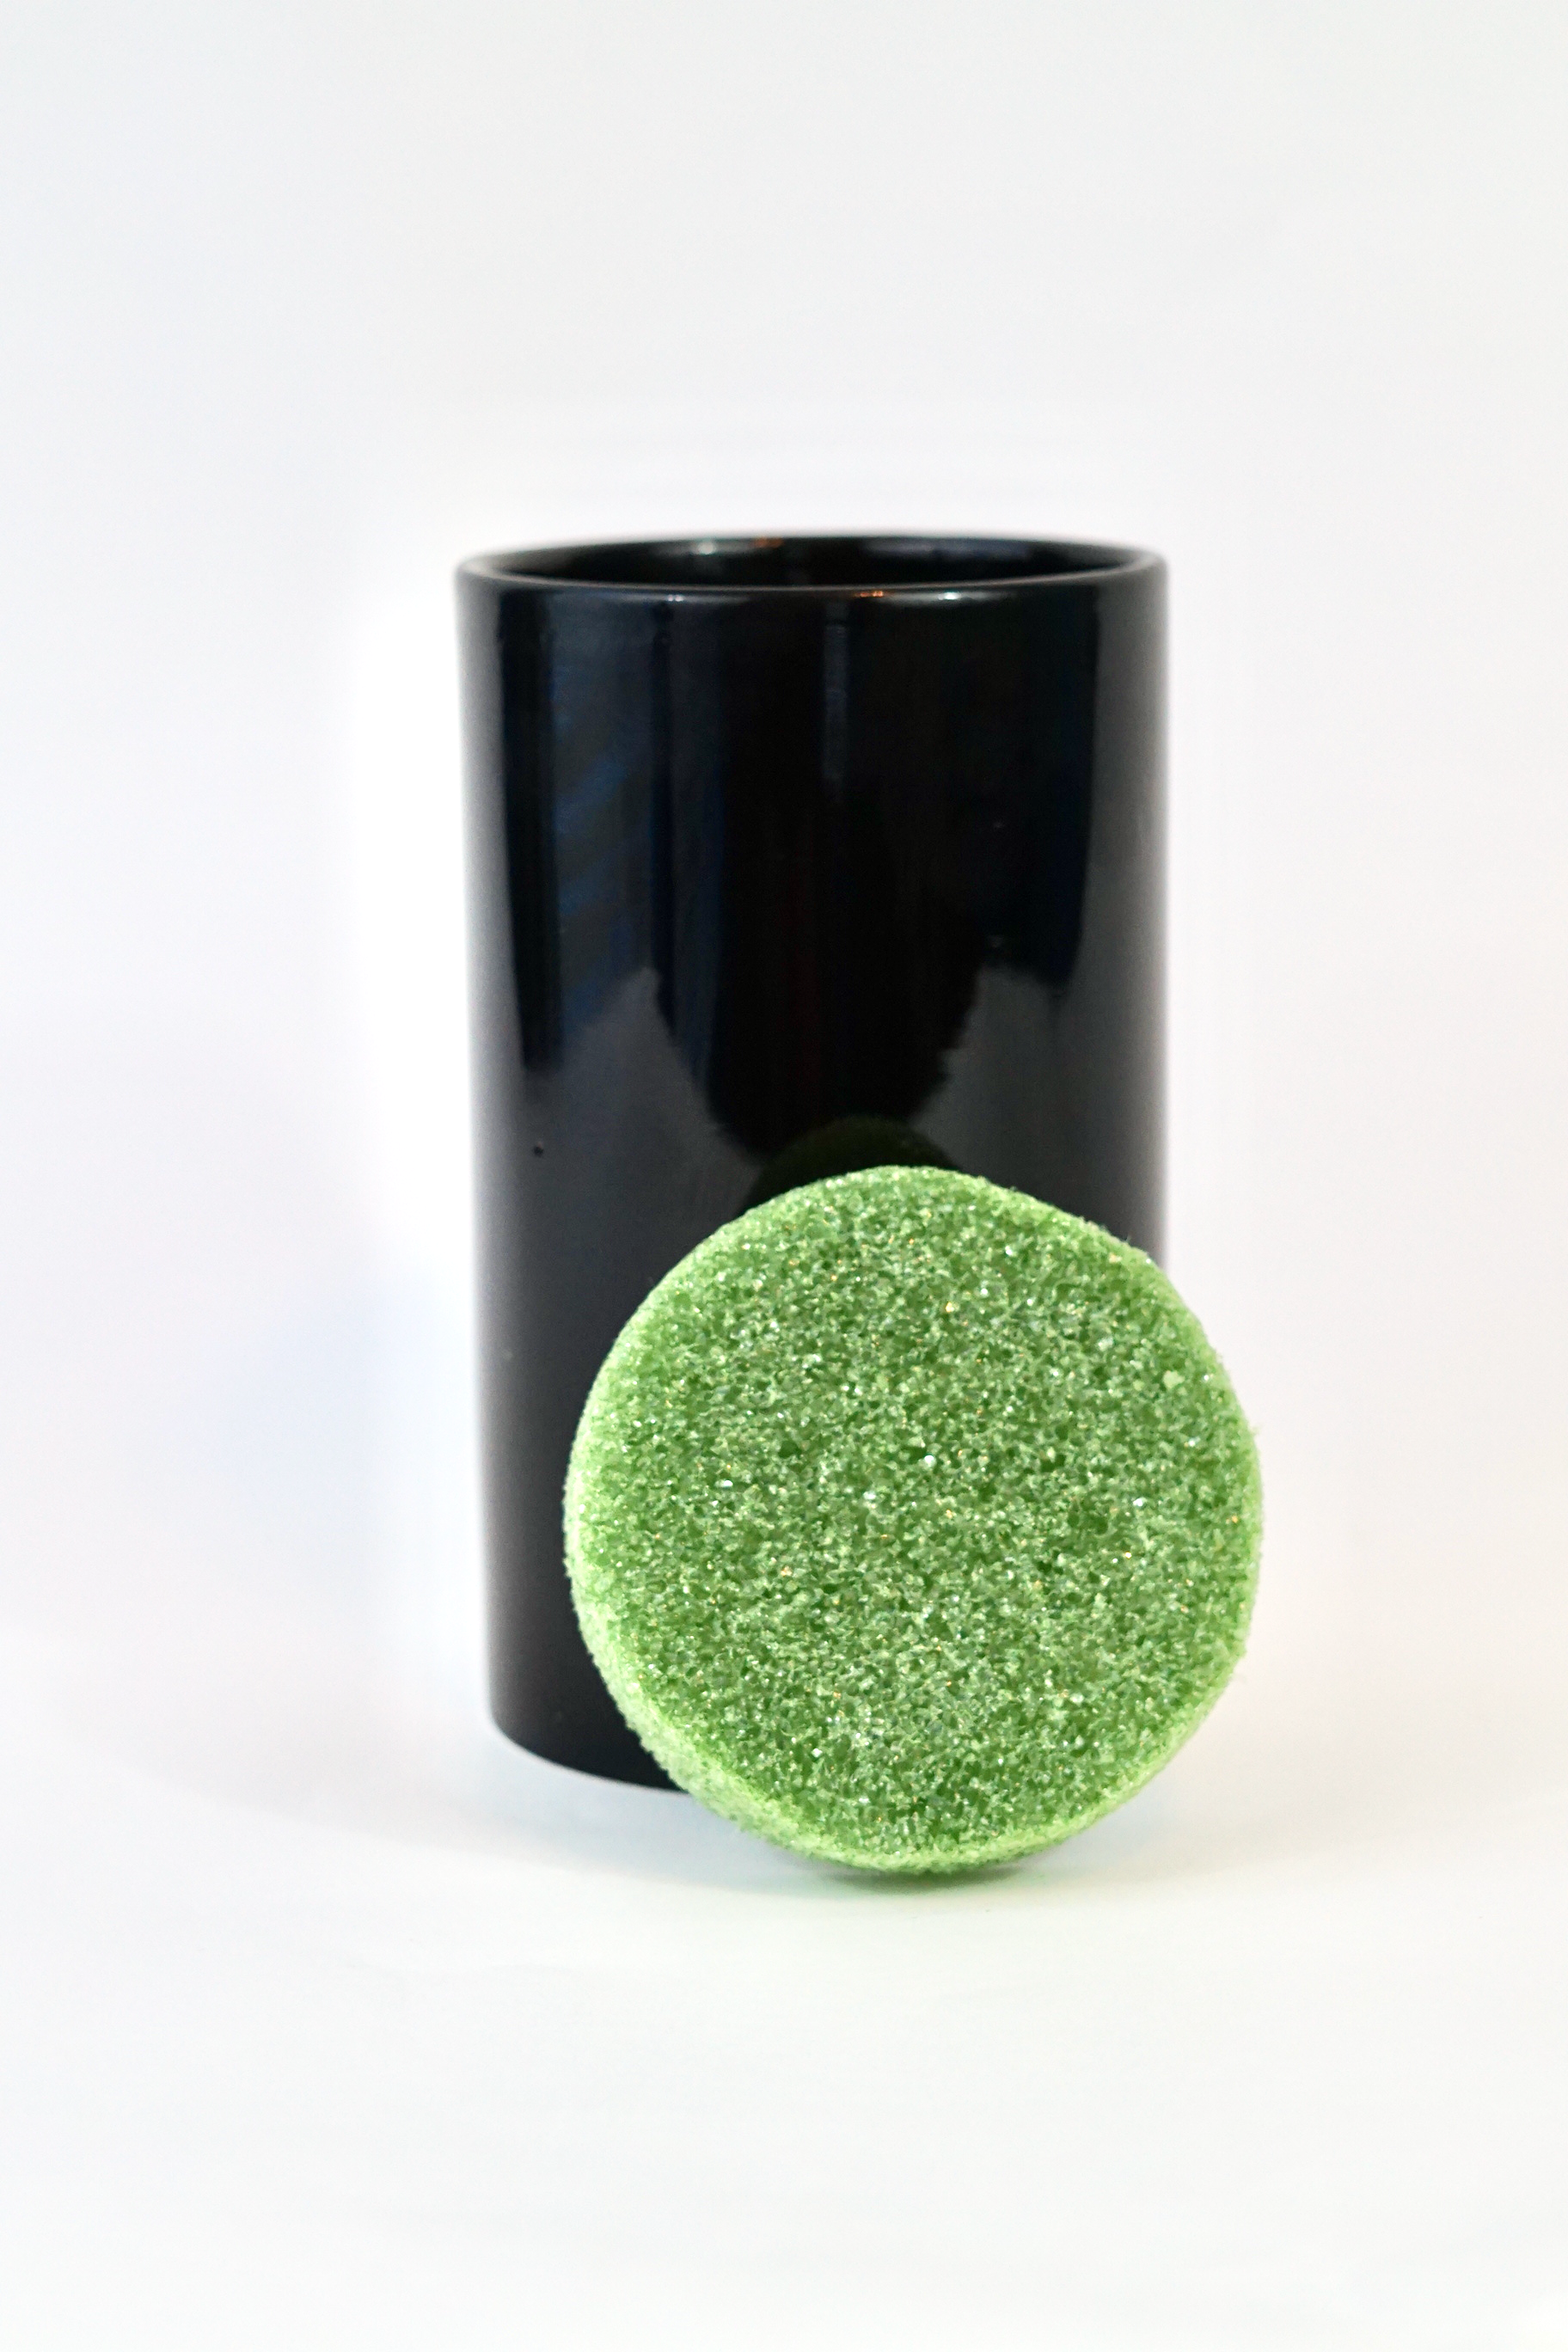
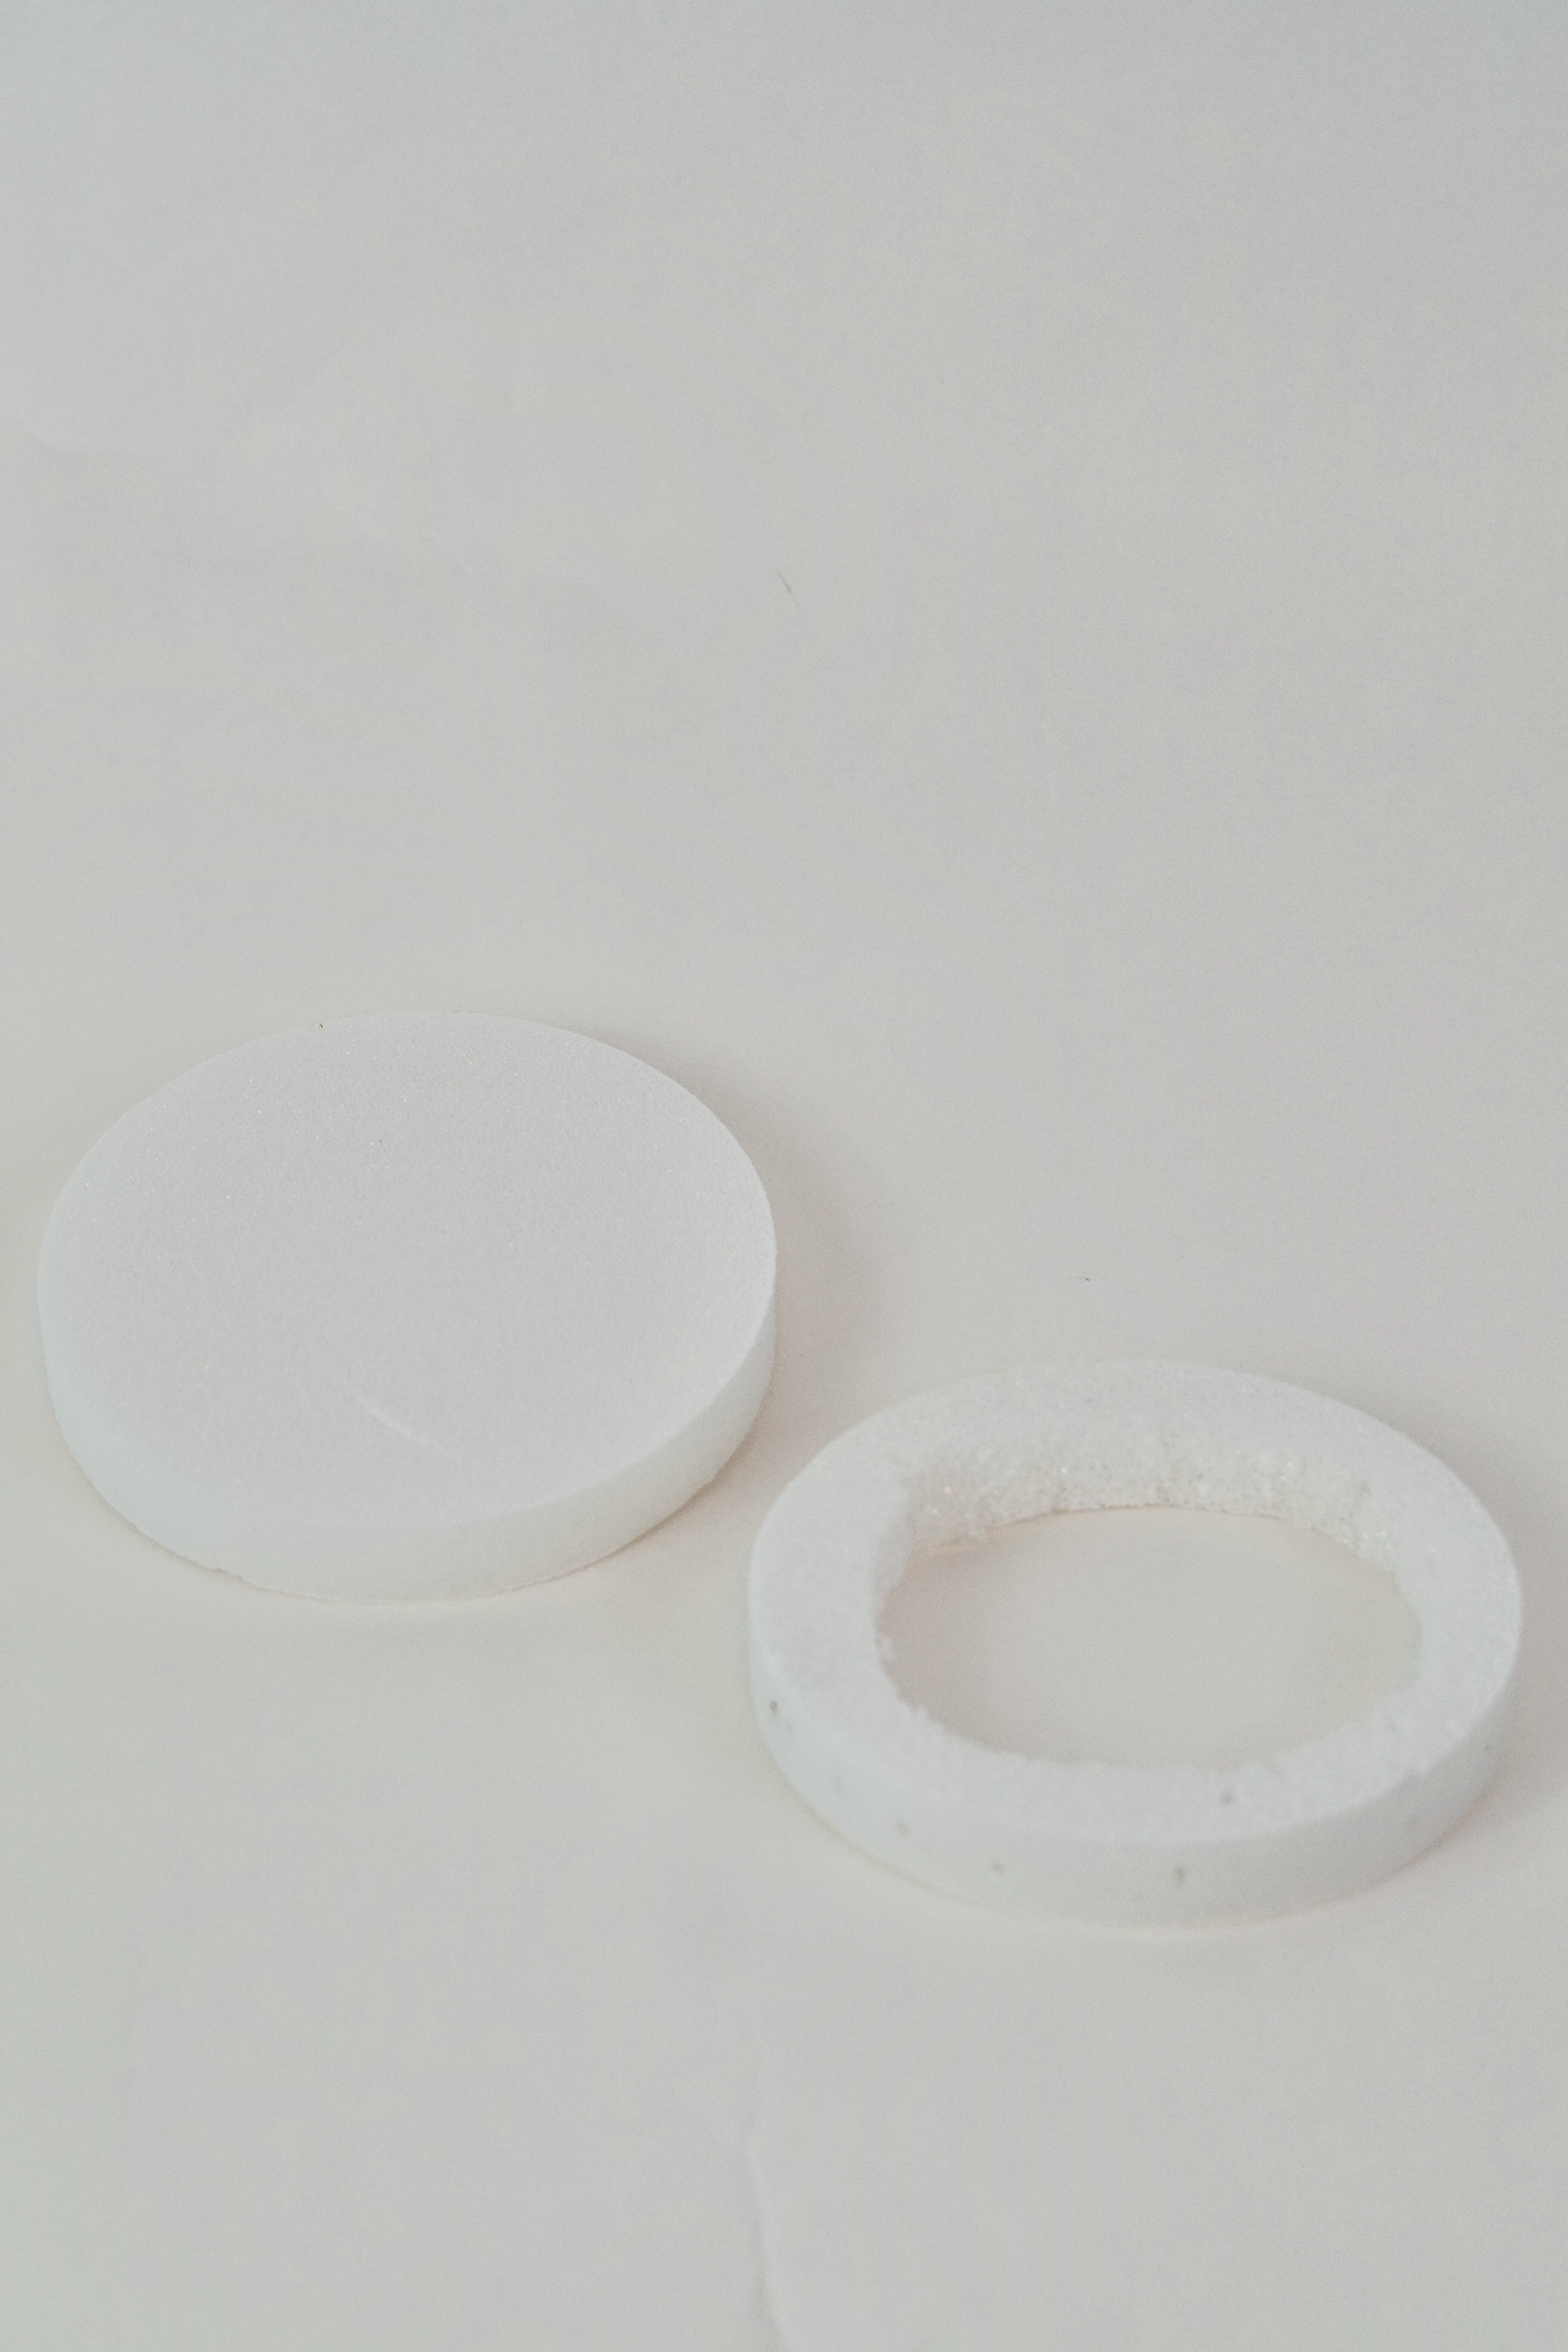
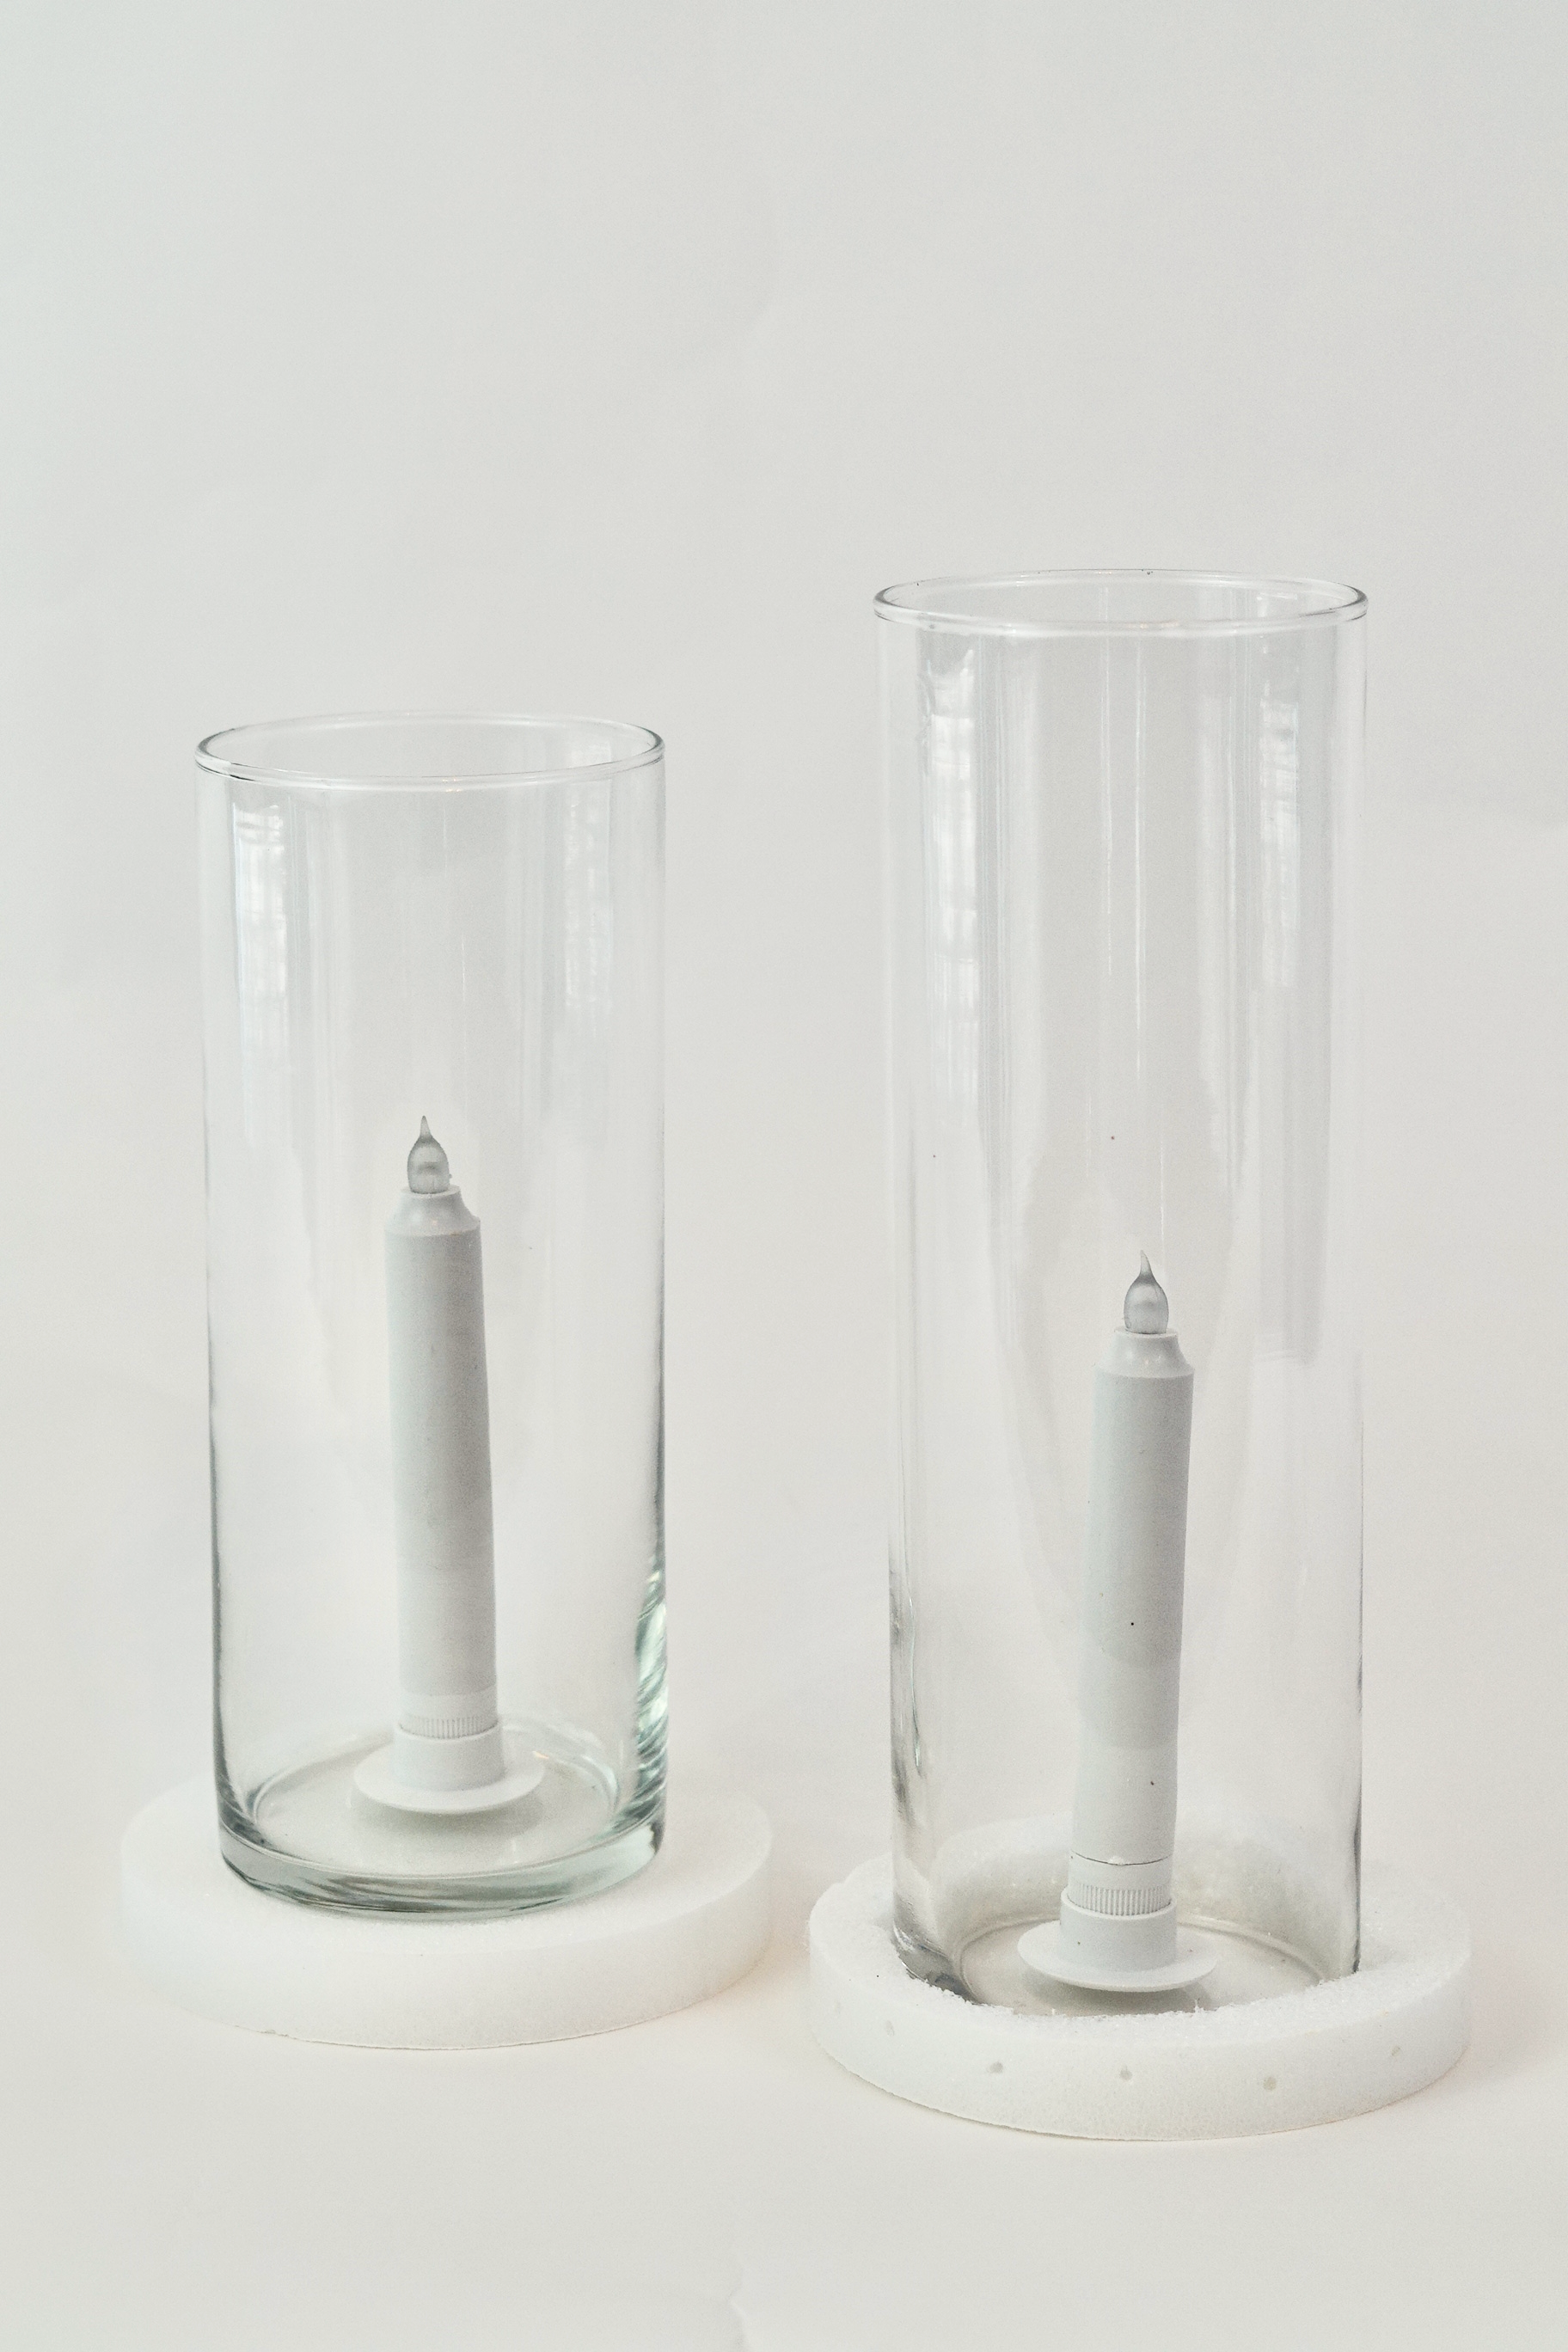
Step 1:
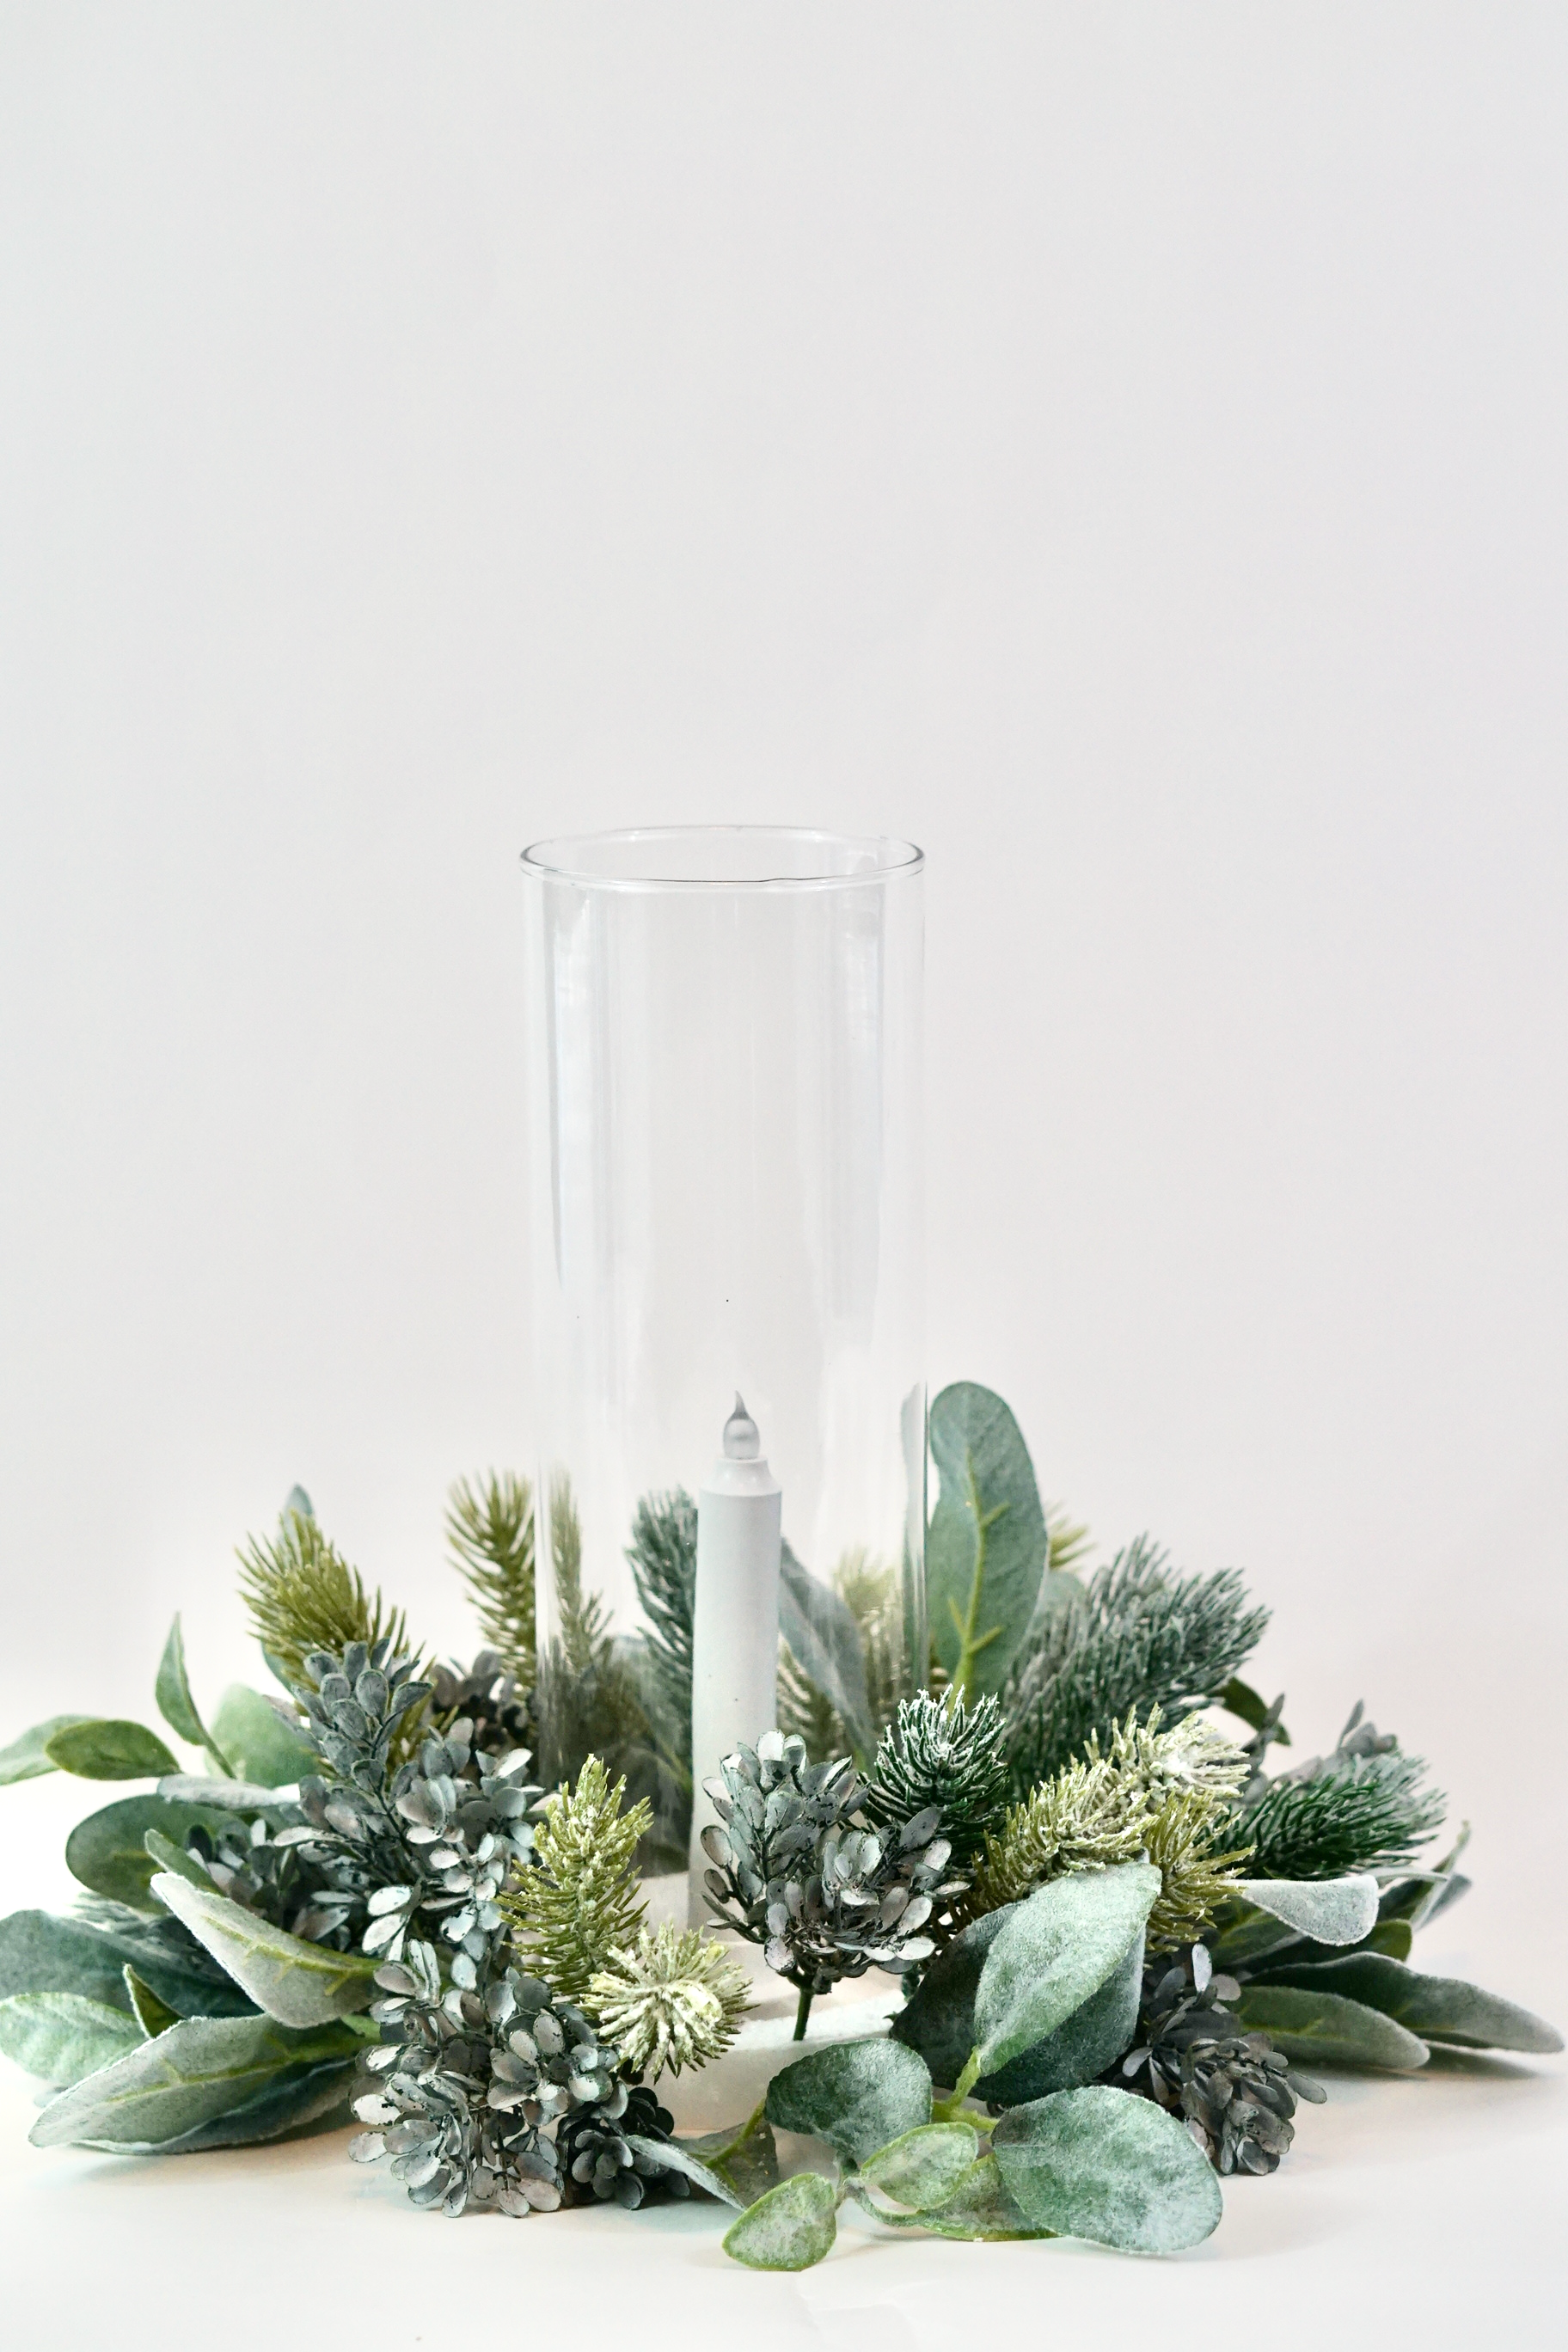
Creating a strong base is always the most important step. For this base you will need a Bouquet Holder, 1-3 inch Styrofoam Cone and an optional Bouquet Collar. Start by trimming down the cone to fit snuggly into the the cone. Add a a little low heat hot glue to the rim before snapping the cage together. Allow 10 minutes for the Hot Glue to set up.
Picture-Perfect Bridal Bouquet, Effortlessly Planned!
Step 2:
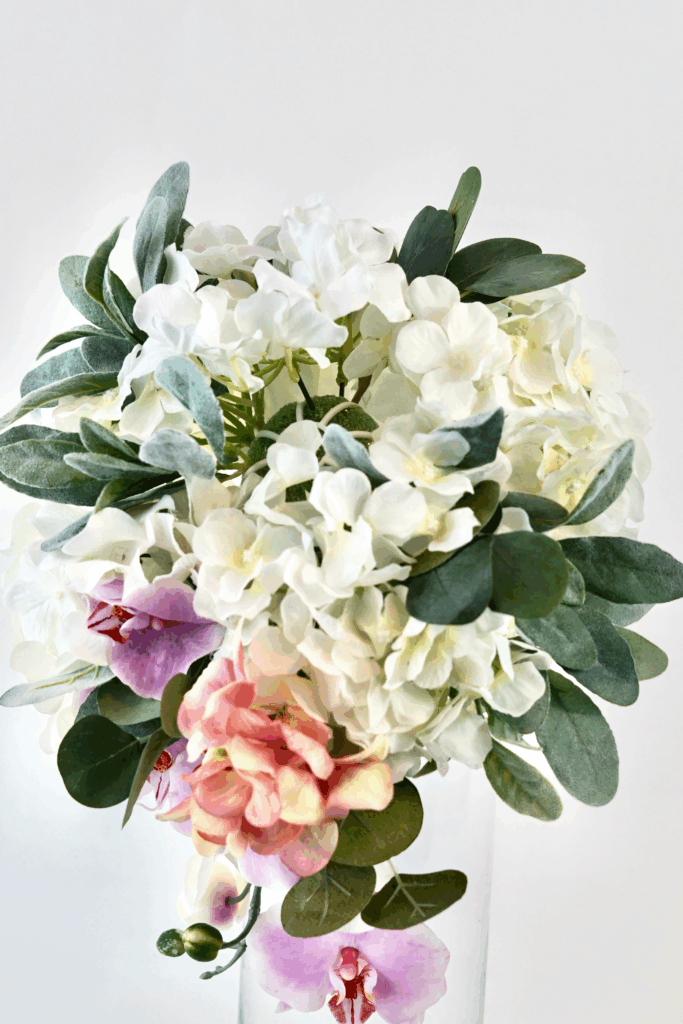
The key to this Cascading Bouquet is layering! First attach 4-6 White Hydrangeas and 2-4 Mauve Hydrangeas. Hydrangeas will give the bouquet fullness. Next layer in 4-6 Lambs Ear Stems, and 4-6 Silver Dollar Eucalyptus Stems. Allow your creativity to flow. There’s no wrong way to execute this step! Have fun!
Romantic Ceremony Details, Flawlessly Executed!
Step 3:
Our third step is to attach our Pink Orchids. You have an option to attach the entire stem or you can attach individual blossoms using Floral Wire. Continue filing in any empty spots with Blush and Mauve Roses. Allow your creativity to flow. There’s no wrong way to execute this step! Have fun!
Cascading Bridal Bouquets, Elegance in Every Drop!
Step 4:
Finally, attach 4-6 Ivory Roses and 4-6 Vintage Blush Tea Roses . Remember, trust yourself! Fill in any remaining empty spaces with Dusty Rose Peonies and Pink Tea Roses.
We’re continually inspired by how the smallest details can leave the biggest impressions. It’s an honor to be part of such a special and intimate chapter in your story. Here’s to a future filled with joy, lasting memories, and a love that grows stronger with every passing day!
Don’t forget to sign up for Rakuten to earn cash back on your online purchases. Planning a wedding is expensive, our goal is to help you stay within your budget and make every penny count. Click here to sign up for Rakuten, and RIGHT NOW when you sign up, you will receive a $10 cash welcome bonus through my link when you spend $25.00!
If you like the outcome please subscribe to our Youtube Channel for more DIY Videos and follow us on Facebook and Pinterest. Also if you need help with an upcoming project be sure to send us a project request! “Remember When Every Penny Counts, Count on MissPlanIt”THIS POST MAY CONTAIN AFFILIATE LINKS. PLEASE READ MY DISCLOSURE FOR MORE INFO.