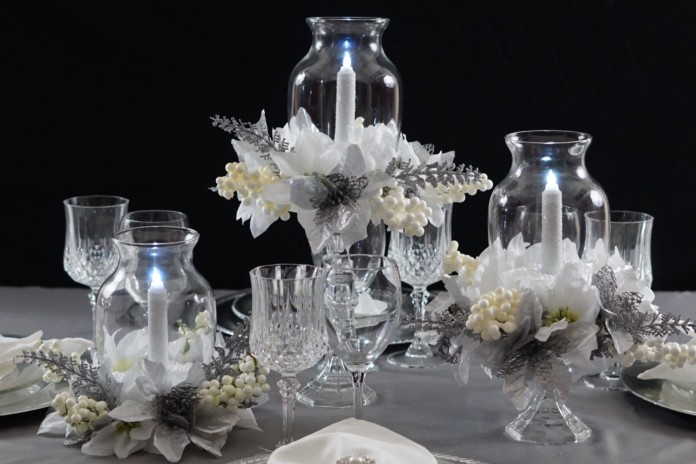
Do you love the Dollar Tree? Well if you are an avid DIYer like me, you probably already know that the Dollar Tree is your go to place for all your DIY projects. I’m not just saying this because this post is sponsored by the Dollar Tree (which it is :-), I am sharing this with YOU my reader because I truly believe in their products.
I have not only saved myself money but thousands of others on their upcoming projects all thanks to the Dollar Tree.
I also know EVERYONE loves to save money, especially this time of year which is also my favorite time of the year, Christmas time. Yes, Christmas for me starts in October and peaks in November as I usually start making my DIY projects and decorating my home.
If you’ve been following my “Deck the halls with DIY” series, you know I have been on this journey for weeks. If you are just joining me, be sure to check out my other DIY Christmas projects by clicking the links below:
This is a tradition that I grew up with and now continue with my own family! Okay enough about me, let me get into how Beautiful this week’s Christmas Centerpiece project turned out.
This week I am continuing my mission to DIY most of my Christmas decorations. Christmas is absolutely my favorite time of year! I love all the cheery music, good food, great sales, and spending time with family and friends. I also love to decorate my home for Christmas, I want beautiful Christmas decor but do not want to spend an arm and a leg to get my desired look.
Recently, I took a trip to my local craft stores to stock up on craft supplies and browse the aisles. With Christmas decor out and about I decided to price the Christmas decorations and the prices are ridiculously inflated. I was looking for Christmas table centerpiece ideas and was quite astounded that the items that caught my eye ranged from $20 to $100 for 1 centerpiece.
Yes, I repeat $20-$100 for 1 Christmas centerpiece!
This was not going to work for me or my budget, so I decided to go home, sketch out an idea I had based on the inspiration pieces I saw at my local craft stores.
Now with my idea in hand, I got in my car and went straight to the Dollar Tree to see what I could find. Now I must tell you I typically do my shopping online at DollarTree.com, with my schedule, its easier for me to order the things I need, plus my local Dollar Trees run out of my must-have items often.
On this particular day, I drove to my local Dollar Tree with sketch in hand and was able to buy every single thing I needed. I was so excited and ready to get home to get started.
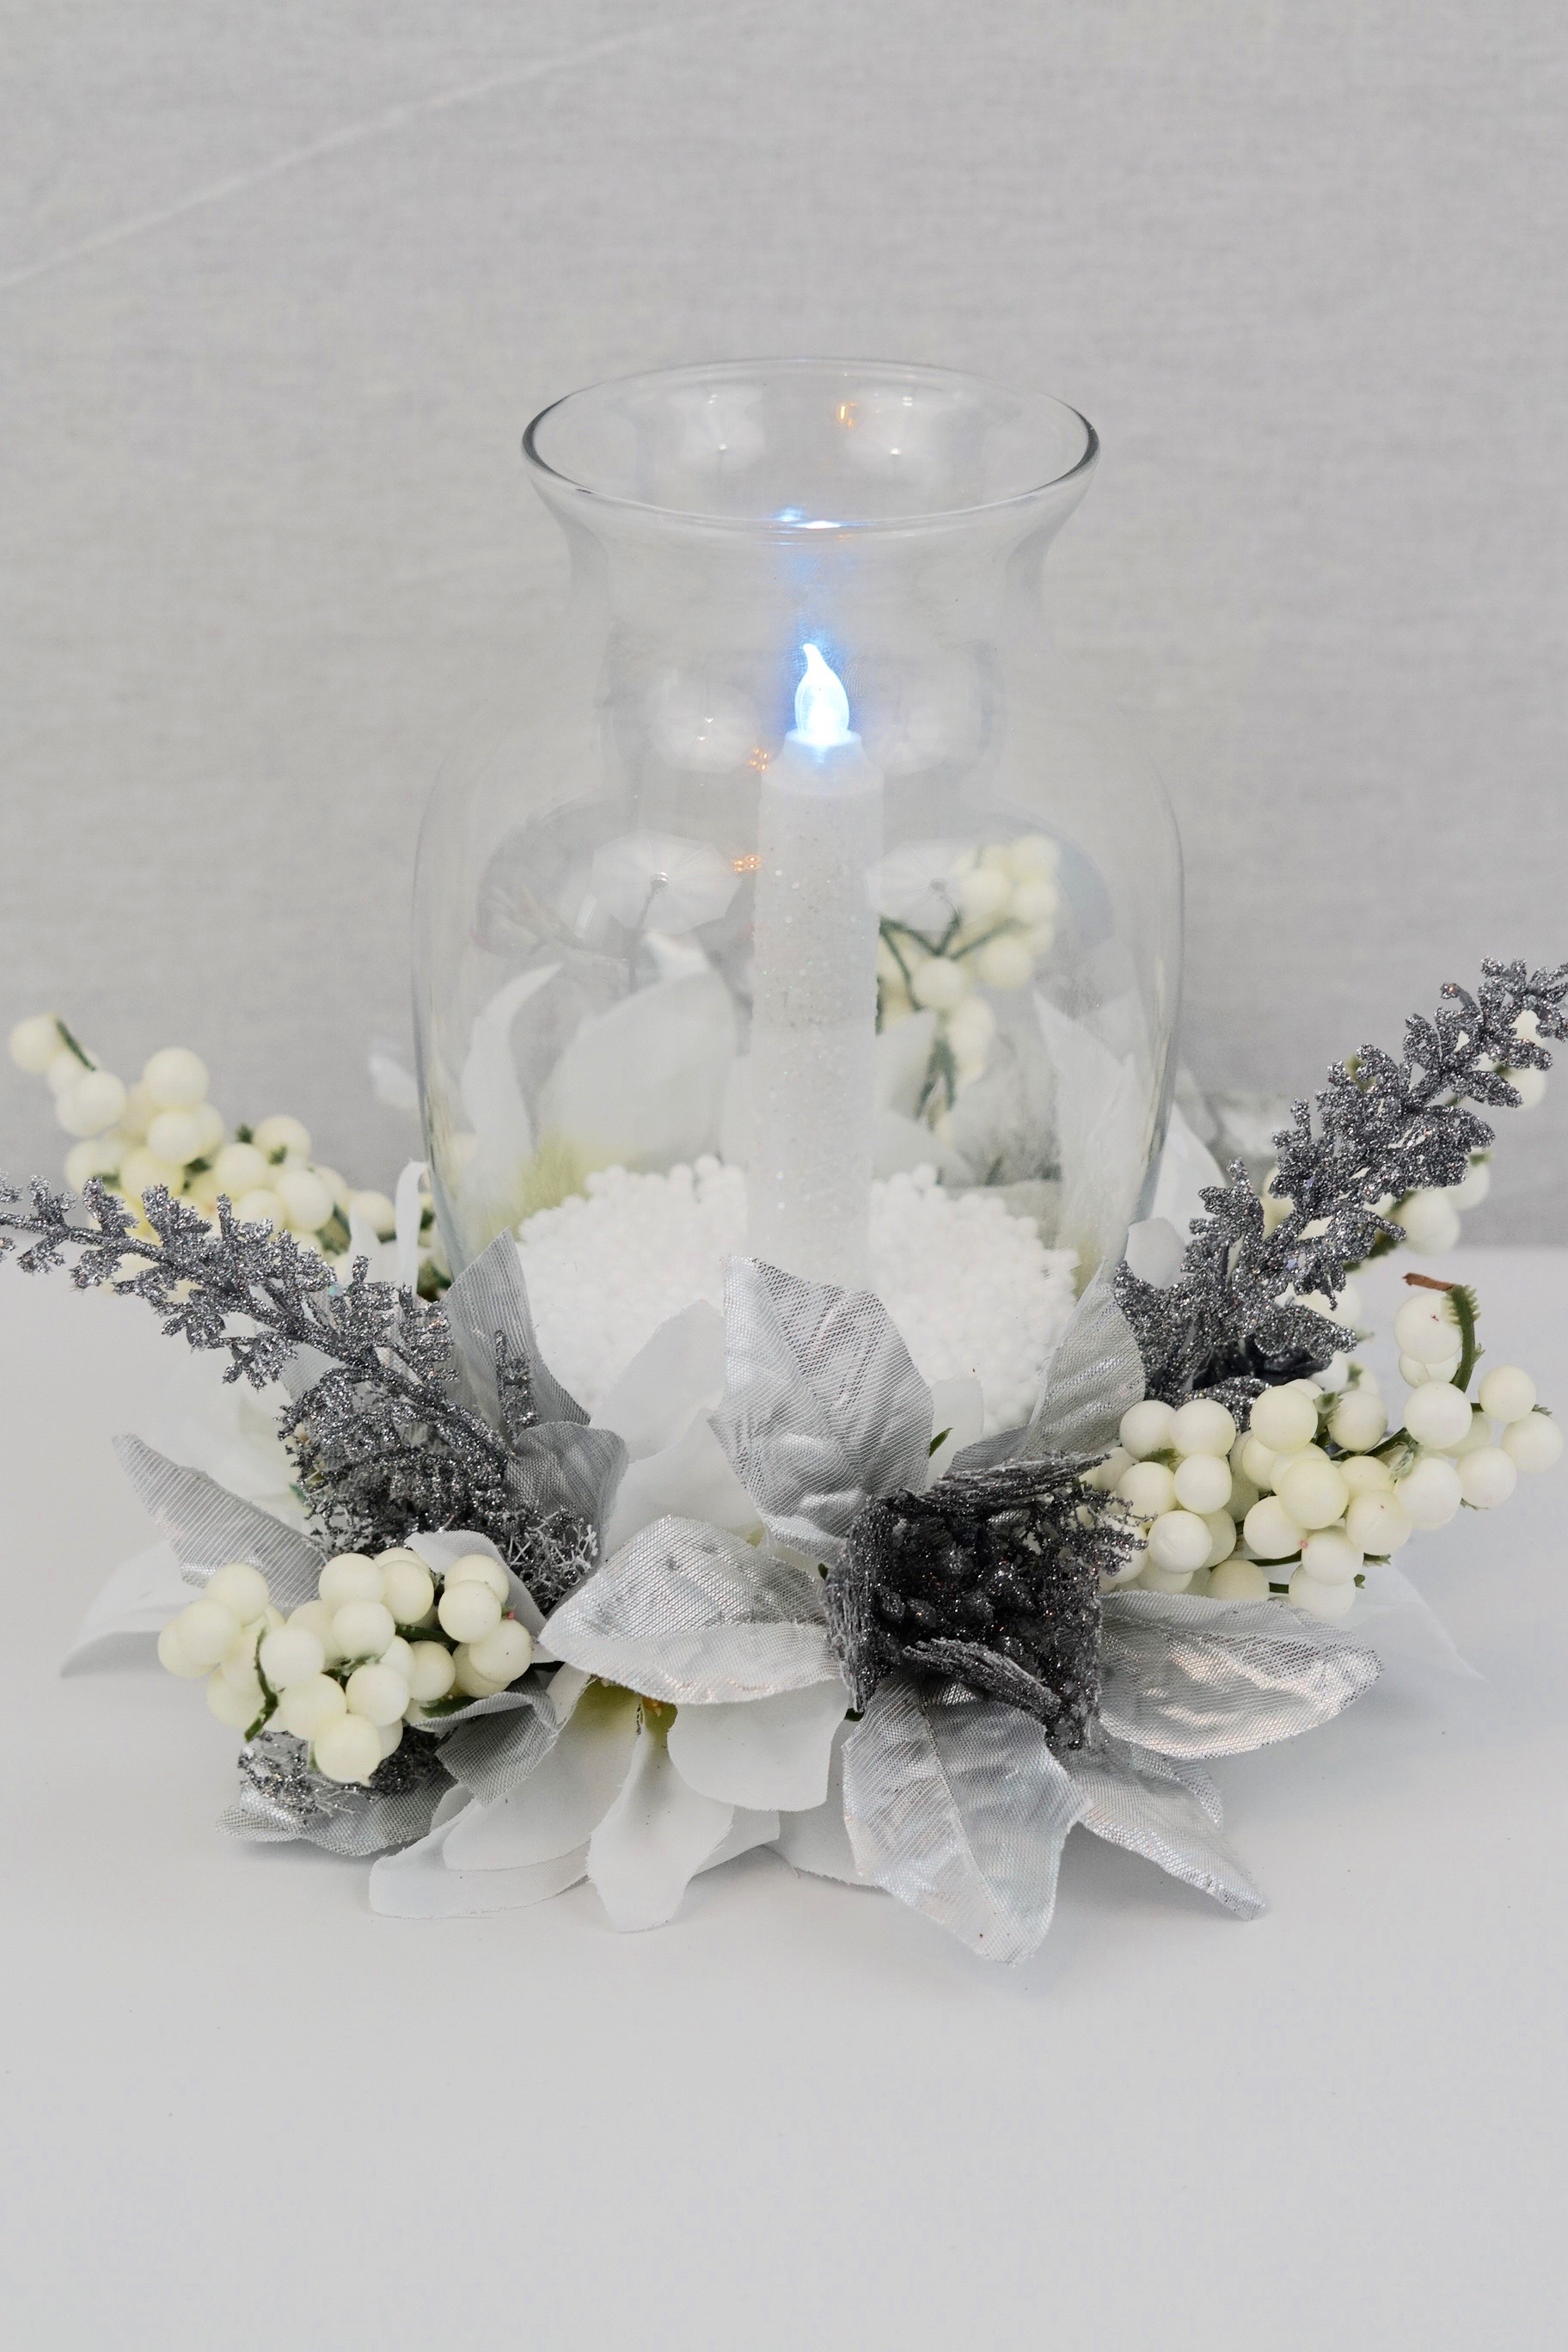
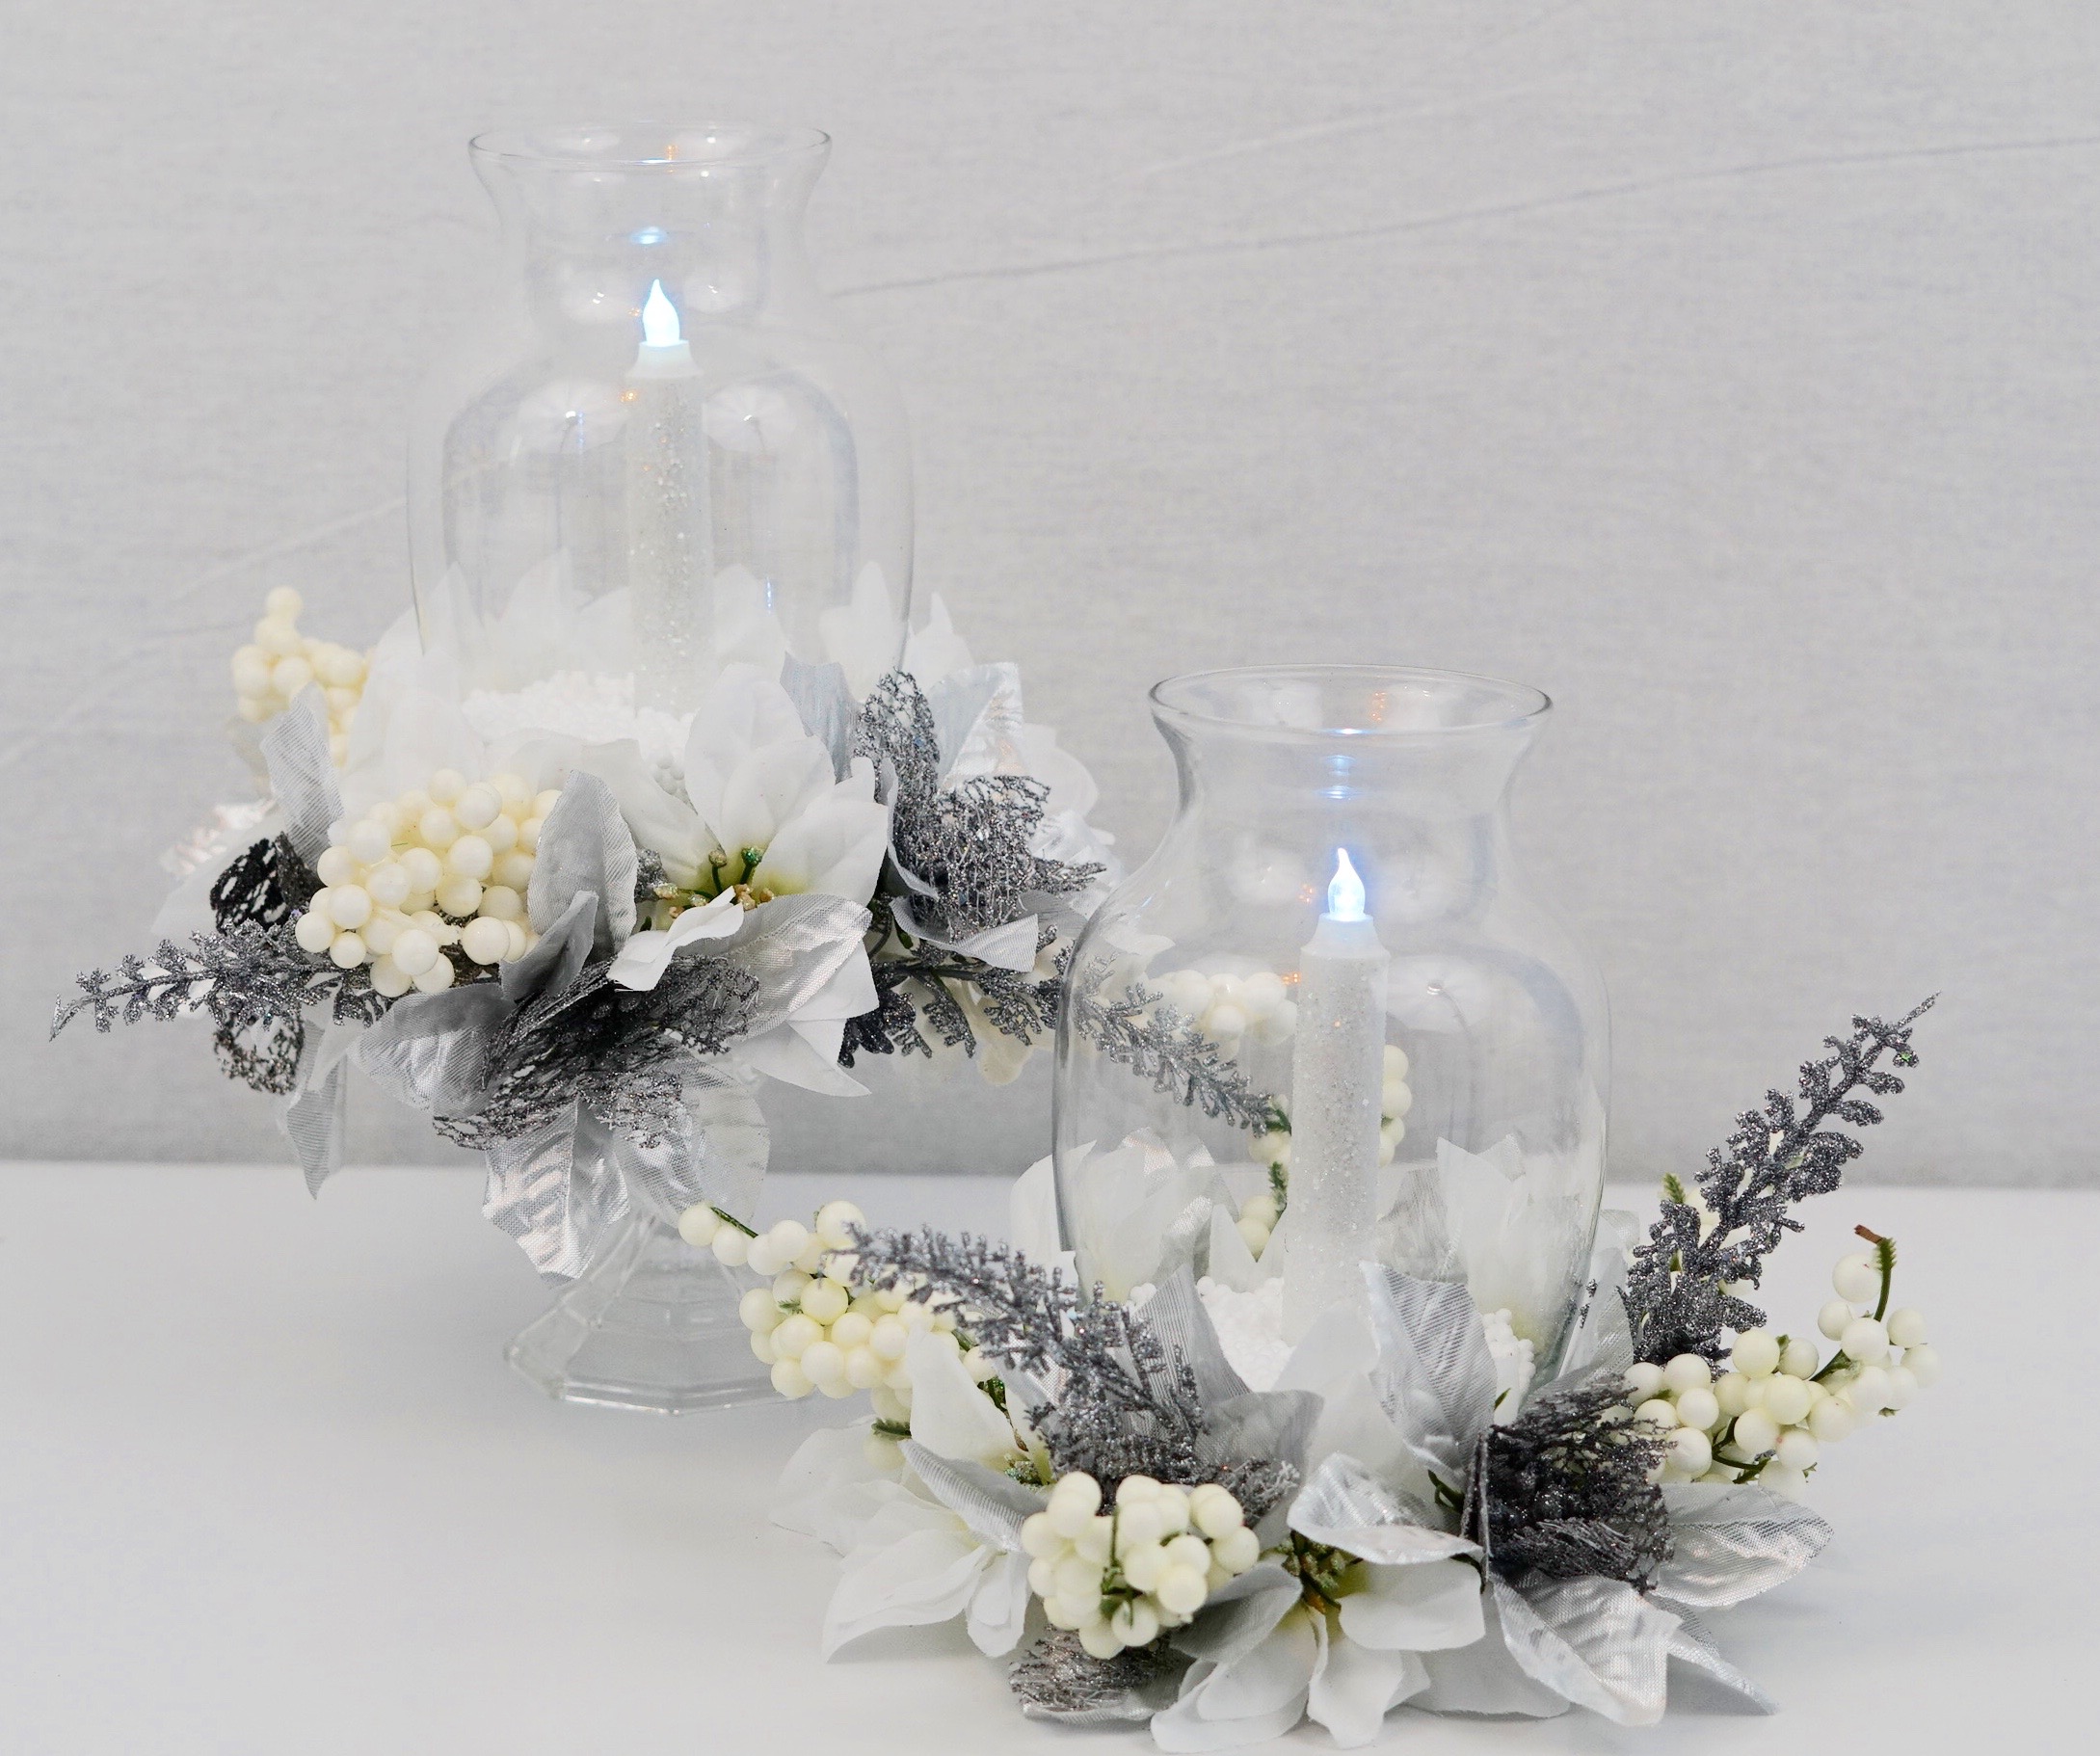
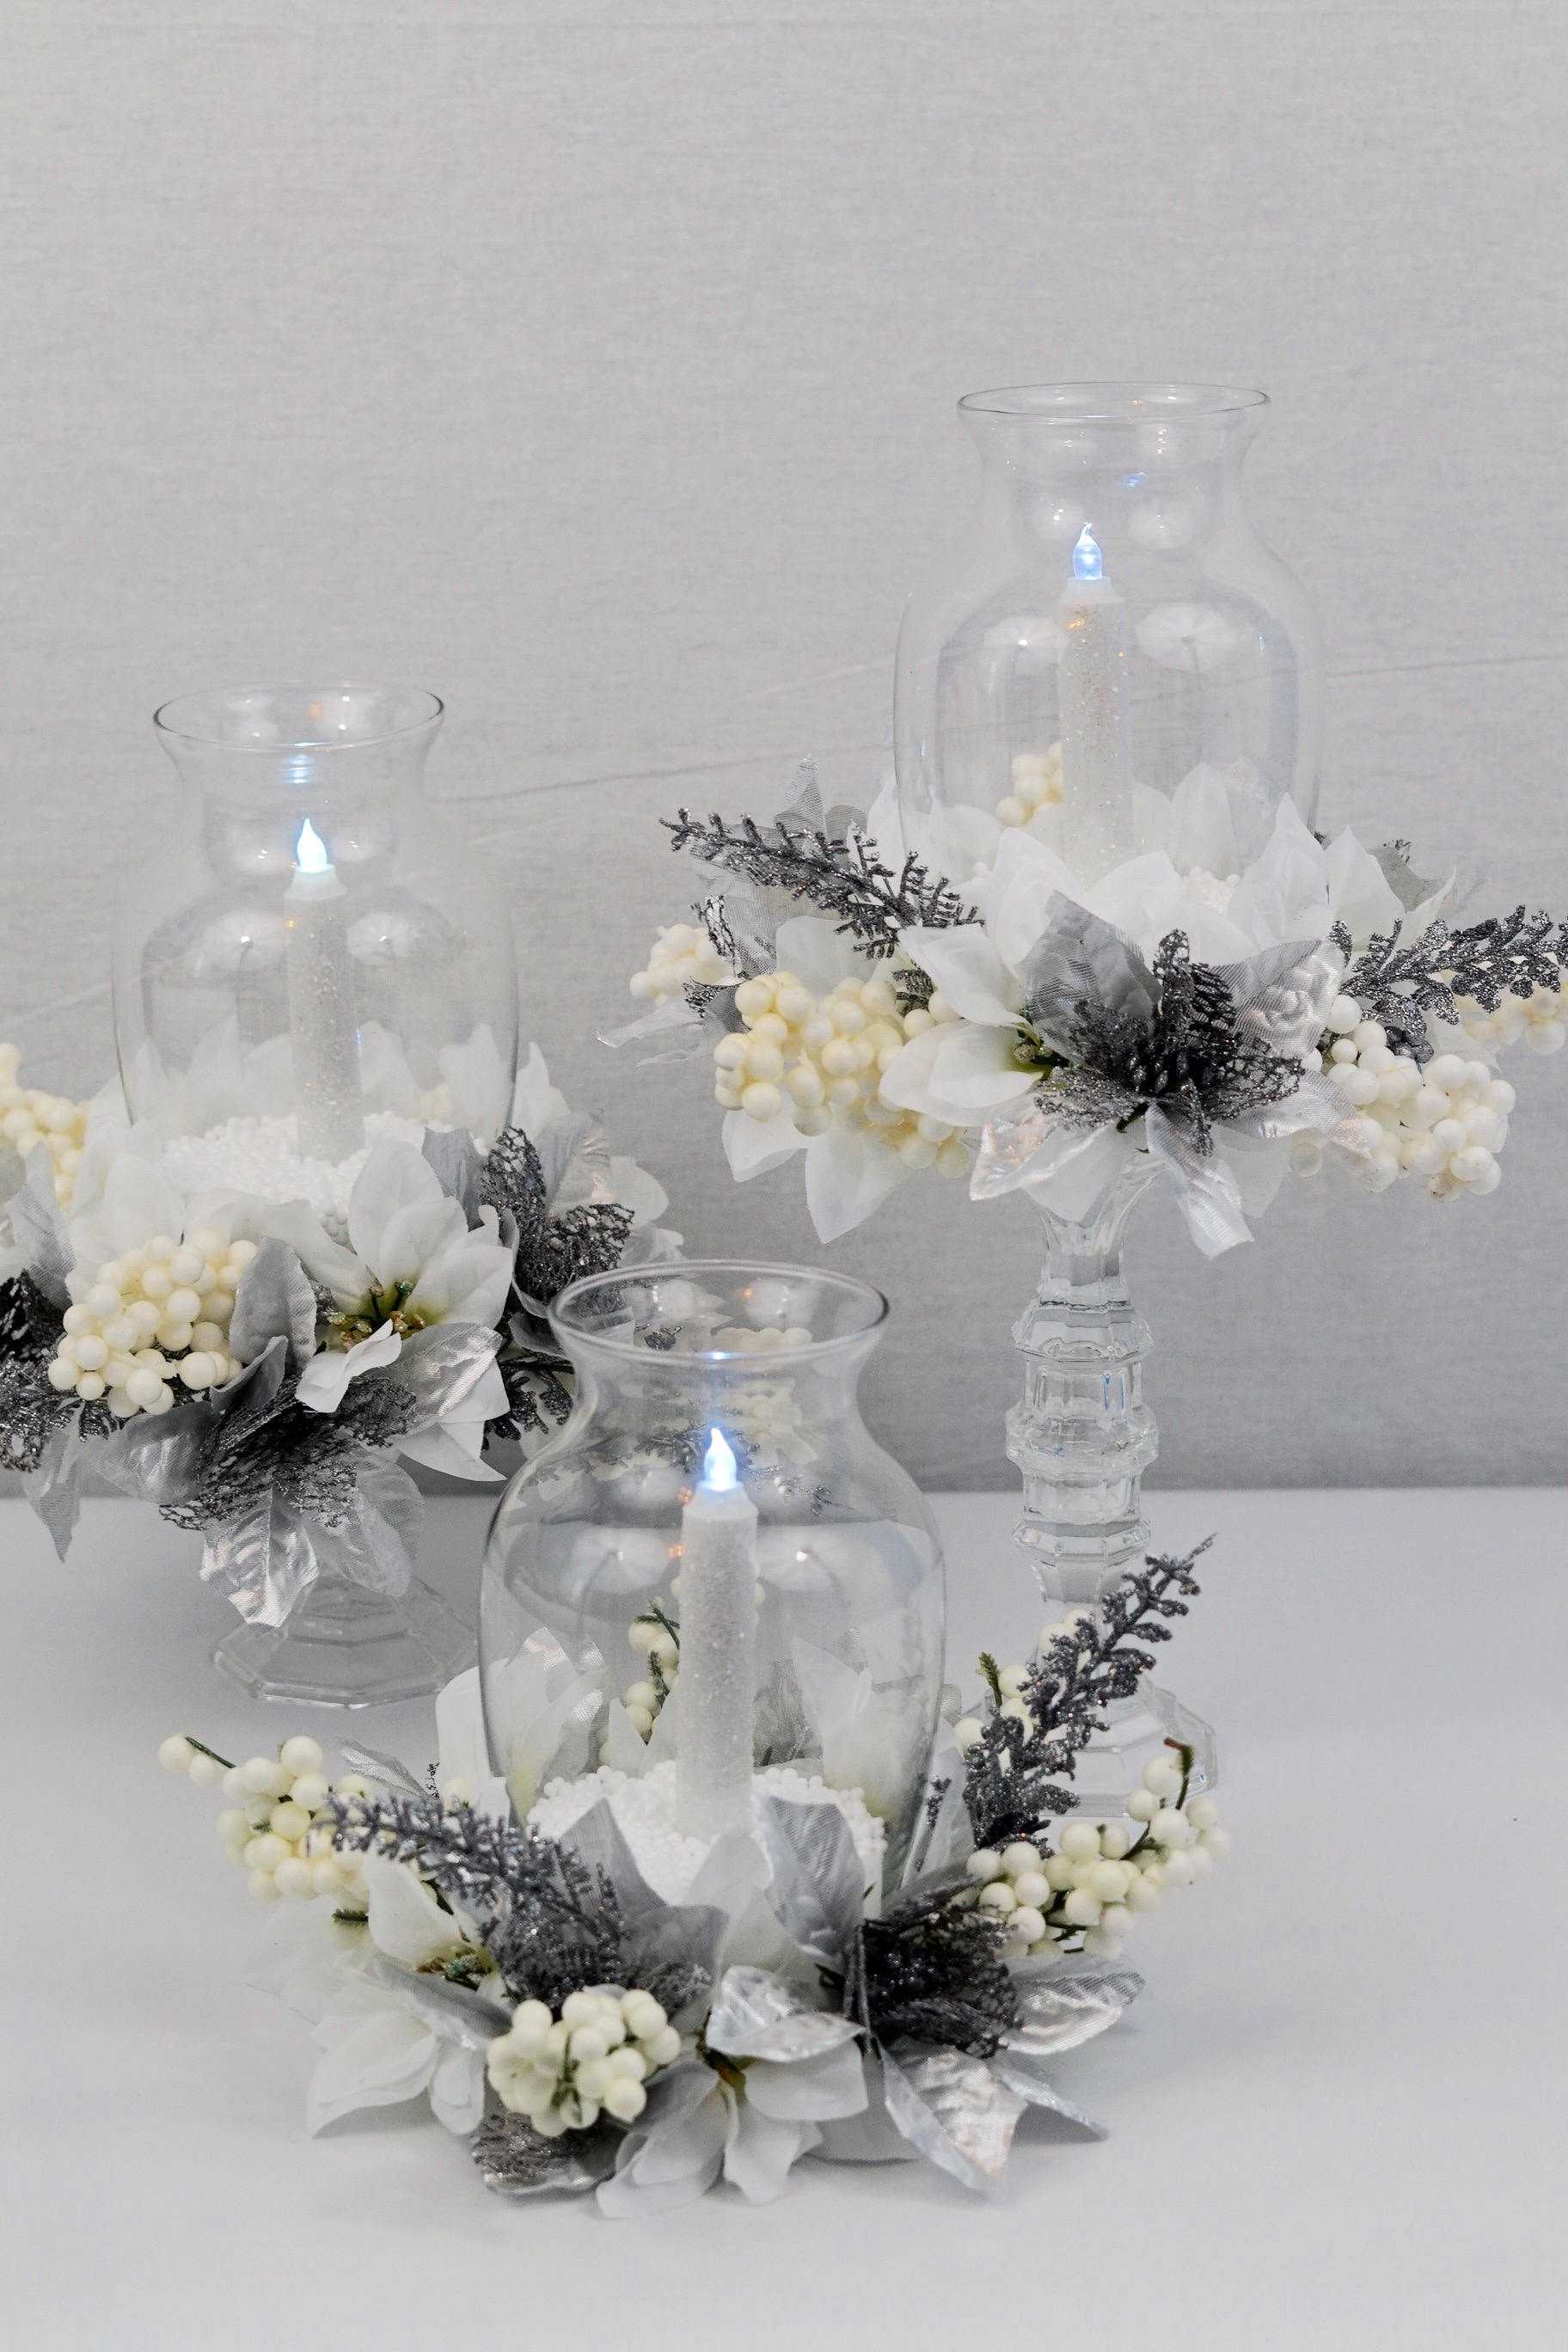
I decided to make 3 centerpieces at different heights to sit on my table. I am happy to announce 1 centerpiece cost me $7 so yes I was able to make 3 centerpieces for $21 and the outcome is absolutely beautiful.
Just a tip before you go out and buy all your supplies. As our saying goes “When Every Penny Counts, Count on Miss PlanIt.” We love to save money and get great deals. Prior to us purchasing anything online, we check out Ebates, find the store, click the current deal for that store and complete our purchase. If you have never used Ebates.com, you are MISSING OUT. So for this project, you would go to Ebates, sign up, and then type in the Dollar Tree.
When completing a purchase through Ebates you earn cash back that you can have mailed to you or sent via PayPal. Be sure to check it out! Click here to sign up for Ebates, and RIGHT NOW when you sign up, you will receive a $10 cash welcome bonus when you spend $25.00!
You were already going to complete your purchase online, so why not get some cash back on things you already planned to purchase! So get those supplies and let’s beautify your house with decorations that are made with Dollar Tree products!
Let’s Get Started:
Click our affiliate links below to purchase the supplies needed for this project:
SUPPLY LIST:
Vase
Foam Disc
LED Candle
Silver Poinsettias
White Poinsettias
Silver Holly
Glitter
Mod Podge
Candle Holder
If you prefer written instructions, please continue reading.
How to Make a DIY Christmas Centerpiece
Directions:
STEP 1: Place your LED Candle in the bottom of your curved vase using hot glue to adhere. For a more secure hold use E6000.
STEP 2: Remove your LED candle from your vase with the base of the LED candle remaining in the vase. Apply mod podge to your LED candle using a paintbrush, then sprinkle your glitter on your LED candle.
STEP 3: Apply hot glue to the bottom of your vase, now attach your foam disc. Sit a book on top of your vase and allow to dry for 10 minutes, this will ensure the vase and foam disc remain attached.
STEP 4: Trim the stem of 1 bushel of white poinsettias to about an inch using floral wire cutters. Now add these poinsettias to your foam disc.
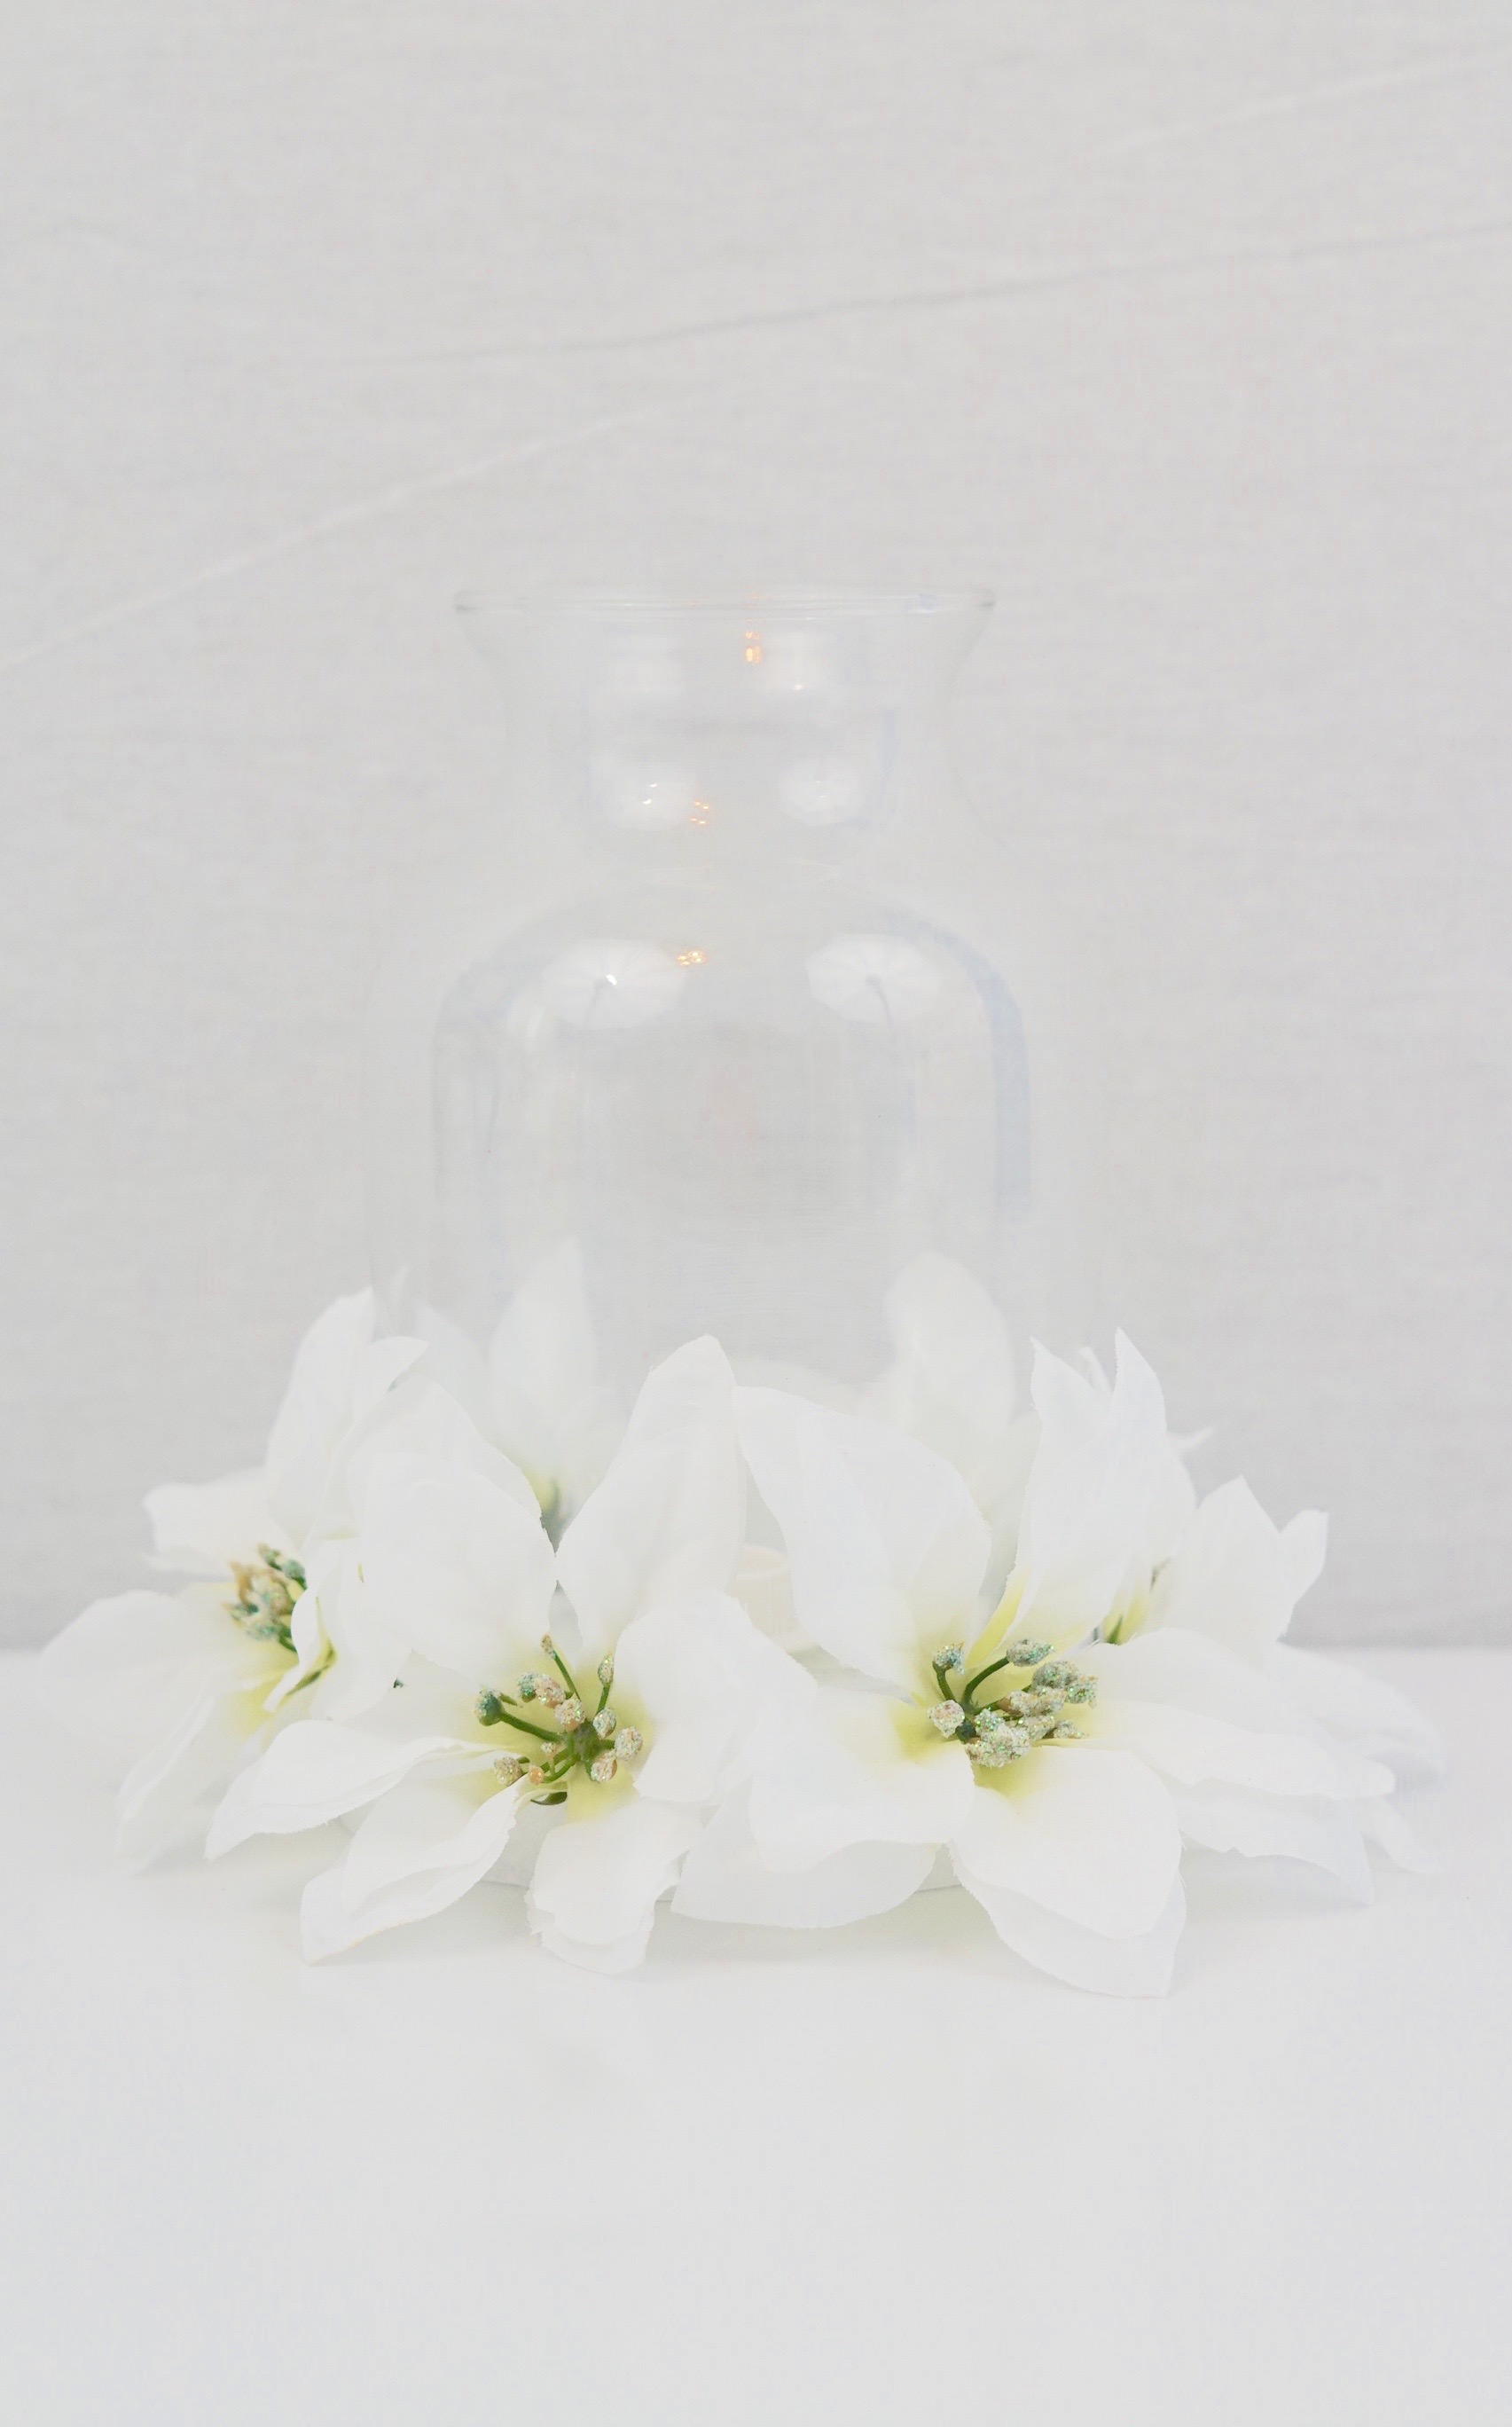
STEP 5: Repeat step 4 this time adding 1 bushel of silver poinsettias. You will notice your silver poinsettias have a pinecone and berry trim, don’t get rid of them, trim them off your bushel and add them to your foam disc as well.
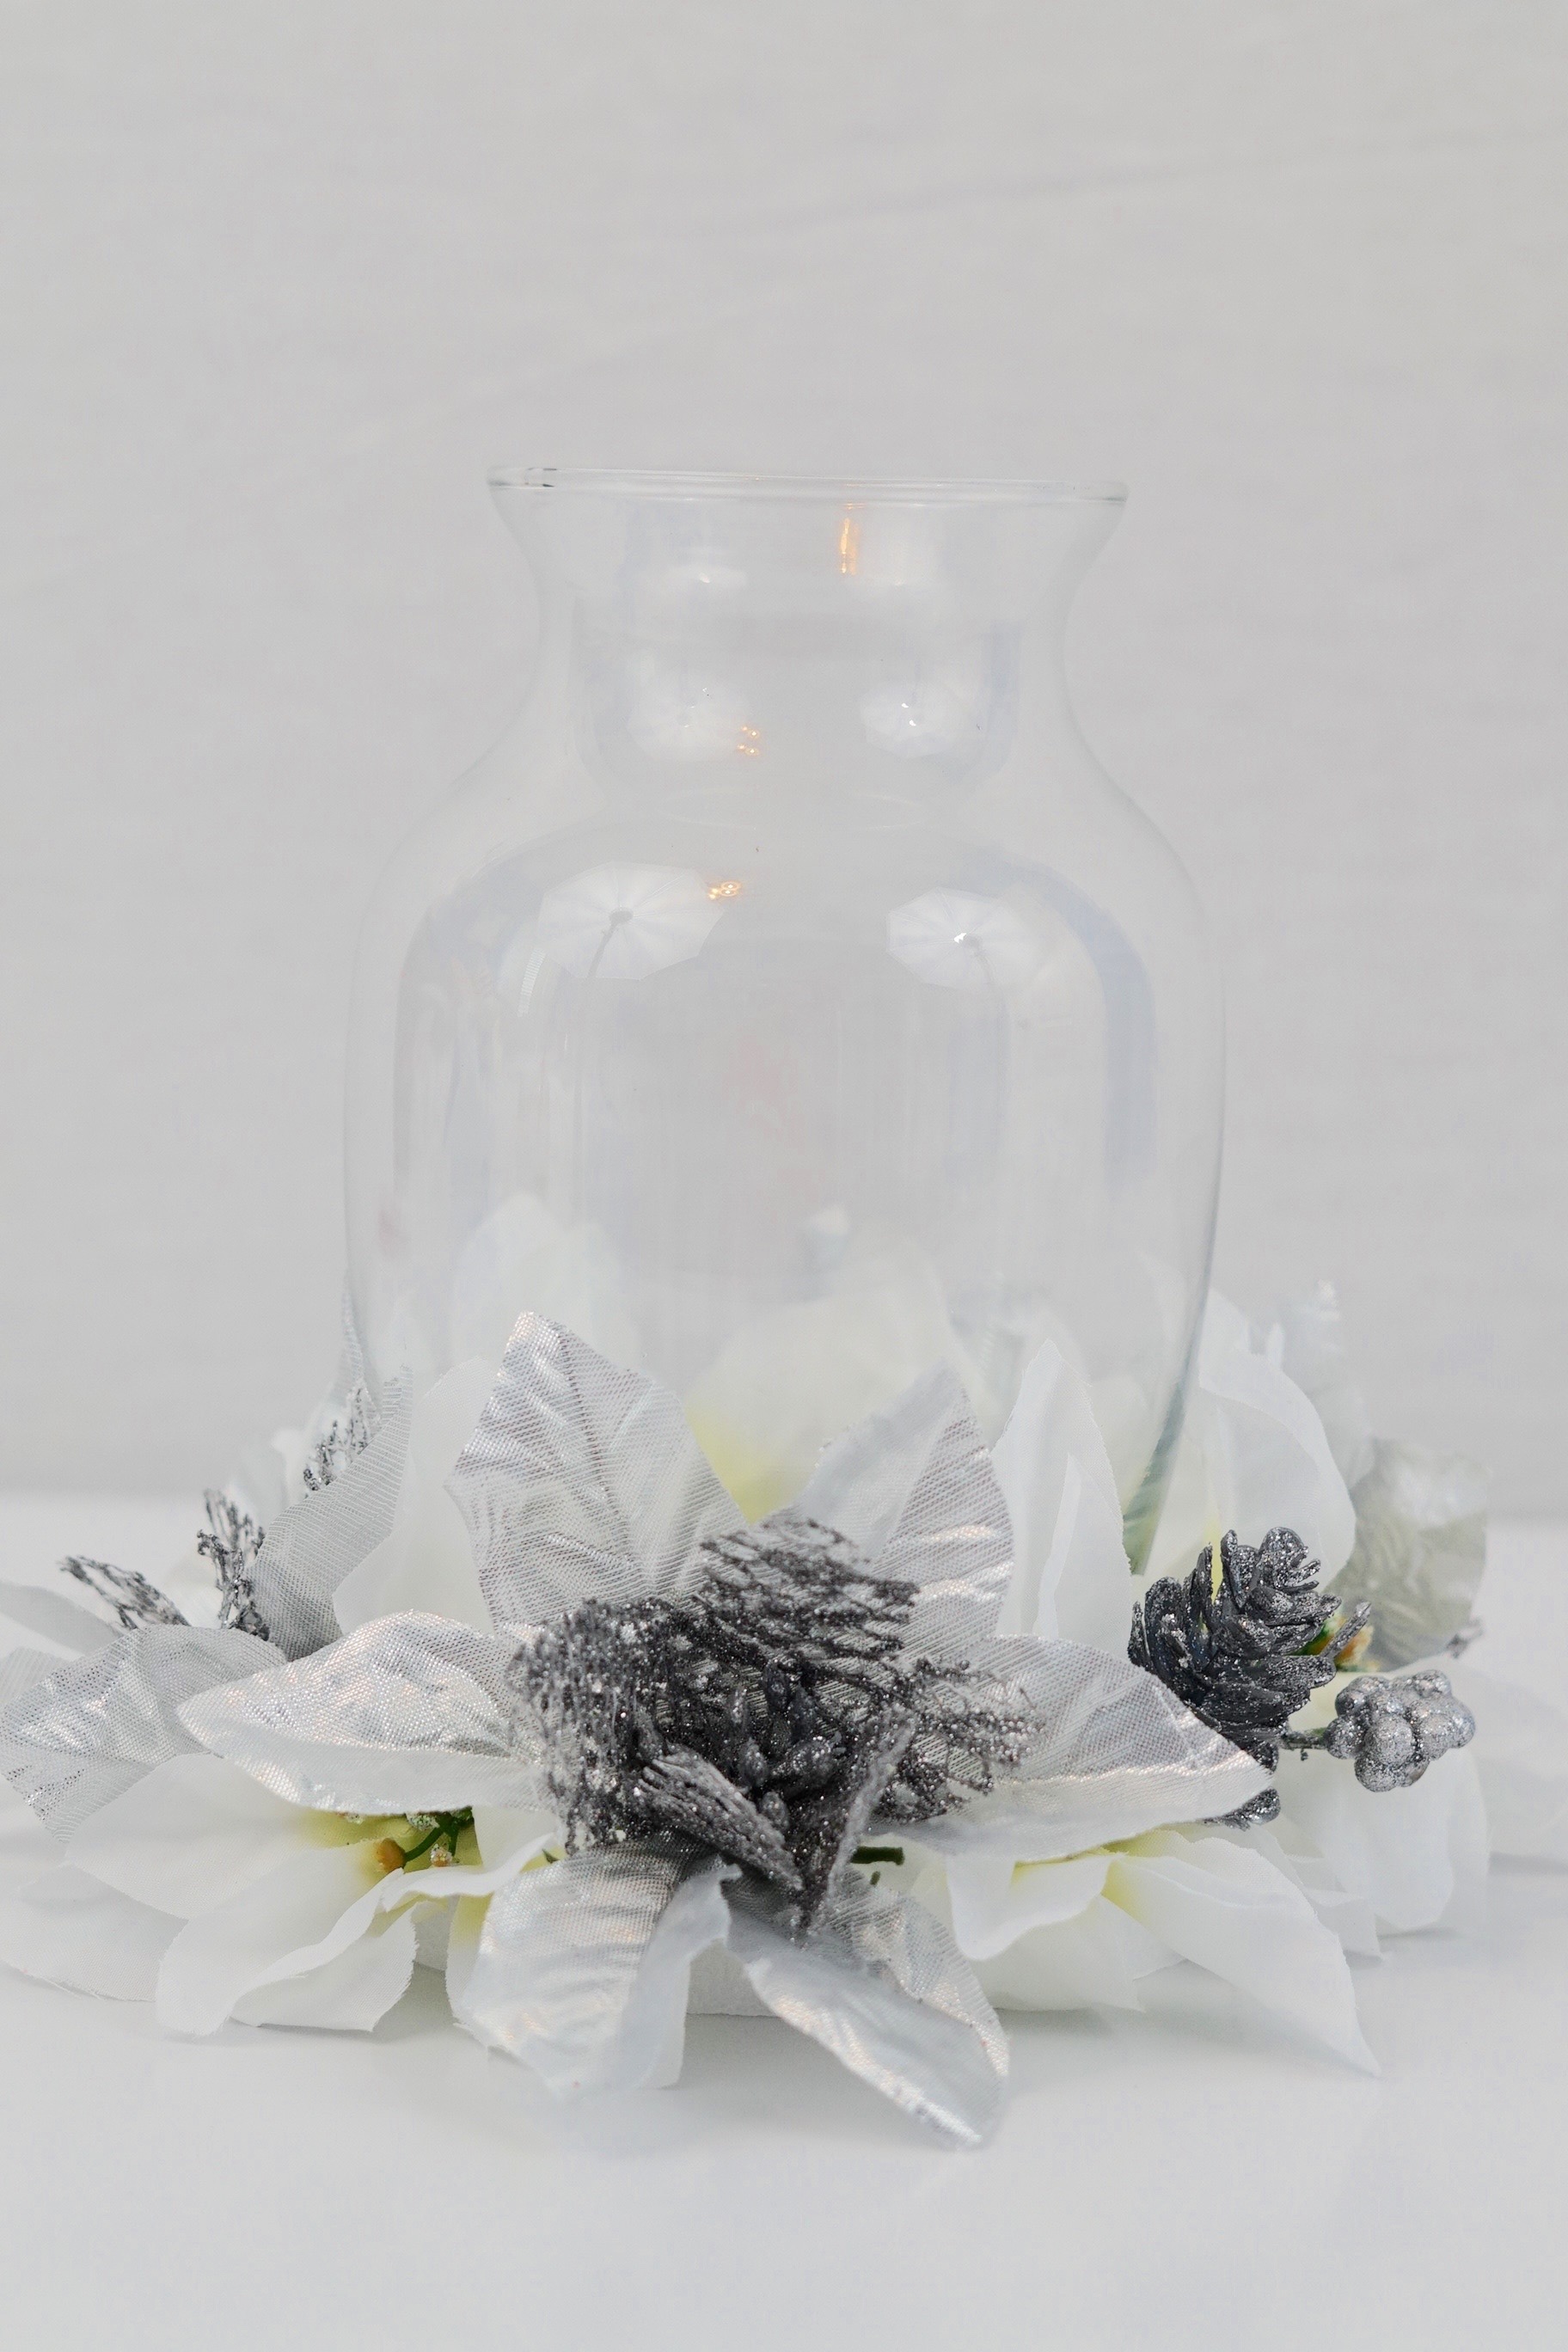
STEP 6: Add 1 bushel of white holiday berries and 2 stems of silver holly bouquet to your foam disc.
Cost Saving Tip: Since 2 stems are needed for 1 centerpiece, 1 bushel of silver holly bouquet can complete 3 of your Christmas centerpieces. This is great and saves you money!
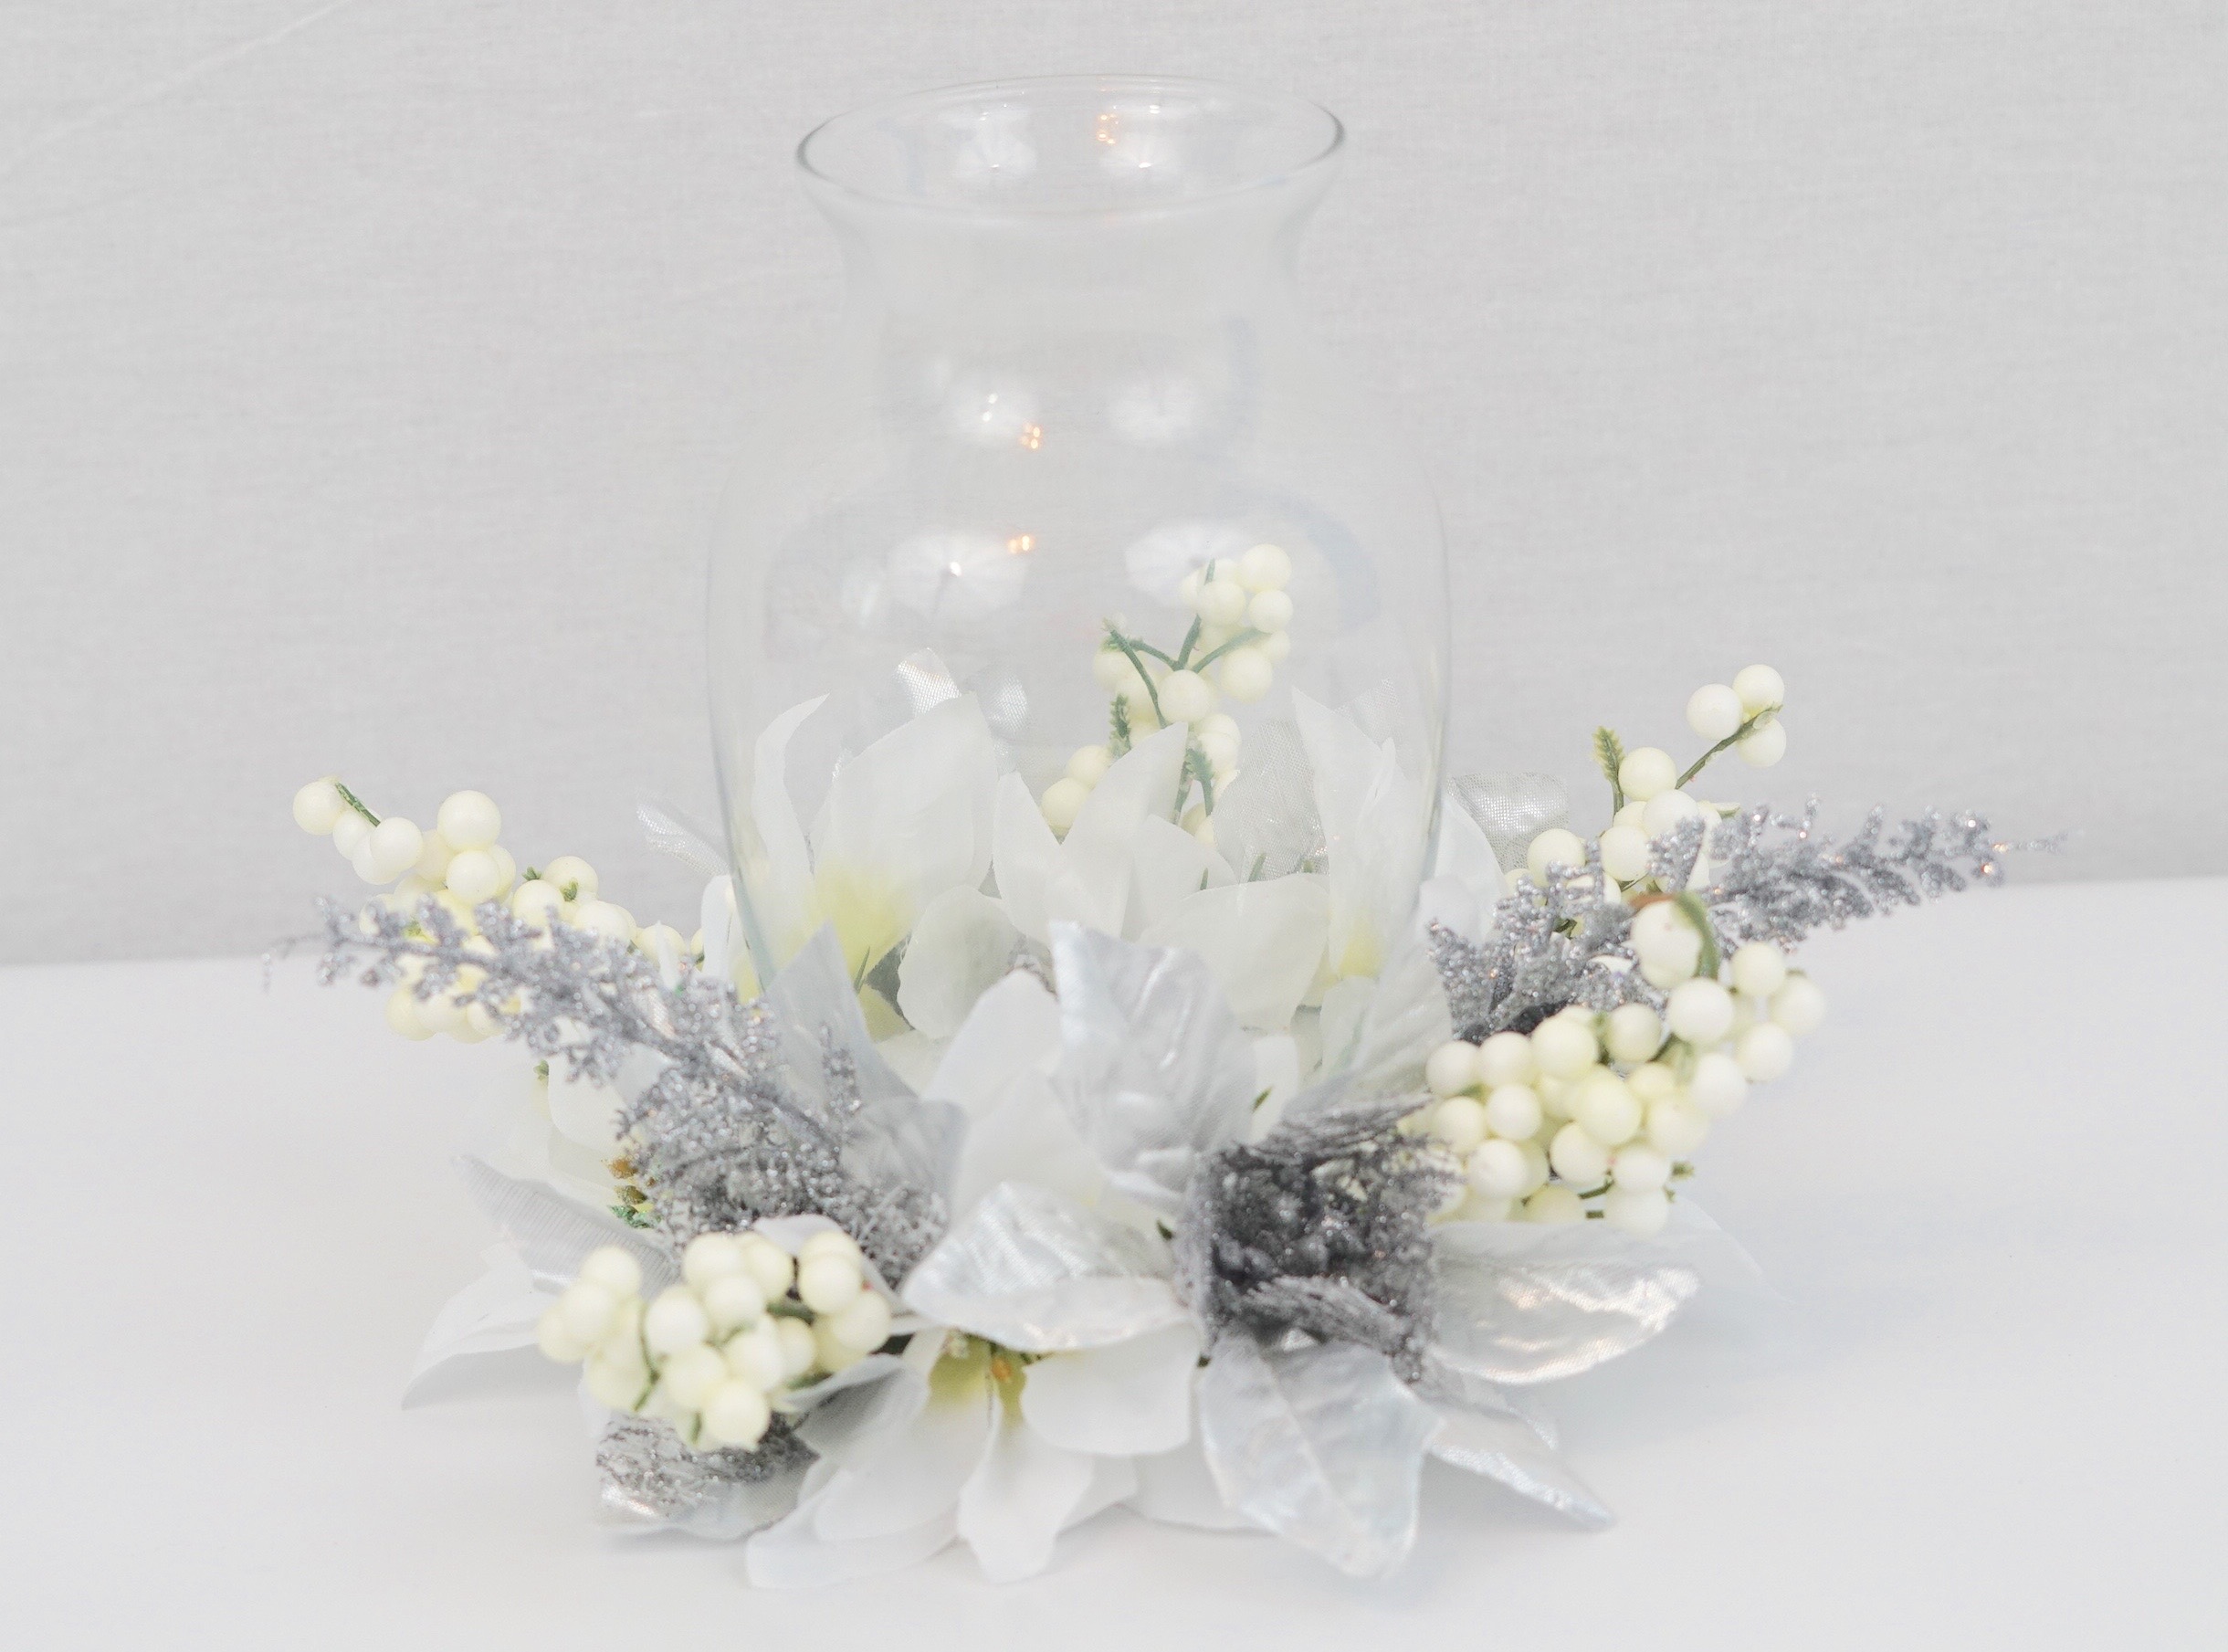
STEP 7: Reattach your LED candle to its base. Sprinkle 1/3 of your white foam beads into your vase. I actually made 3 of these centerpiece and I accomplished this with 1 bag of white foam beads. This is another cost saver!
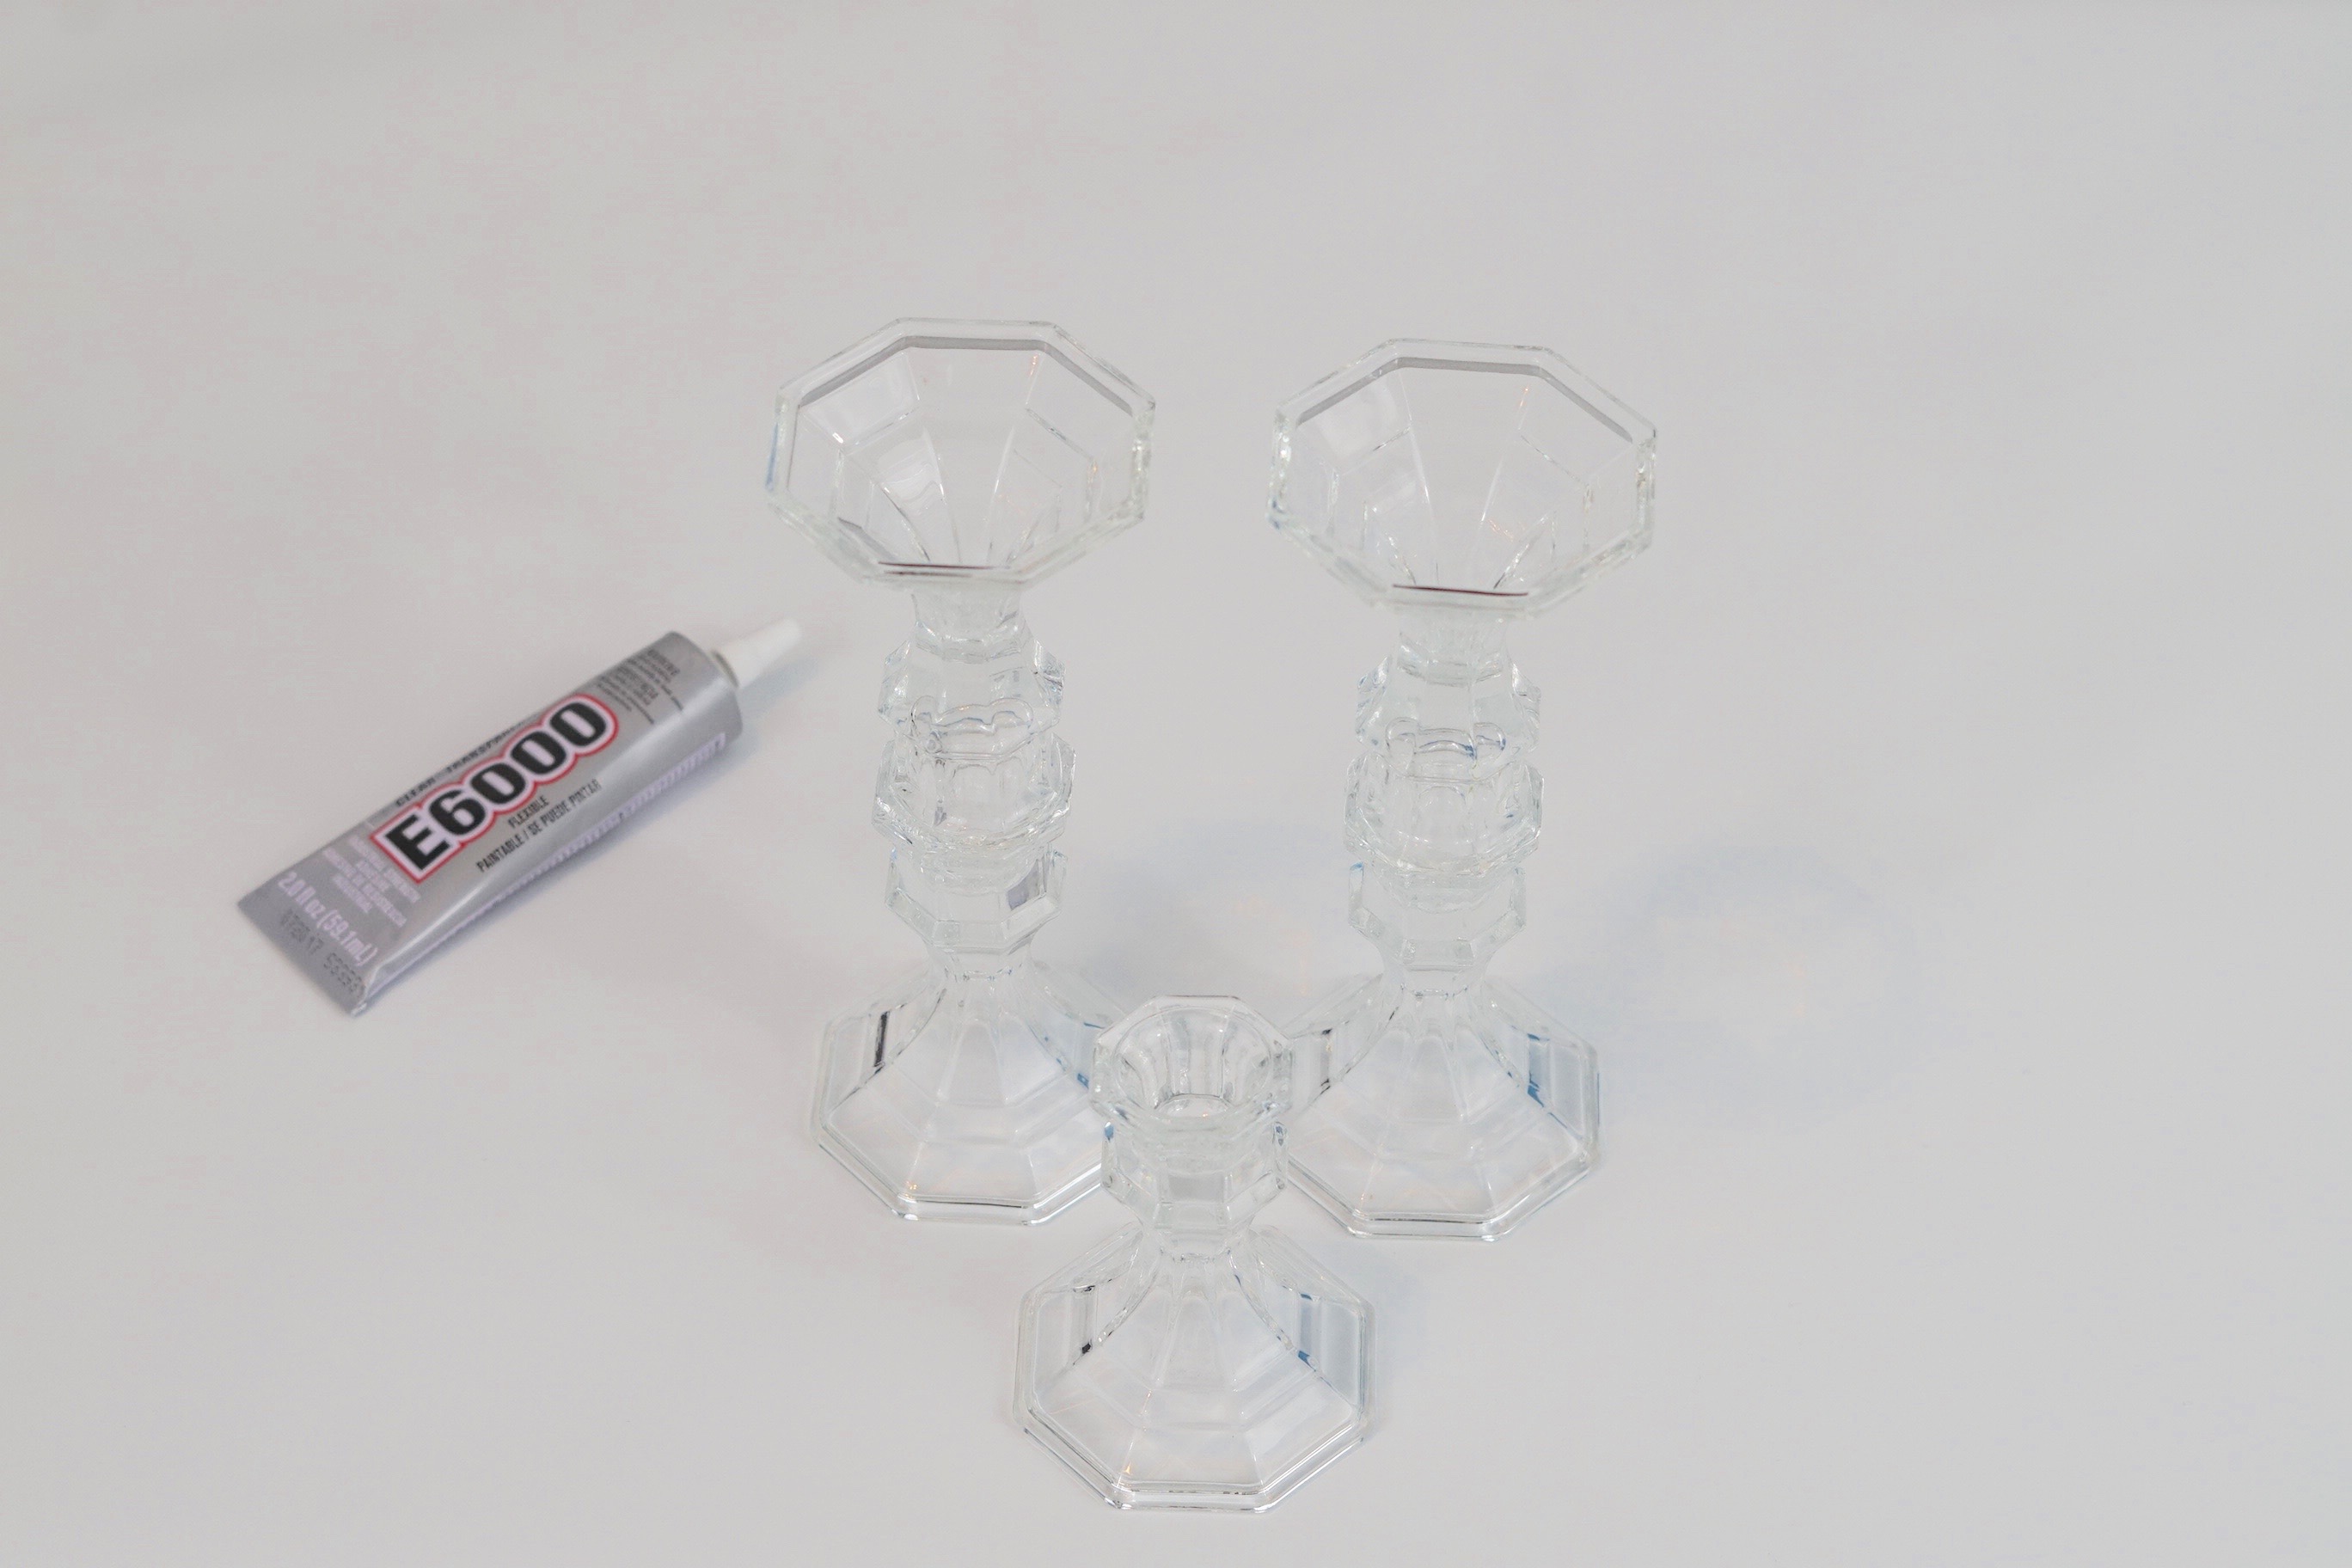
STEP 8: Let’s take it up a notch! To add some height to 2 of my centerpieces, I’m going to take 1 of my candleholders and attach it to 1 of my centerpieces using hot glue.
STEP 9: For my second centerpiece, I want to elevate it using 2 candle holders. To achieve this, I will take 2 glass candleholders and attach them together using E6000, place a book or other weight on top of them to ensure they do not fall apart and allow to dry for 30 minutes.
STEP 10: Now hot glue your second centerpiece to your 2 tier glass candleholder. Your third centerpiece will remain at the original height, so you won’t add a candleholder to it.
THE FINAL STEP
STEP 11:Set the table!
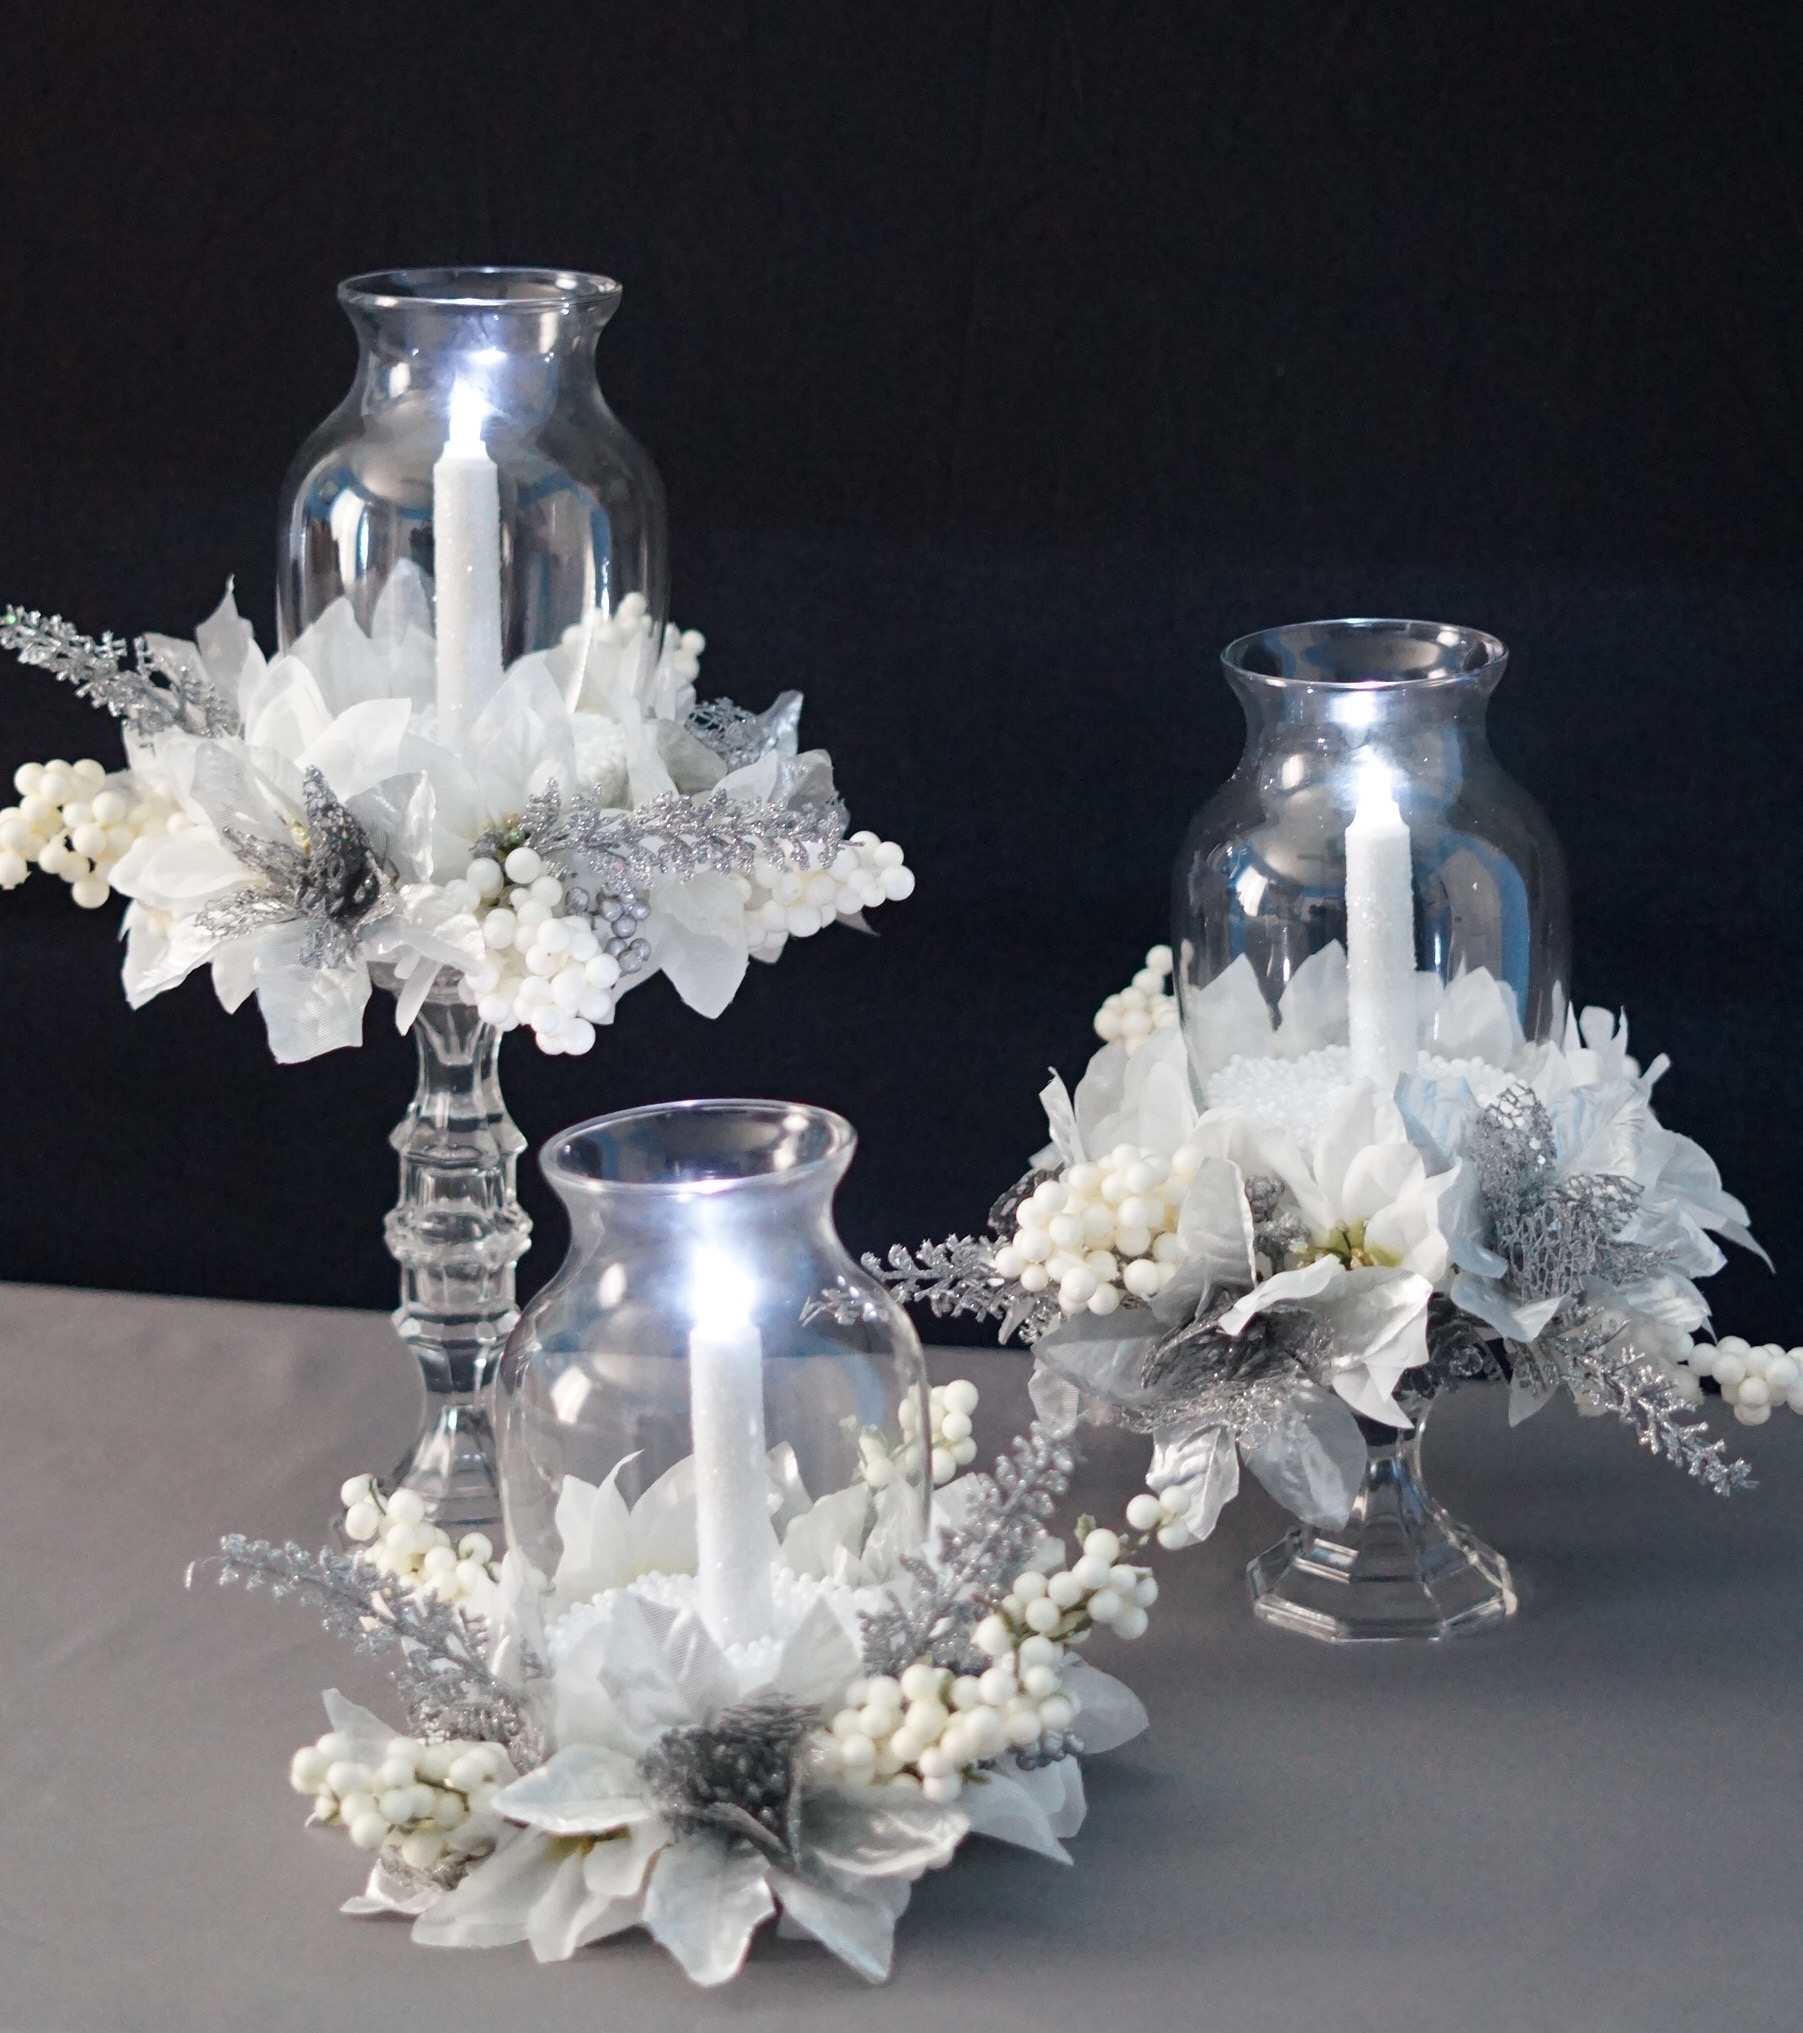
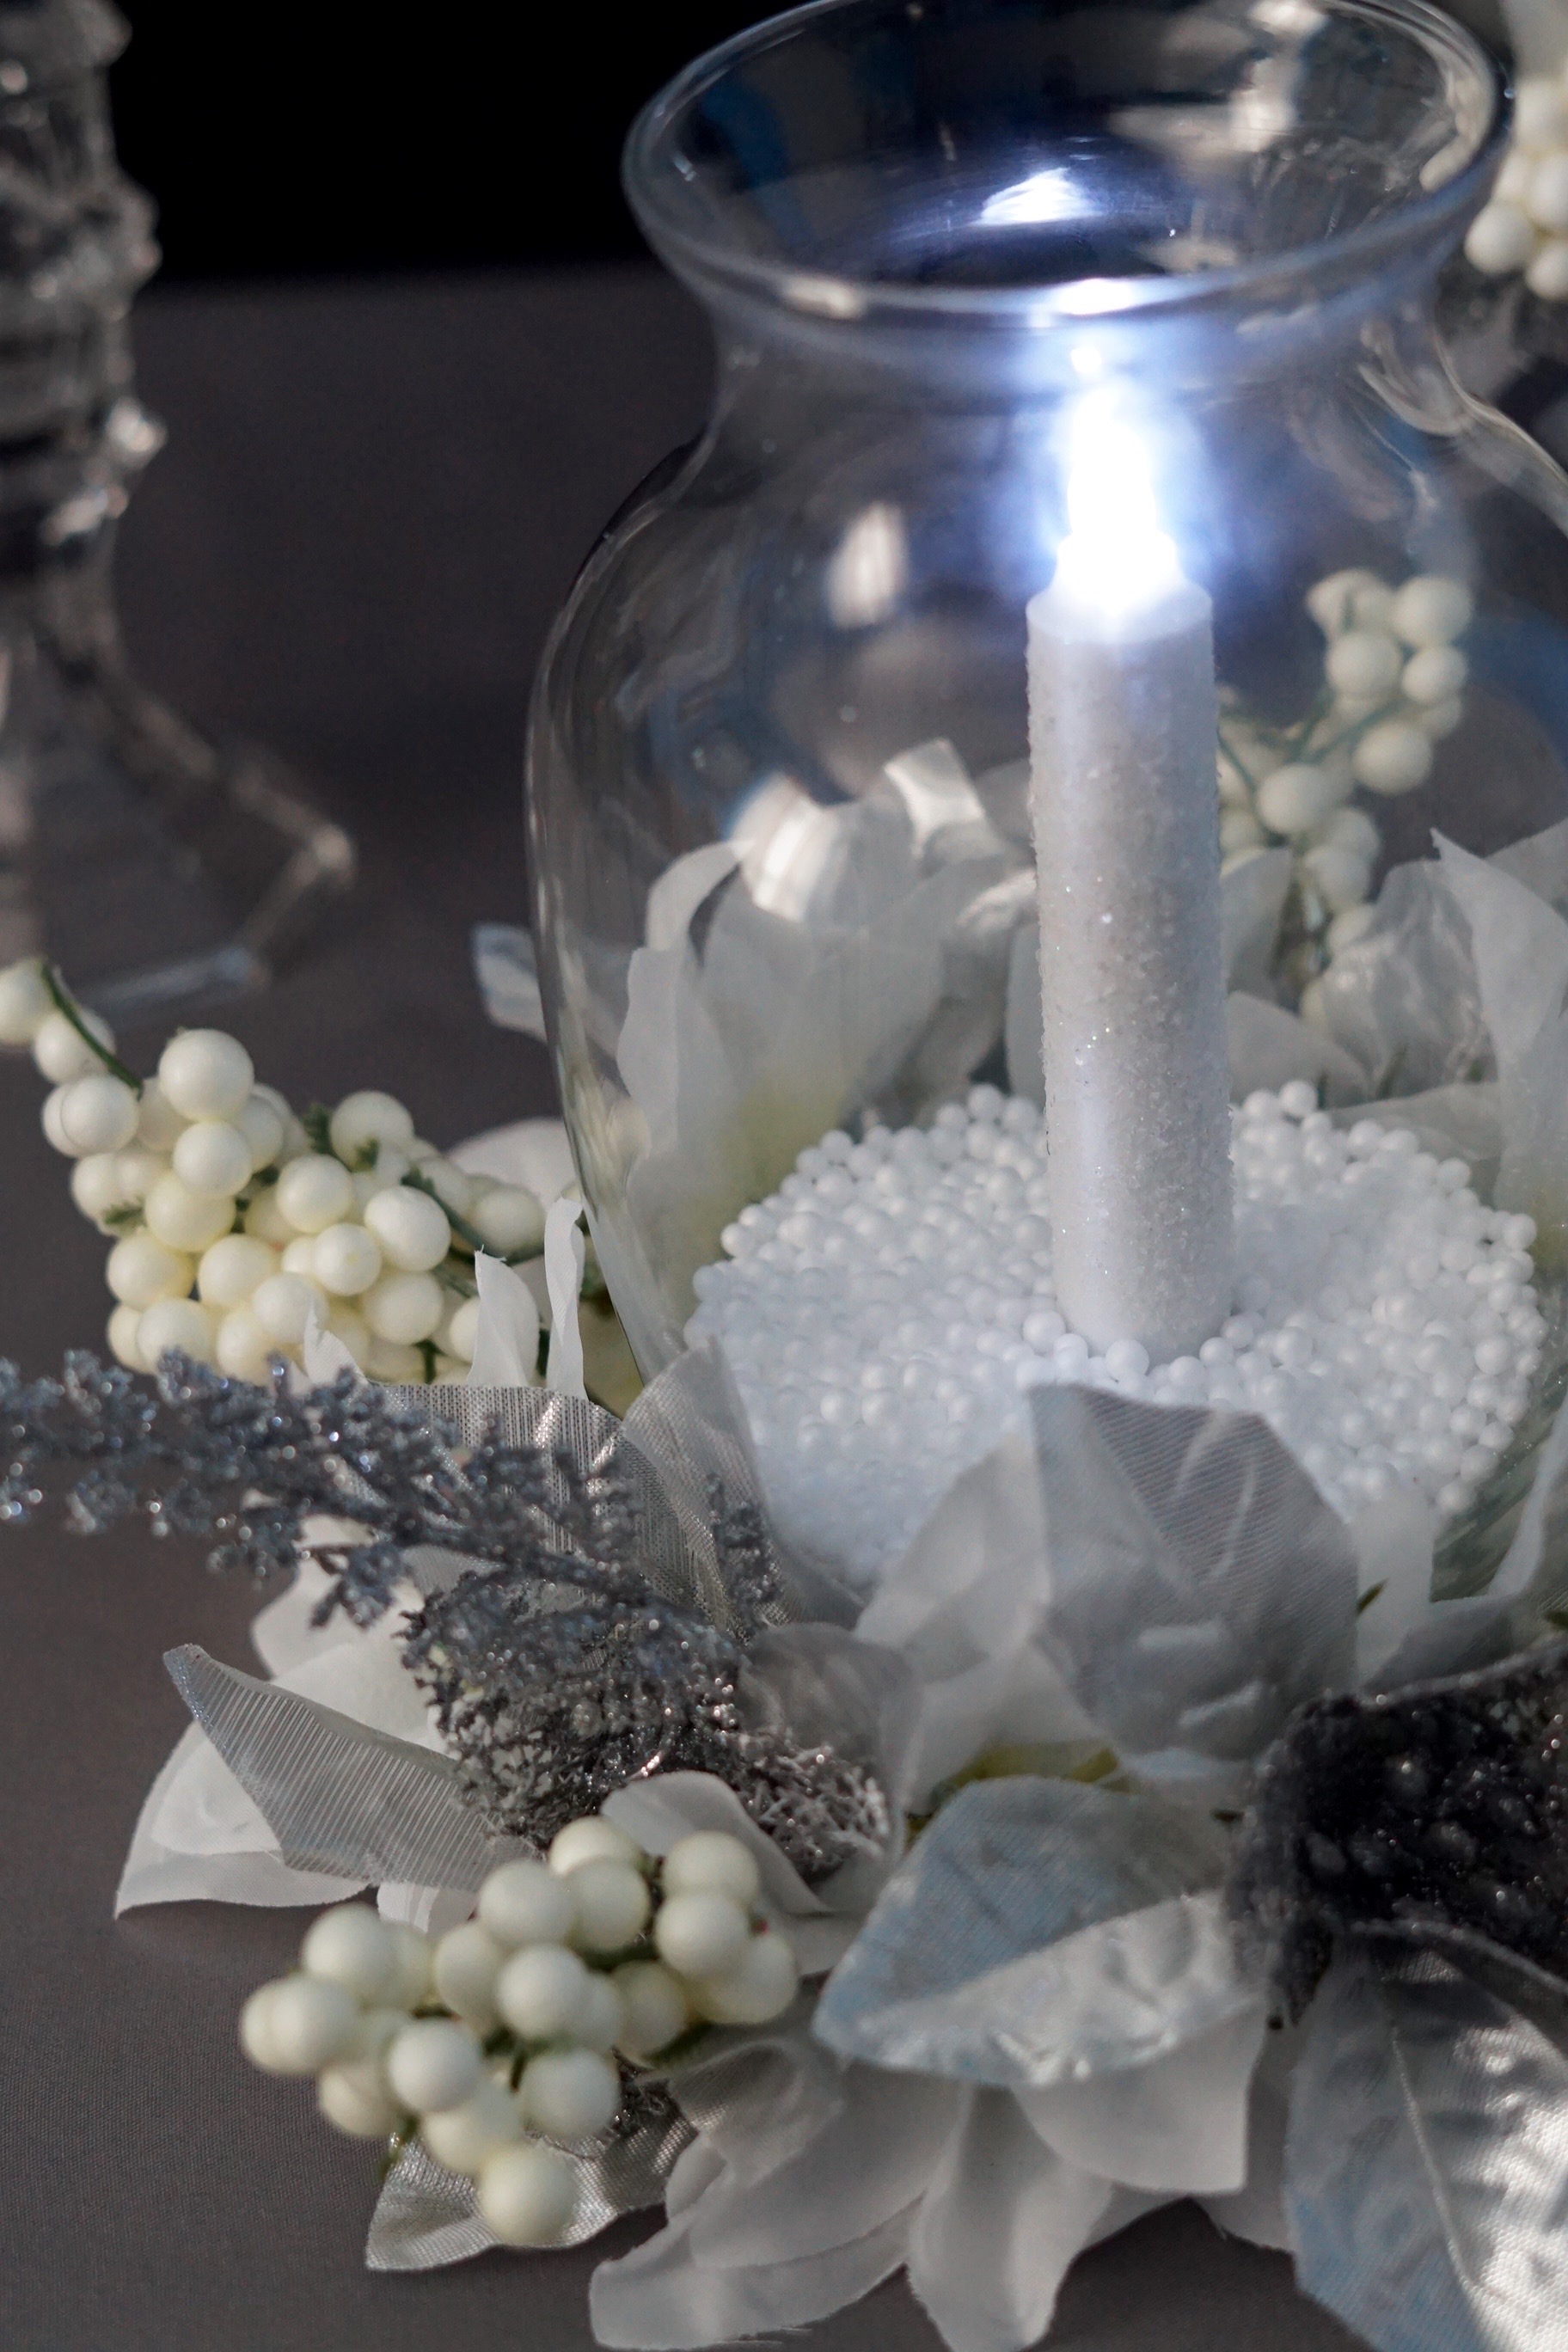
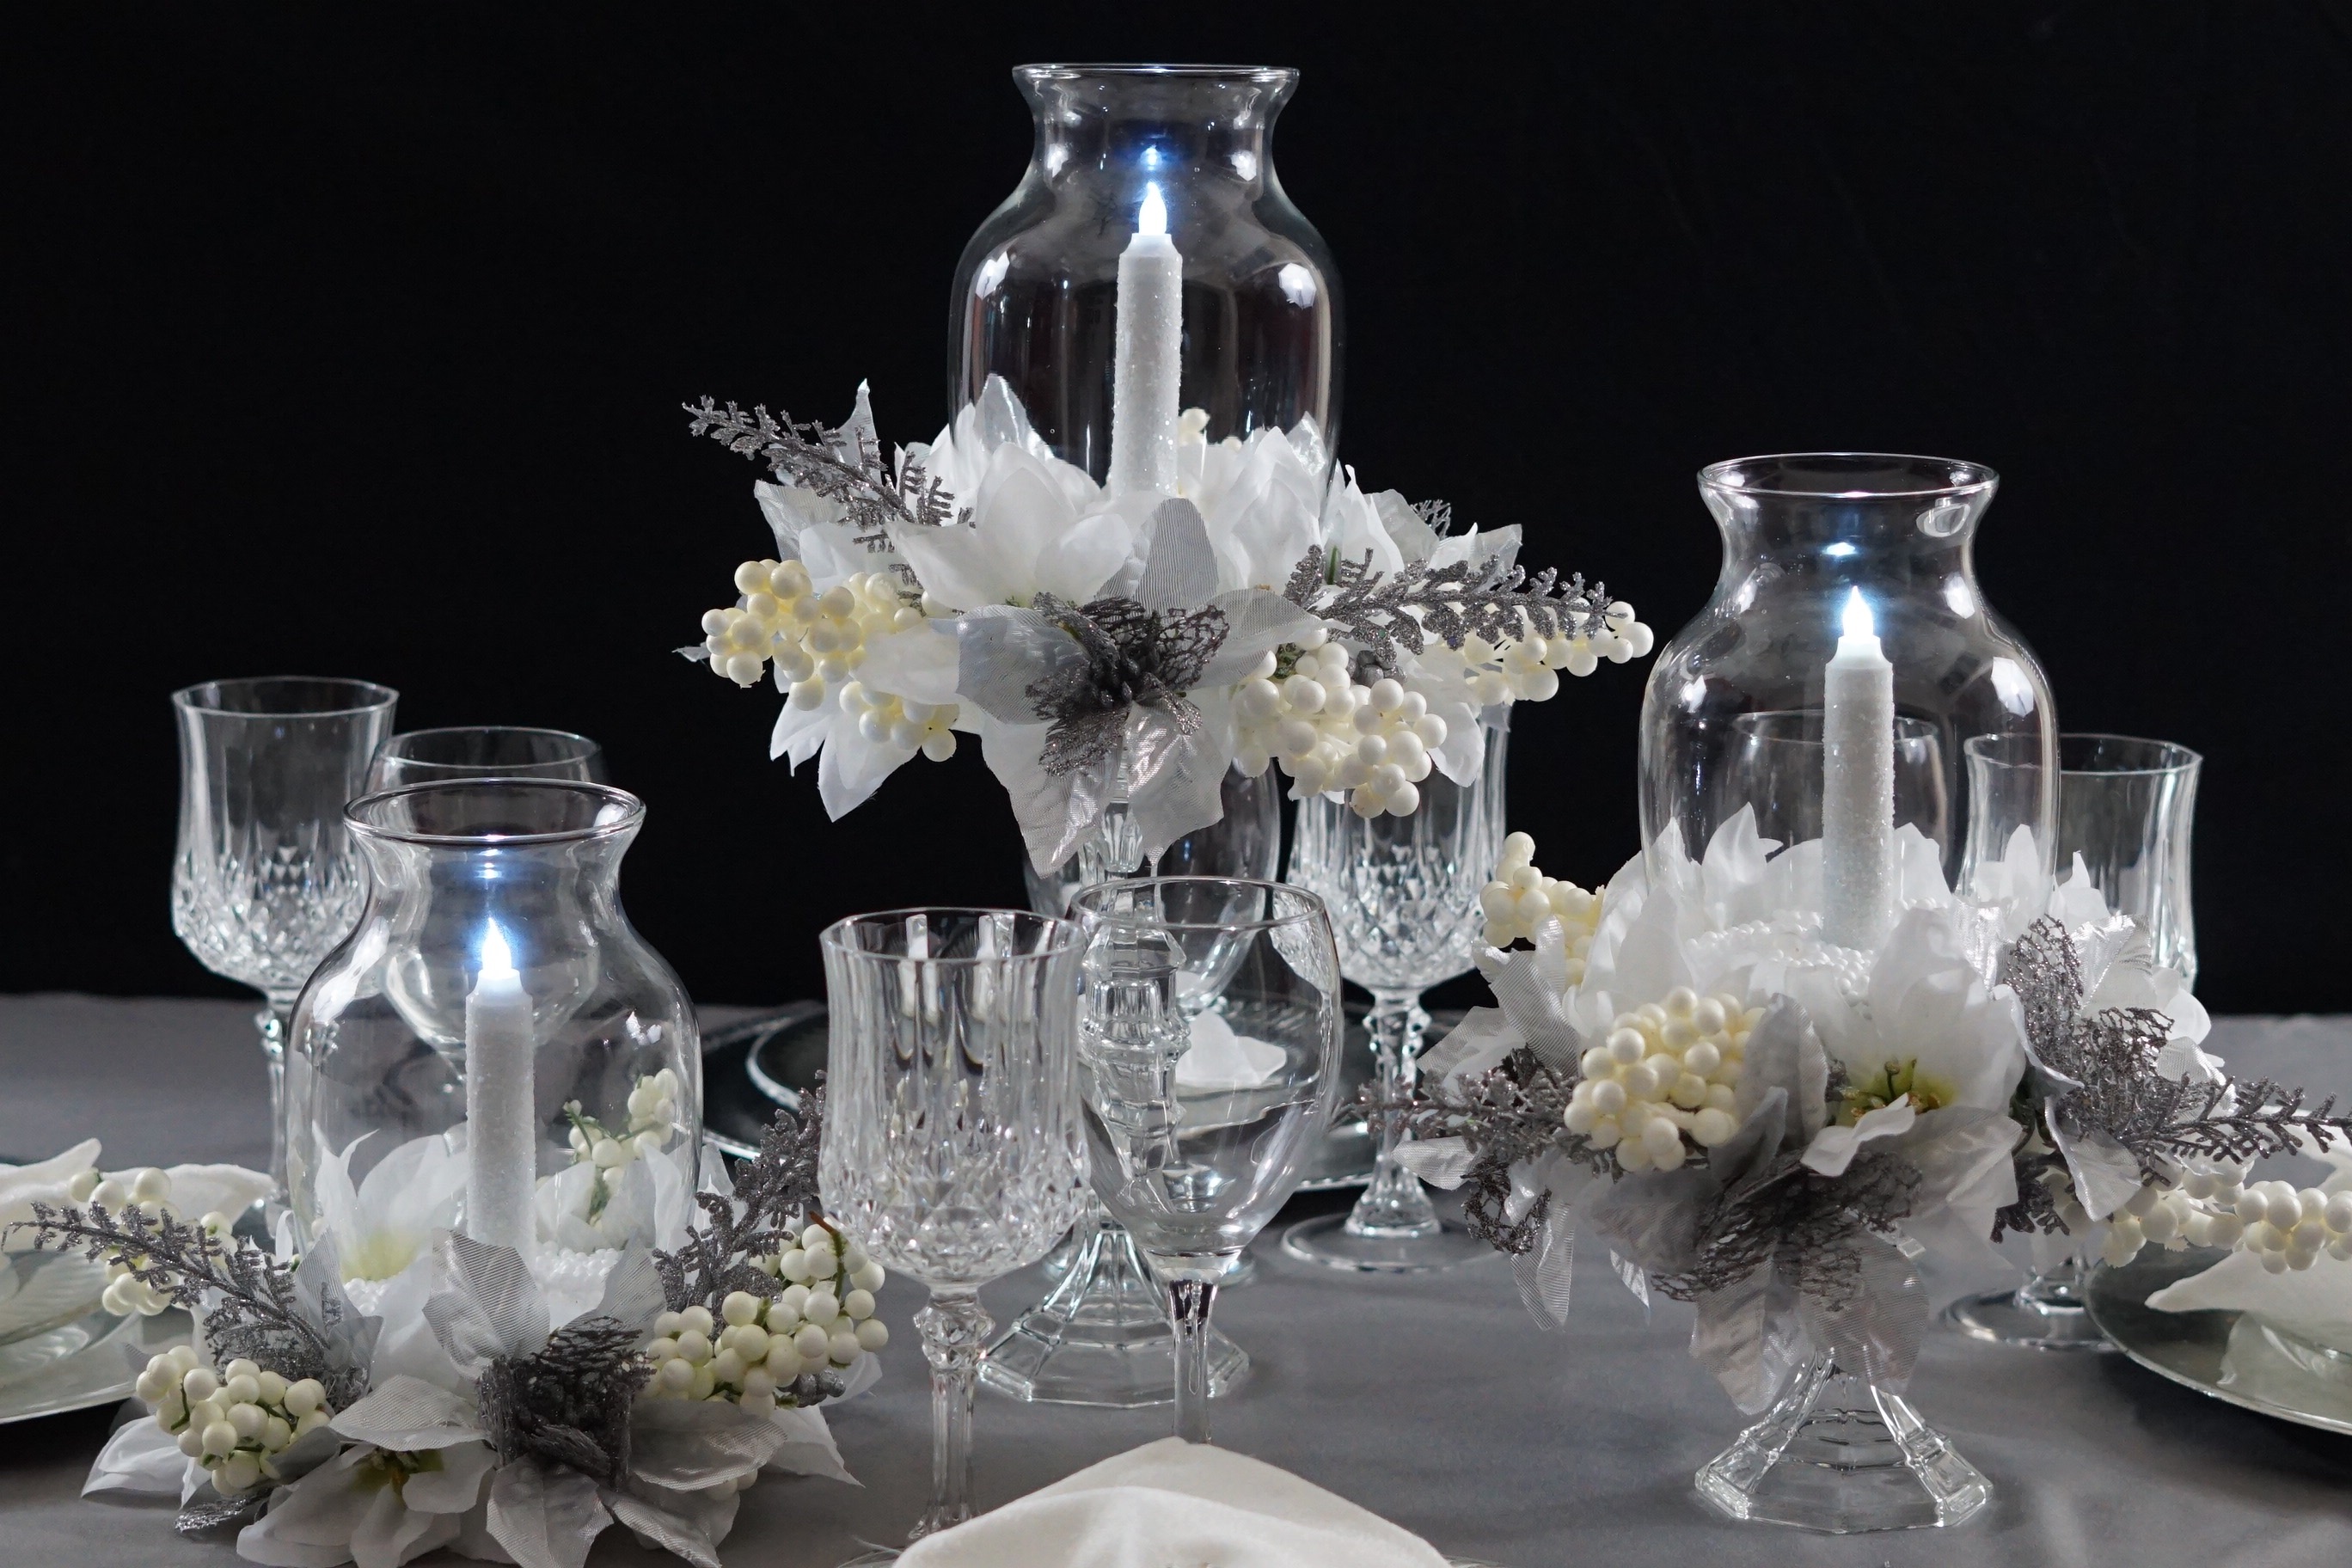
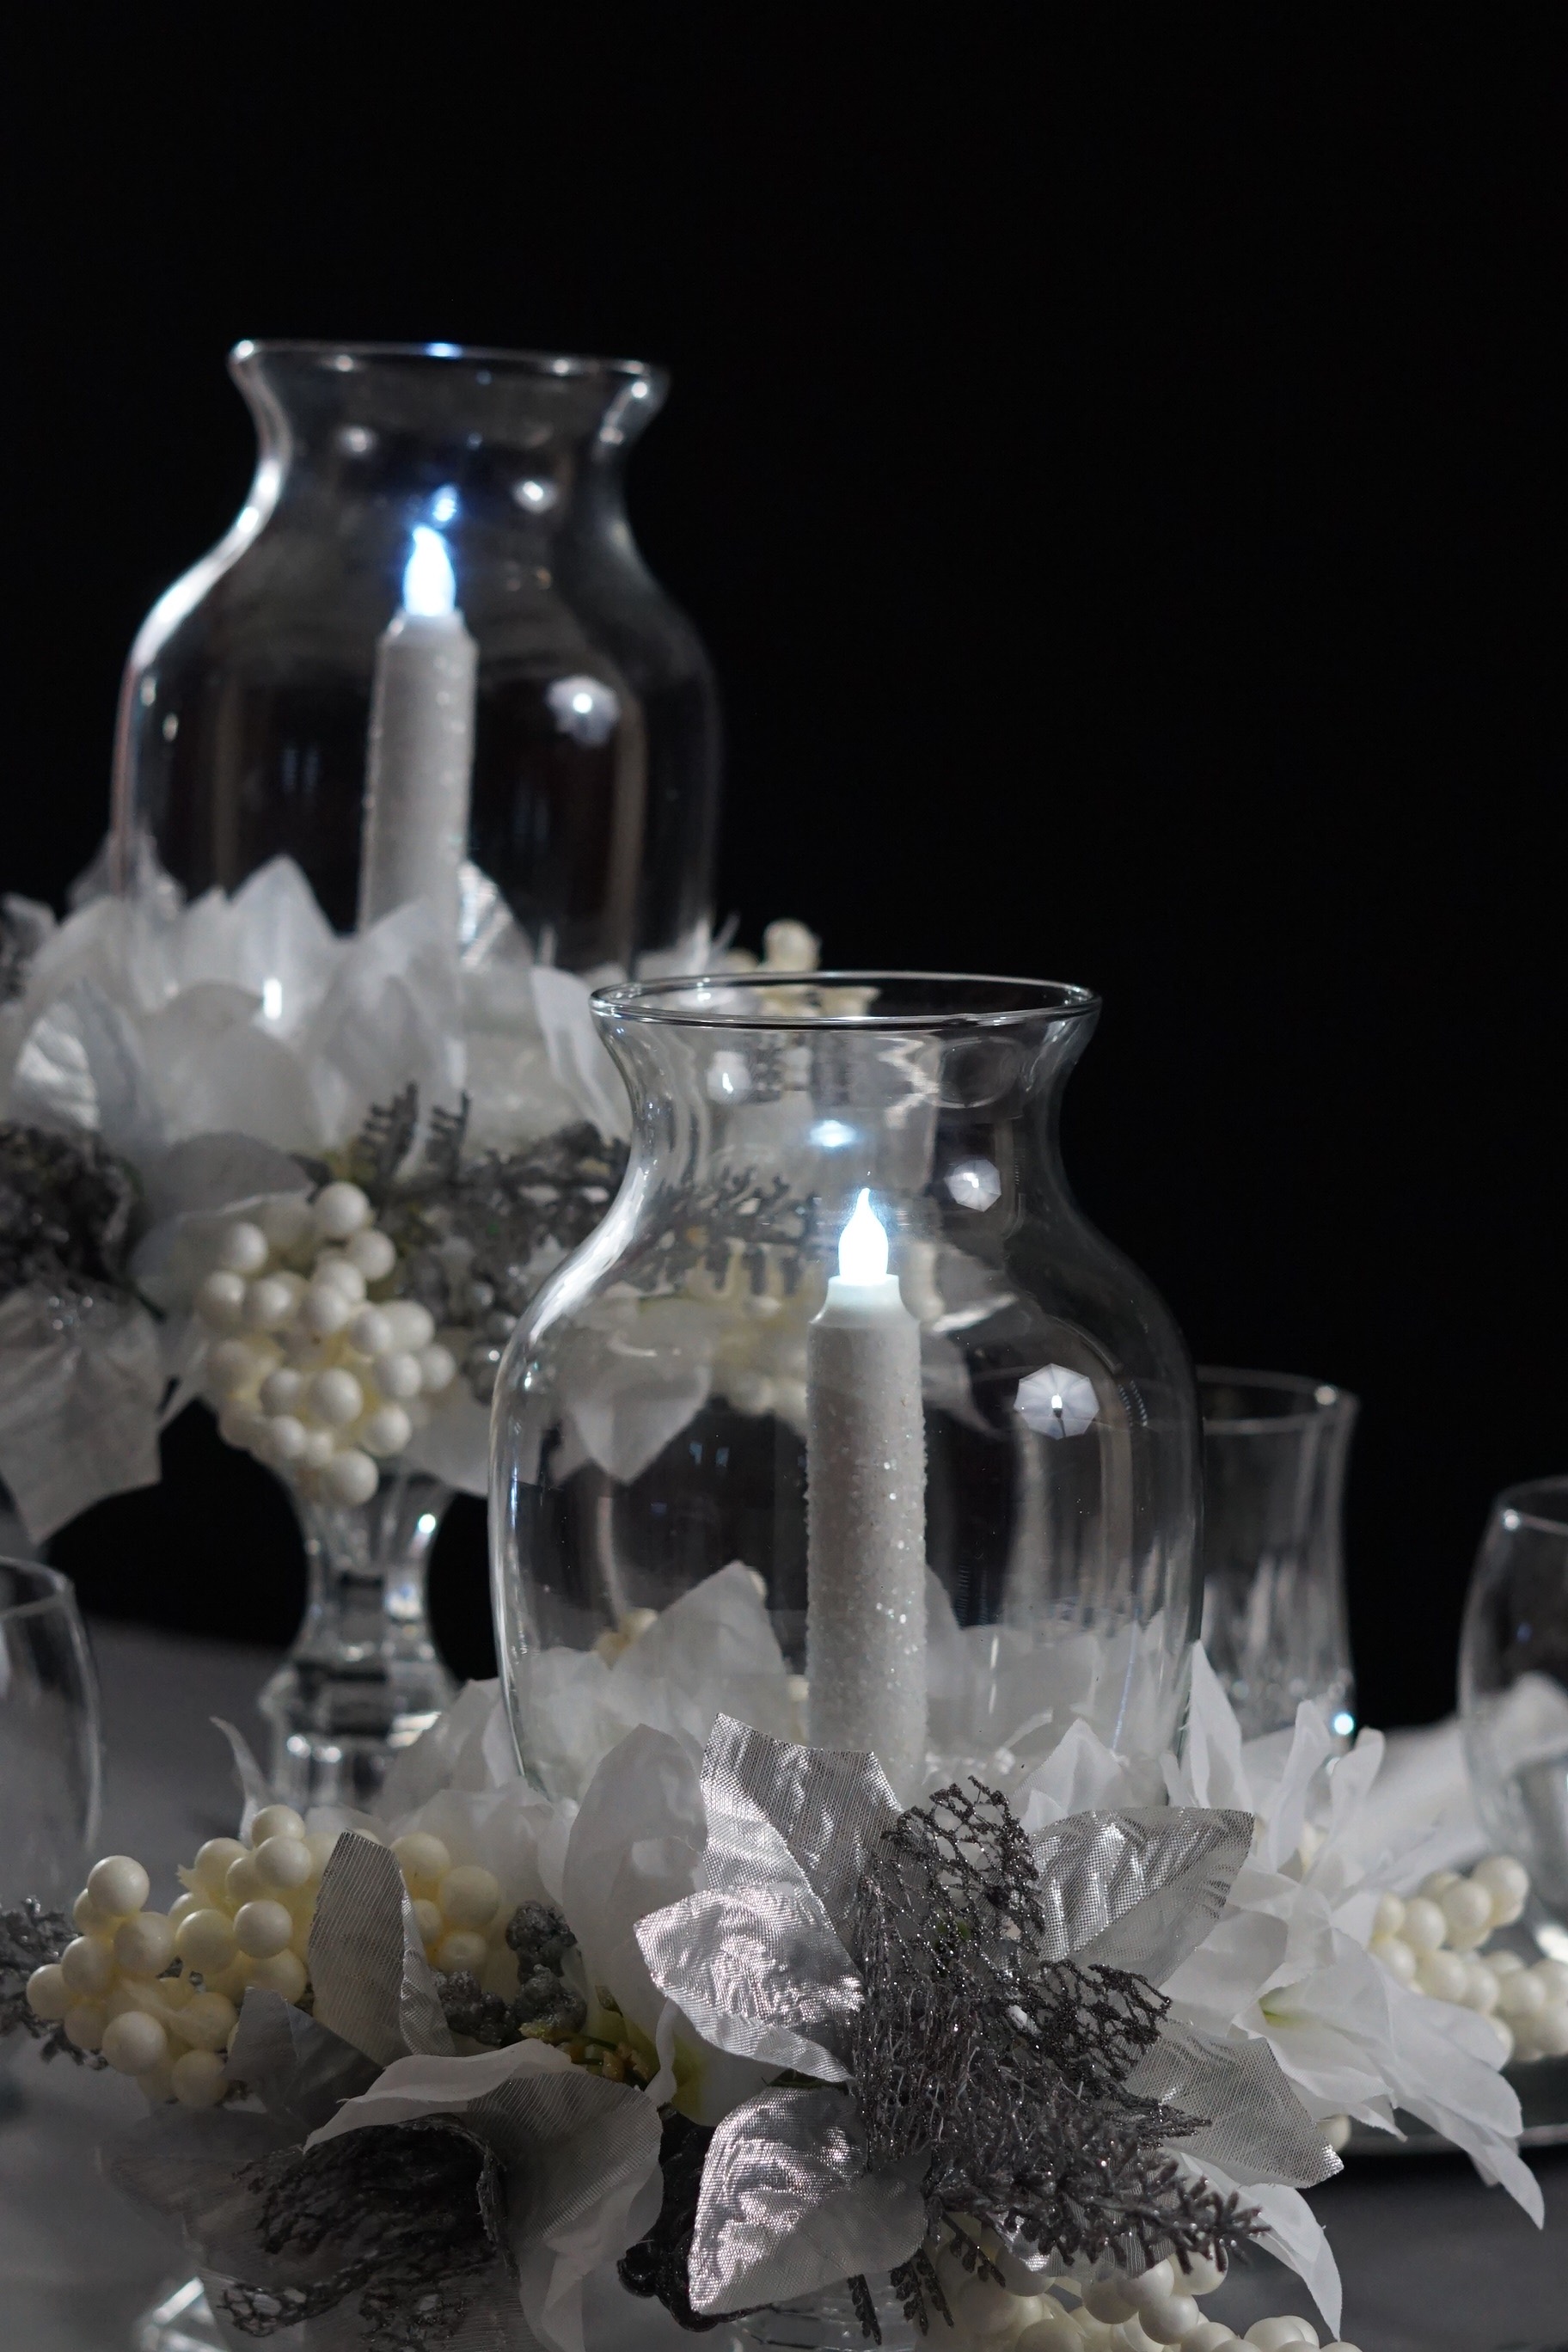
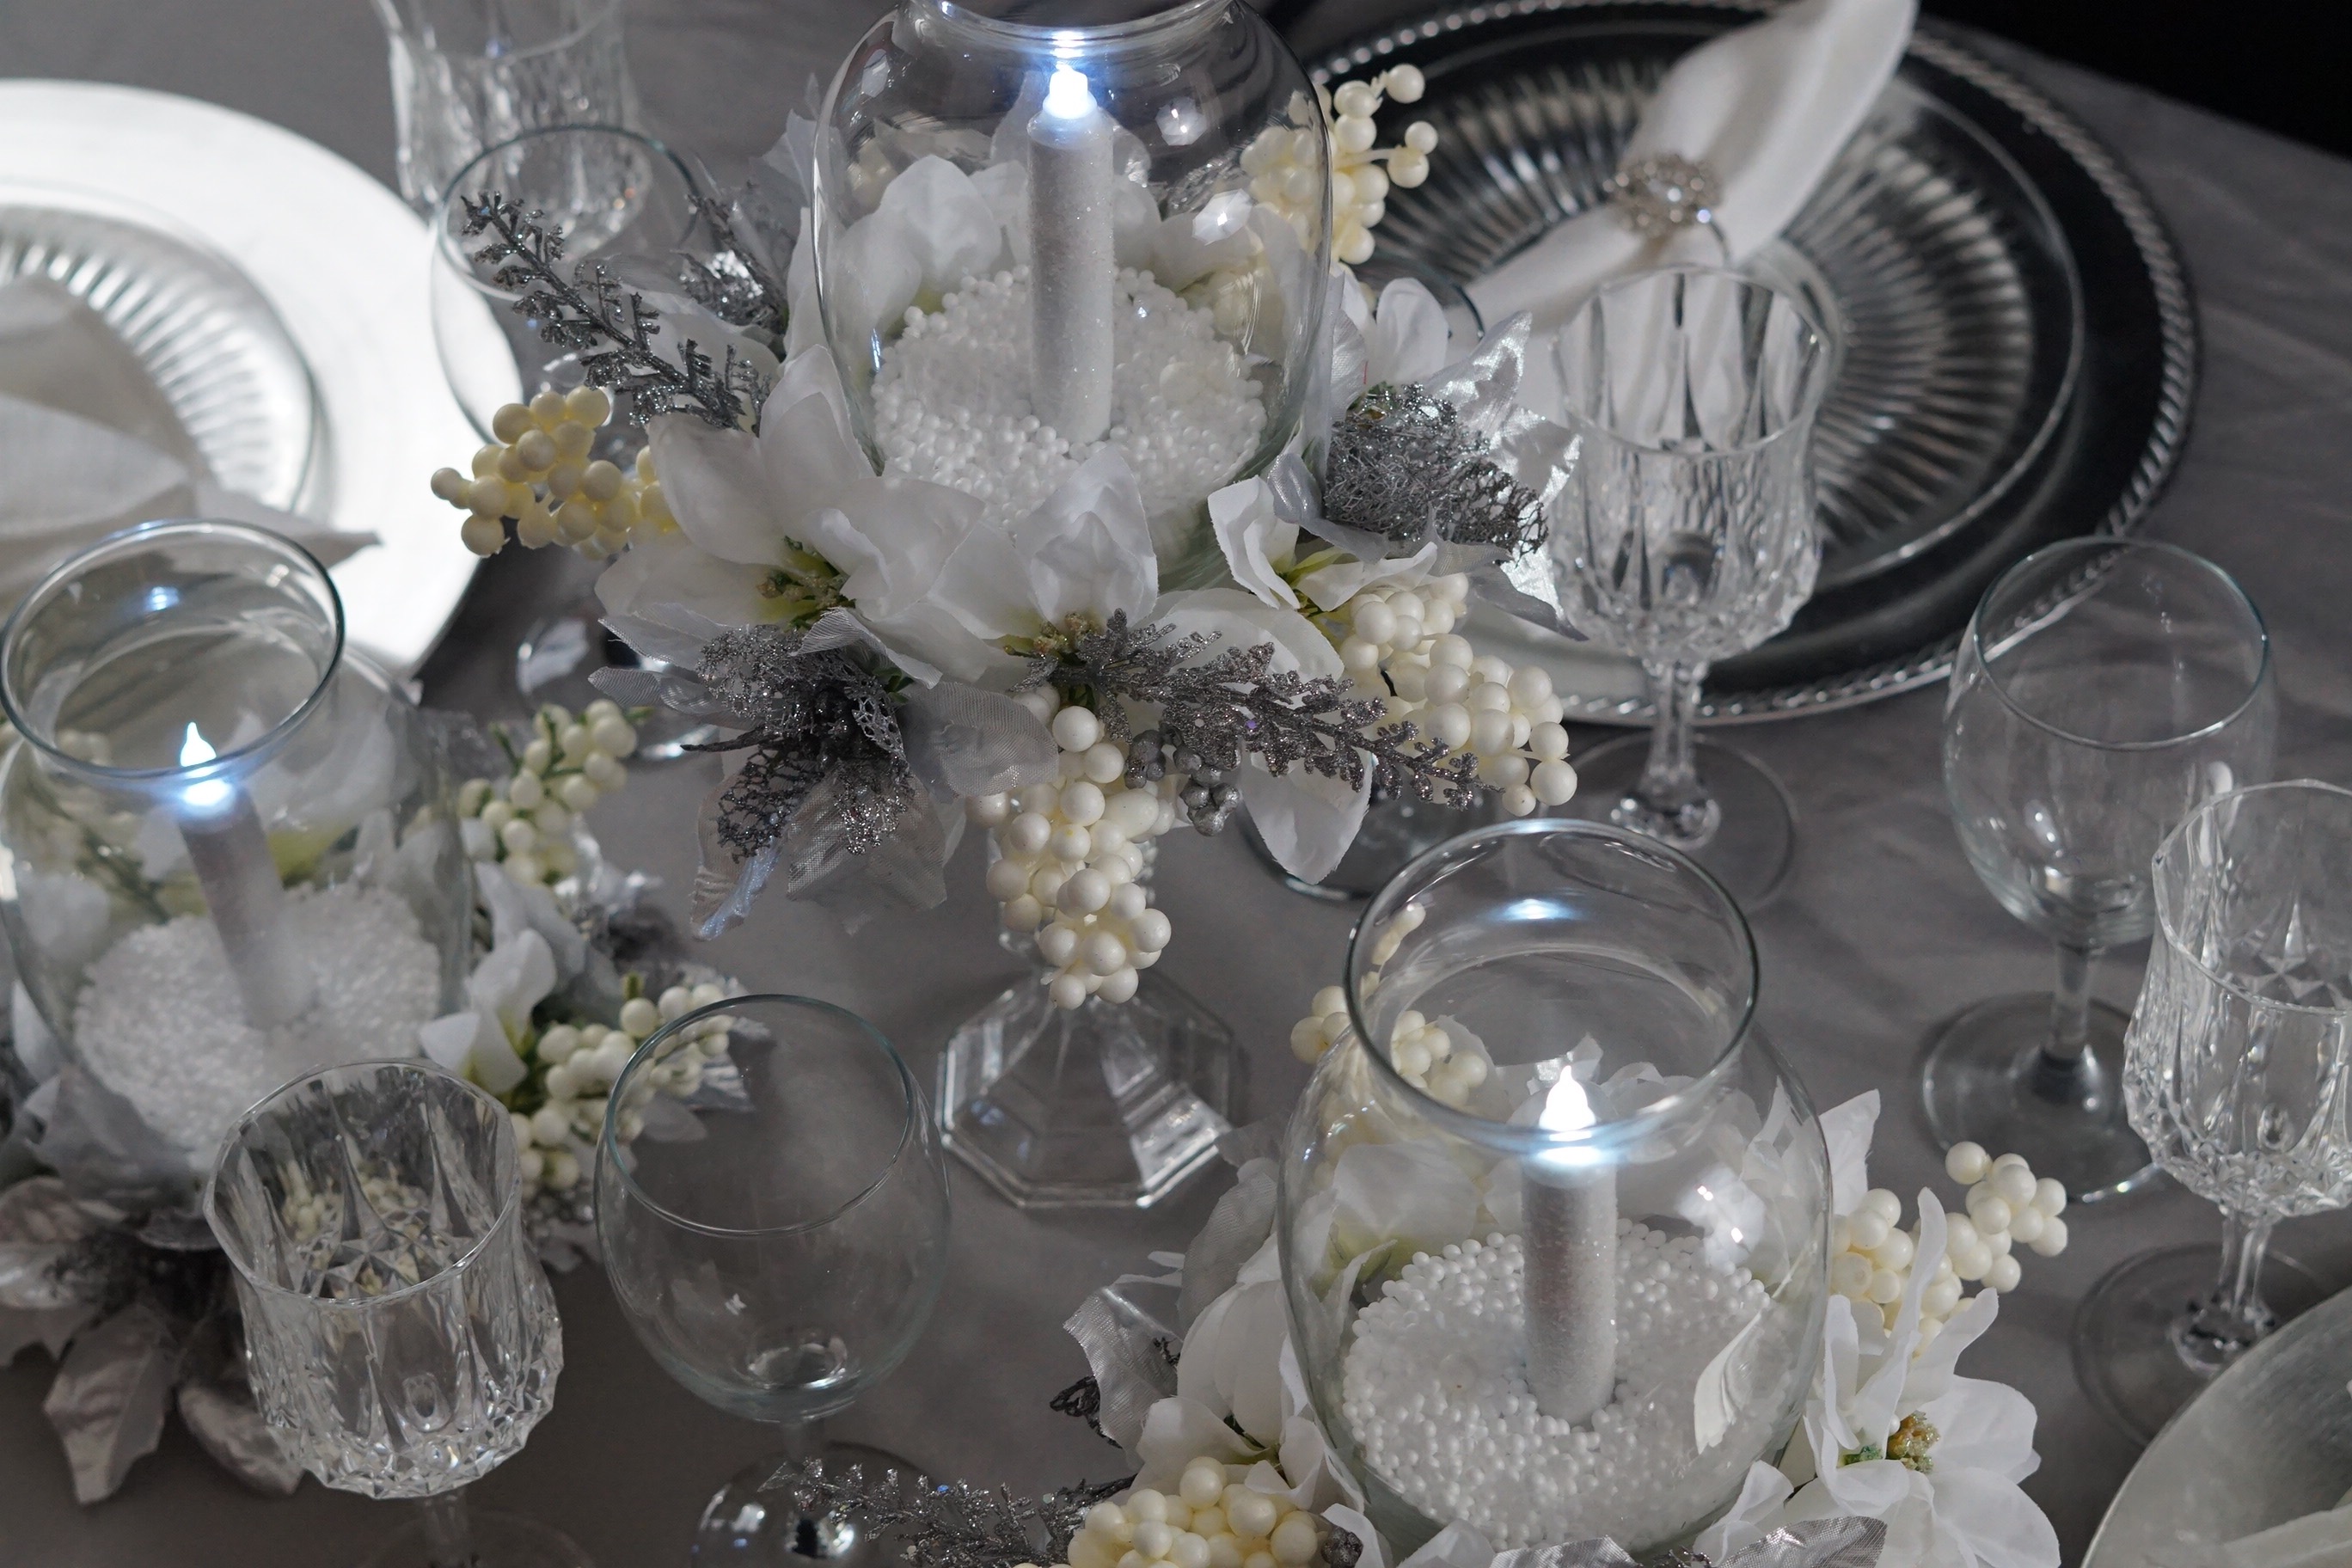
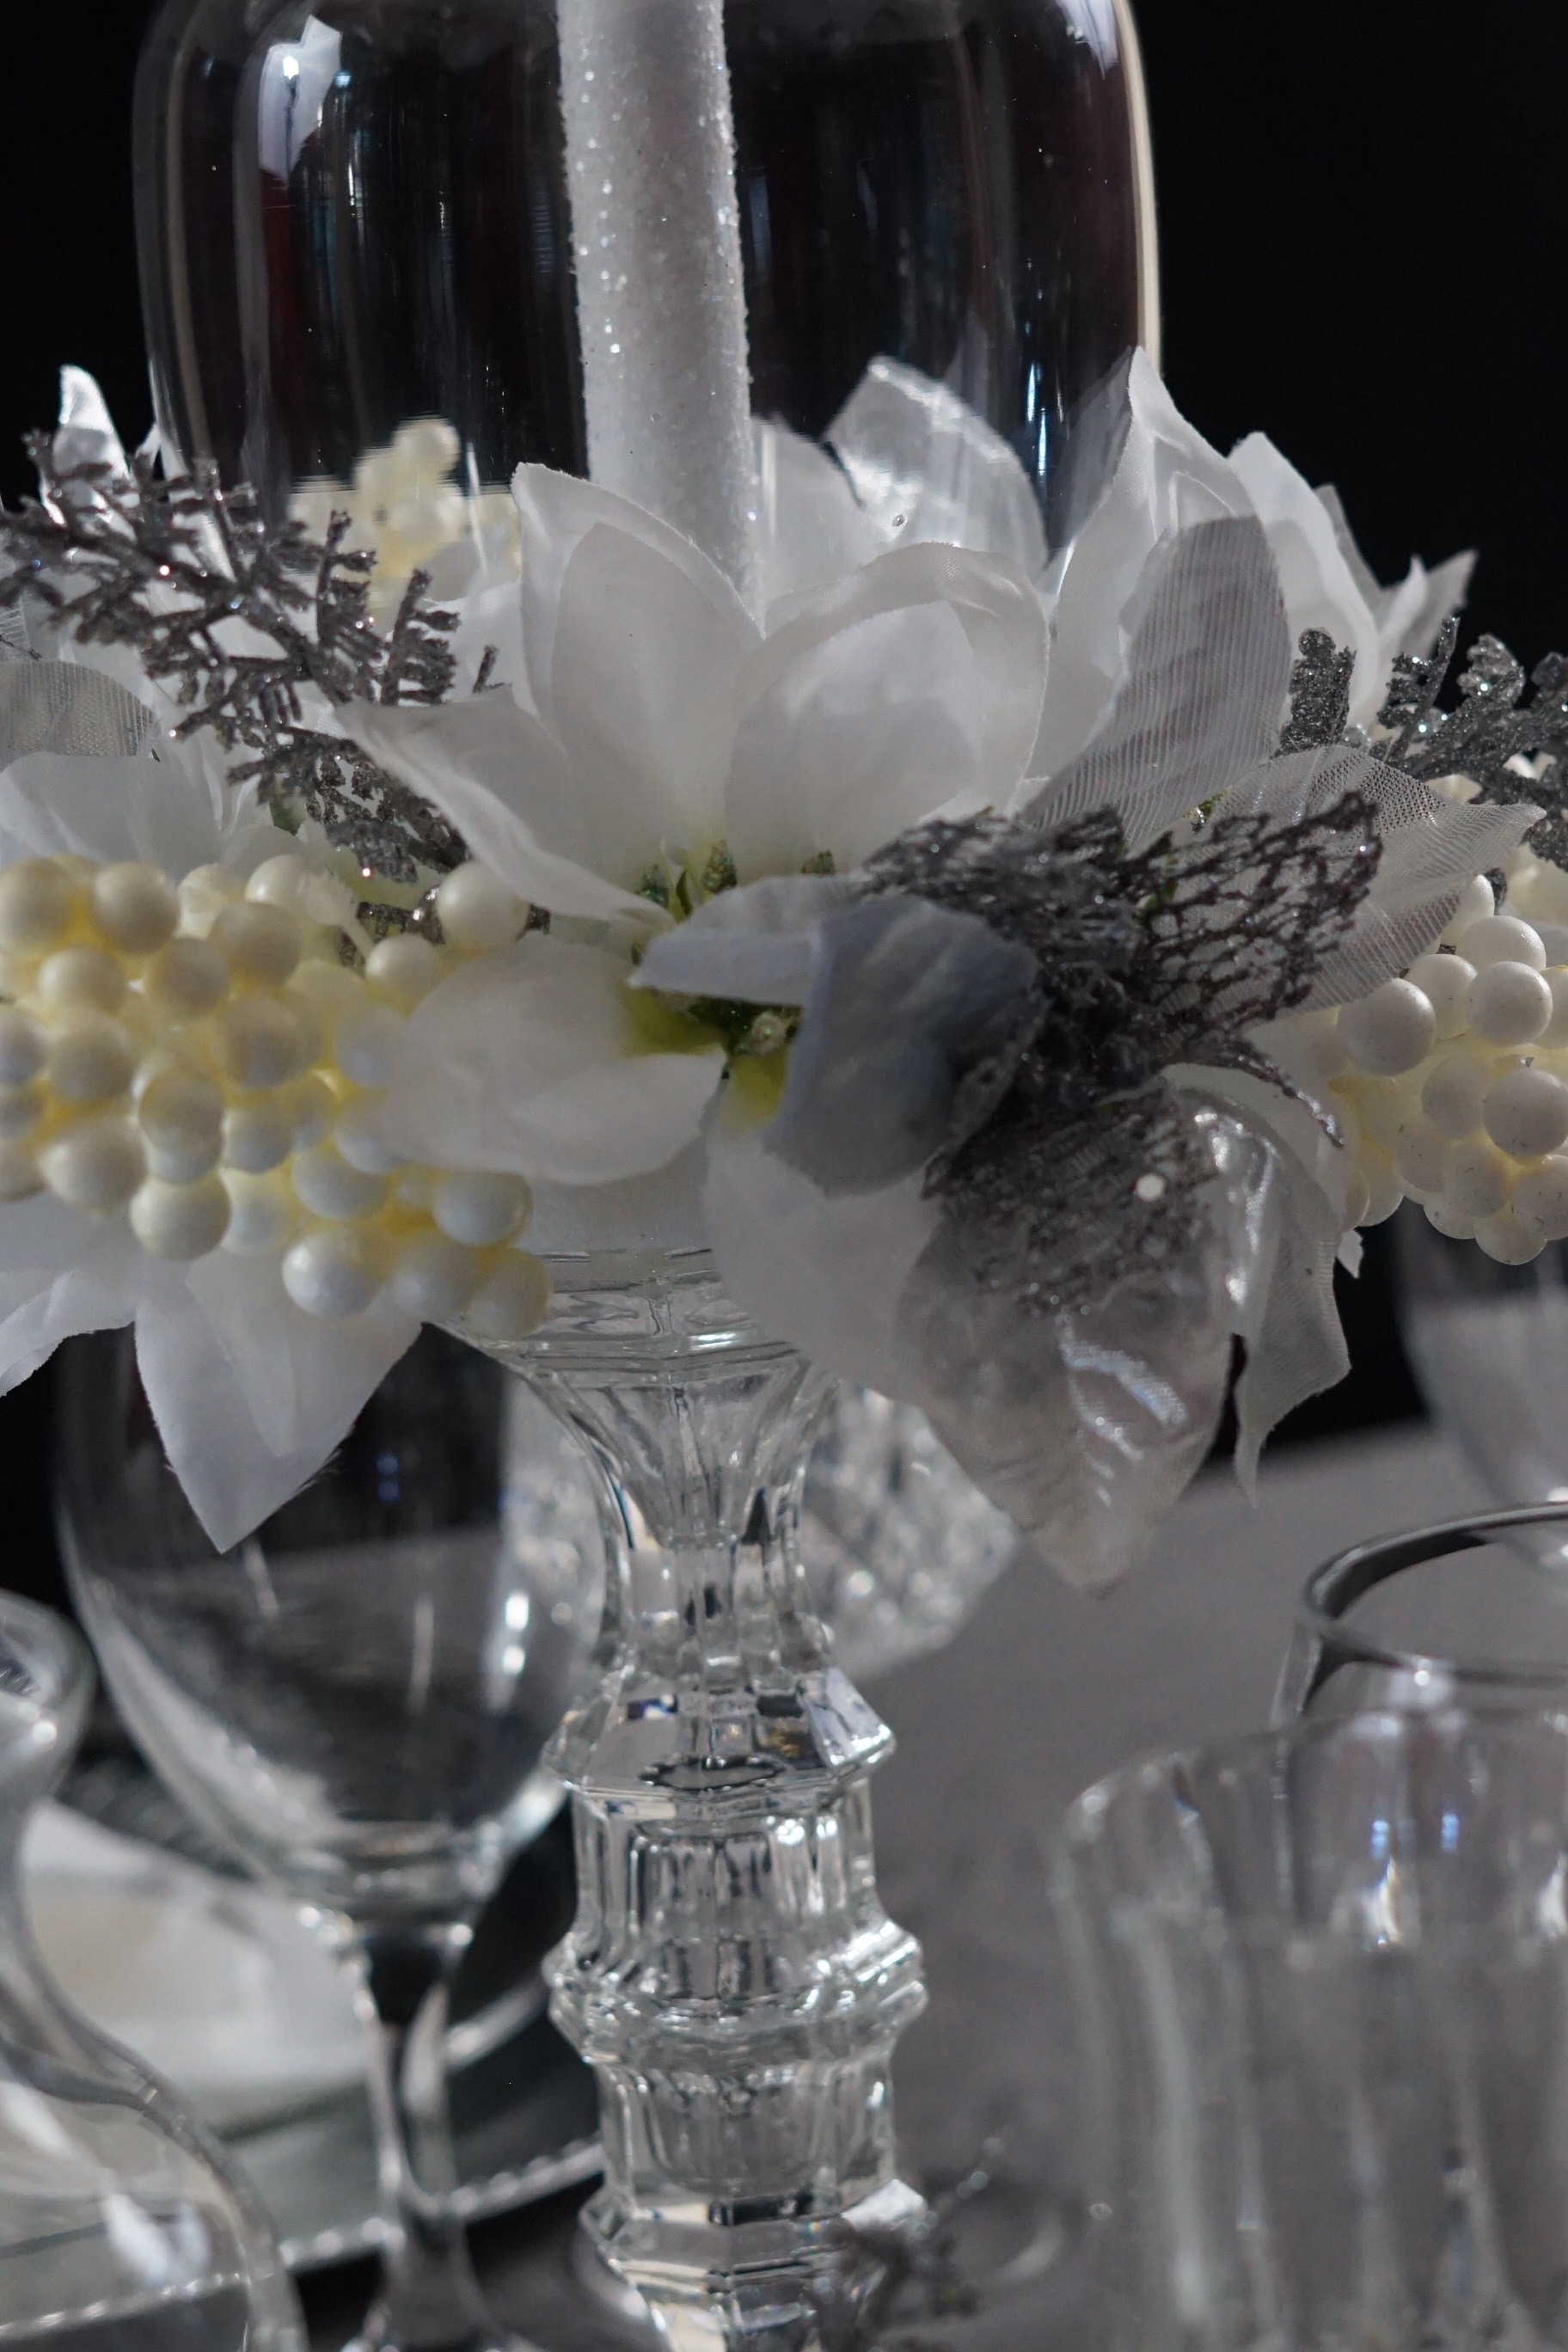
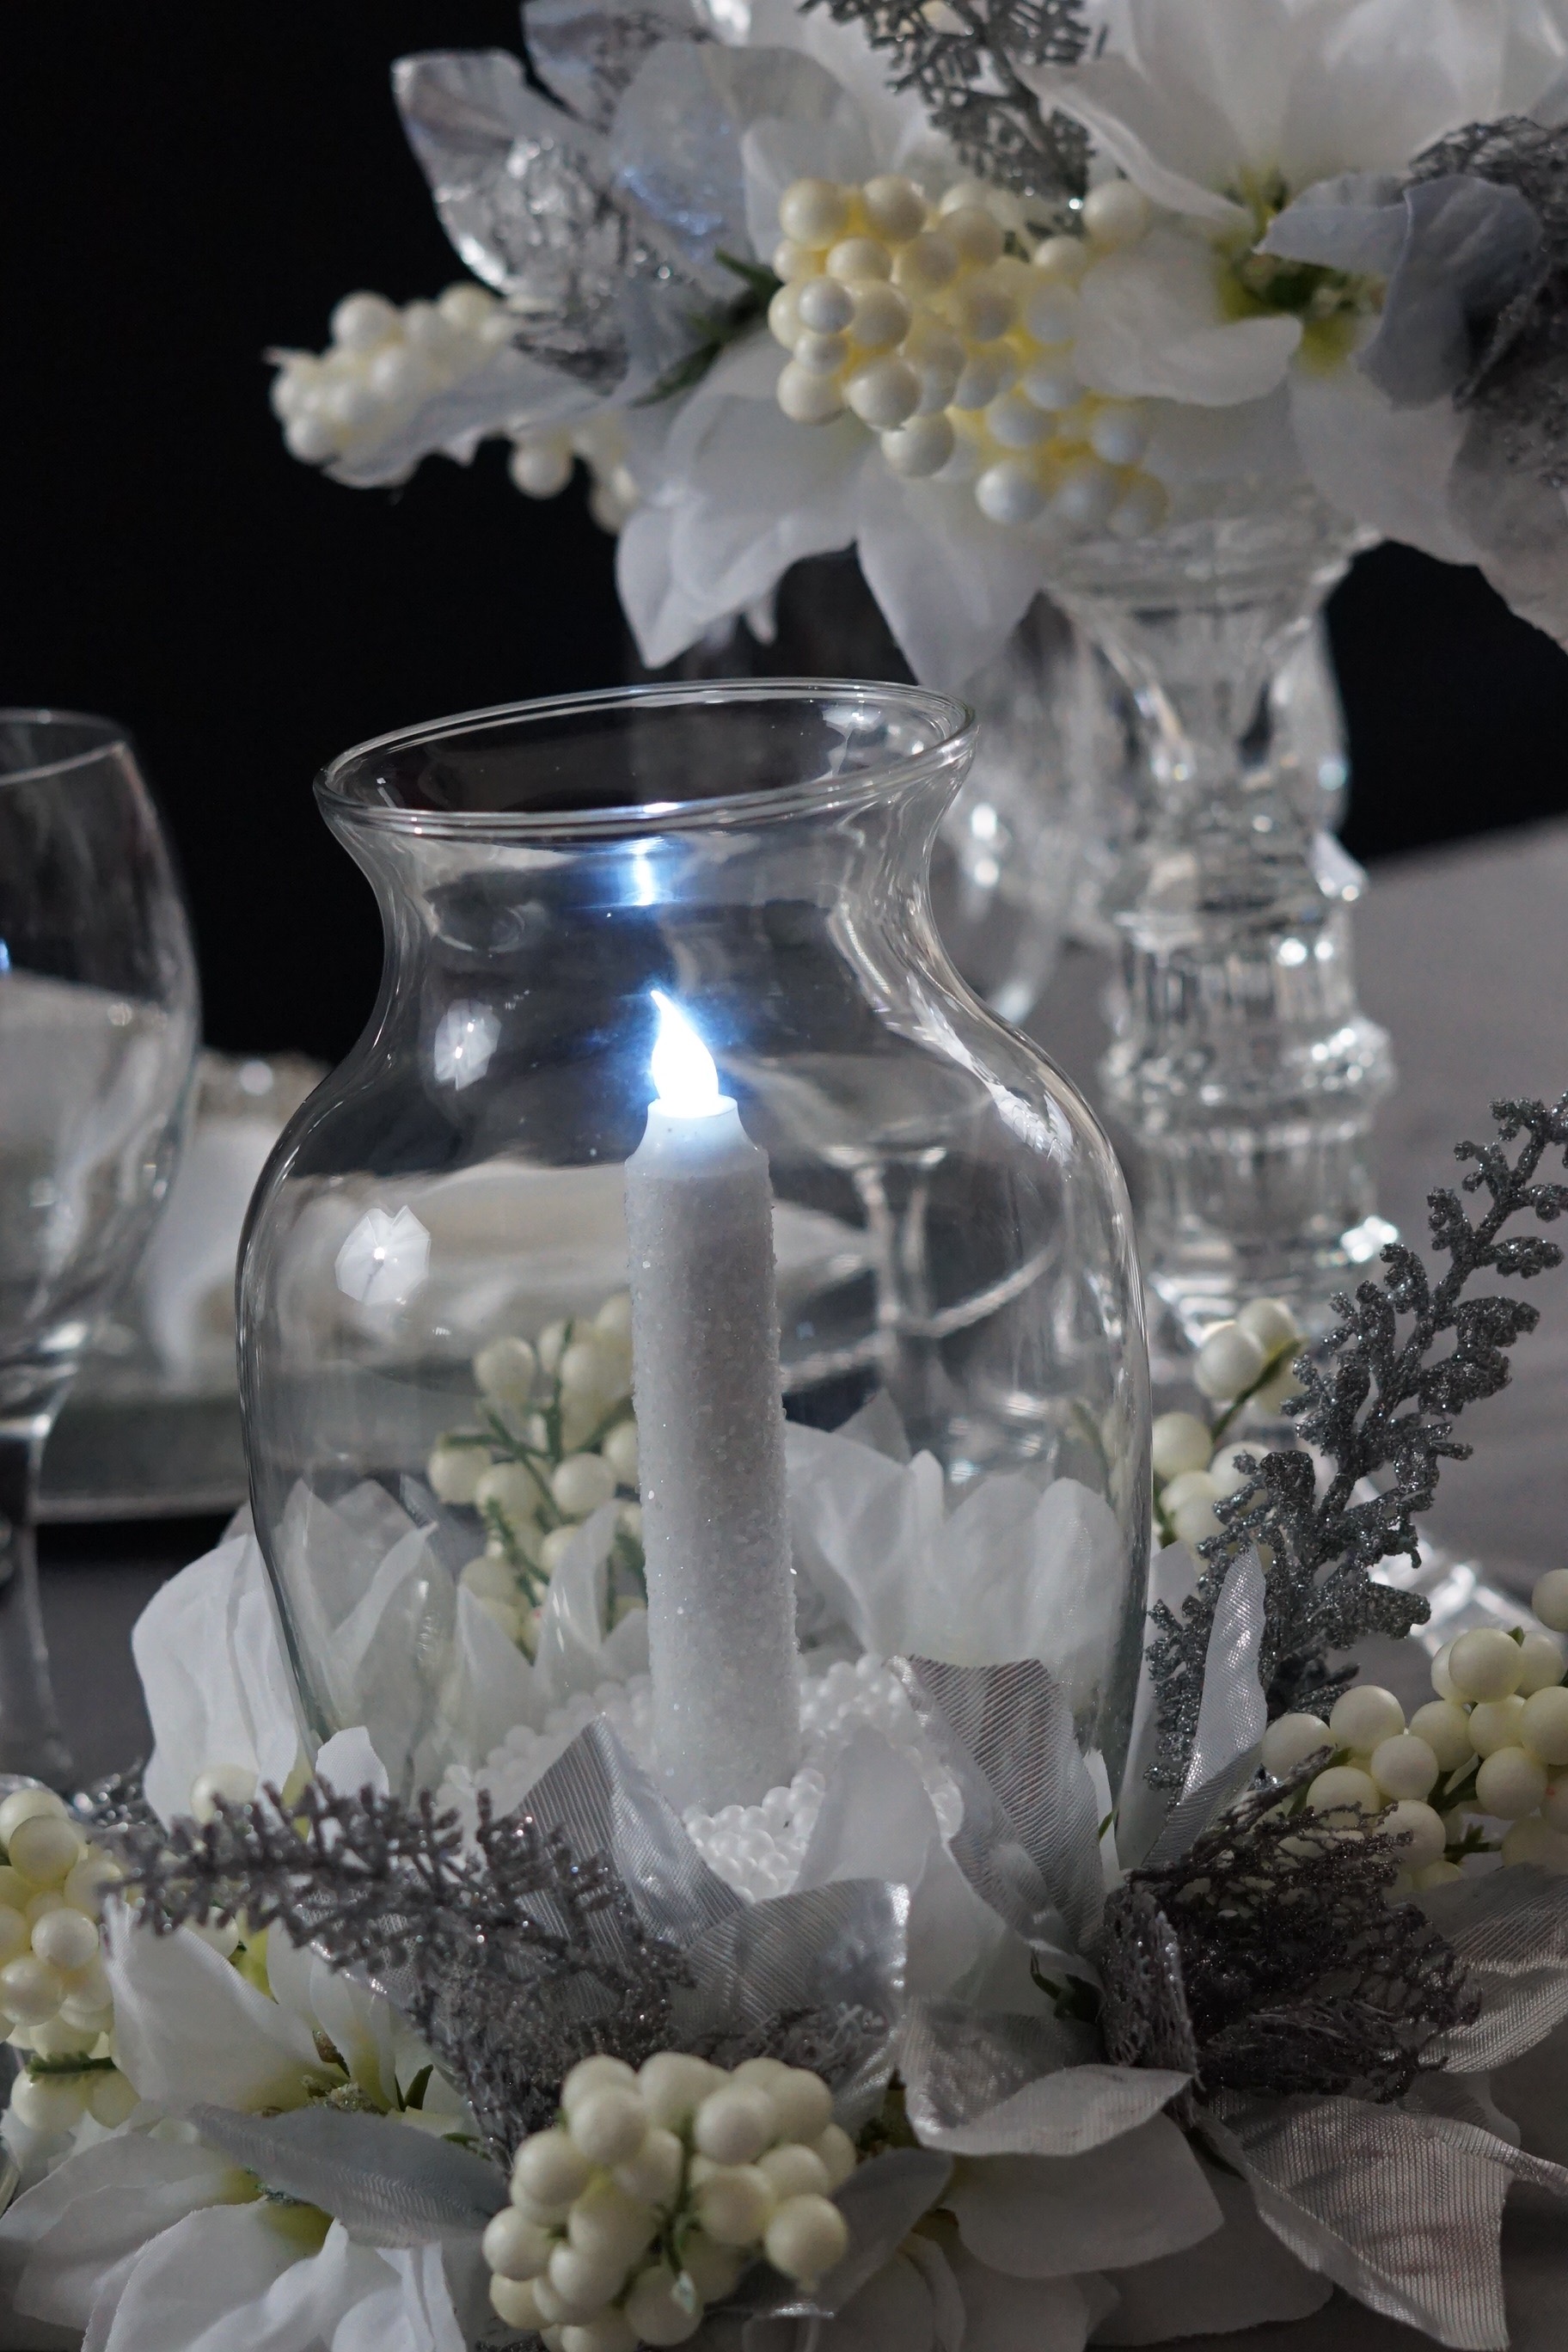
I absolutely love how this DIY Winter’s Night Christmas Centerpiece turned out. I hope you enjoy making this easy DIY Christmas project!
If you like the outcome please subscribe to our Youtube Channel for more DIY Videos and follow us on Facebook and Pinterest.
Need help with an upcoming project? Be sure to send us a project request!
“Remember When Every Penny Counts, Count on MissPlanIt”


