

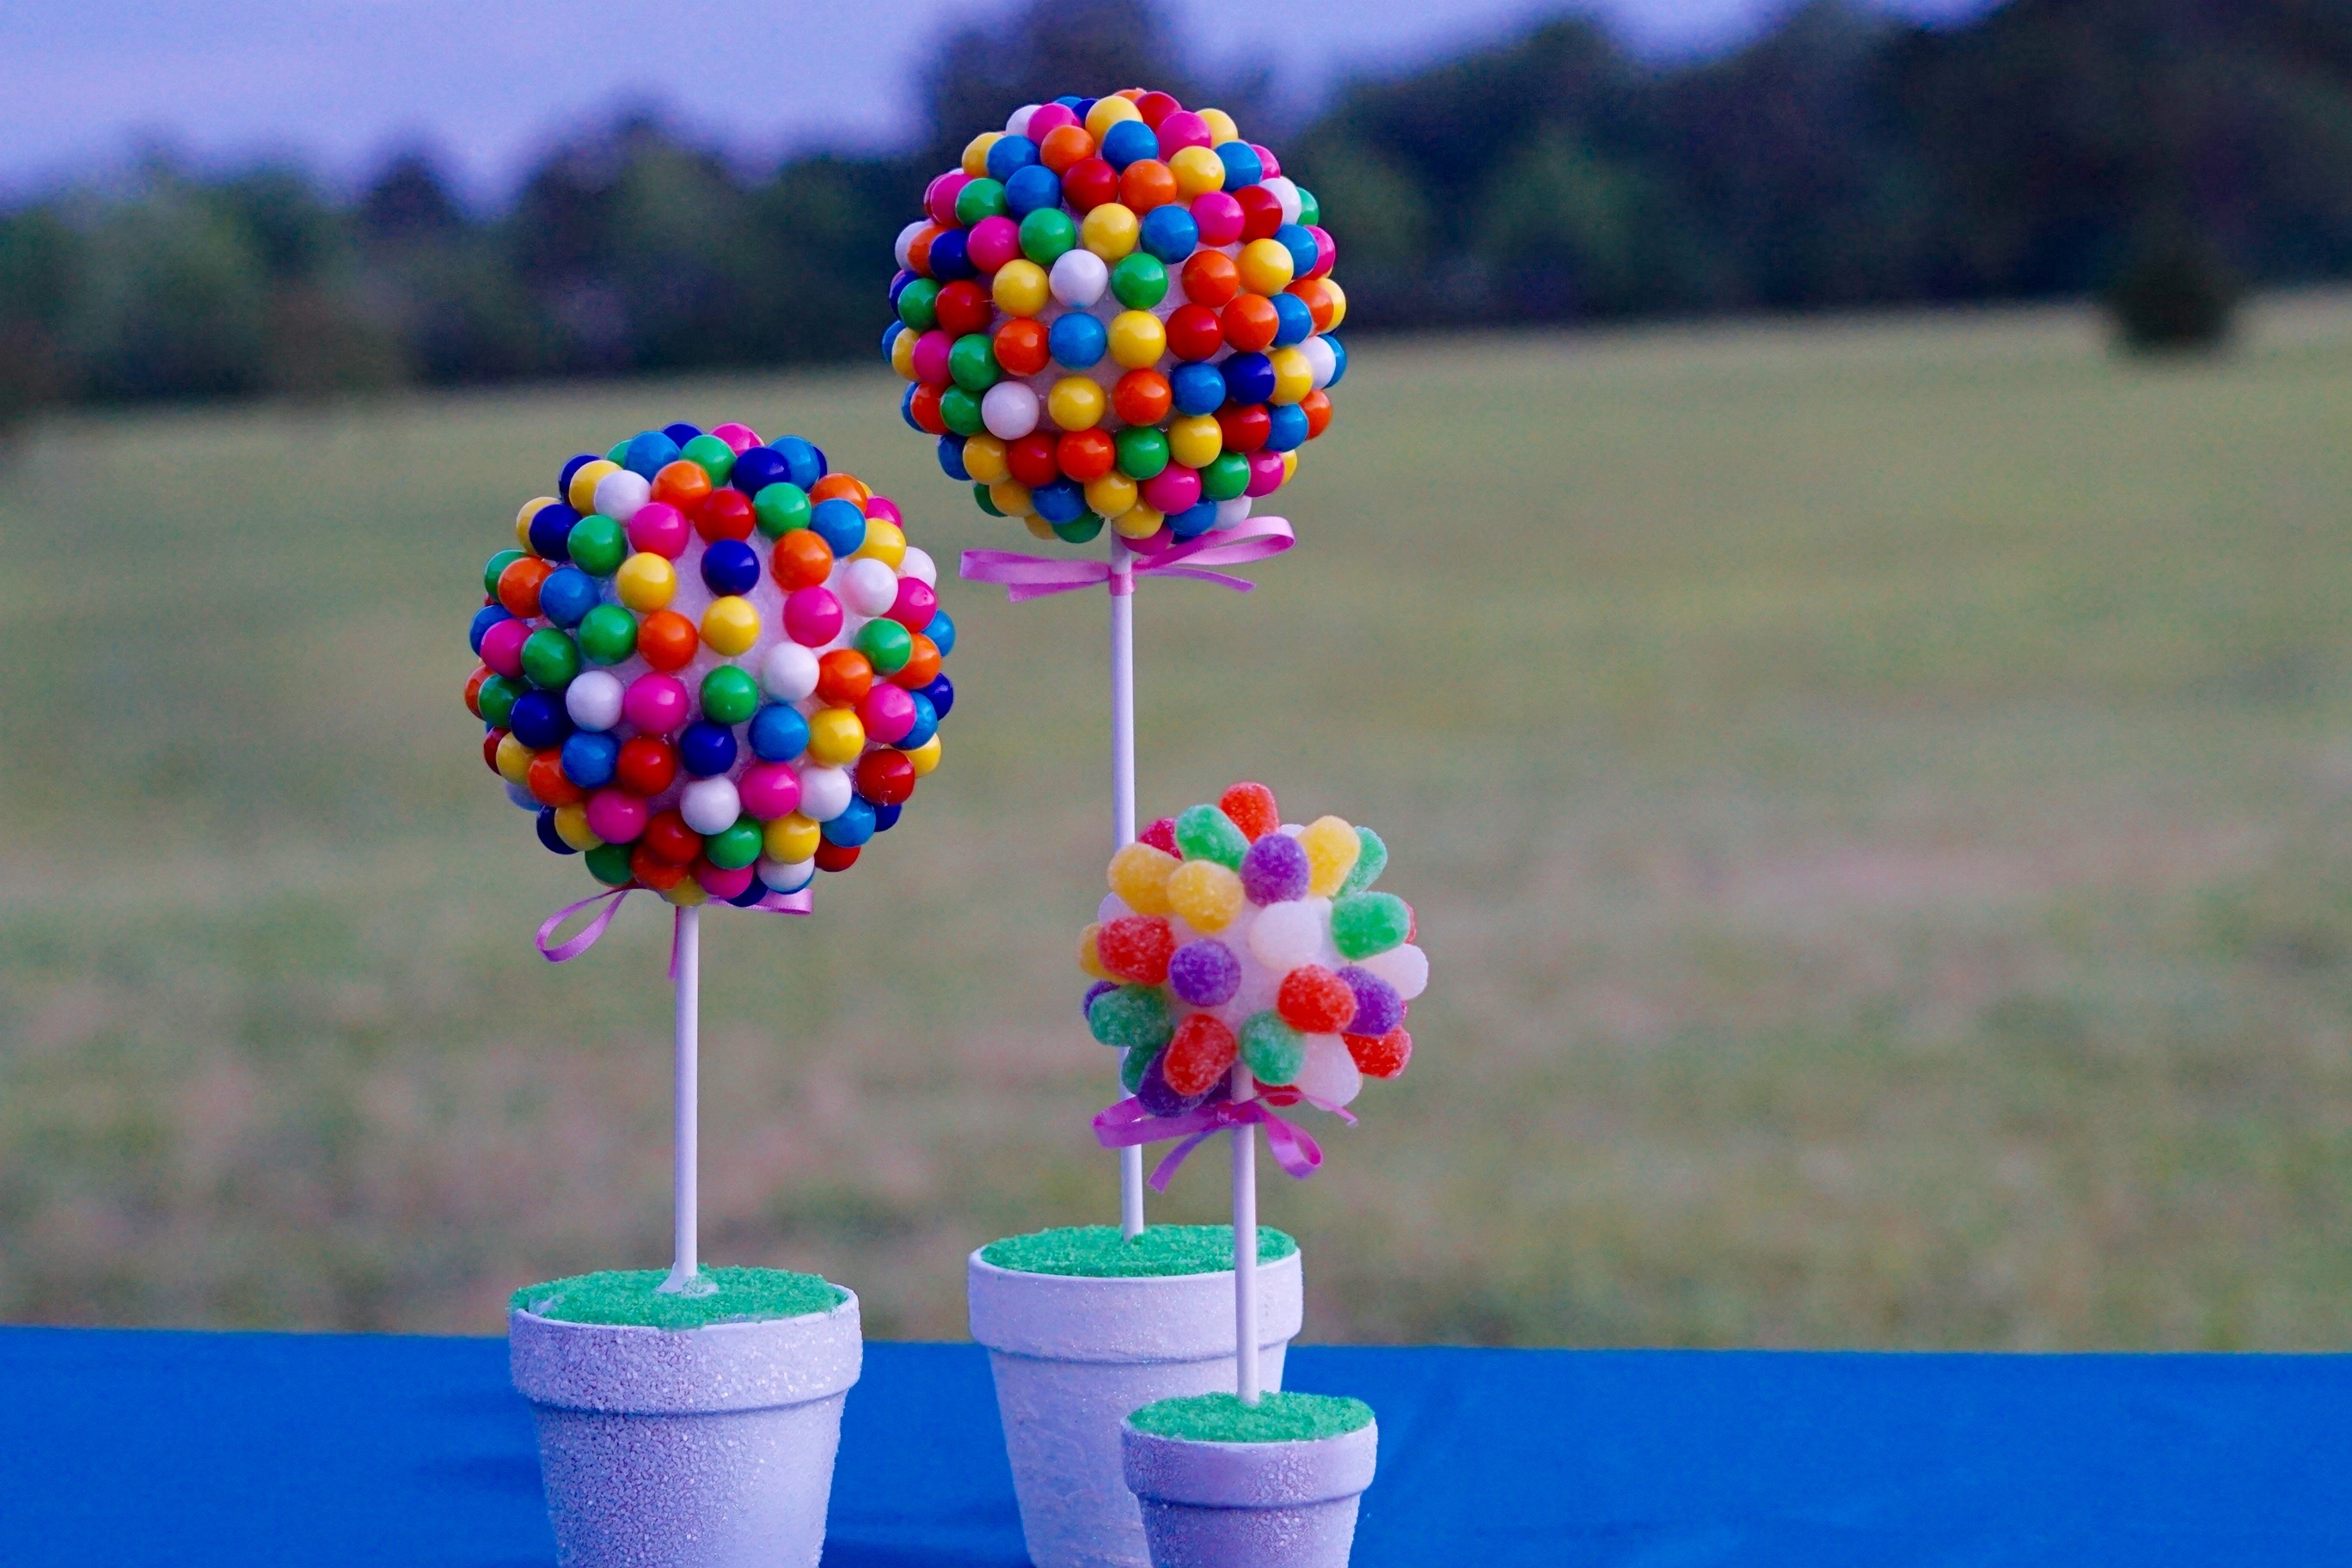
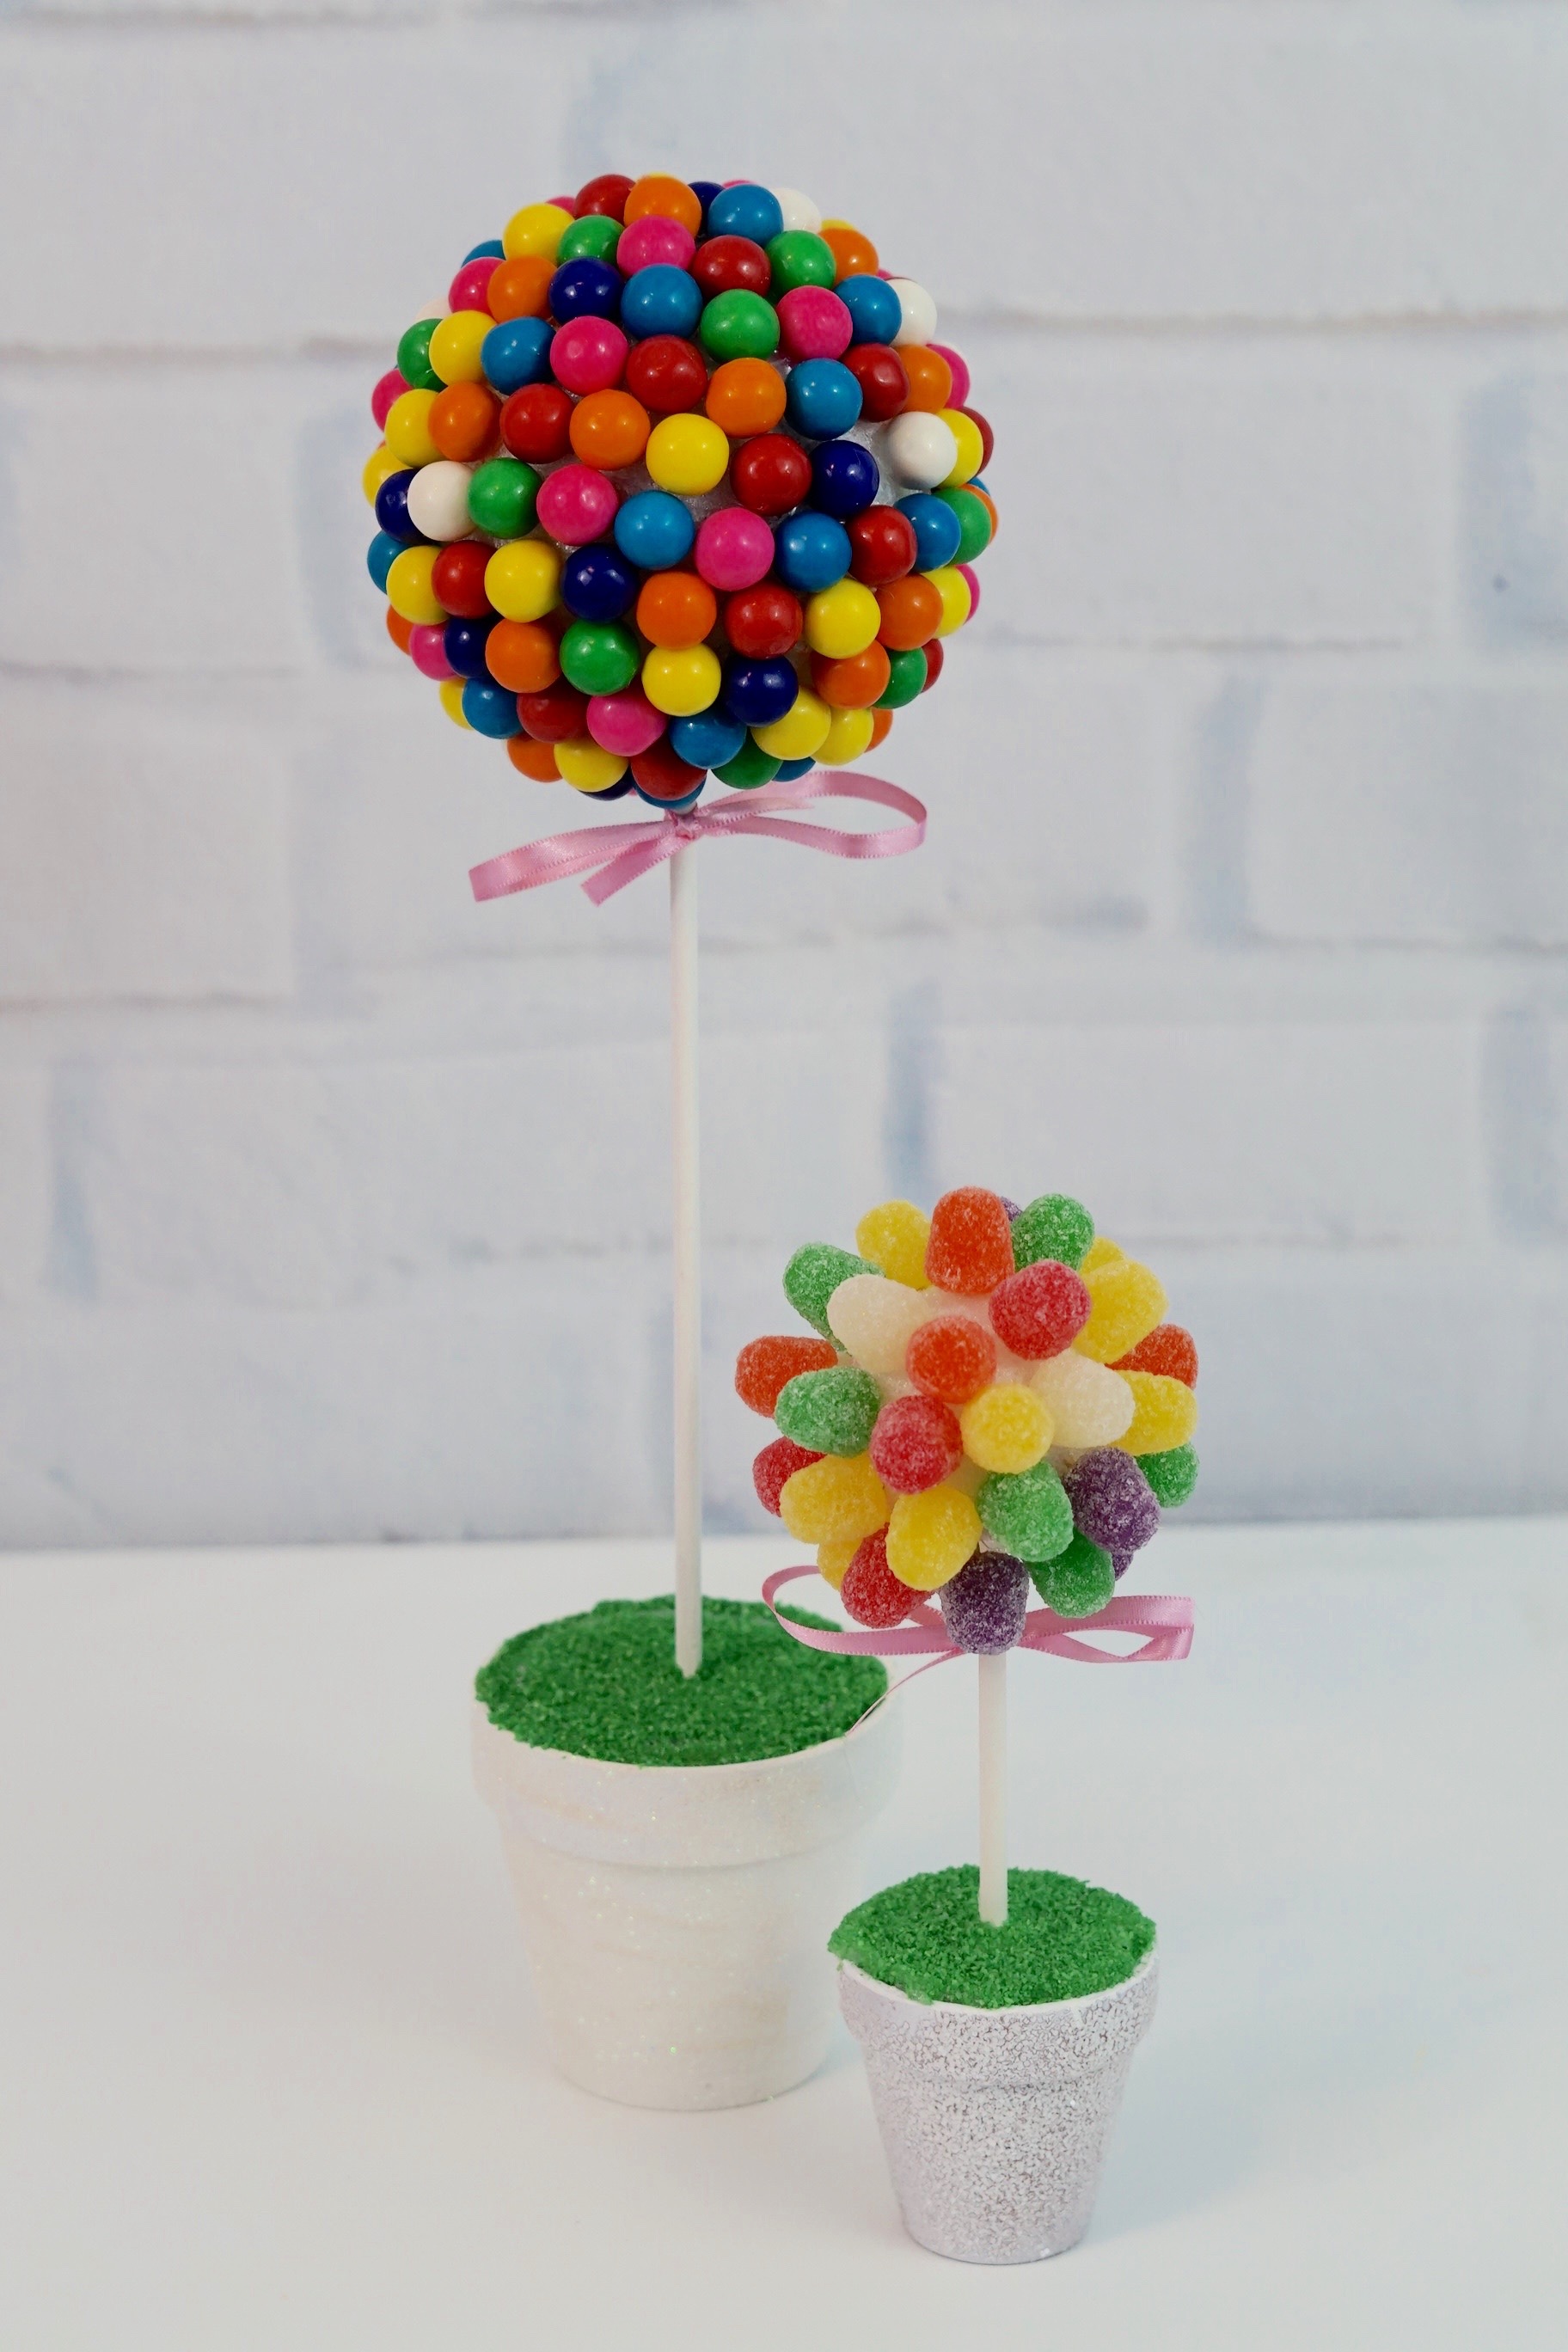
Continuing on from our Willy Wonka Inspired Party, this week we will be creating candy topiary centerpieces. I just love these, they are so cute, so simple, and so inexpensive to make. For video instructions, check out the full video tutorial at the end of this post!
BUT WAIT!
Before we get started I want to share an awesome tip on how you can earn cash back with your online purchases for all the items you will need to complete this project!
As our saying goes “When Every Penny Counts, Count on Miss PlanIt.” Furthermore, we love to save money and get great deals. Prior to us purchasing anything online, we check out Ebates, find the store, click the current deal for that store and complete our purchase.
If you have never used Ebates, you are MISSING OUT. So for this project, you would go to Ebates.com, sign up, and then type in the store you plan to purchase from.
Consequently, when completing a purchase through Ebates you earn cash back that you can have mailed to you or sent via PayPal. Be sure to check it out! Click here to sign up for Ebates, and RIGHT NOW when you sign up, you will receive a $10 cash welcome bonus when you spend $25.00!
Since you were already going to complete your purchase online, why not get some cash back on things you already planned to purchase!
Let’s Get Started:
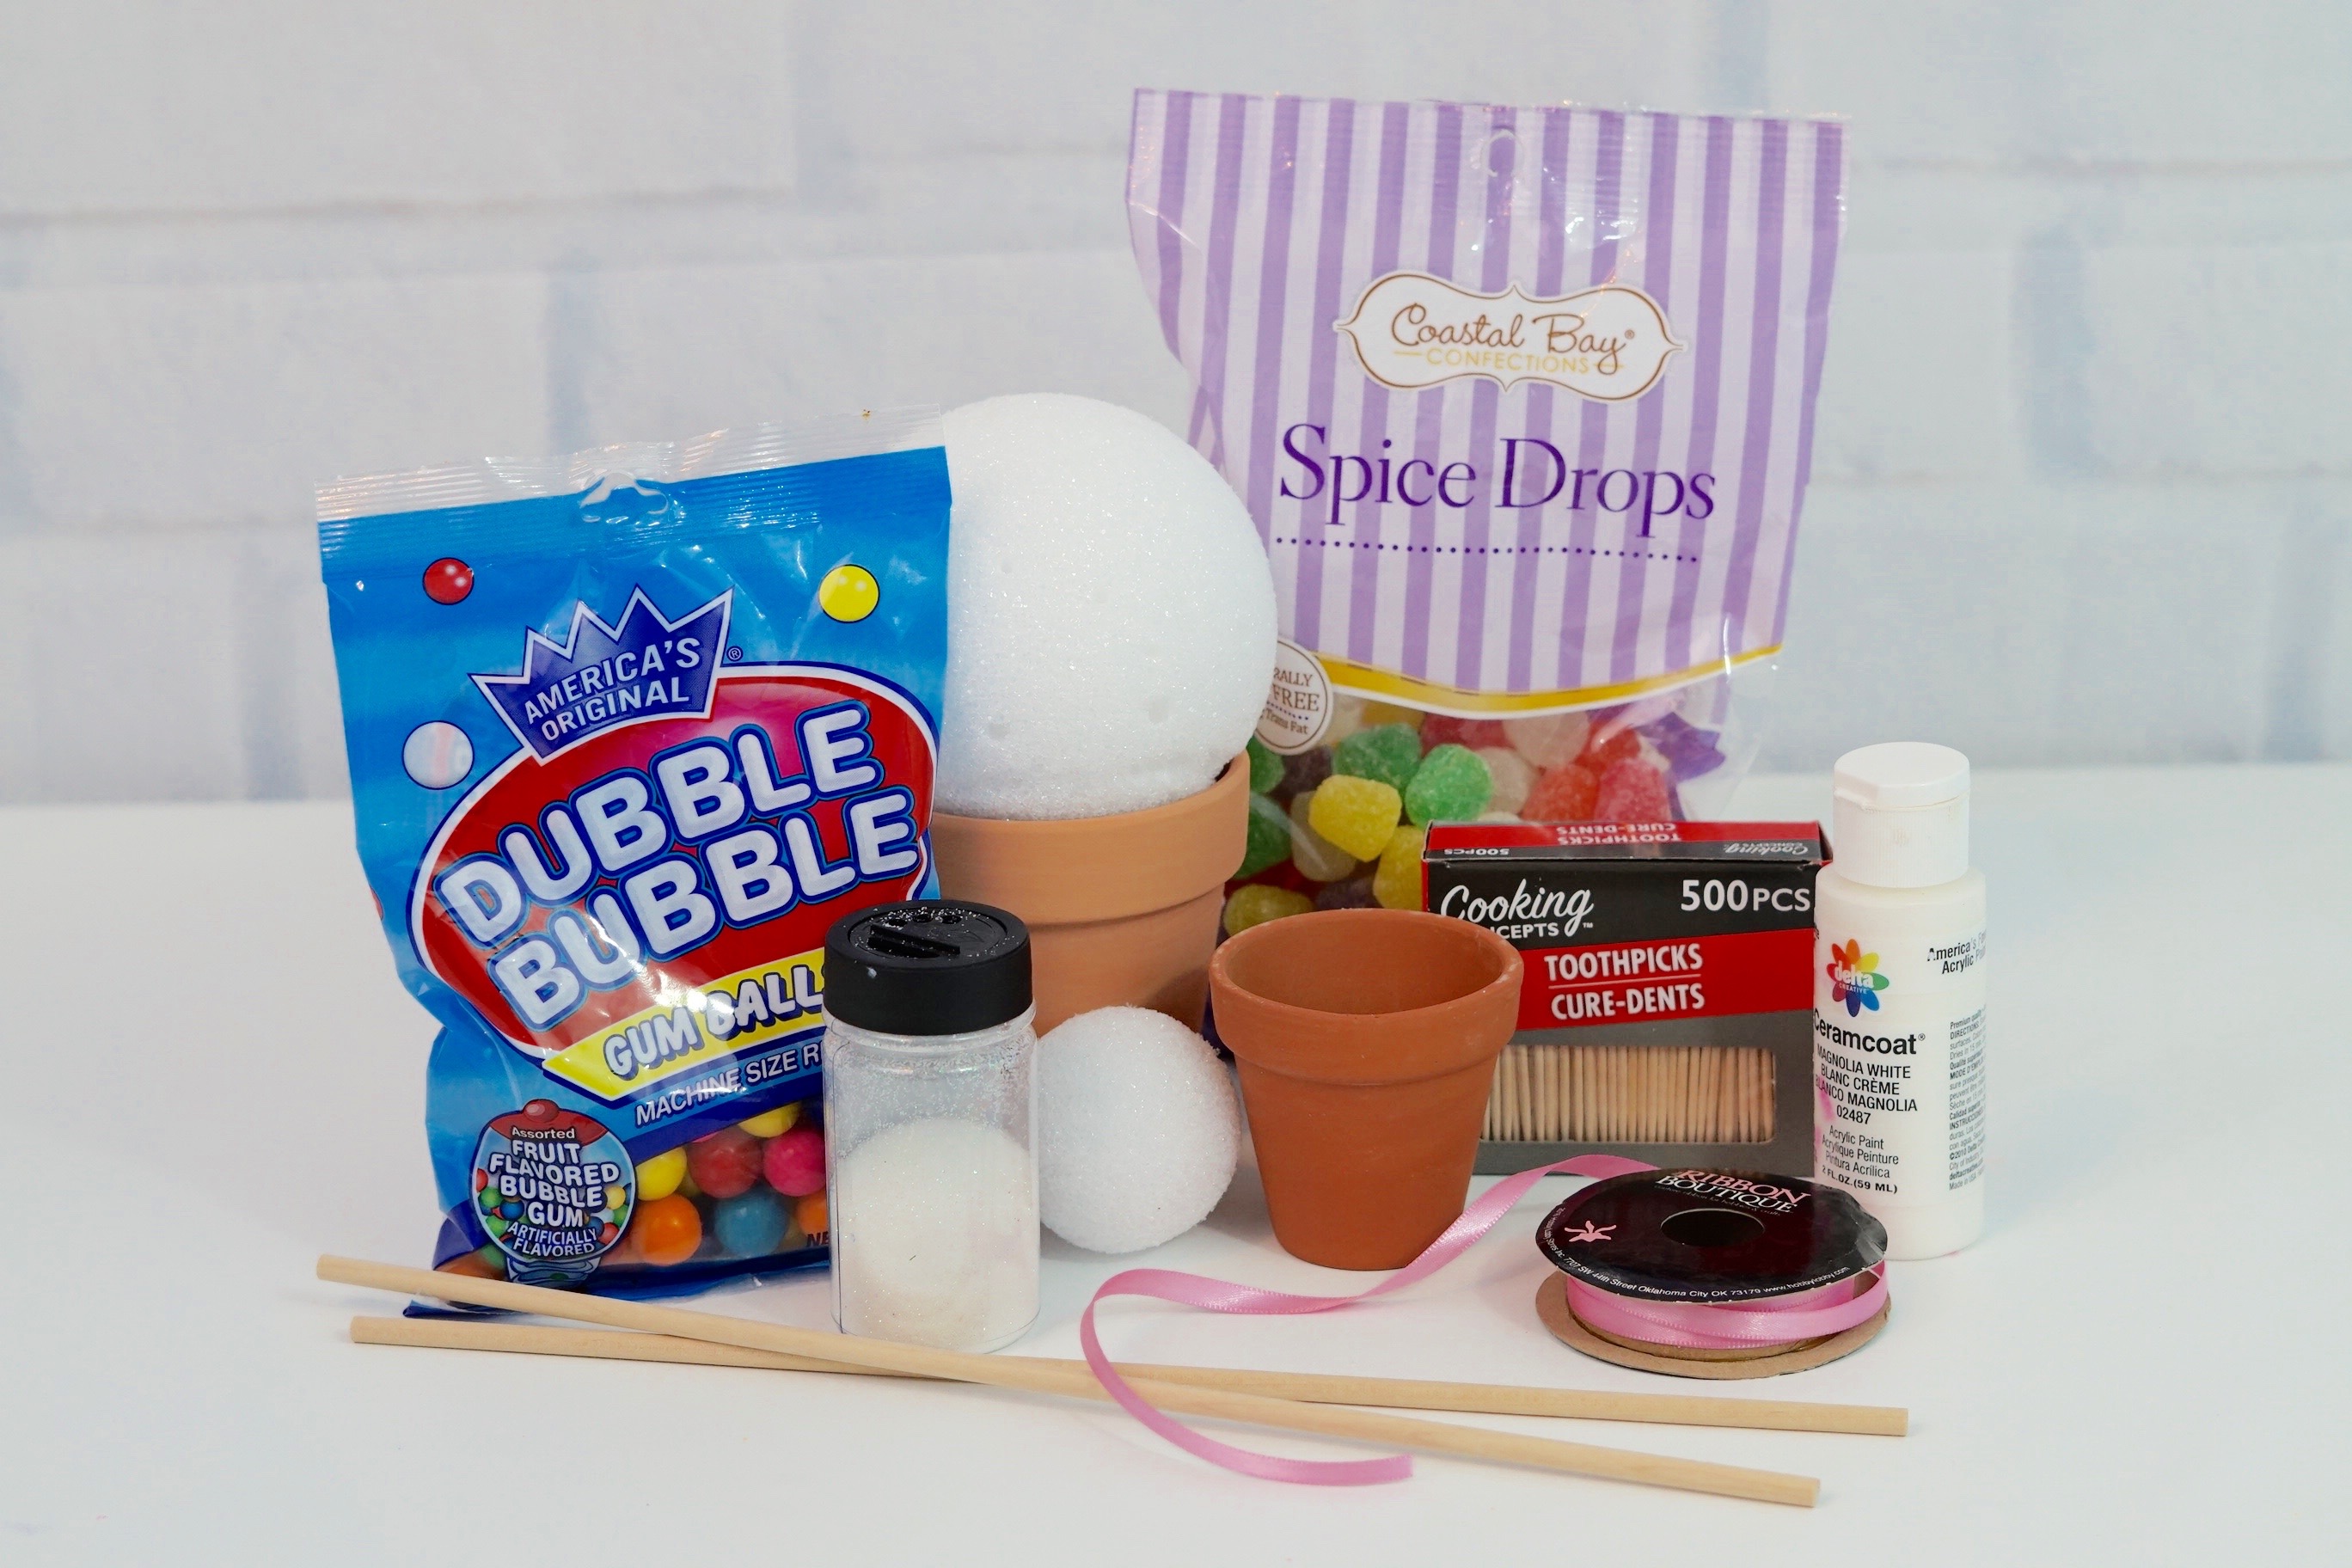
Click our affiliate links below to purchase the supplies needed for this project:
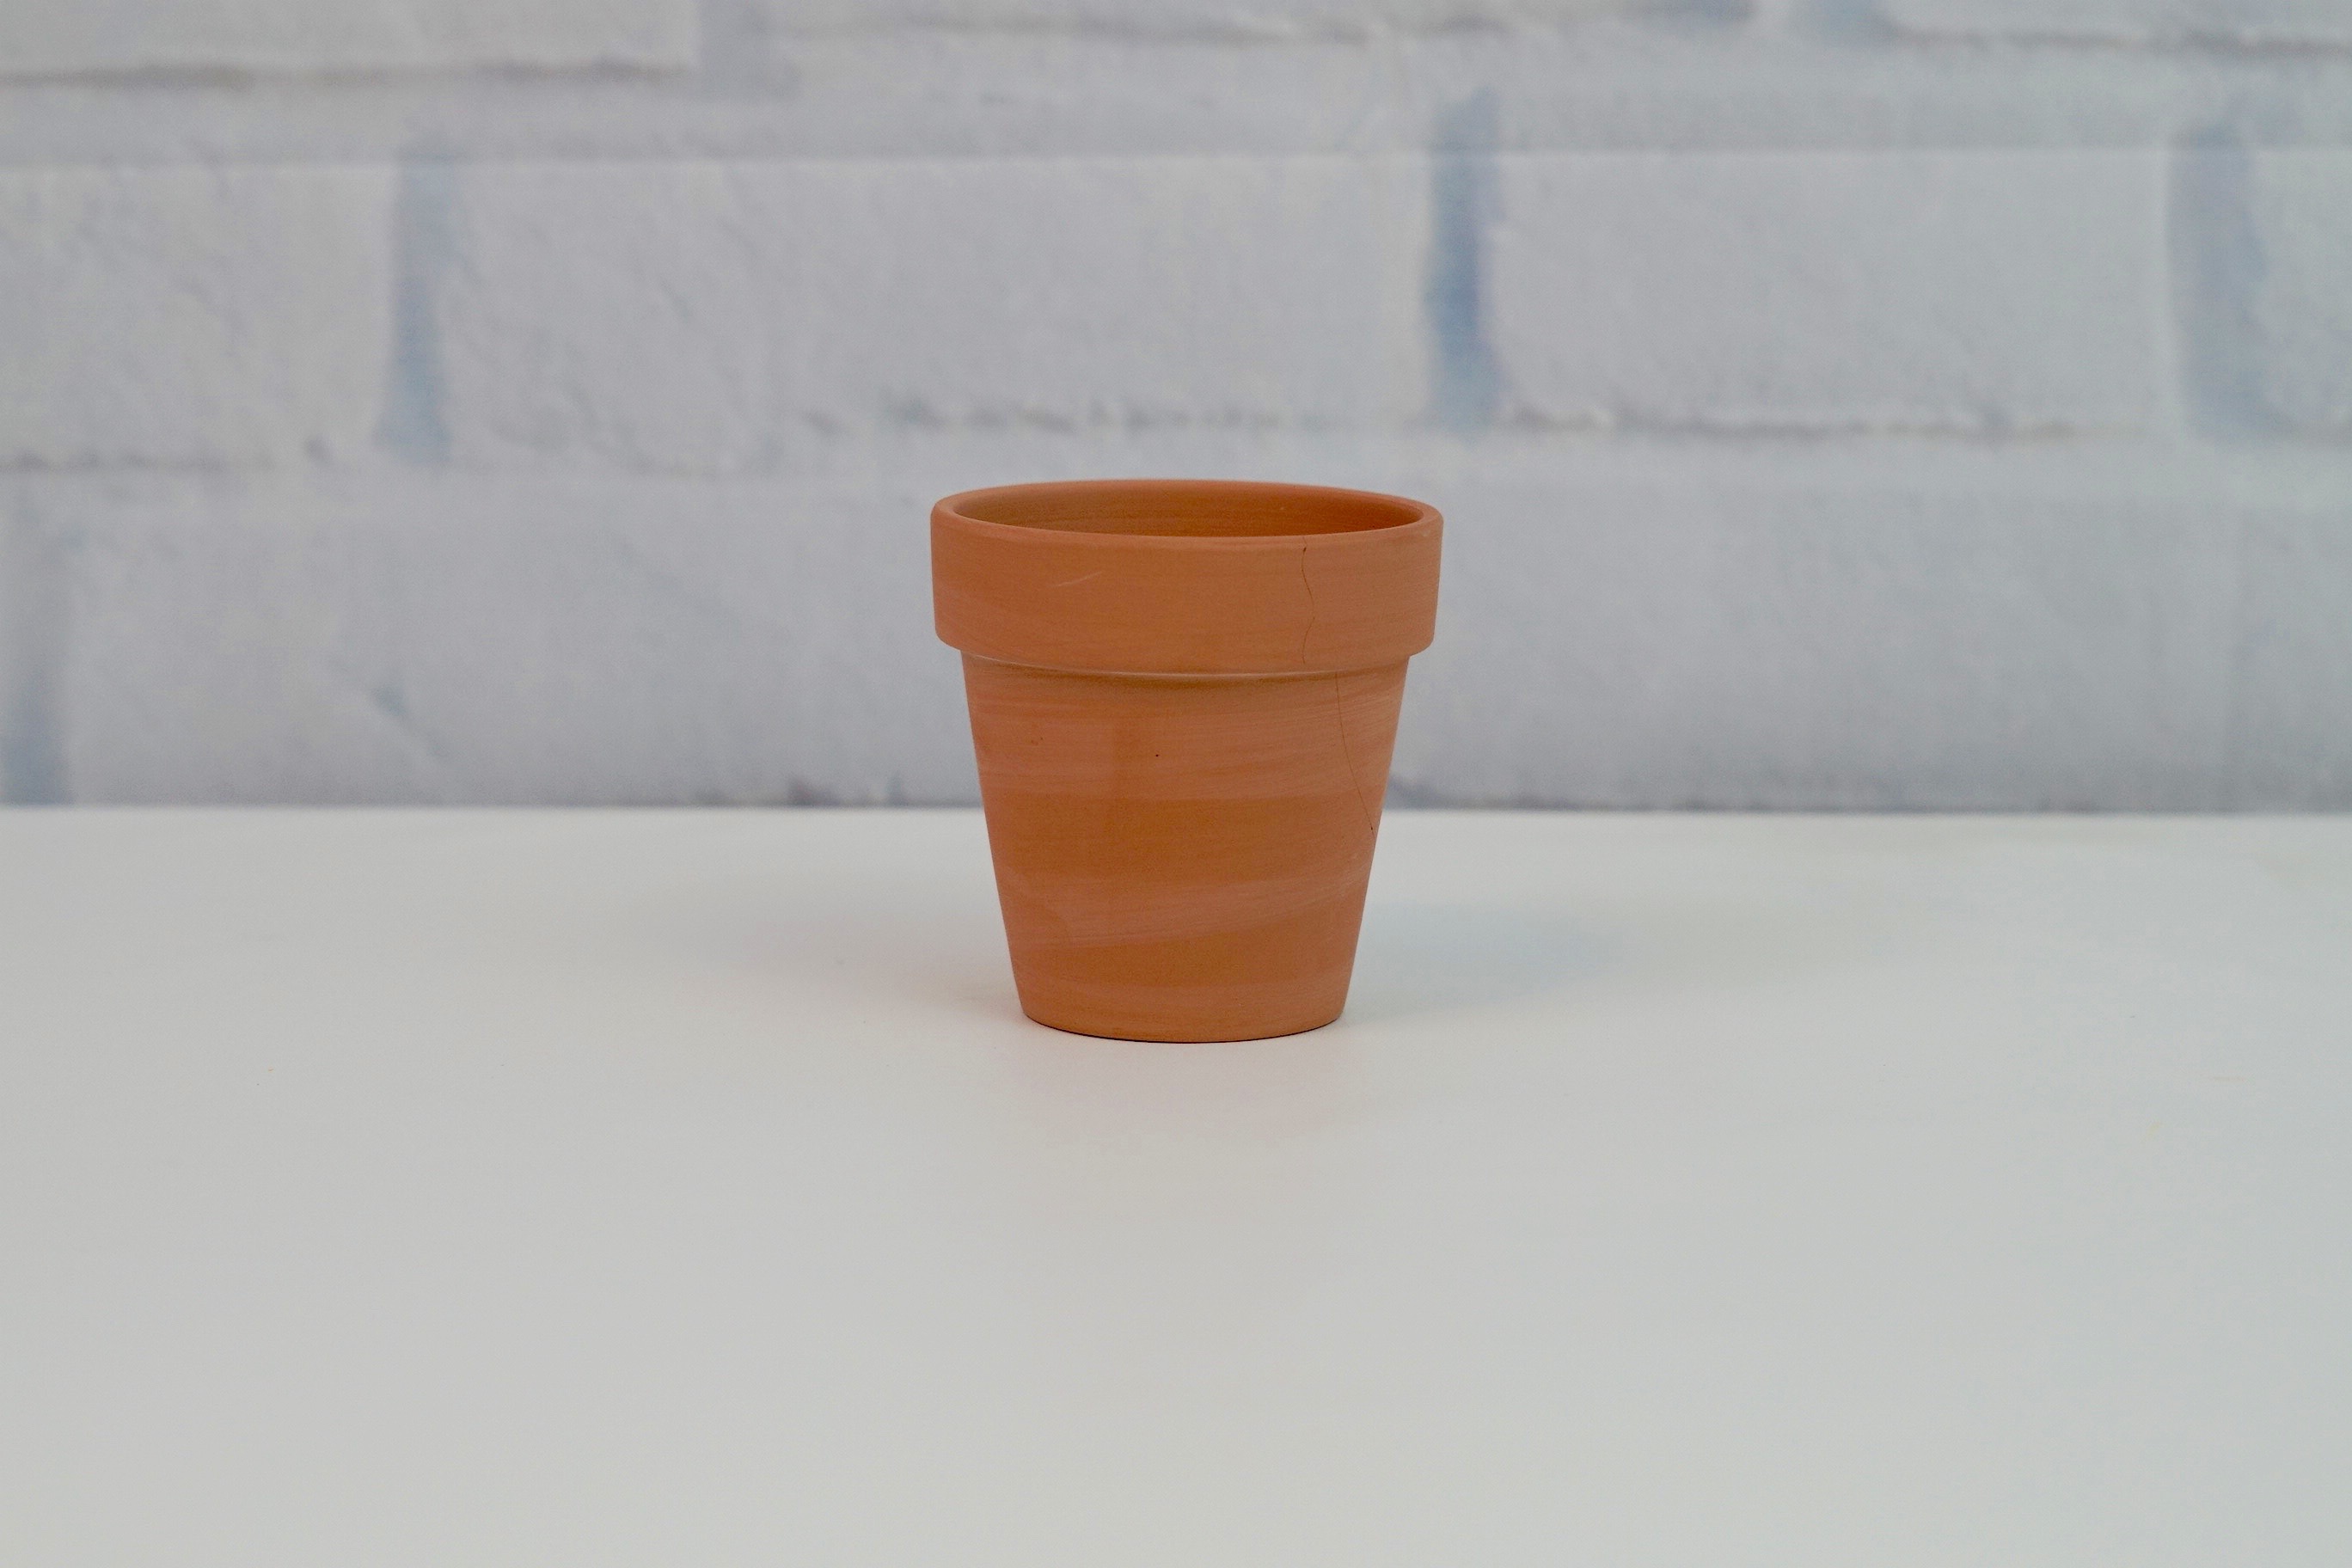
3.5-in. Terra-Cotta Clay Pots
Mini Terra-Cotta Clay Pots
Colorful Decorative Sand
Mod Podge Matte Craft Adhesive
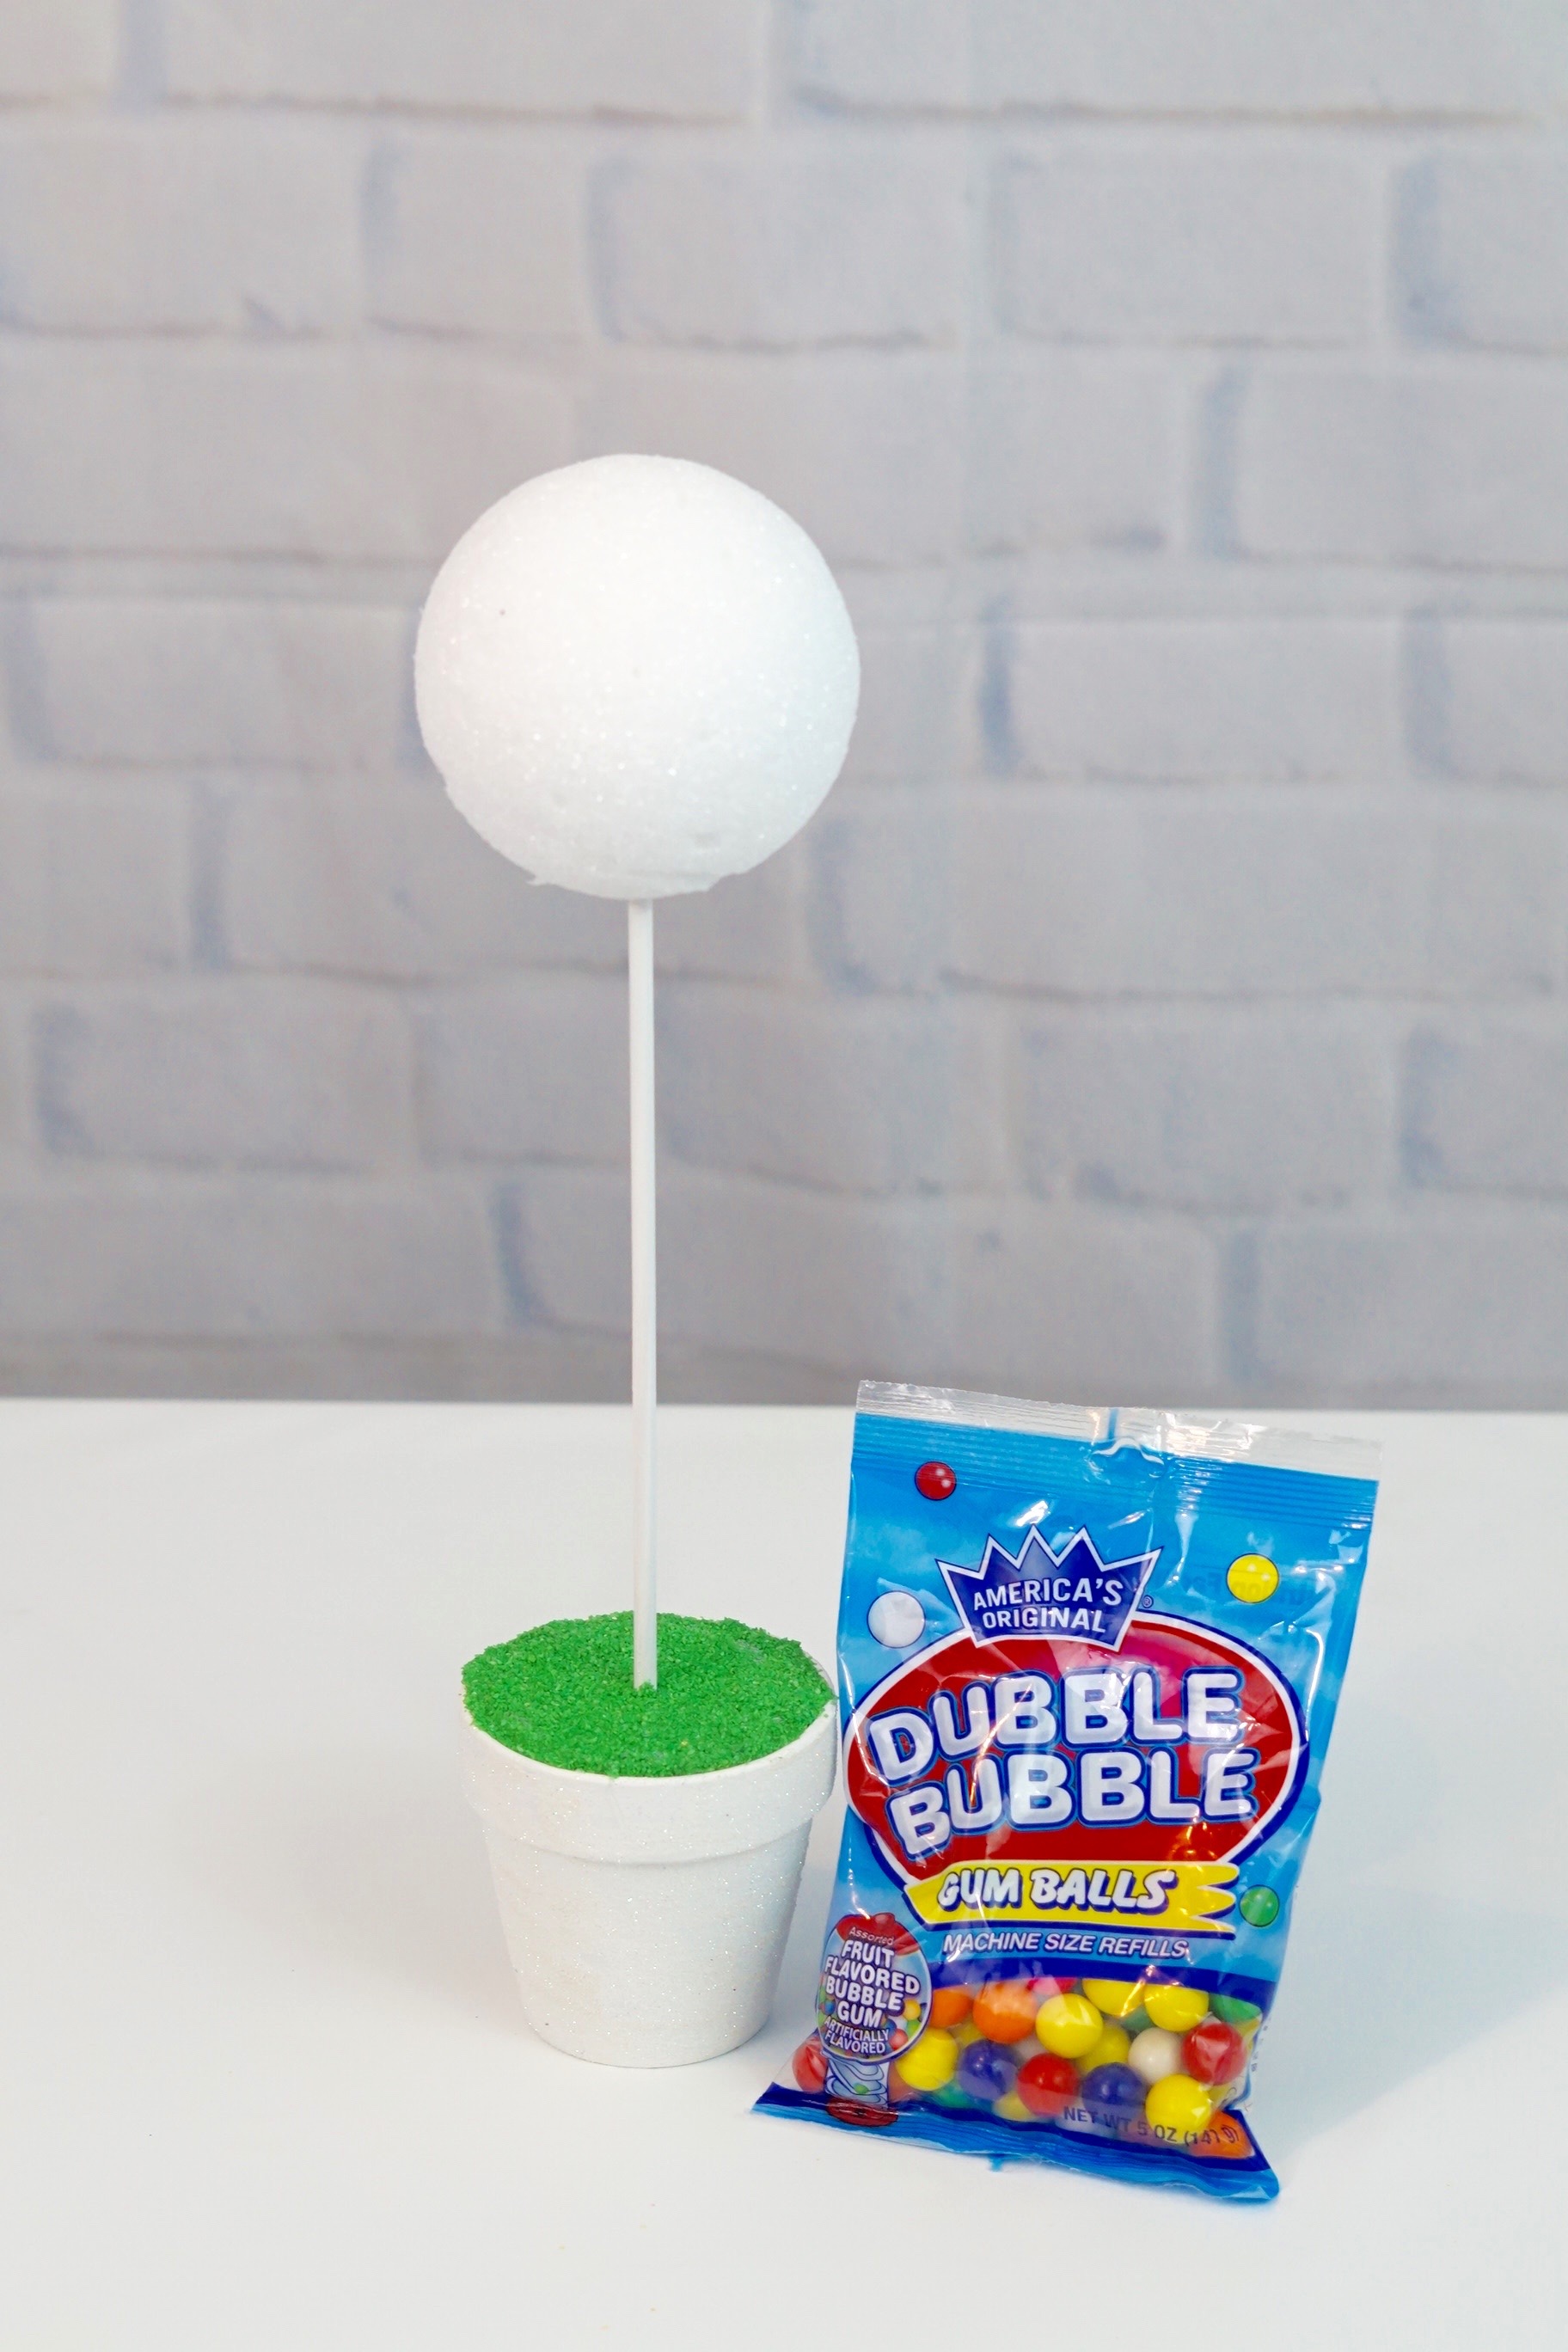
3-Dubble Bubble Gum Ball Refills
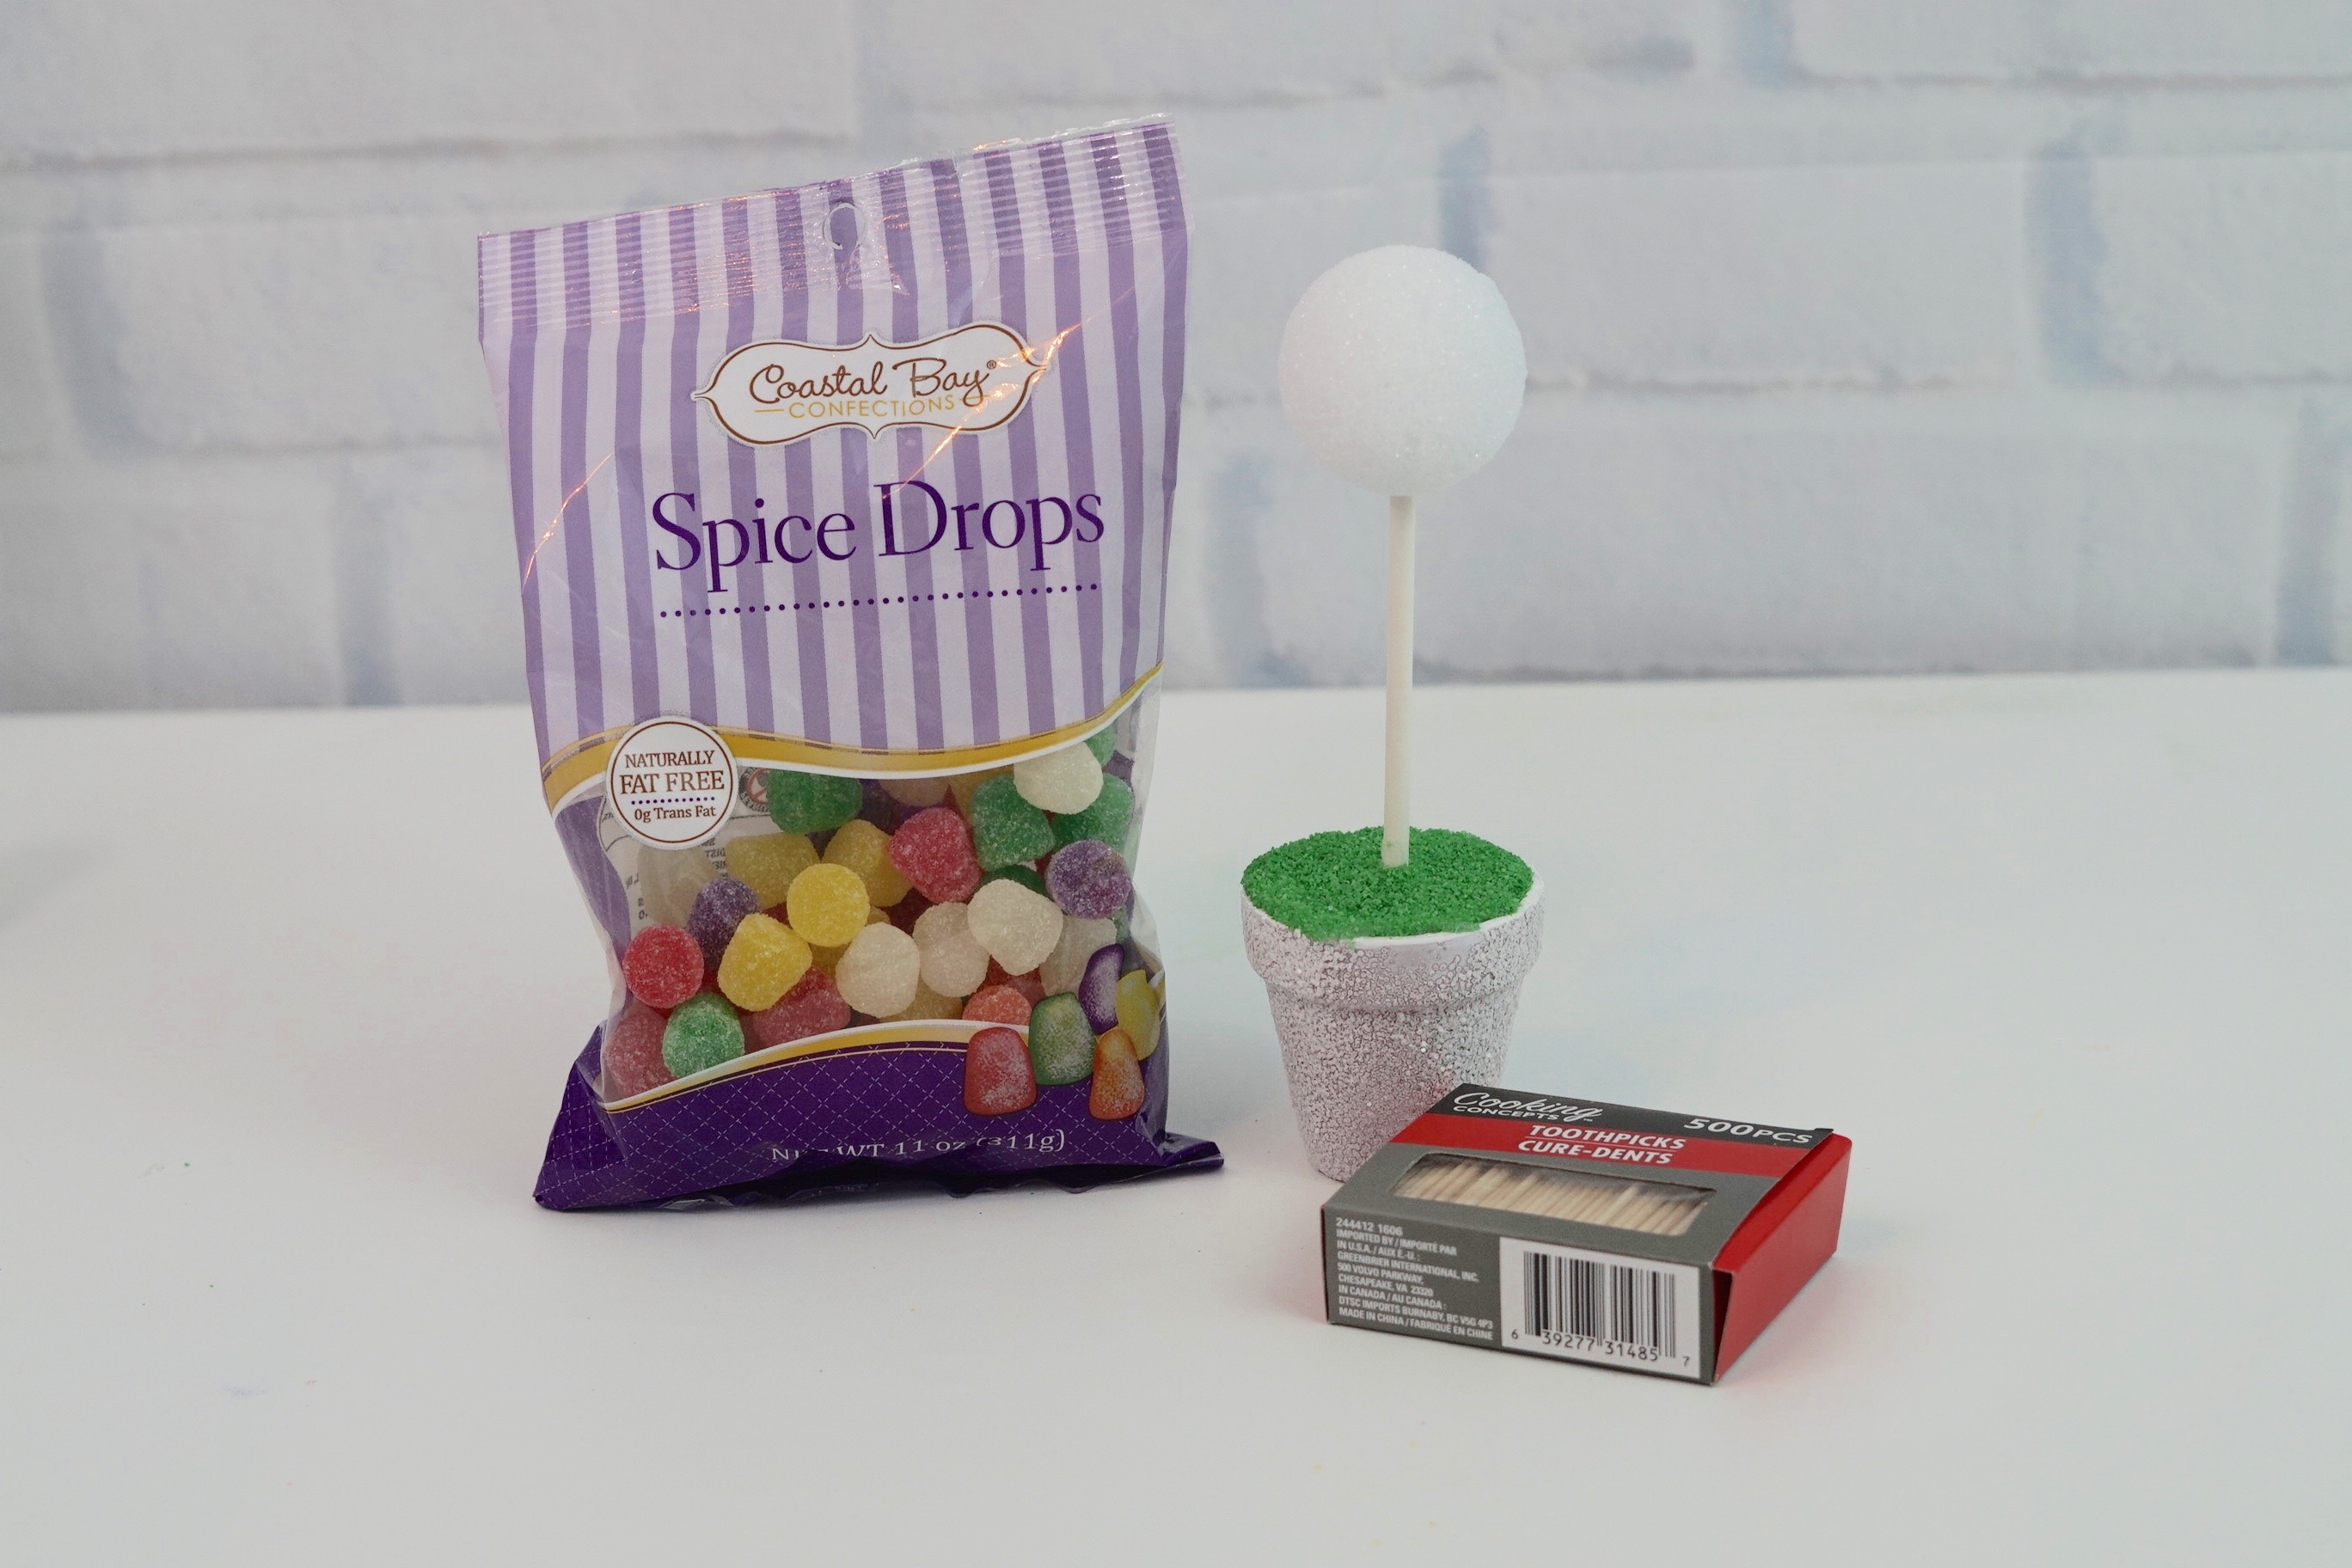
Coastal Bay Confections Spice Drops
Foam Craft Balls
Cooking Concepts Wood Toothpicks
Multi-Toned River Pebbles
White Foam Discs
Wood Dowel Value Pack
Antique White 2 ounces Ceramcoat Acrylic Paint
White Foam Discs
Styrofoam Balls
Gloss Clear Acrylic Coating
Crystal Glitter
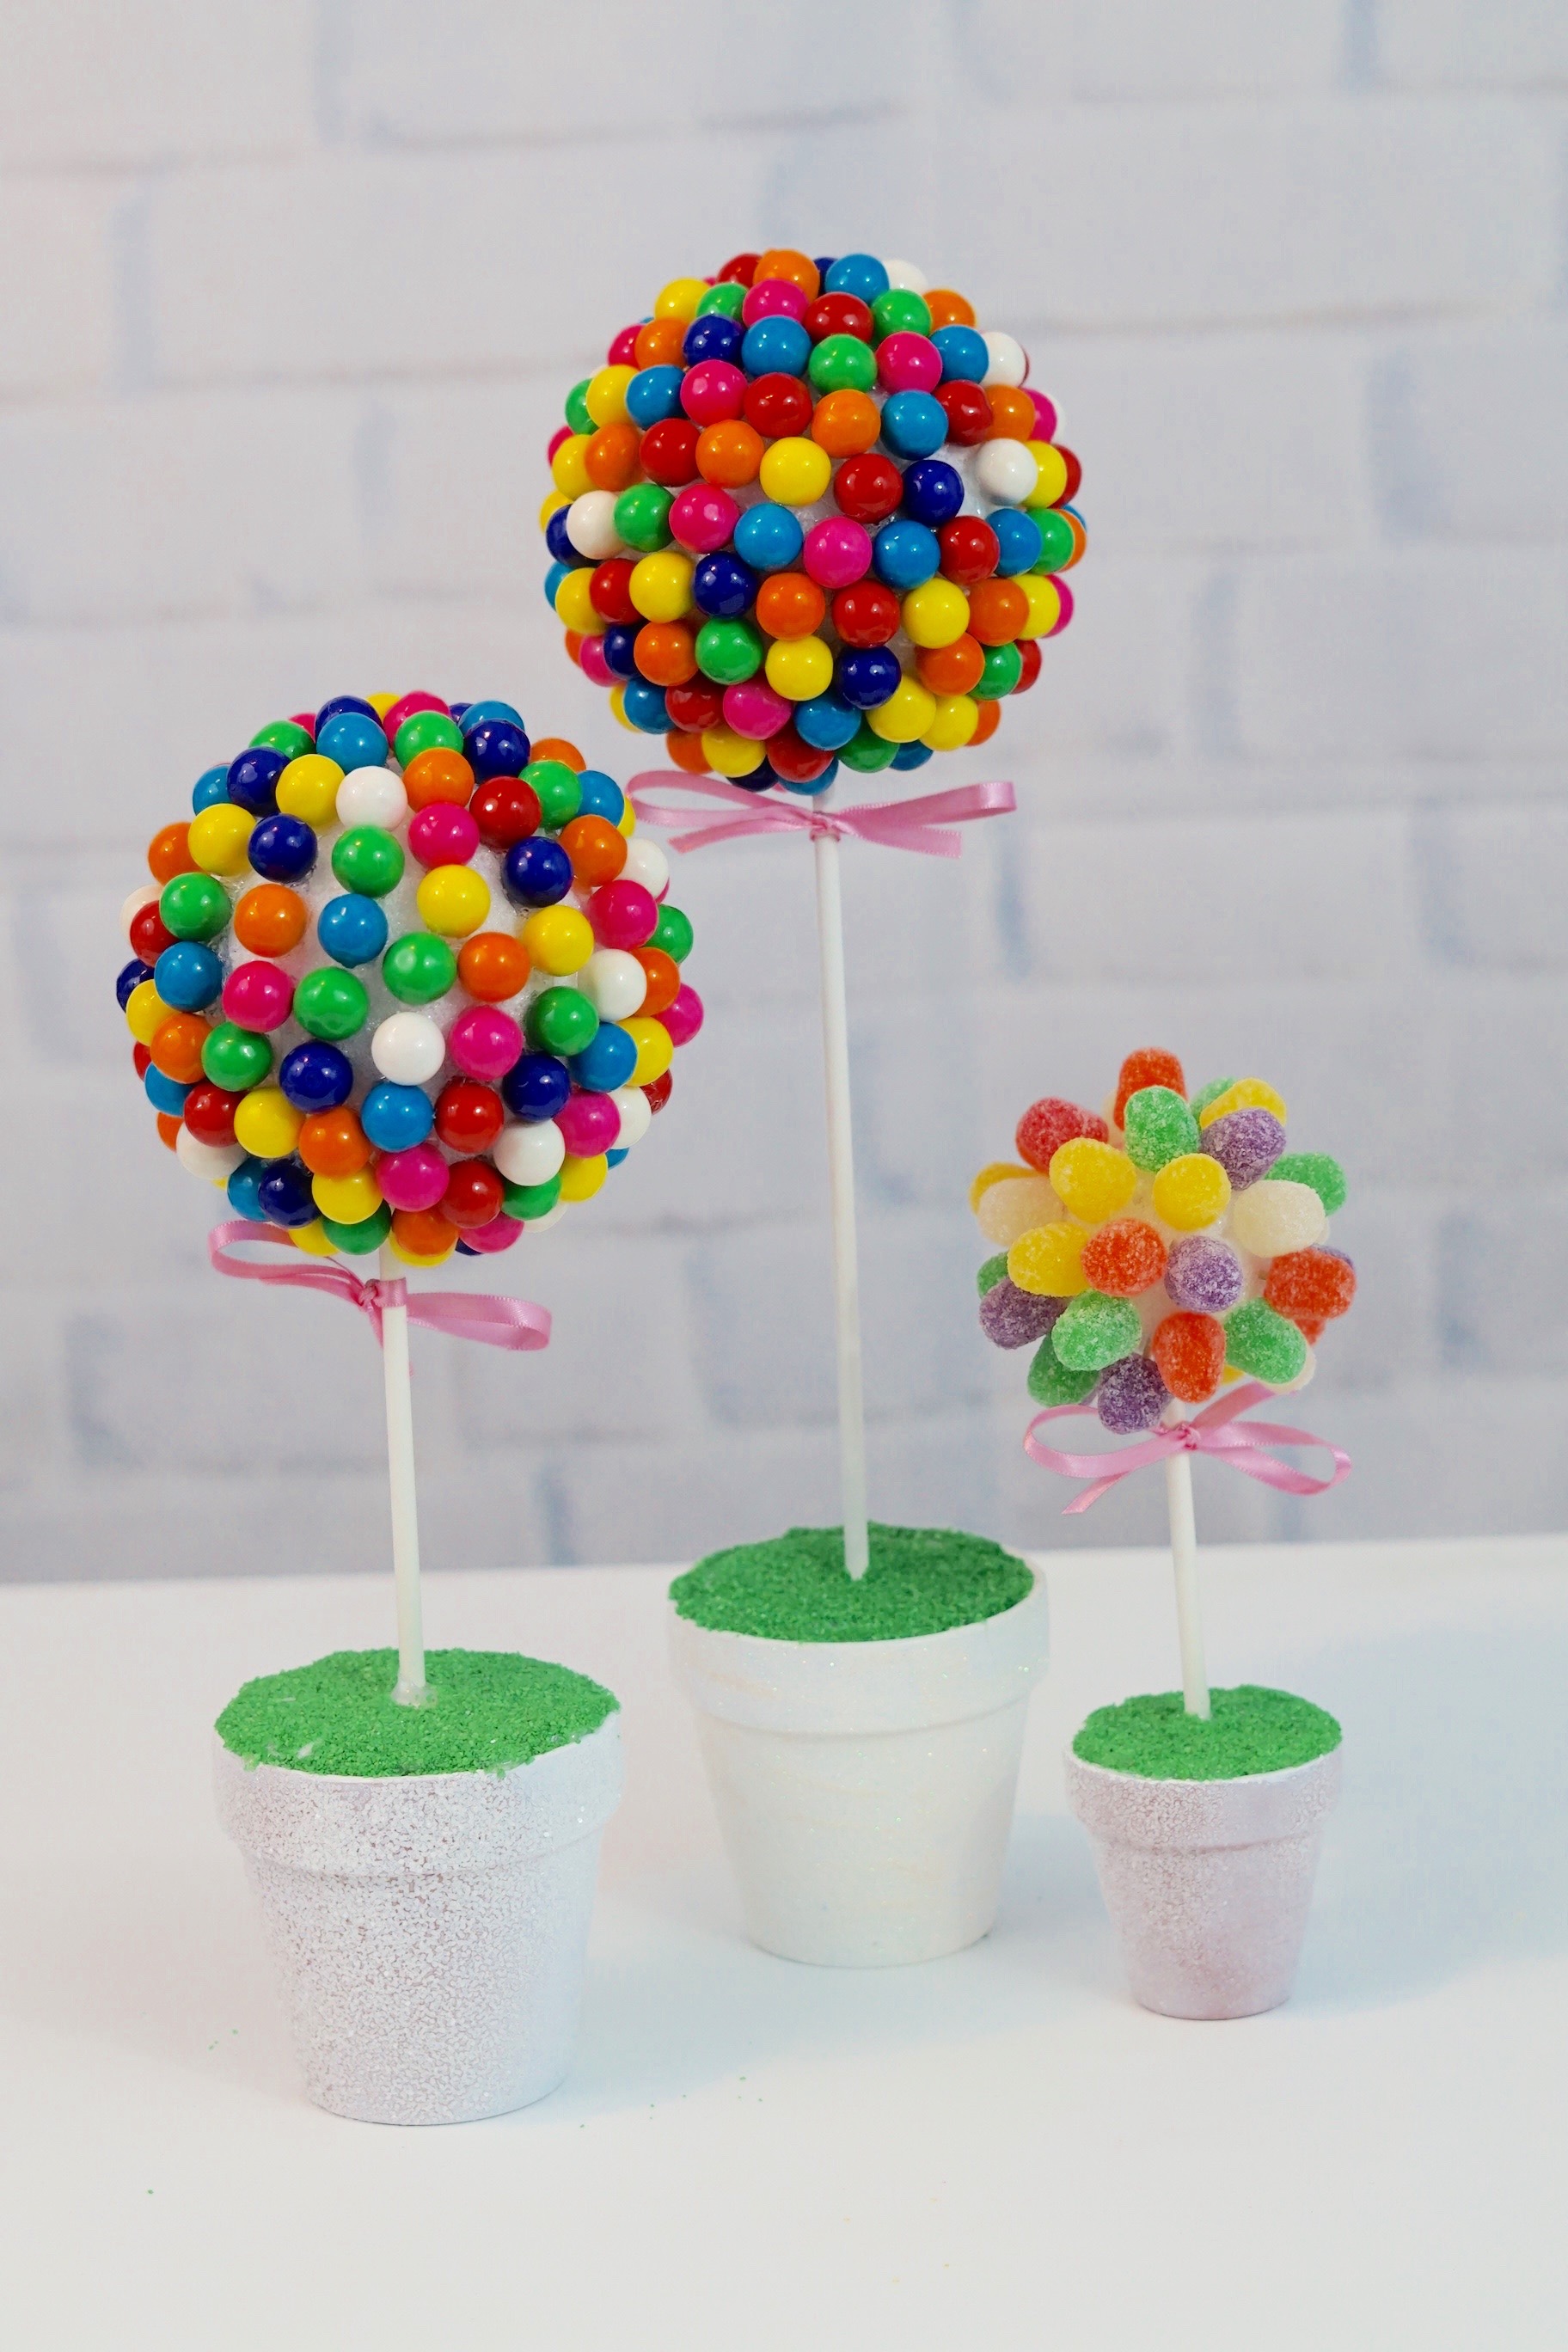
How To Make a Candy Topiary Centerpiece
Directions:
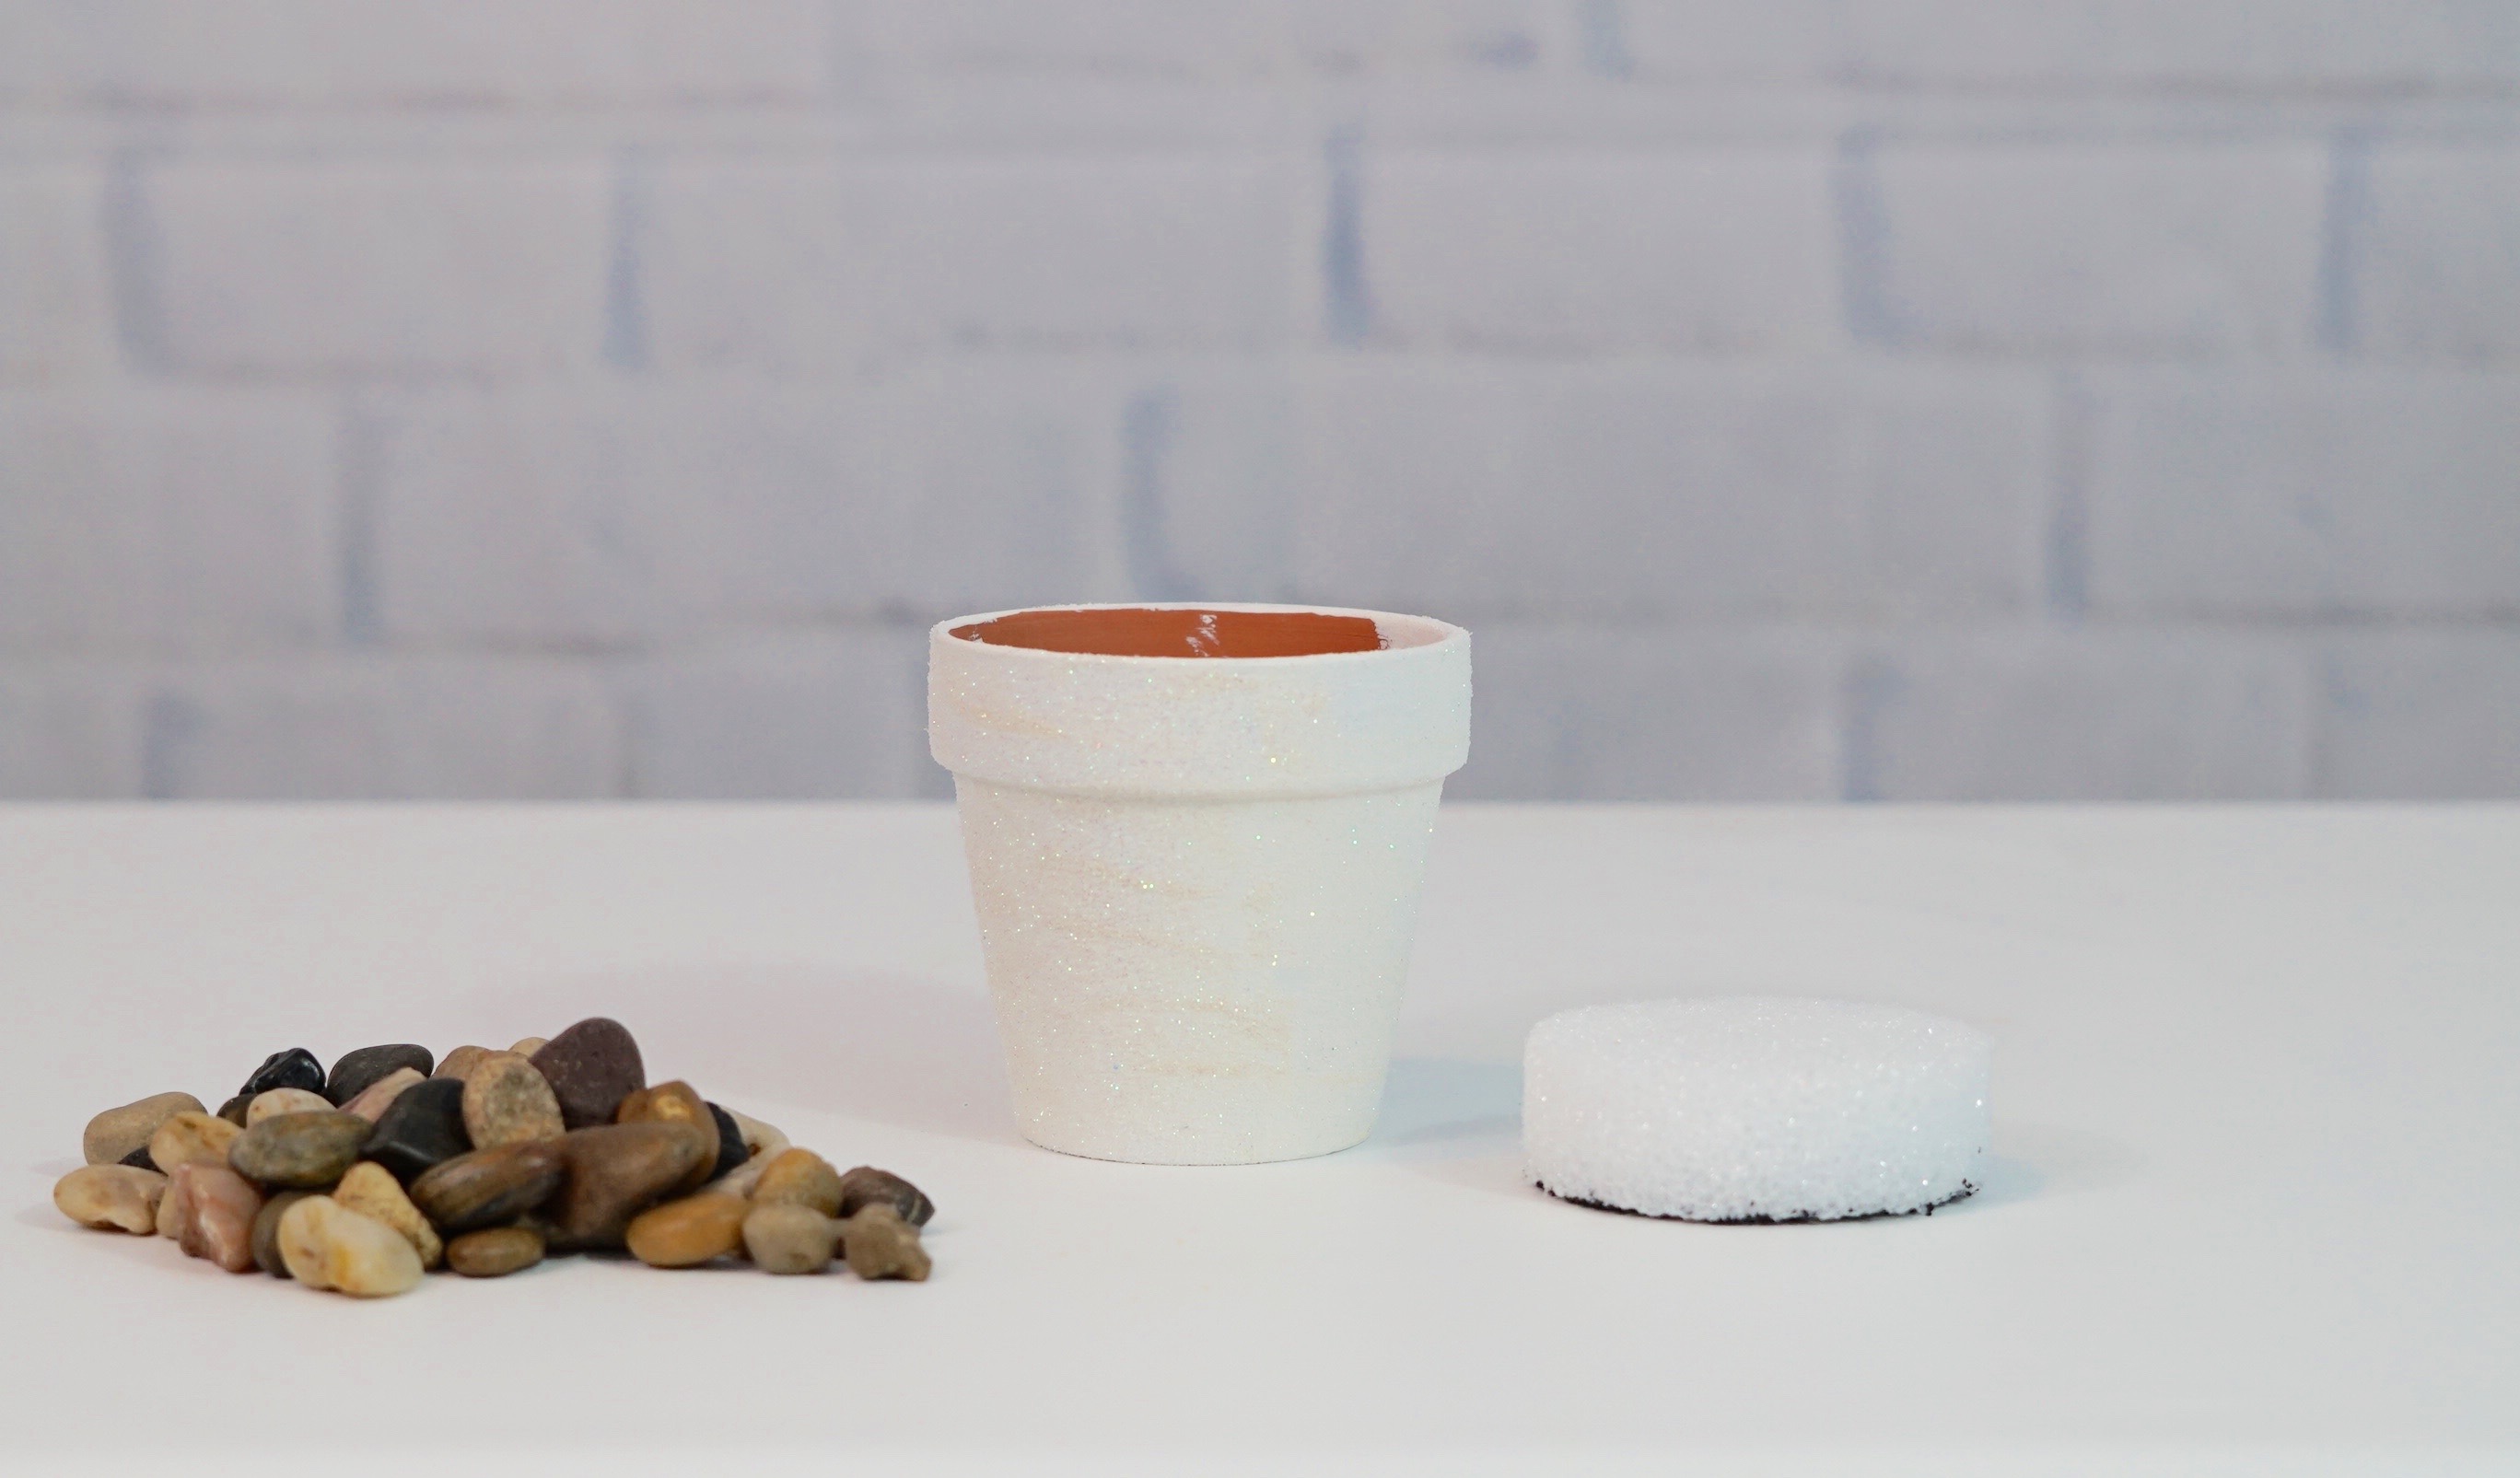
STEP 1: The first step is to take your terra-cotta clay pot and paint it white. While the paint is still wet sprinkle on your crystal glitter.
STEP 2: To ensure your terra-cotta pot is stable, add rocks to it. Once all your rocks have been added, attach a foam disc on top, using hot glue to secure it.
STEP 3: Next paint your wooden dowel white and allow it to dry. Once it is dry add hot glue to the bottom tip of your wooden dowel. Insert your wooden dowel into the center of your foam disc.
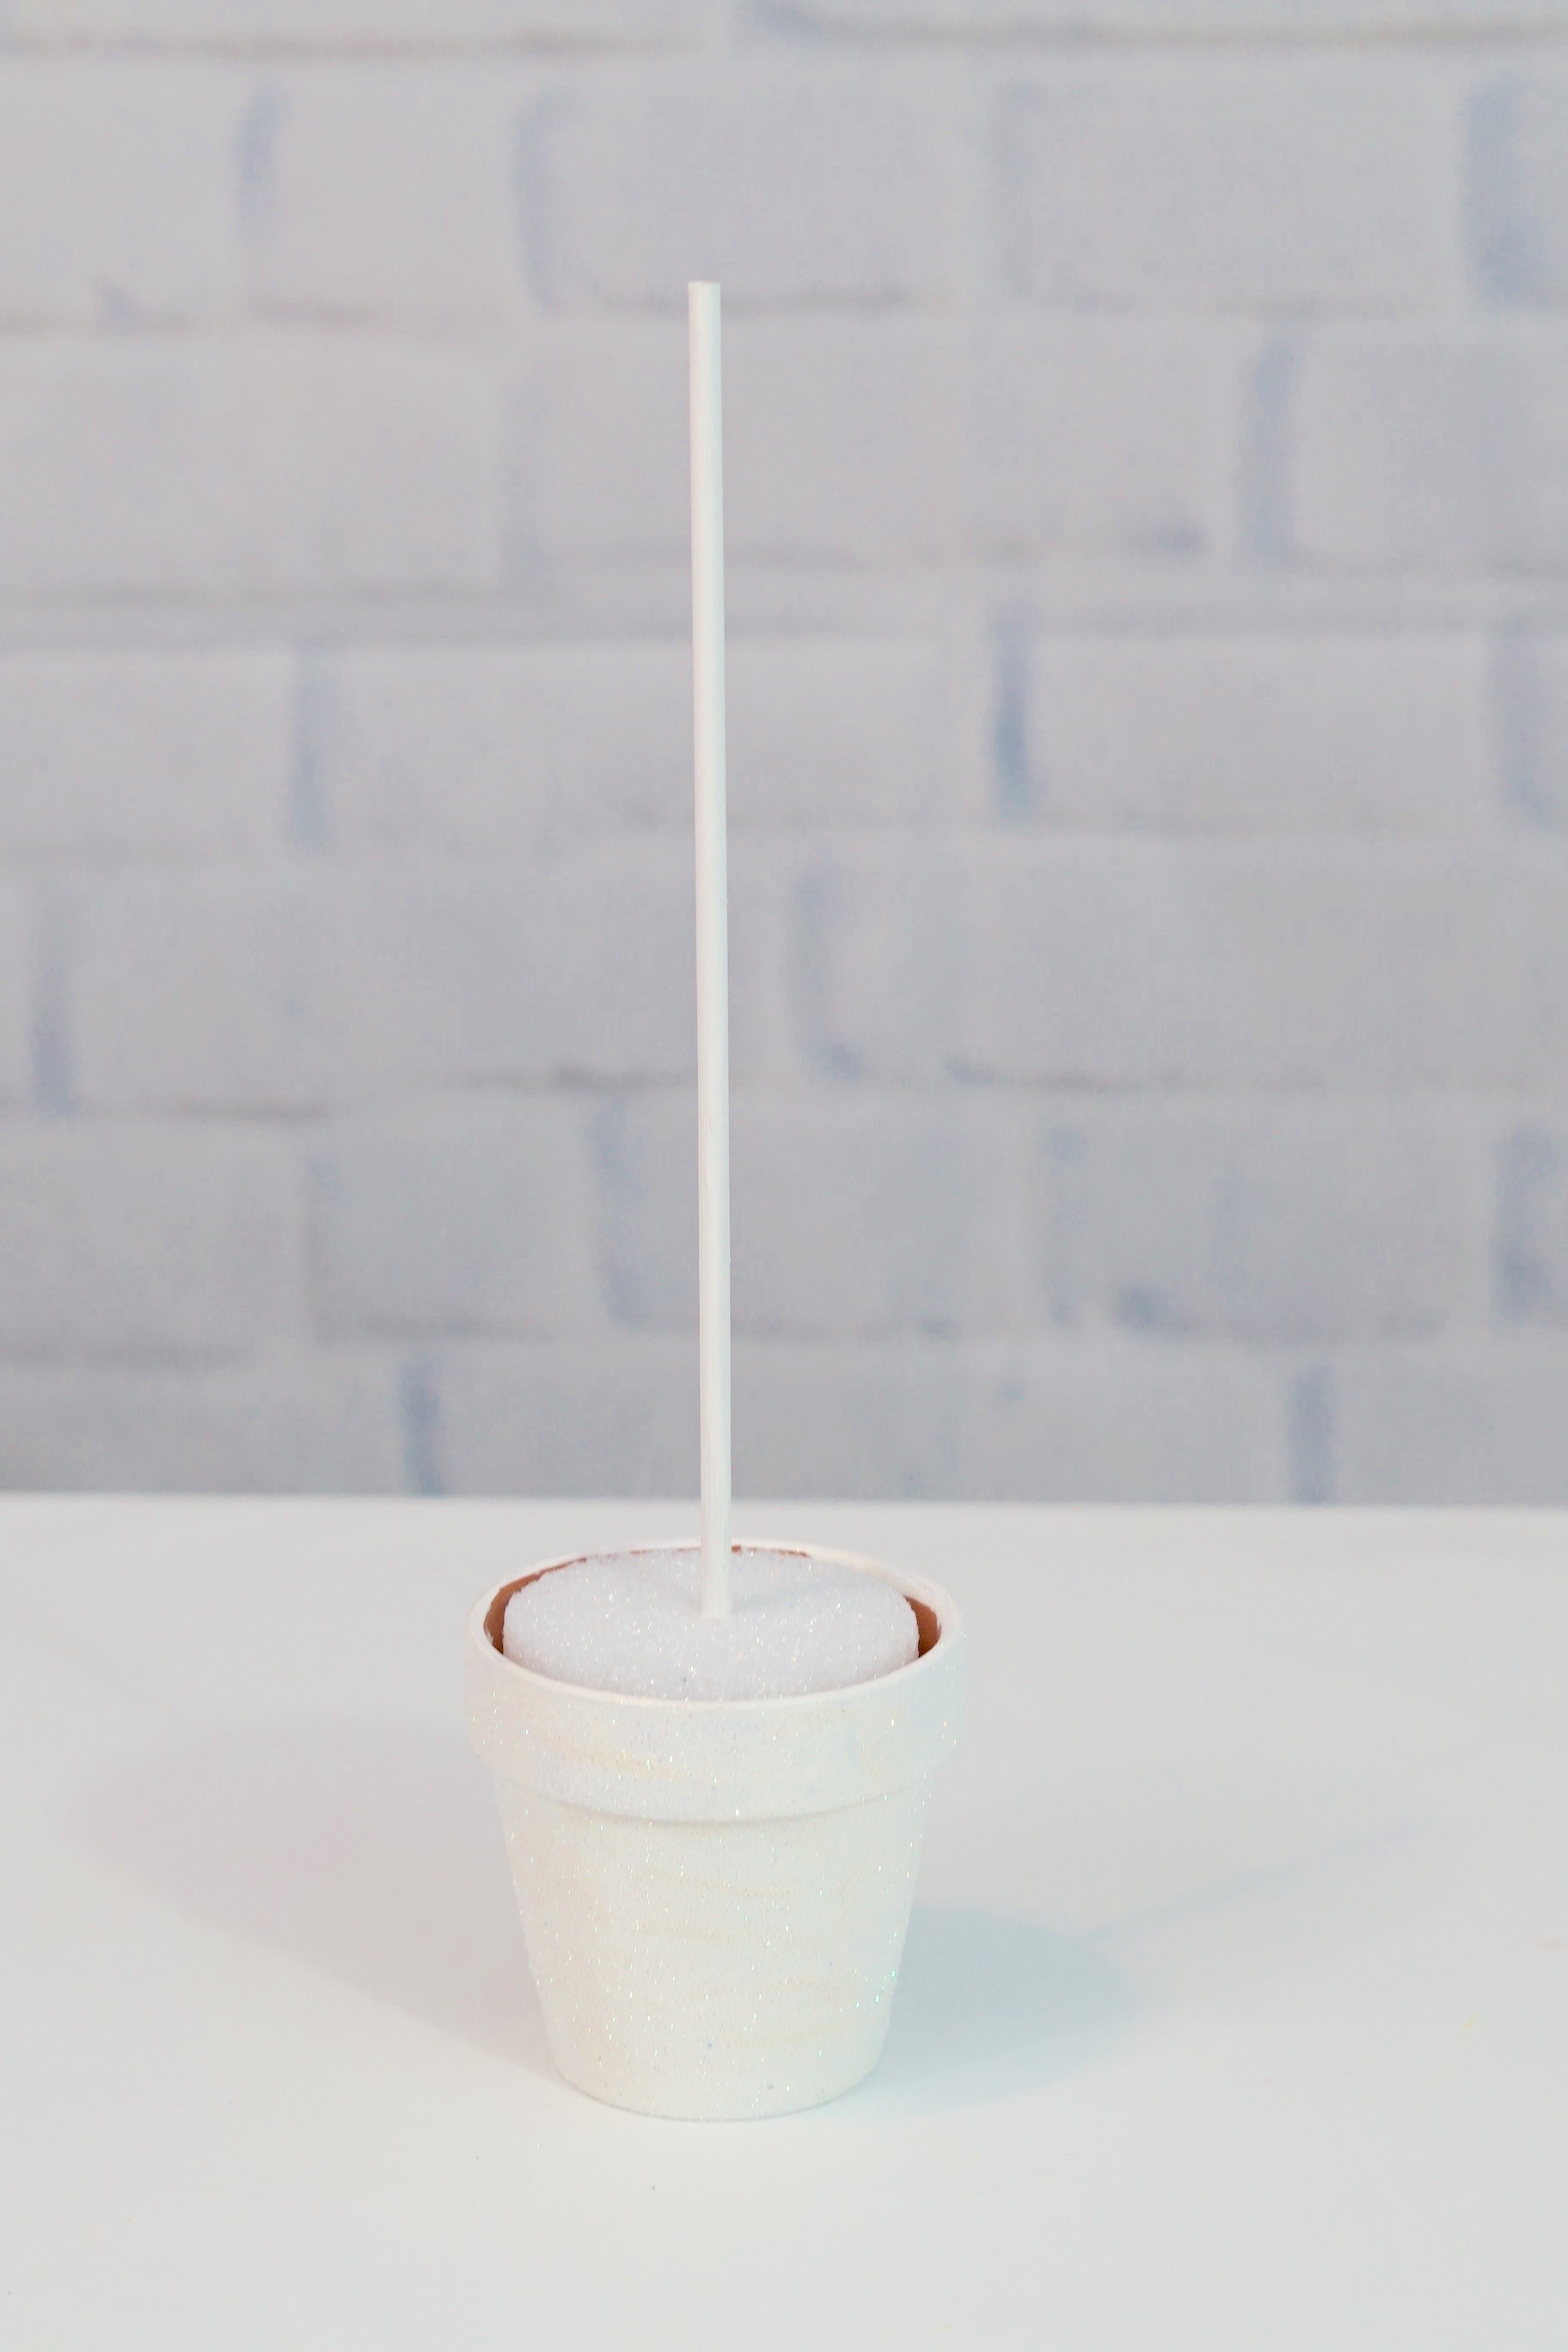
STEP 4: Apply hot glue to the space between the terra-cotta pot rim and the foam disc. Then add your green sand to the space.
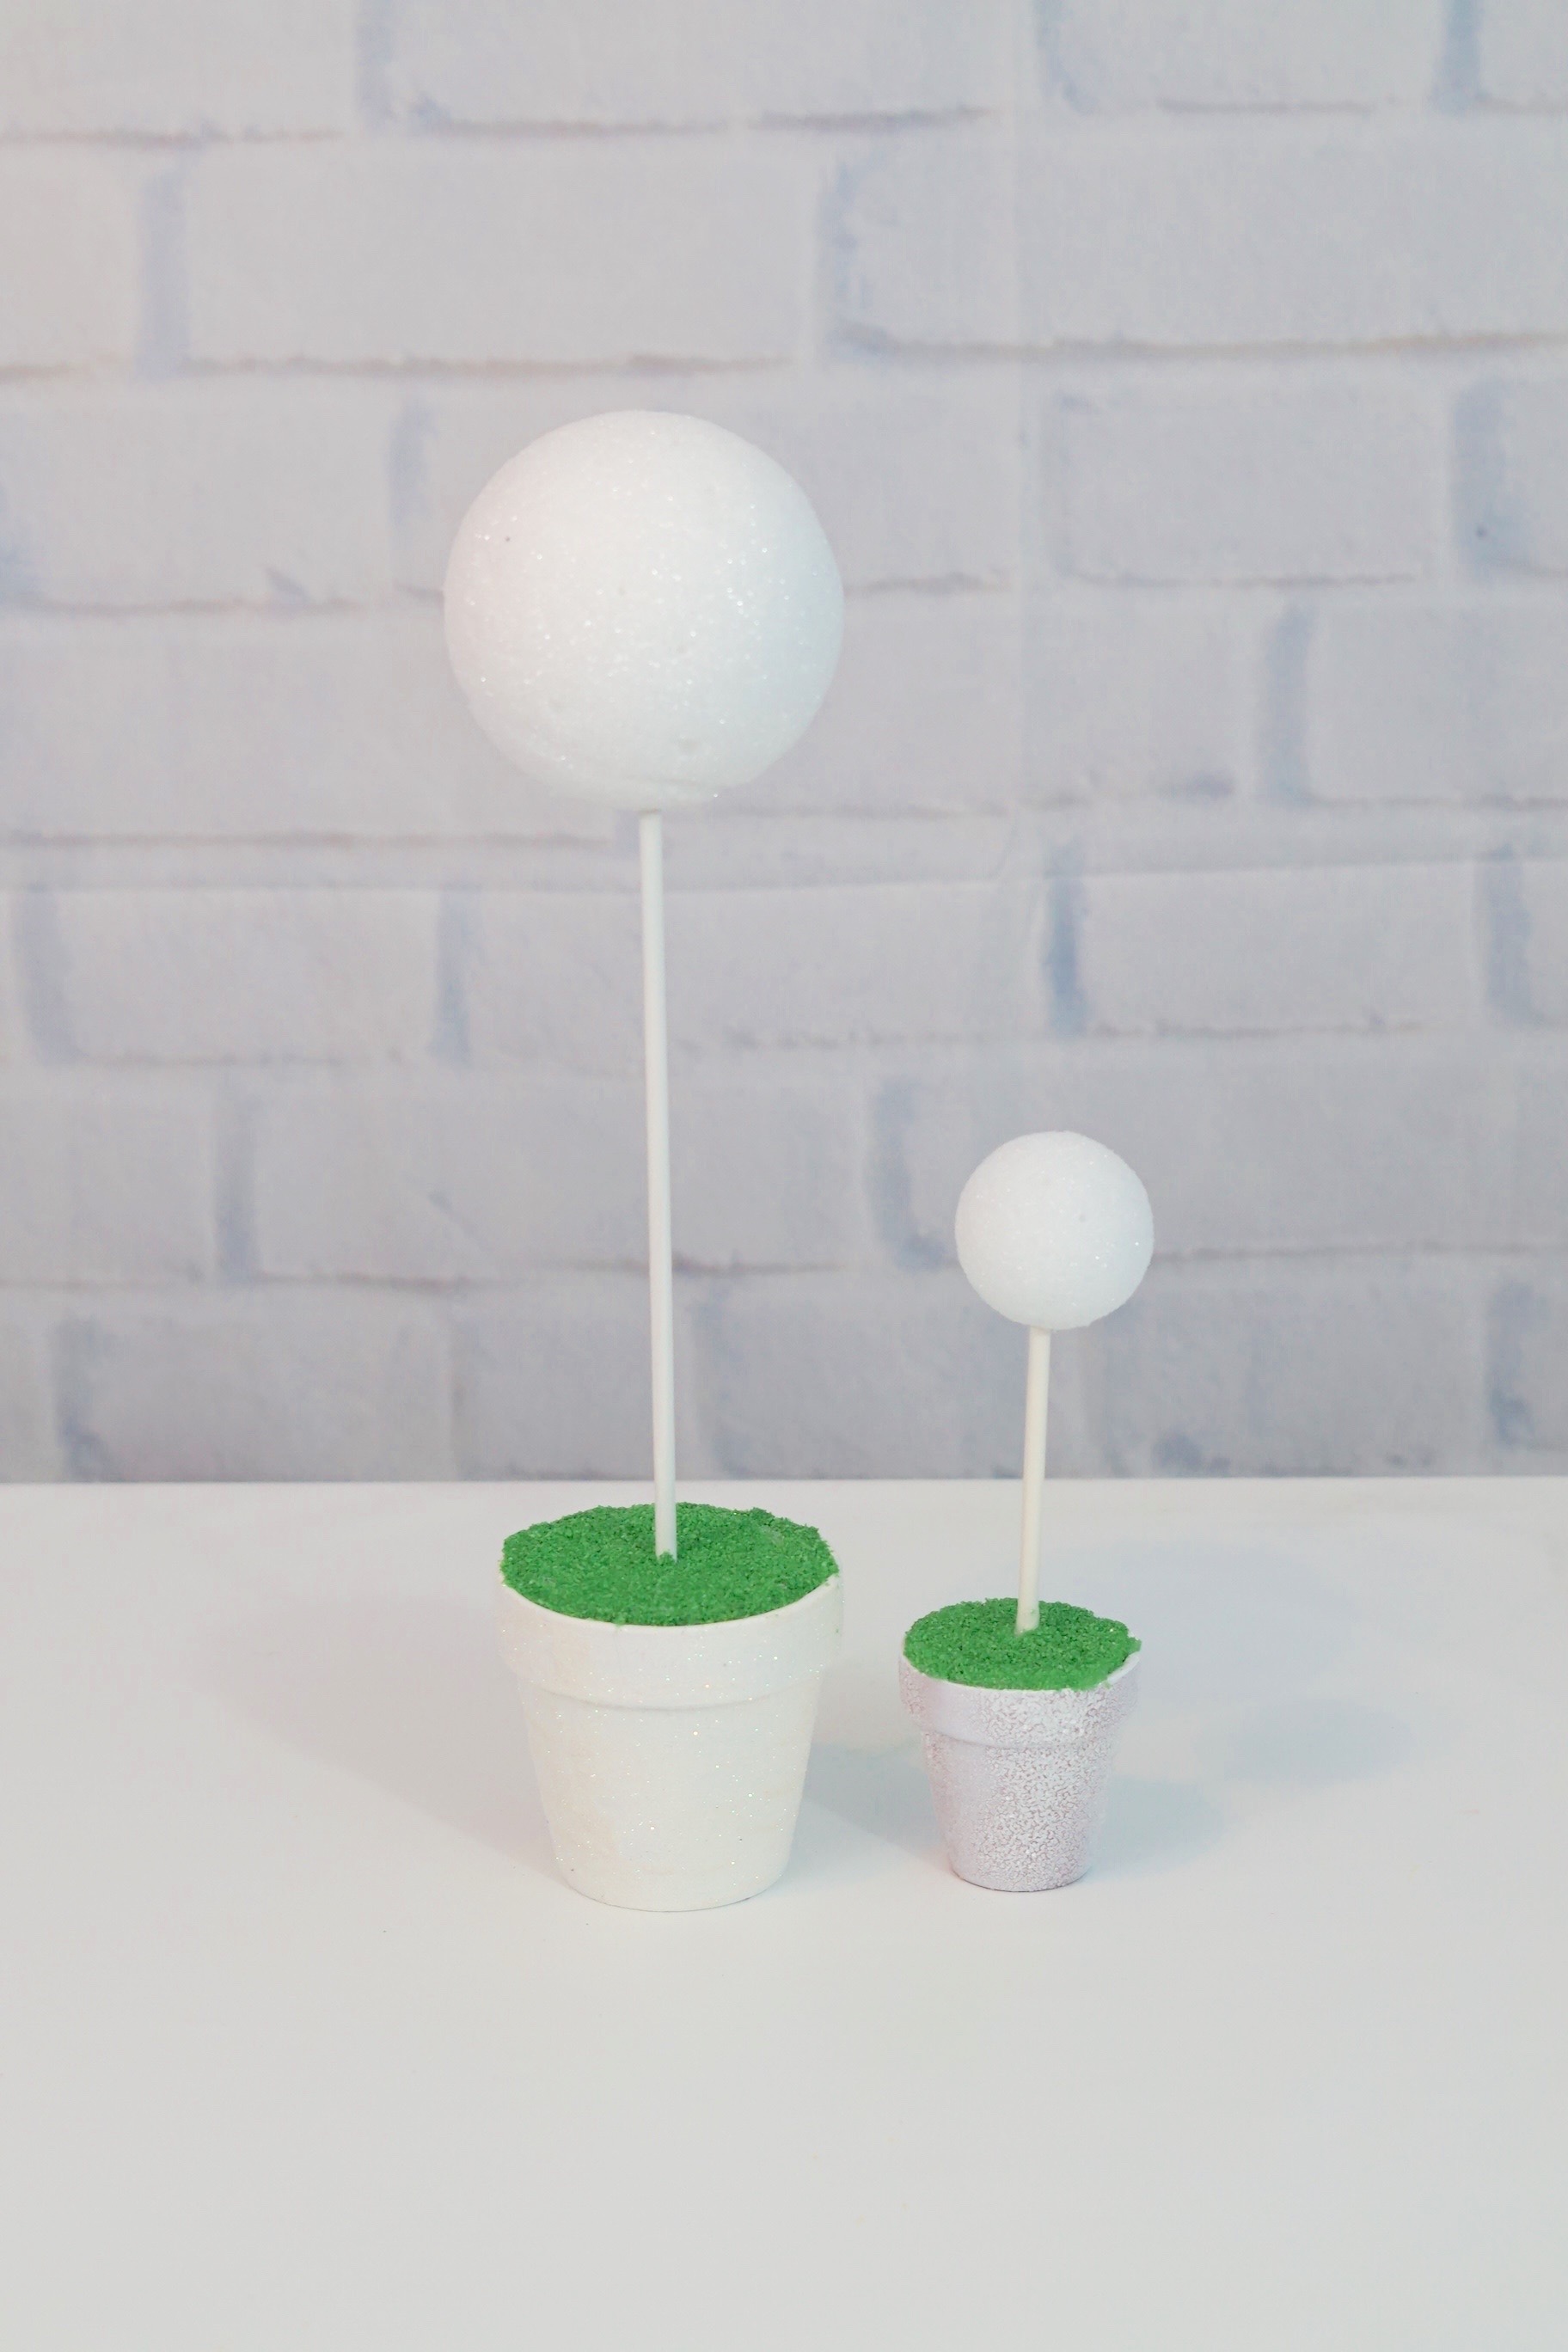
STEP 5: Now cover your foam disc with mod podge and add your green sand to it. Next place your 3 inch or 4 inch foam ball to your wooden dowel.
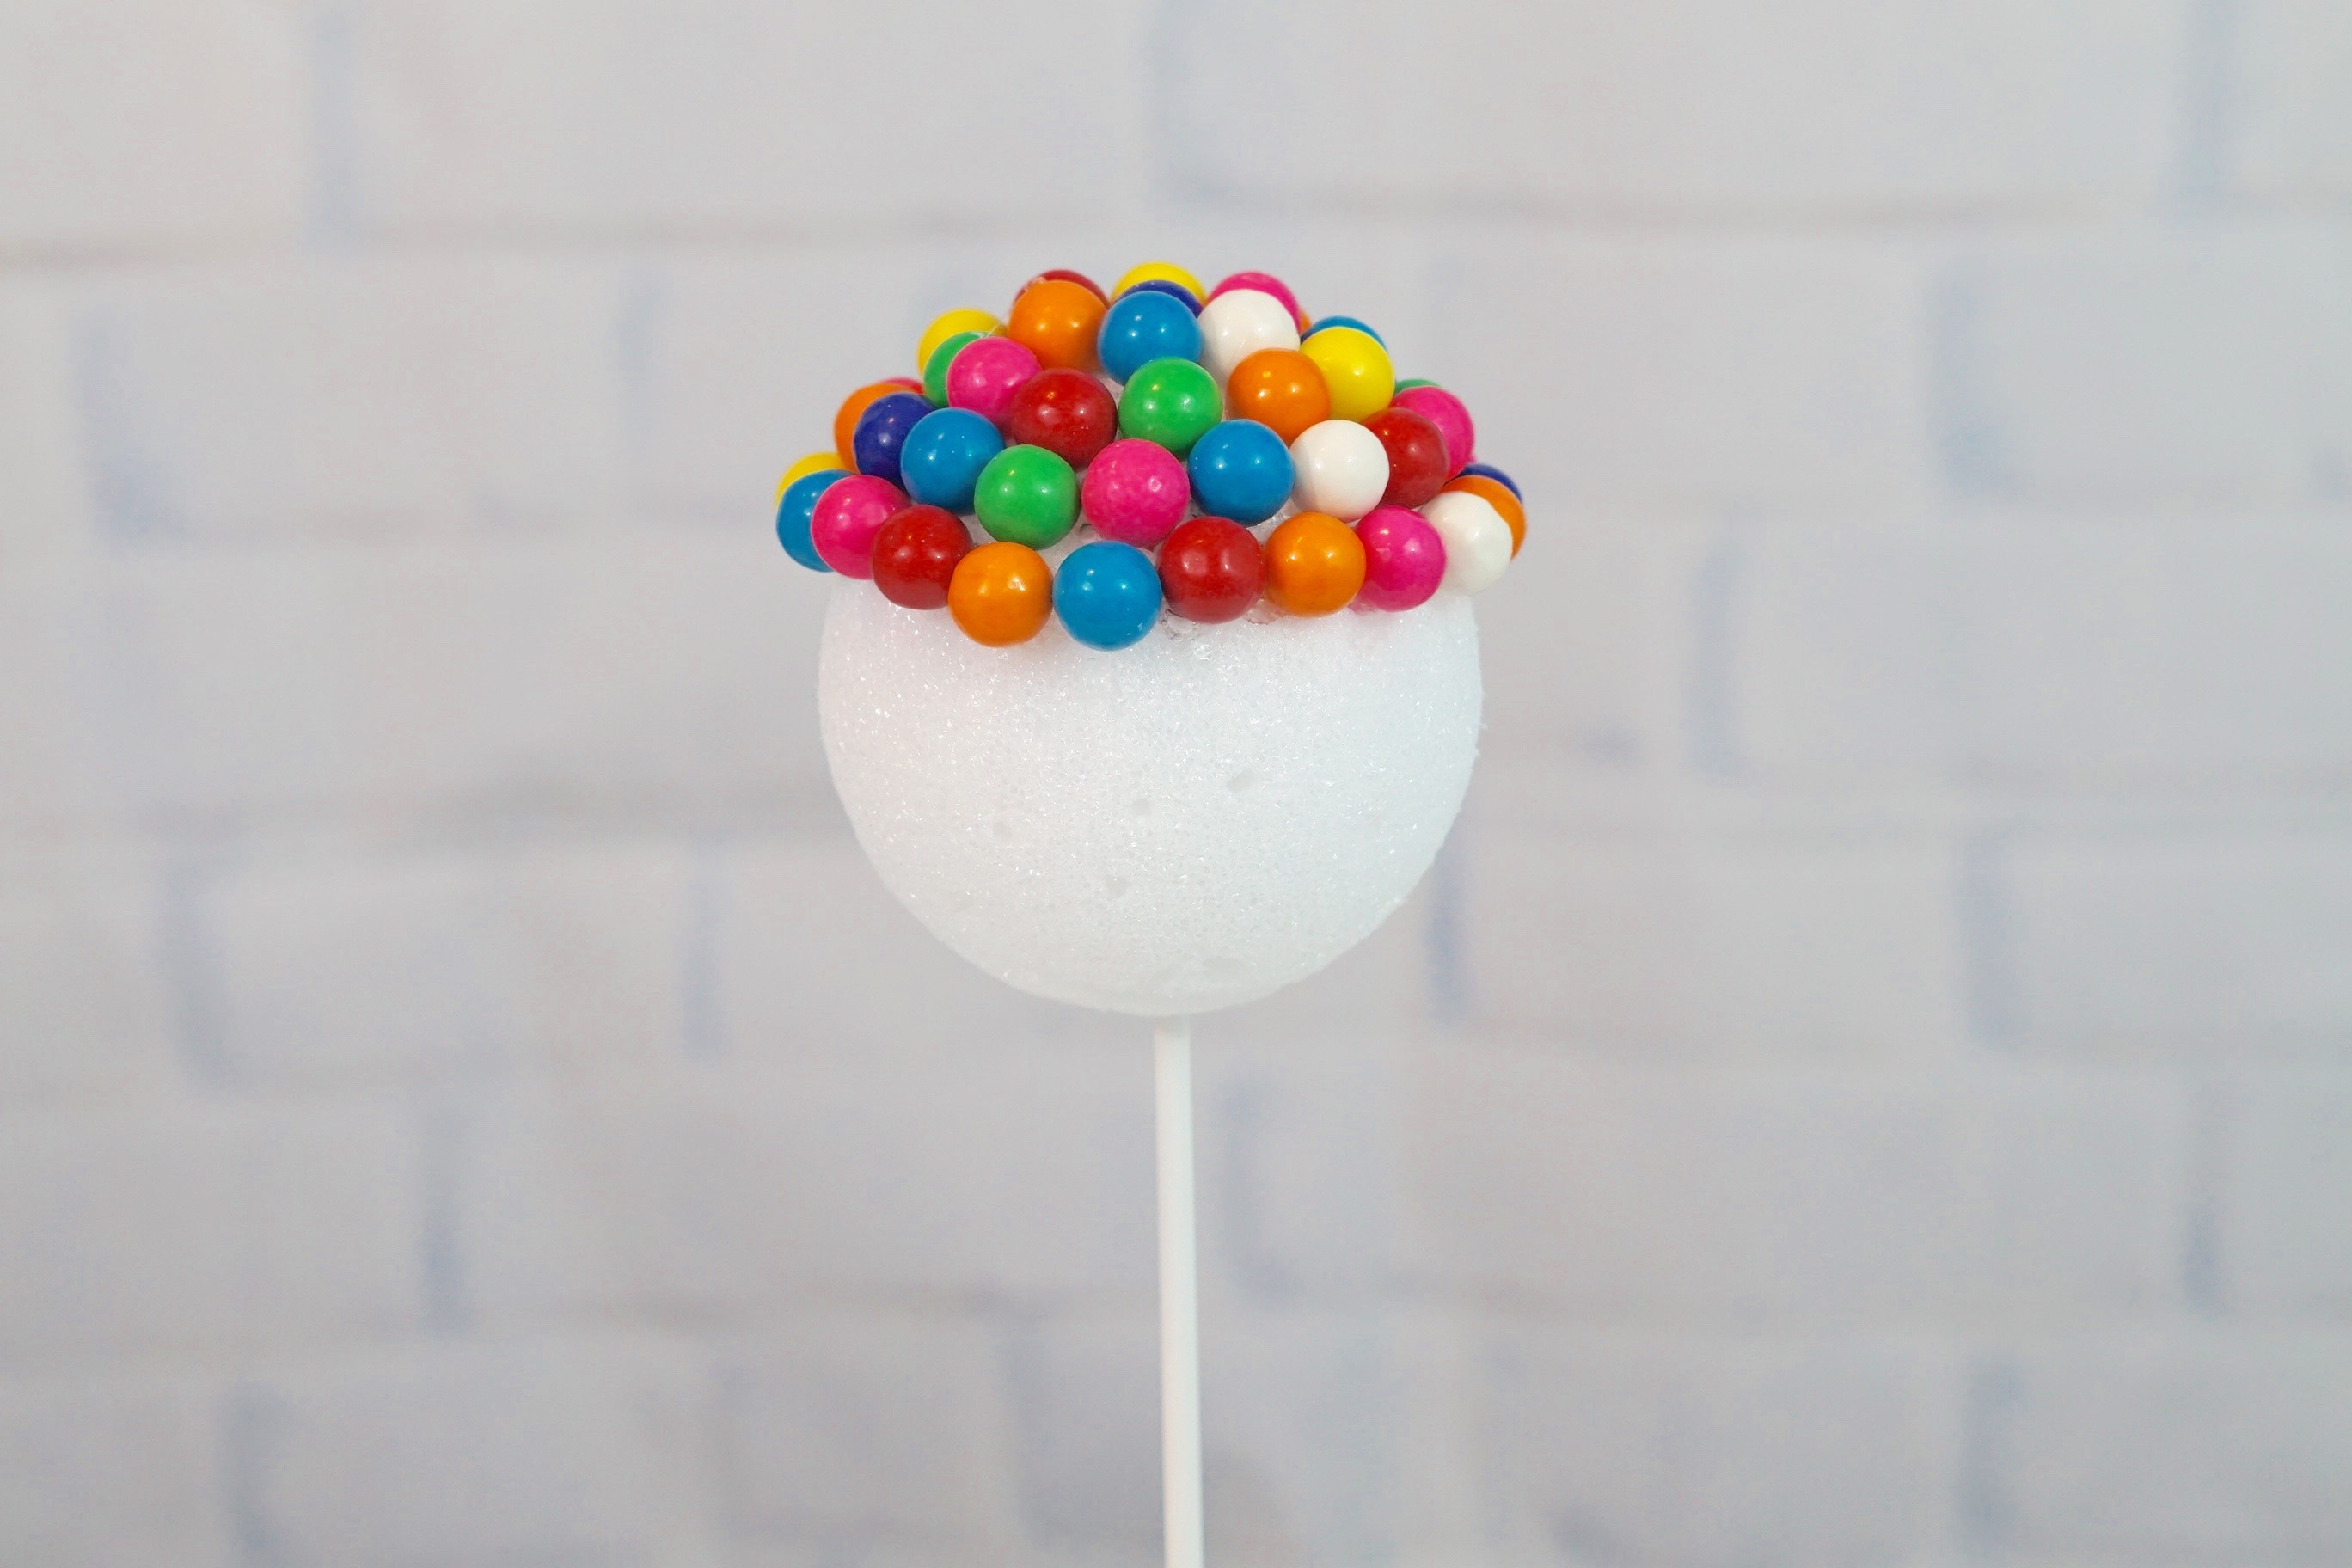
Add your Candy to the Foam Balls
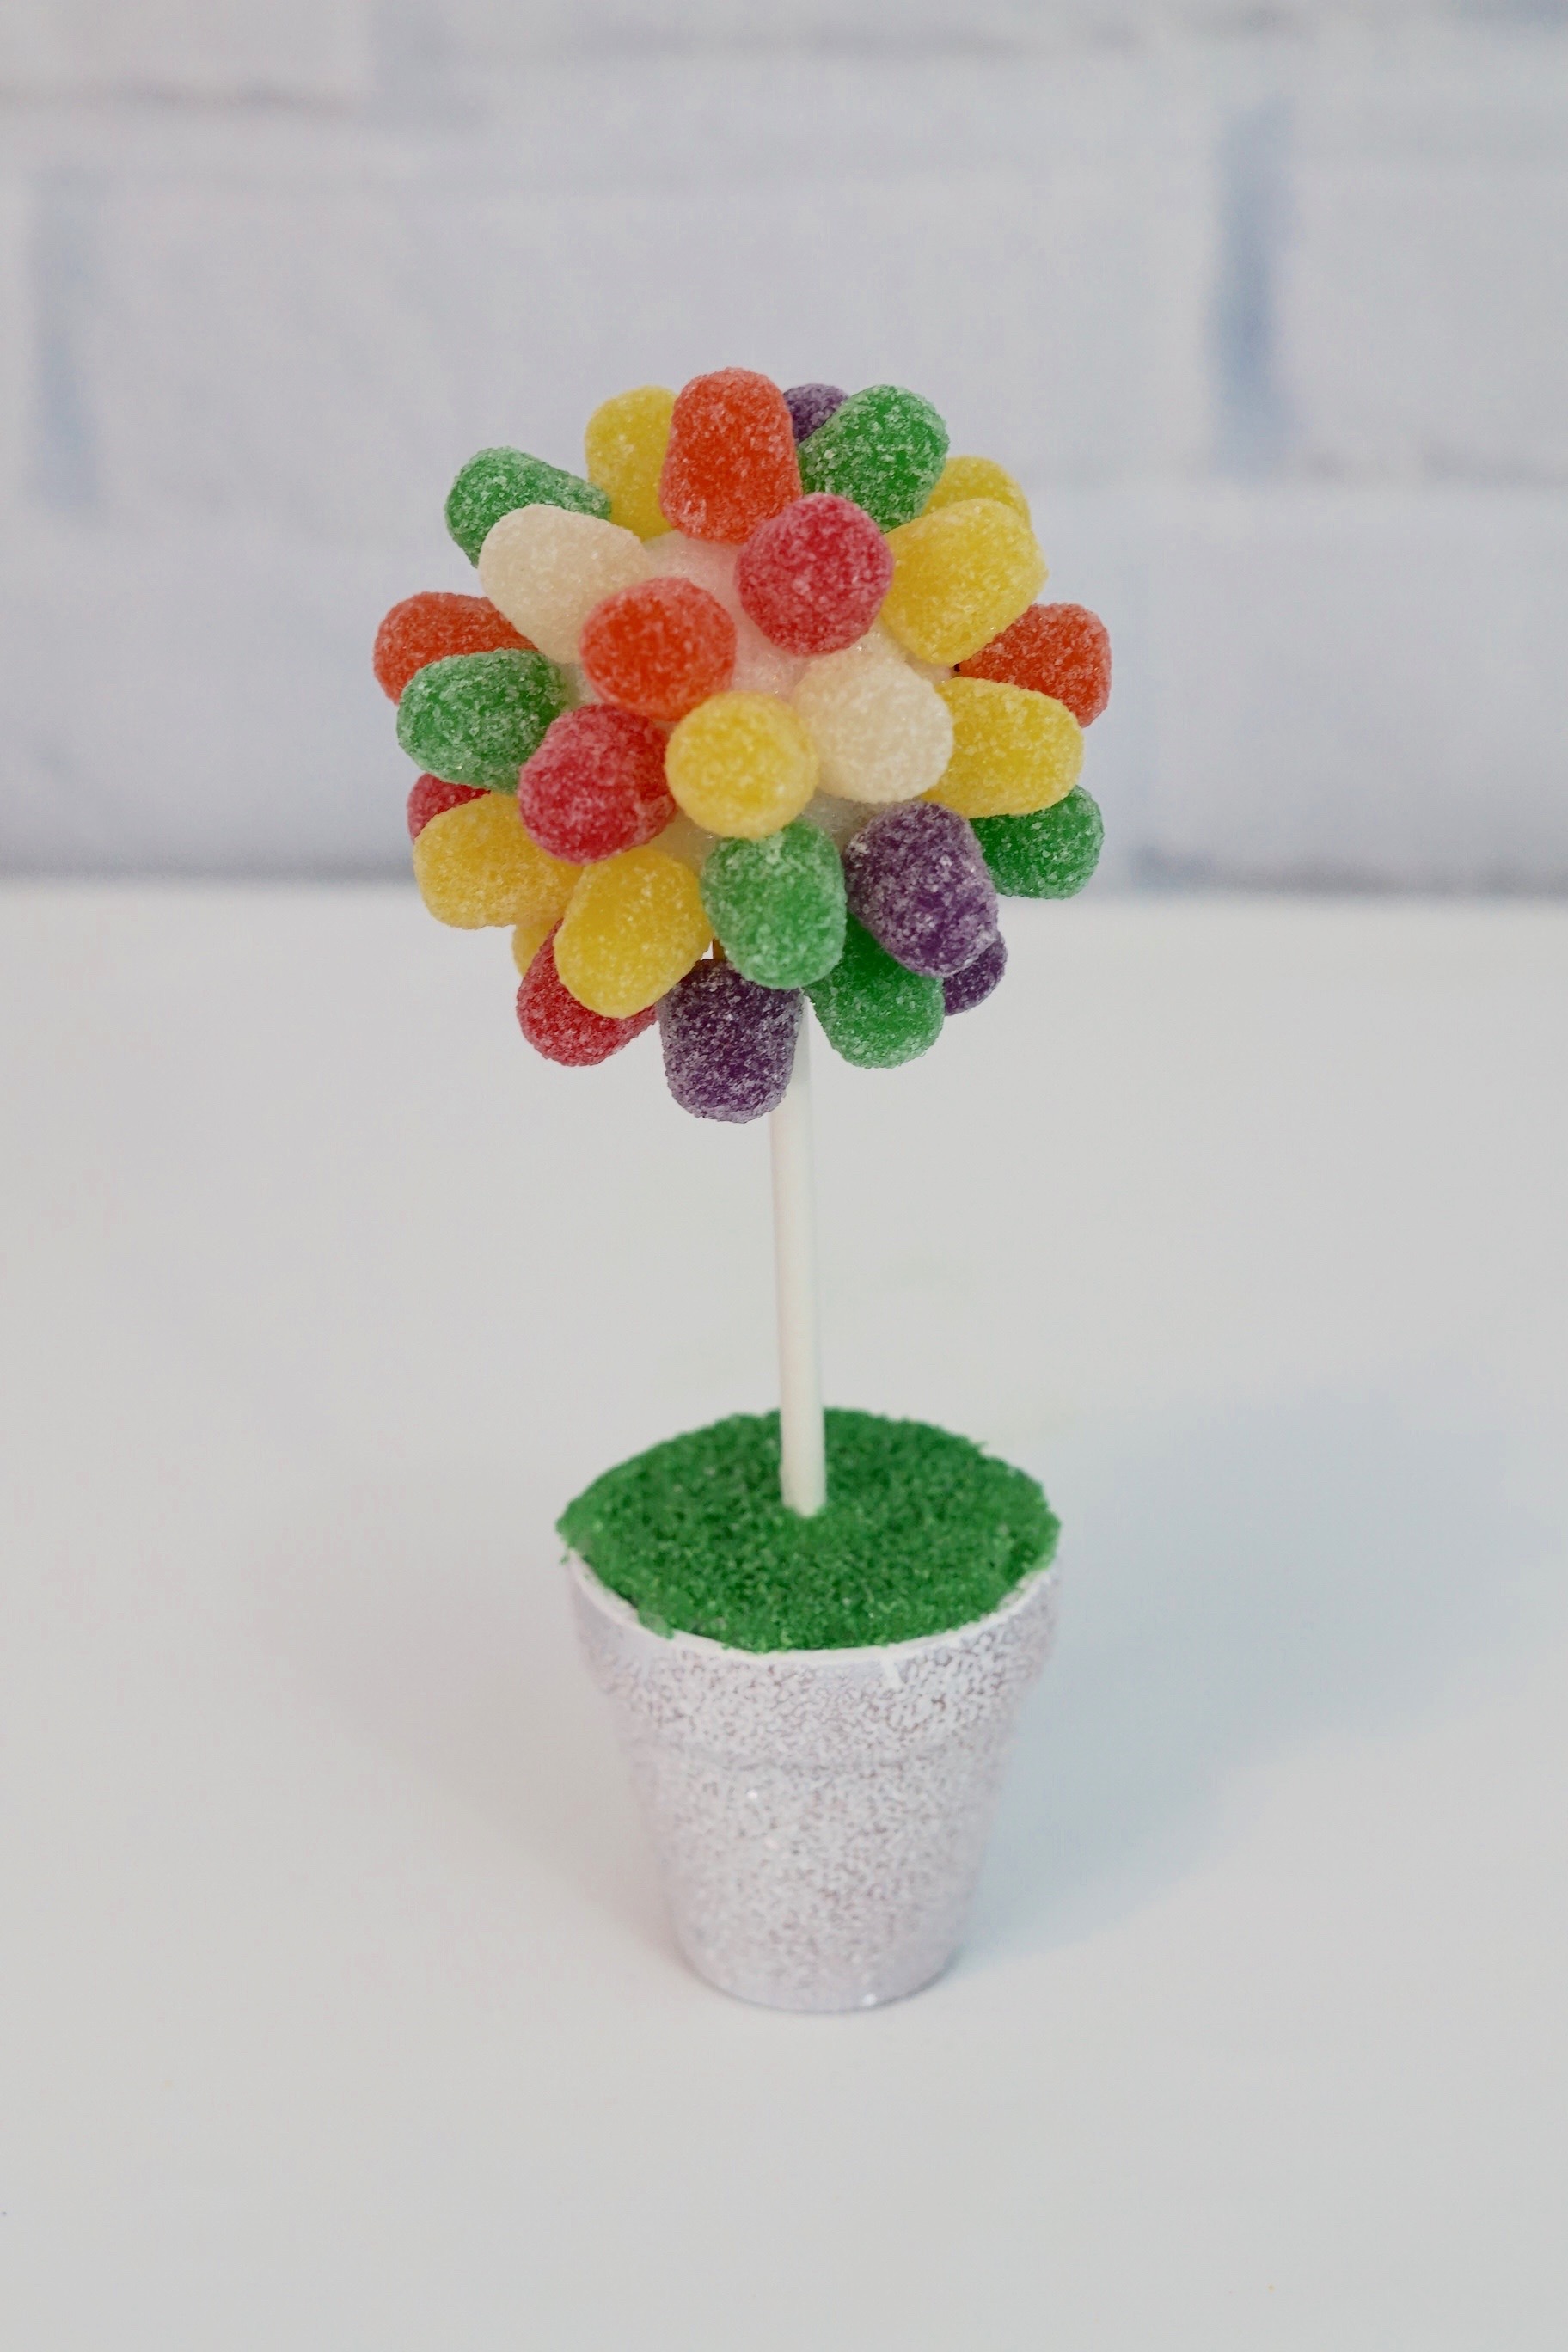
STEP 6: Repeat the same steps above to a 1 and 1/2 inch Terra-Cotta Pot, adding a 2 inch foam ball. Then cut your tooth pics in half and use them to attach your spice drops to the foam ball attached to your 1 and 1/2 inch Terra-Cotta Pot.
STEP 7: Add your gumdrops to your other terra-cotta pot with the 3 or 4 inch foam ball using hot glue. Start at the center of your foam ball.
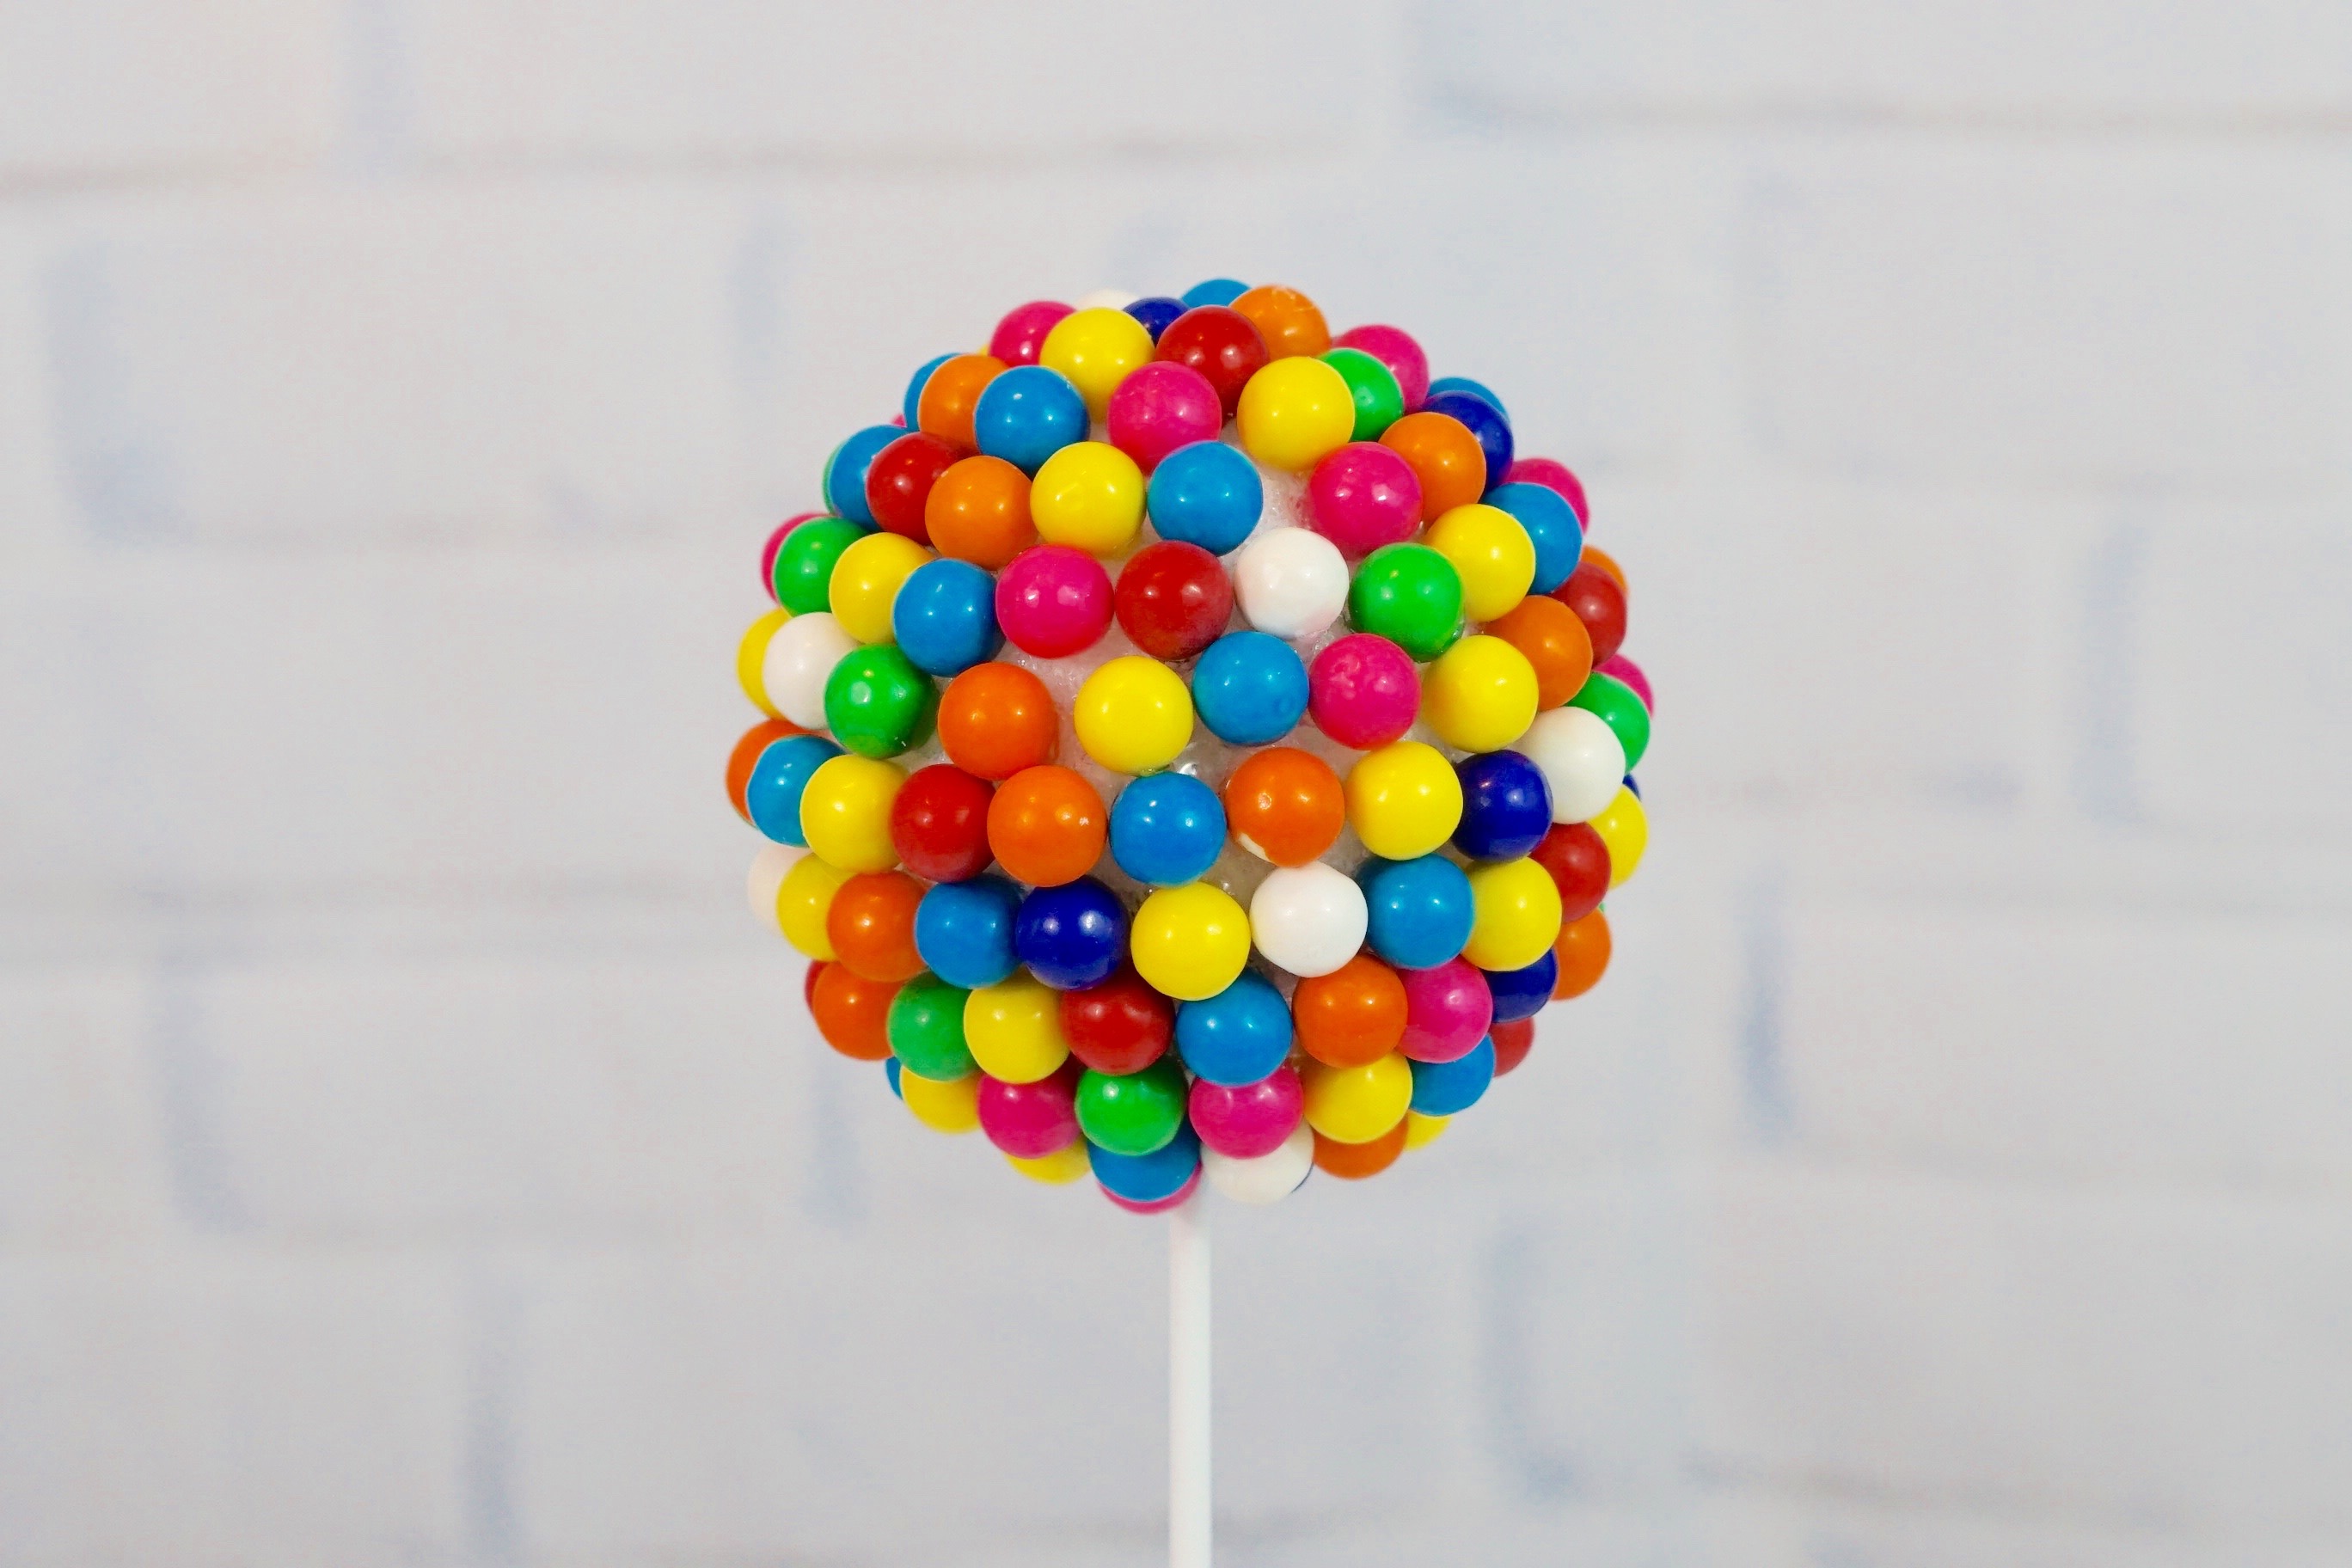
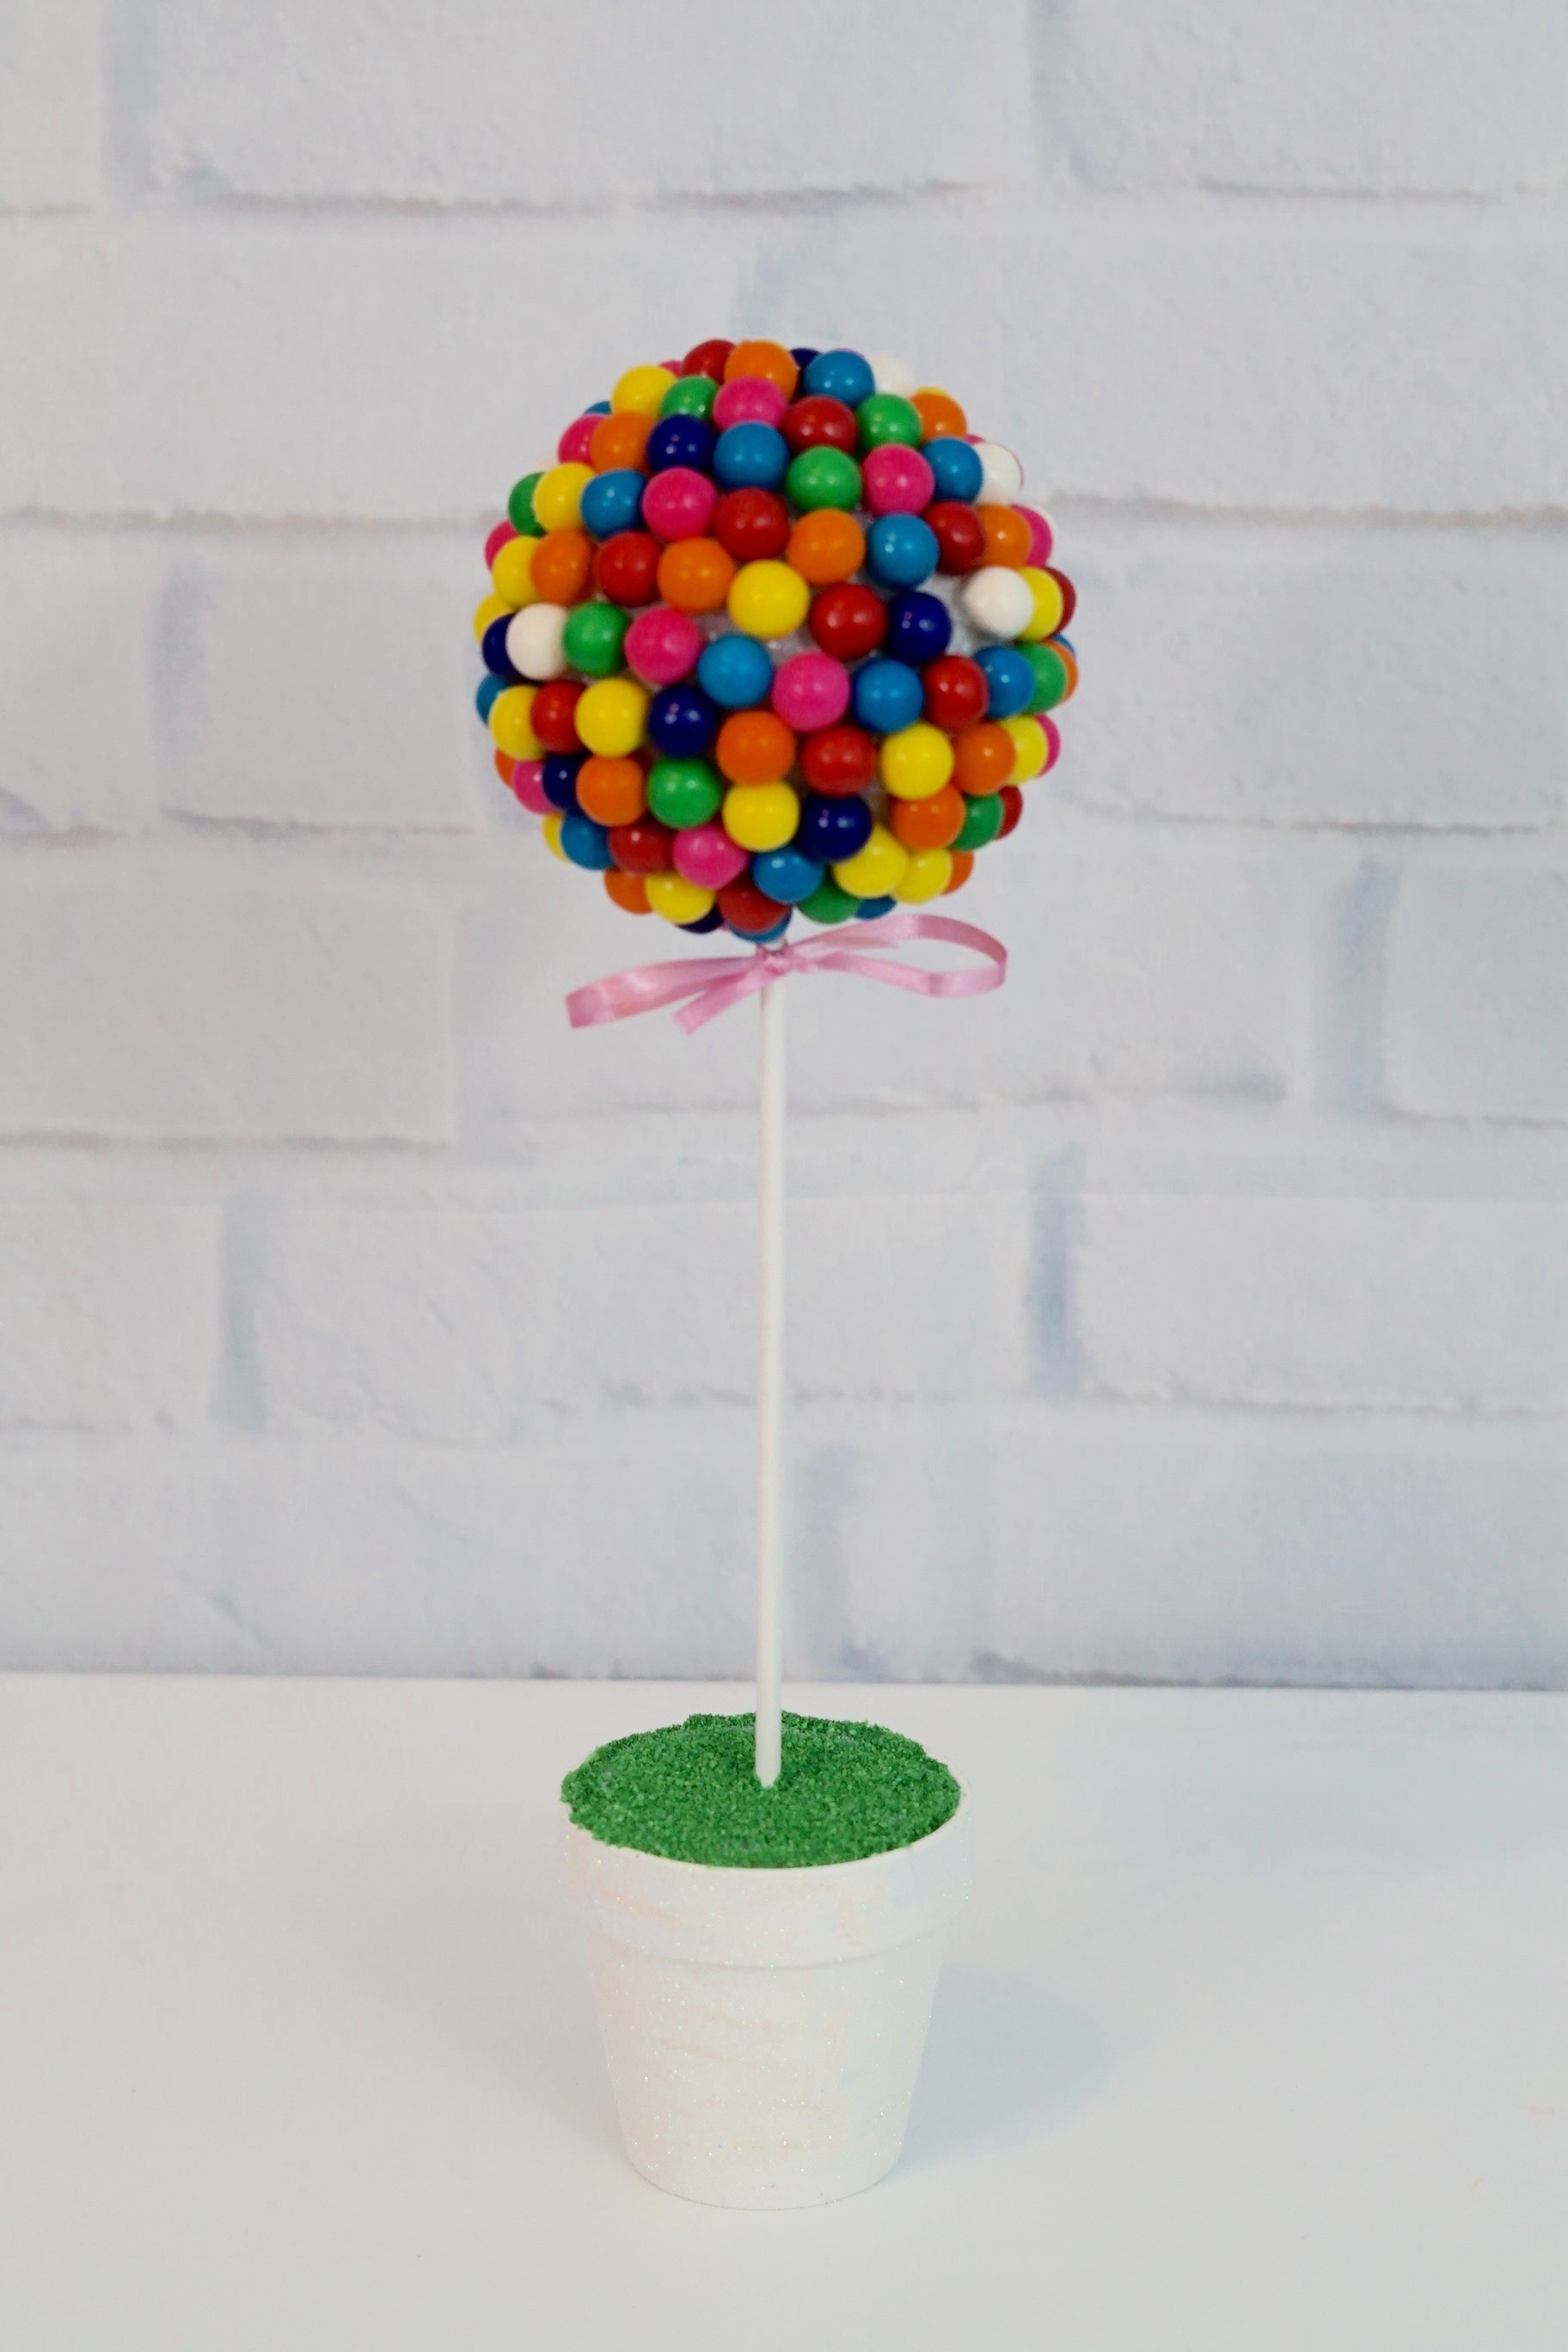
STEP 8: Lastly, spray both your gumdrops and your spice candy with acrylic spray. This gives it a glossy finish and protects your candy from the harsh heat of lighting at your event.
THE FINAL STEP!
STEP 9: Set the table
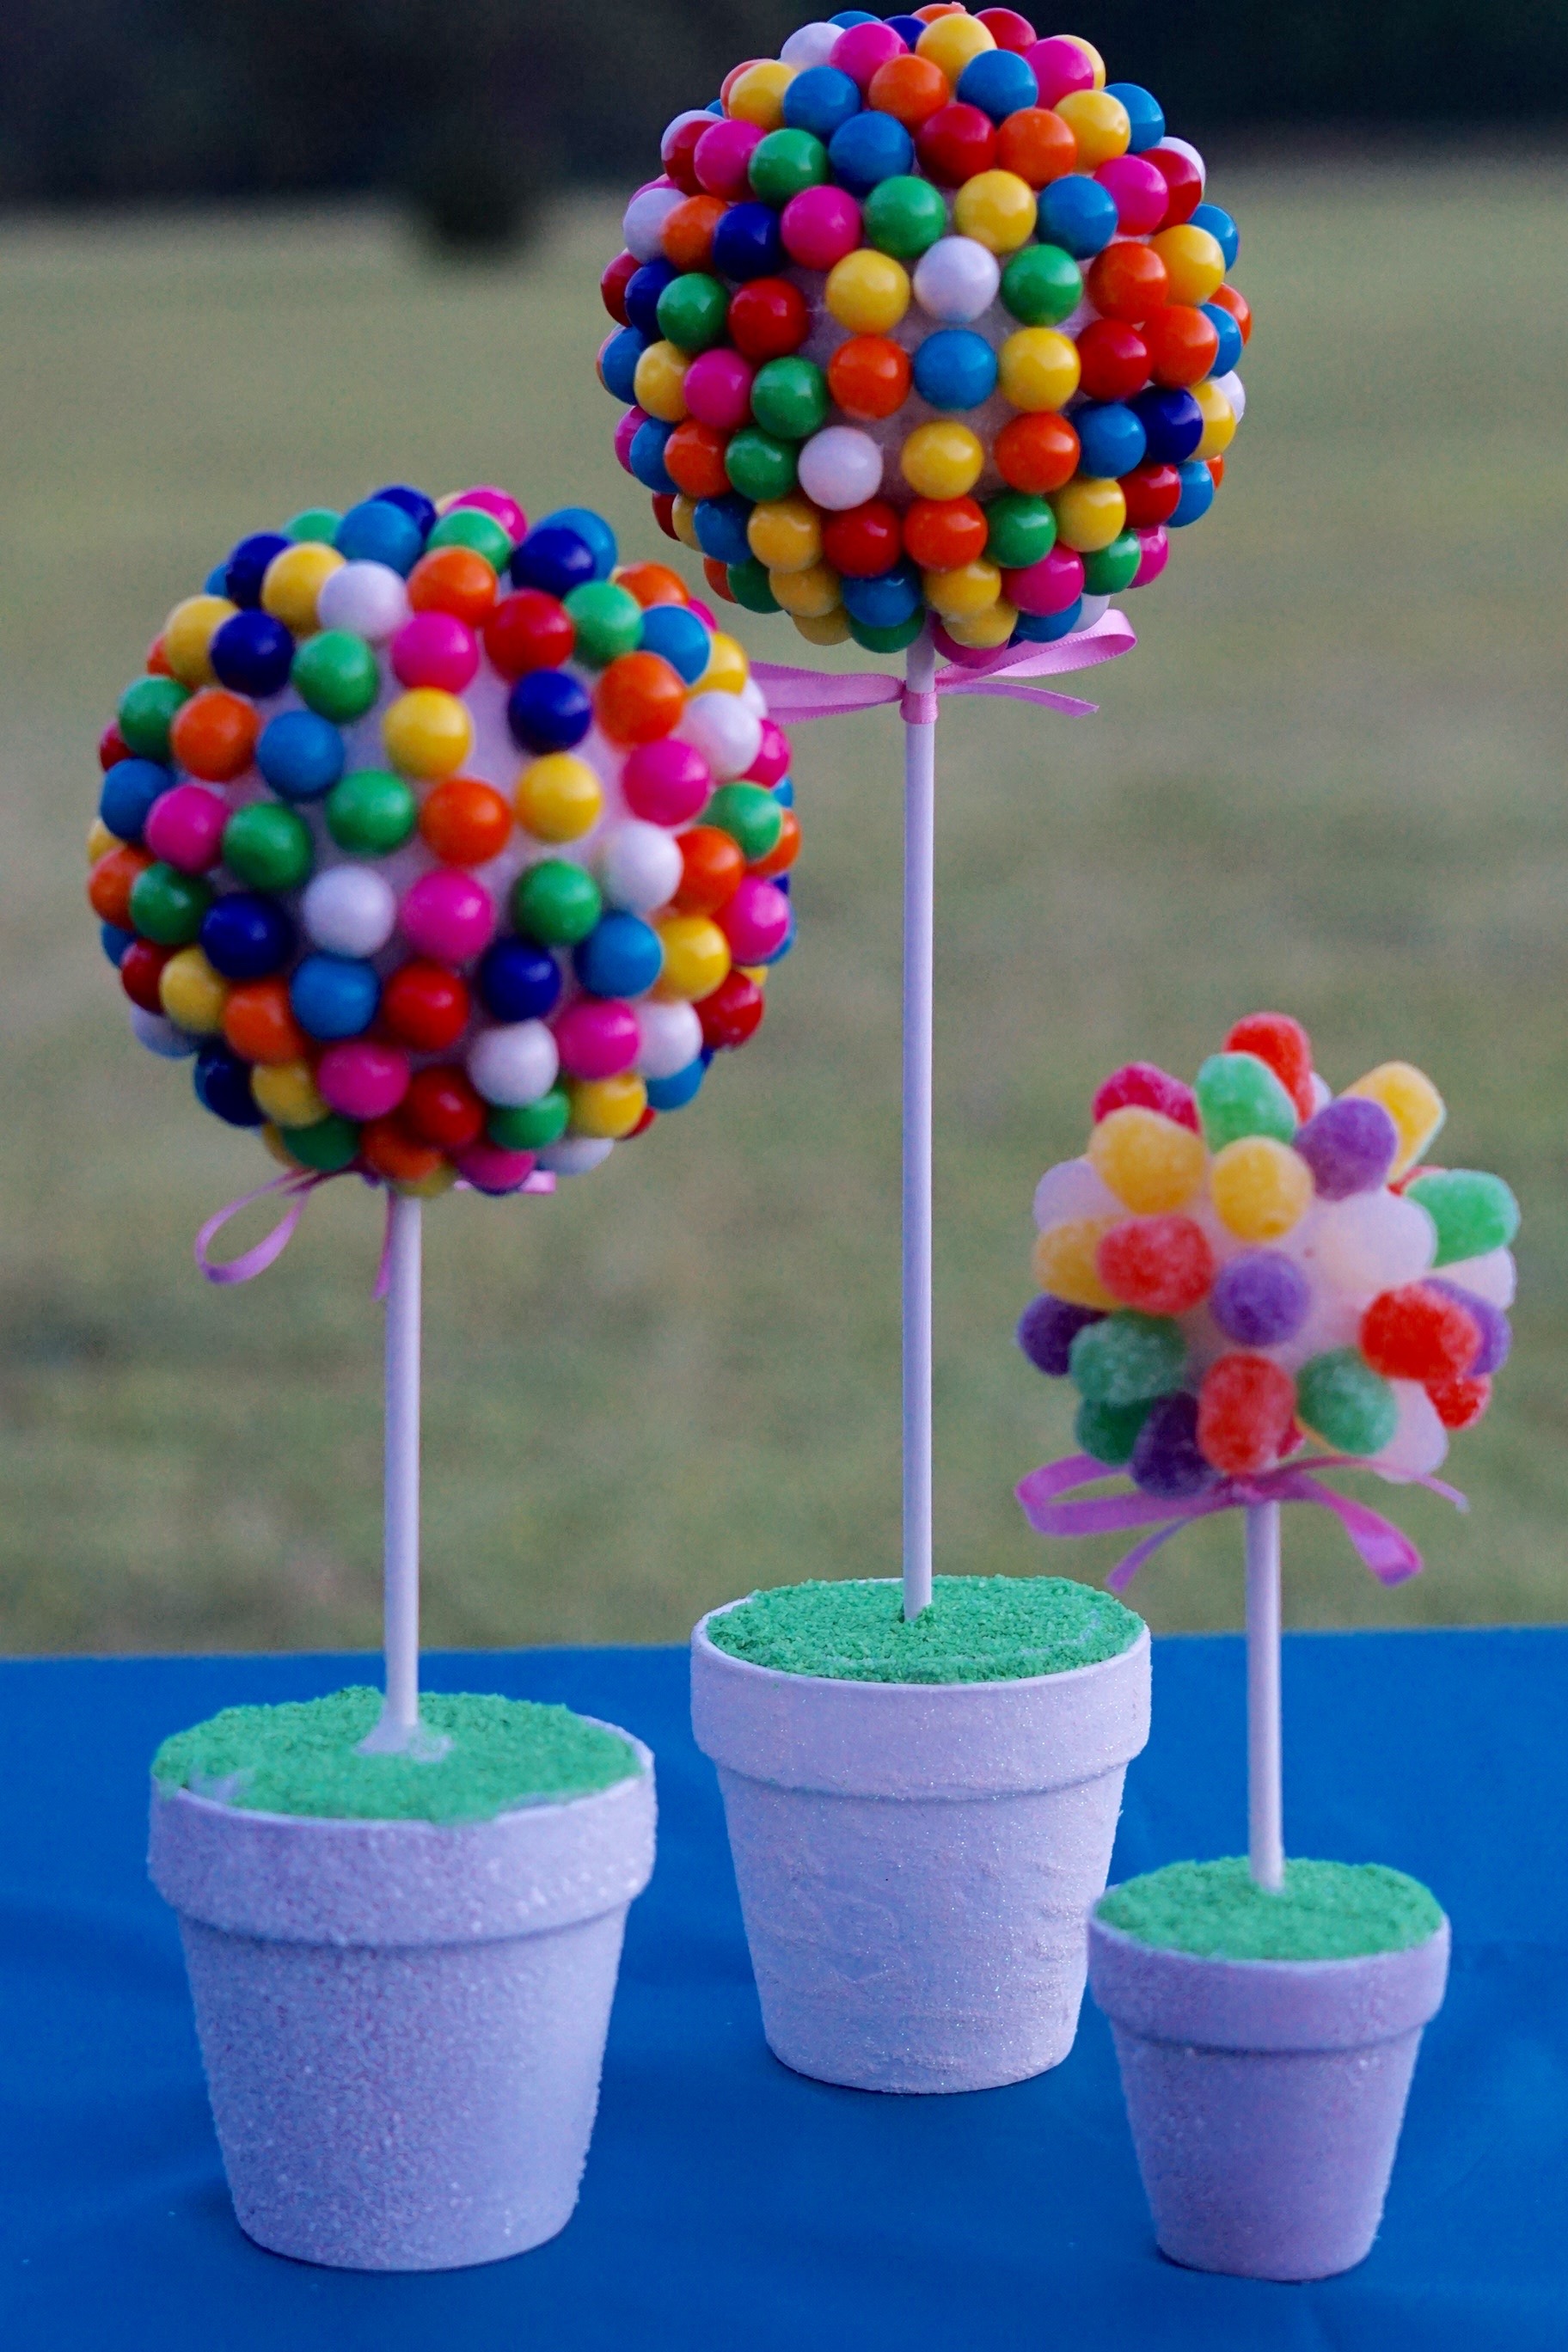
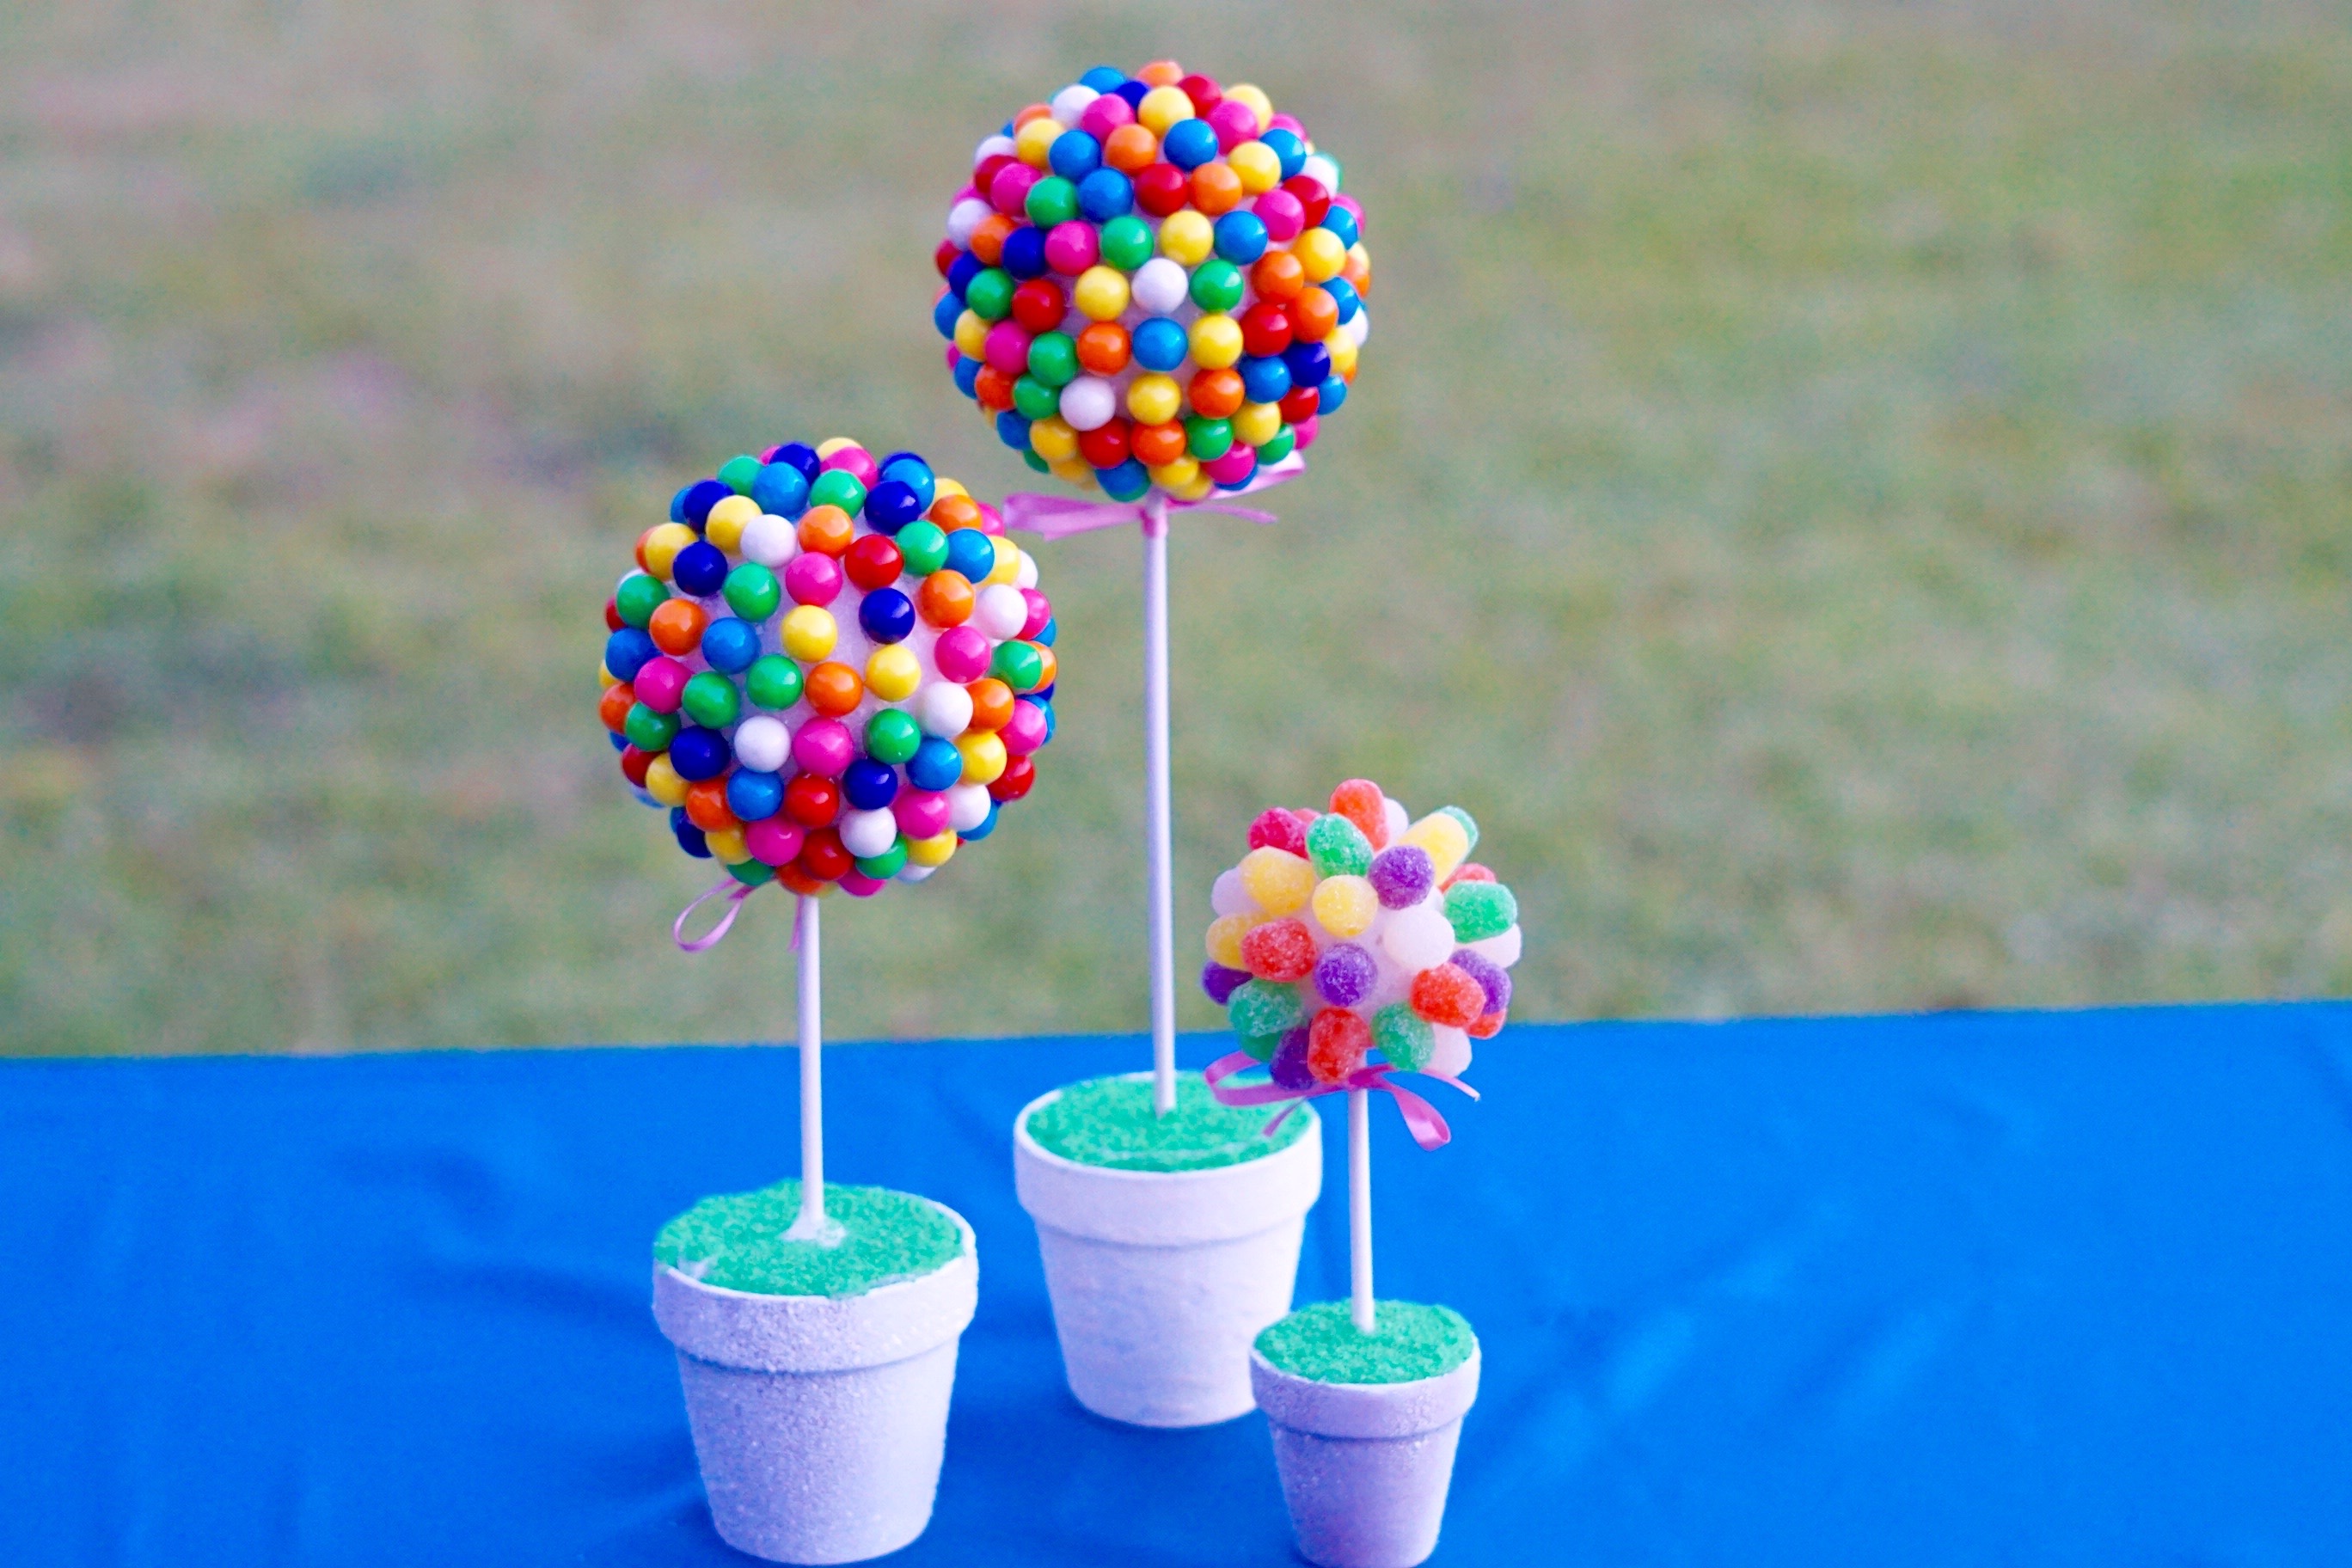
I absolutely love how this candy topiary centerpiece turned out! The outcome is amazing and will definitely add that extra special touch to any event!
Don’t forget to sign up for Ebates to earn cash back on your online purchases. Planning a wedding is expensive, our goal is to help you stay within your budget and make every penny count. Click here to sign up for Ebates, and RIGHT NOW when you sign up, you will receive a $10 cash welcome bonus when you spend $25.00!
If you like the outcome please subscribe to our Youtube Channel for more DIY Videos and follow us on Facebook and Pinterest.
Need help with an upcoming project? Be sure to send us a project request!
“Remember When Every Penny Counts, Count on MissPlanIt”
I very love your weekly post of beautiful arrangements. I can not believe that someone mind can be so creative. I envy your thought process. You are a blessing to us less fortunate in creativity. Please continue to uplift us with your projects.
Thank you so much! I am so glad that my God-given gifts are a blessing to others!